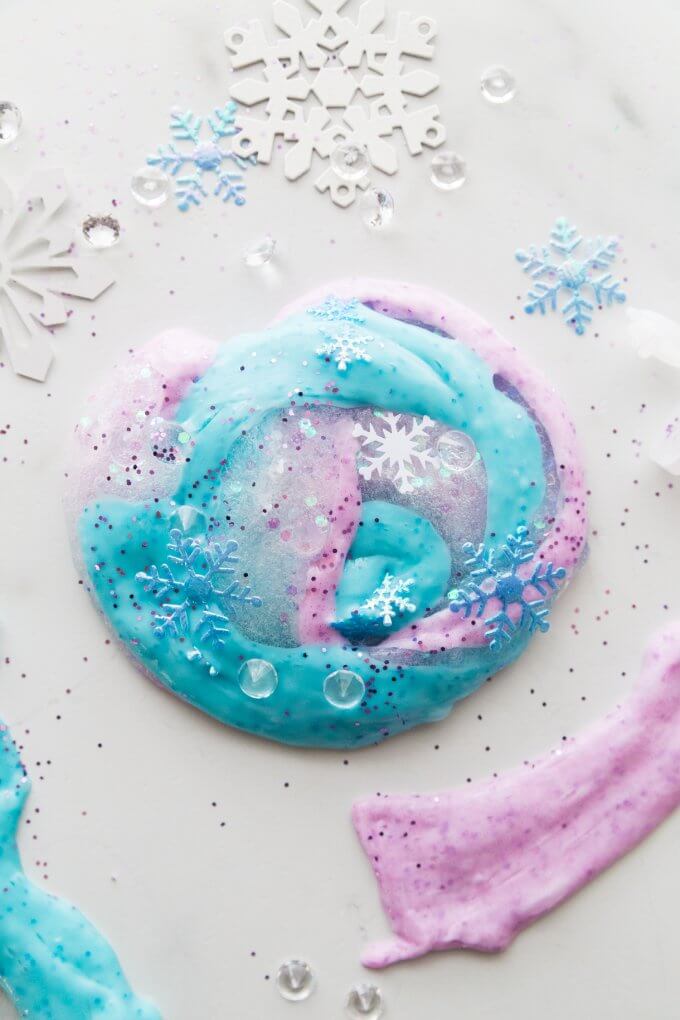
Inspired by everyone’s favorite movie, Frozen 2, this gorgeous sparkling glitter slime hits the nail on the head for a must try slime making activity. The world of Anna and Elsa is magical and well, we think slime is too! Everyone needs to try making homemade slime at least once, and this is it! Our easy to make Frozen slime is perfect for every kid!
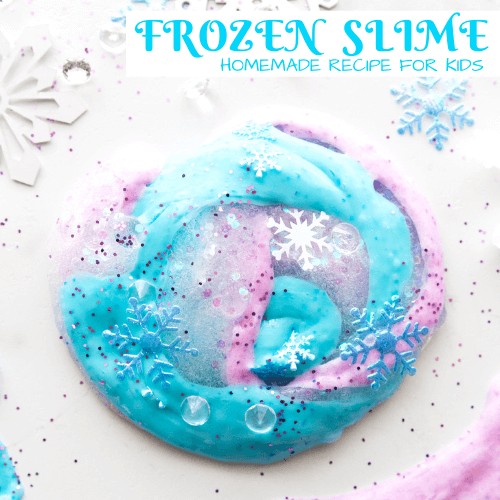
EASY TO MAKE SPARKLING FROZEN SLIME FOR KIDS
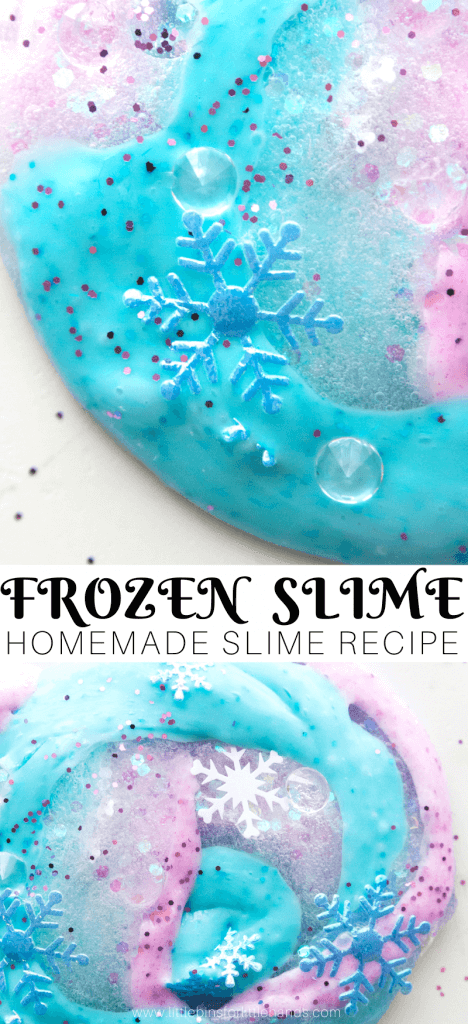
FROZEN THEME GLITTER SLIME
Learning how to make slime is much simpler than you might think. Slime making is even more fun when you add in creative themes for special occasion days like our Frozen slime.
We have quite a few slime ideas to share, and we are always adding more. Our FROZEN Slime Recipe is yet another AMAZING slime recipe we can show you how to make.
ALSO CHECK OUT: Frozen Glitter Jars
Oh and slime is science too, so don’t miss the great information on science behind this easy slime below. Watch our awesome slime videos and see how easy it is to make the best slime!
BASIC SLIME RECIPES
All of our holiday, seasonal, and everyday slimes use one of five basic slime recipes that are super easy to make! We make slime all the time, and these have become our go-to favorite slime recipes!
I will always let you know which basic slime recipe we used in our photographs, but I will also tell you which of the other basic recipes will work too! Usually you can interchange several of the ingredients depending on what you have on hand for slime supplies.
Here we use our Saline Solution Slime recipe. Slime with saline solution is one of our favorite sensory play recipes! We make it ALL the time because it is so quick and easy to whip up. Four simple ingredients {one is water} are all you need. Add color, glitter, sequins, and then you are done!
Where do I buy saline solution?
We pick up our saline solution in the grocery store! You can also find it on Amazon, Walmart, Target, and even at your pharmacy.
Now if you don’t want to use saline solution, you can absolutely test out one of our other basic recipes using liquid starch or borax powder. We have tested all these recipes with equal success!
NOTE: We have found that Elmer’s specialty glues tend to be a bit stickier than Elmer’s regular clear or white glue, and so for this type of glue we always prefer our 2 ingredient basic glitter slime recipe.
THE SCIENCE OF SLIME
We always like to include a bit of homemade slime science around here! Slime is an excellent chemistry demonstration and kids love it too! Mixtures, substances, polymers, cross-linking, states of matter, elasticity, and viscosity are just a few of the science concepts that can be explored with homemade slime!
What’s slime science all about? The borate ions in the slime activators (sodium borate, borax powder, or boric acid) mix with the PVA (polyvinyl acetate) glue and forms this cool stretchy substance. This is called cross-linking!
The glue is a polymer and is made up of long, repeating, and identical strands or molecules. These molecules with flow past one another keeping the glue in a liquid state. Until…
You add the borate ions to the mixture, and it then starts to connect these long strands together. They begin to tangle and mix until the substance is less like the liquid you started with and thicker and rubbery like slime! Slime is a polymer.
Picture the difference between wet spaghetti and leftover spaghetti the next day. As the slime forms, the tangled molecule strands are much like the clump of spaghetti!
Is slime a liquid or solid?
We call it a Non-Newtonian fluid because it’s a little bit of both! Experiment with making the slime more or less viscous with varying amounts of foam beads. Can you change the density?
Did you know that slime aligns with the Next Generation Science Standards (NGSS)?
It does and you can use slime making to explore states of matter and its interactions. Find out more below…
FROZEN SLIME RECIPE
I always encourage my readers to read through our recommended slime supplies list and How To Fix Slime Guide before making slime for the first time. Learning how to stock your pantry with the best slime ingredients is easy!
No more having to print out a WHOLE blog post for just one recipe!
Get our basic slime recipes in an easy to print format so you can knock out the activities!
—>>> FREE SLIME RECIPE CARDS
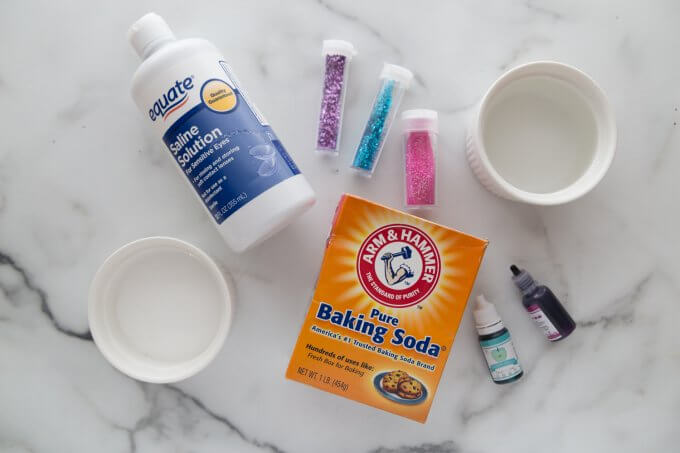
YOU WILL NEED:
Rather use liquid starch? Click here.
Rather use borax powder? Click here.
- 1/2 cup White PVA School Glue
- 1 tablespoon Saline Solution (must contain boric acid and sodium borate)
- 1/2 cup of Water
- 1/4-1/2 tsp Baking Soda
- Blue and pink food coloring
- White, pink, blue, silver confetti and glitter.
HOW TO MAKE FROZEN SLIME:
Want to make a melting Olaf slime? Click here.
Want to make glittering snowflake slime? Check out all our snowy ideas here.
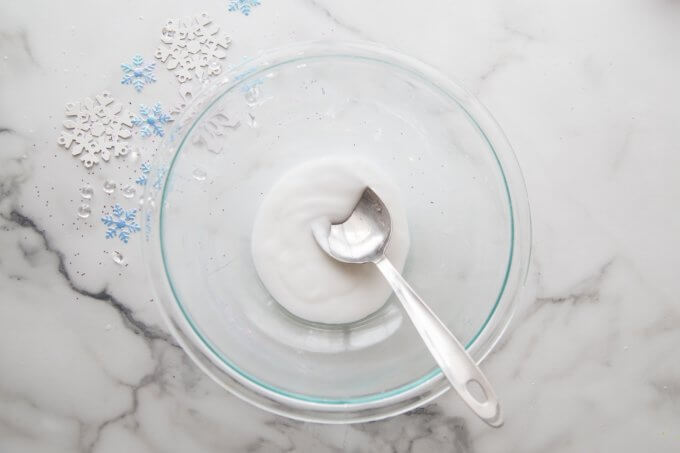
STEP 1: In a bowl mix 1/2 cup water and 1/2 cup of glue well to combine completely.
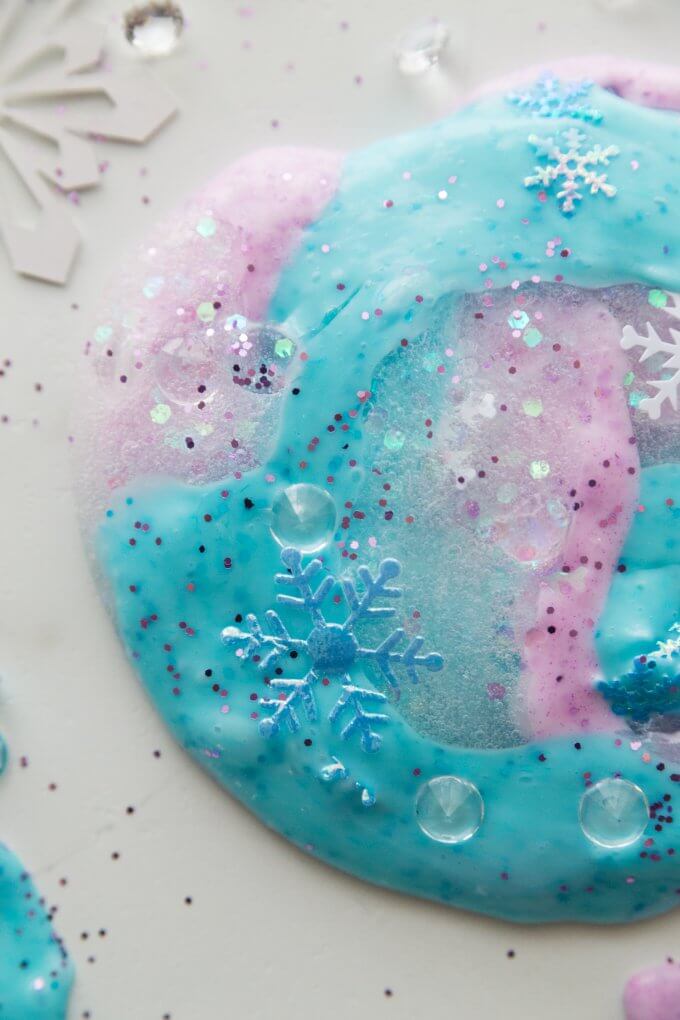
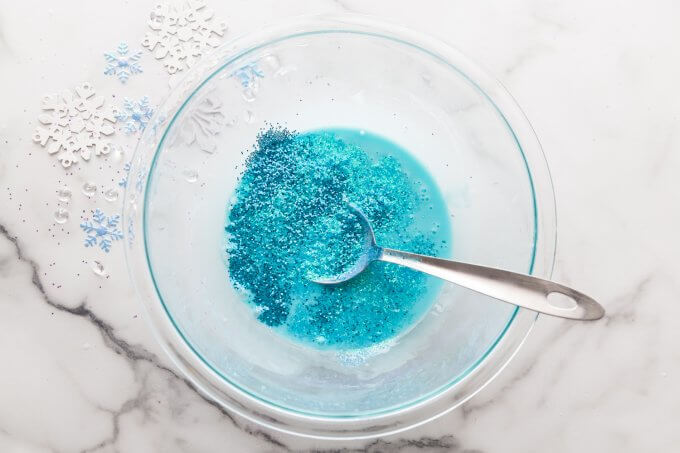
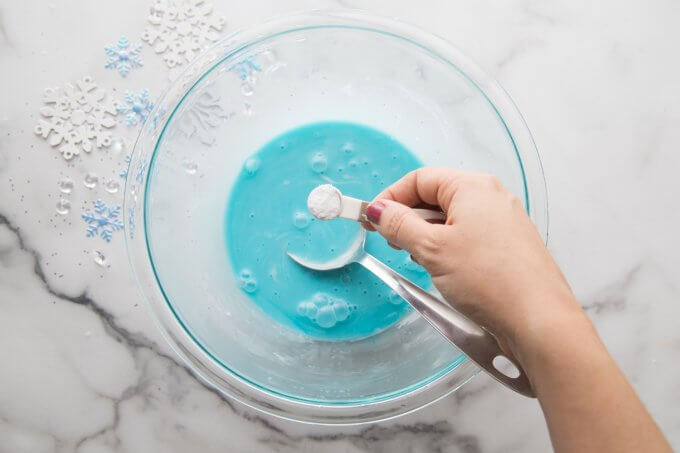
STEP 2: Now’s the time to add the food coloring and glitter!
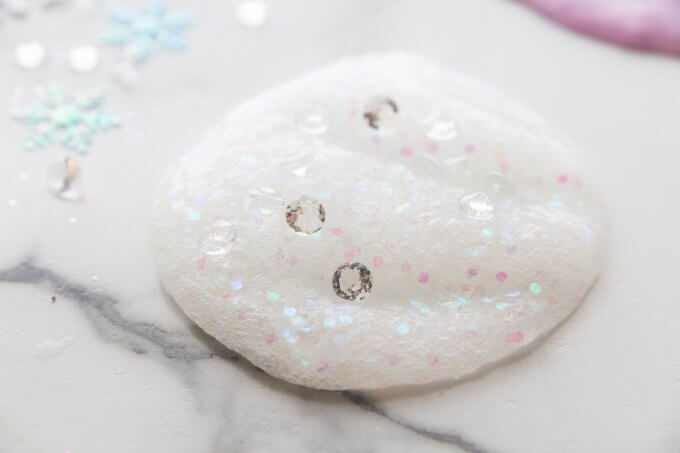
We made 3 batches of slime and added blue and pink coloring to two. The third we kept white and just added glitter and confetti for our Frozen slime.
NOTE: You can half the quantity of the recipe above for each batch if you don’t want to end up with a huge quantity of slime.
STEP 3: Stir in 1/4- 1/2 tsp baking soda.
Baking soda helps to firm and form the slime. You can play around with how much you add but we prefer between 1/4 and 1/2 tsp per batch. I get asked all the time why do you need baking soda for slime. Baking soda helps to improve the firmness of the slime. You can experiment with your own ratios!
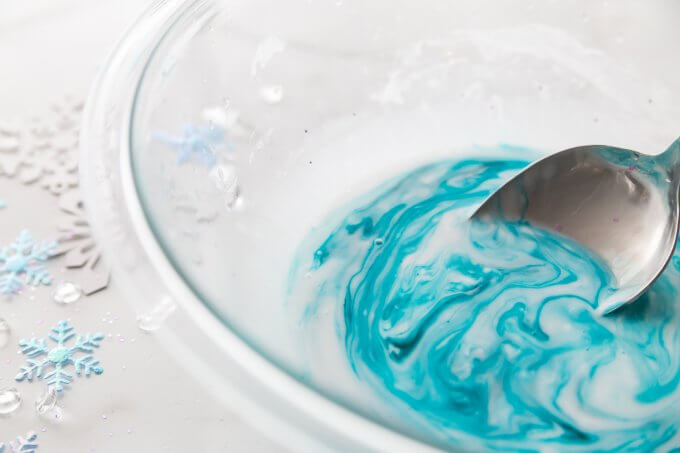
STEP 4: Mix in 1 tbsp saline solution and stir until slime forms and pulls away from sides of the bowl. This is exactly how much you will need with the Target Sensitive Eyes brand, but other brands may differ slightly!
If your slime still feels too sticky, you may need a few more drops of saline solution. As I mentioned above, start by squirting a few drops of the solution onto your hands and kneading your slime longer. You can always add but you can’t take away. Saline solution is preferred over contact solution.
STEP 5: Start kneading your slime! It will appear stringy at first but just work it around with your hands and you will notice the consistency changes. You can also put it in a clean container and set it aside for 3 minutes, and you will also notice the change in consistency!
SLIME TIP: We always recommend kneading your slime well after mixing. Kneading the slime really helps to improve its consistency. The trick with this slime is to put a few drops of the saline soluti9n onto your hands before picking up the slime.
You can knead the slime in the bowl before you pick it up as well. This slime is stretchy but can be stickier. However, keep in mind that although adding more activator (saline solution) reduces the stickiness, and it will eventually create a stiffer slime.
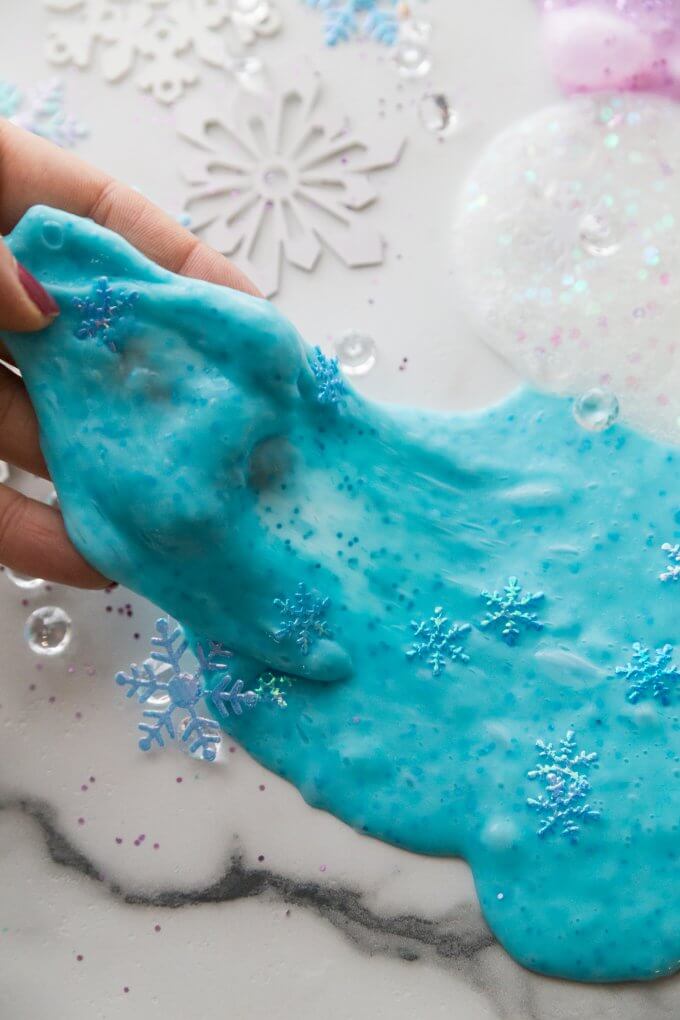
You will love how easy and stretchy this Frozen glitter slime is to make, and play with too! Once you have your desired slime consistency, time to have fun! How big of a stretch can you get without the slime breaking?
STRETCHY SLIME vs. STICKY SLIME
Which slime is the stretchiest? This slime recipe is by far my most favorite slime recipe for stretchy slime!
A stickier slime will be a stretchier slime no doubt. A less sticky slime will be a firmer slime. However, not everyone loves a sticky slime! As you continue to knead the slime, the stickiness will lessen.
Tinkering with the baking soda and saline amounts will change the consistency of the slime to thinner or thicker. Keep in mind that any recipe will come out just a bit different on any given day. This is really a great chemistry experiment, and one of the things you will learn is that slime is meant to be stretched slowly.
HOW DO YOU STORE SLIME?
Slime lasts quite a while! I get a lot of questions regarding how I store my slime. We use reusable containers in either plastic or glass. Make sure to keep your slime clean and it will last for several weeks. I love the deli-style containers I have listed in my recommended slime supplies list.
If you want to send kids home with a bit of slime from a camp, party, or classroom project, I would suggest packages of reusable containers from the dollar store or grocery store or even Amazon. For large groups, we have used condiment containers and labels as seen here.
We have the best resources to look through before, during, and after making your Frozen slime! Make sure to go back and read the slime science above too!
MORE COOL SLIME RECIPES
- Shaving Cream Slime
- Fluffy Slime
- Borax Slime
- Elmer’s Glue Slime
- How To Make Clear Slime
- Marshmallow Slime
FUN WITH SPARKLY SLIME FOR A FROZEN THEME SLIME
Try more fun homemade slime recipes right here. Click on the link or on the image below.
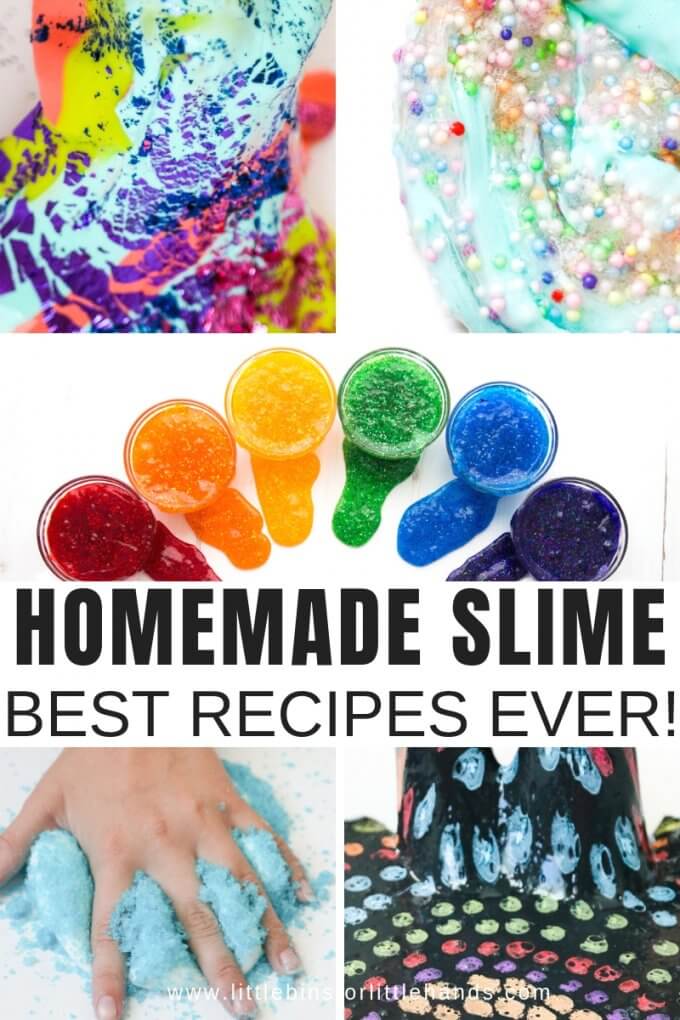
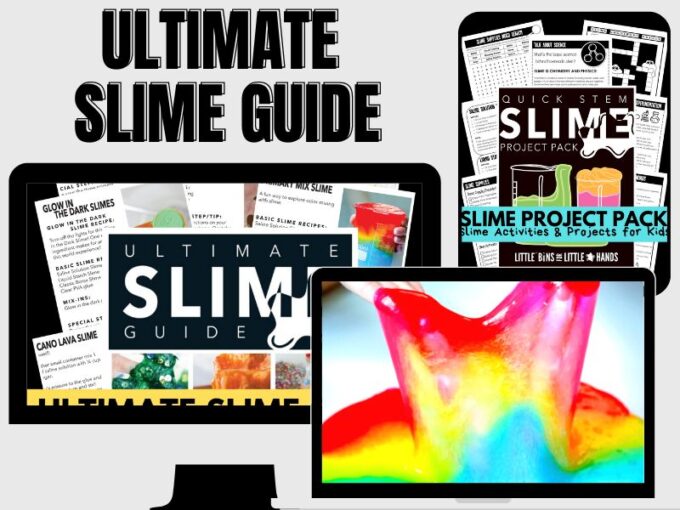
Printable Slime Recipes Ultimate Guide
This is the ULTIMATE collection of slime recipes every kid wants to make! Explore the best recipes and find the right supplies to make slime time a breeze!
Perfect for kids of all ages, including tweens and teens! Taste-safe recipes are perfect for the youngest slime fans.
What’s Included:
- The Ultimate Slime Guide contains all the specialty recipes you or your kids want to make! You’ll find all the best tips, tricks, hints, and slime-y info in almost 100 pages!
- The Ultimate Slime Holiday Guide covers all the best holidays and seasons with special themes and slime-y projects!
- The Ultimate Borax-FREE and Taste-Safe Slime Guide shows you how to make all the best borax-free, taste-safe, and non-toxic slimes kids love, such as marshmallow slime. These recipes do not use chemical activators such as saline solution, liquid starch, or borax powder, making them truly borax-free.
- The Ultimate Slime Coloring Book is an easy-to-print coloring book kids will love! Color and design your favorite slimes!
- The Slime Starter Guide is a fact-filled information guide with everything you need to know to make the best slime ever!
- Slime Science Project Pack helps you turn slime-making into a science lesson!