What do you need to do to make sensory bins? Is it hard? Do kids really like sensory bins? DIY sensory bins are a fantastic way to engage and interact with young children. Plus, they can be quick, easy to make yourself, and inexpensive too! Find out everything you need to know to make a sensory bin for easy sensory play today!
Why We Love Homemade Sensory Bins
Sensory bins were a huge staple in our house for many years. They were a go-to play option that I could change up frequently, create new themes for, and change with the seasons or holidays!
With a few simple steps, you can have a fun sensory bin for little hands to dig into! Let me remind you that sensory bins do not have to be fancy, Pinterest-worthy creations. The oohs and ahhs from your child will be plenty!
I have heard from many people that they feel intimidated by the process when they go to make a sensory bin! I hope to clear that up and show you how to quickly make a sensory bin. Some of our favorite sensory bins are the least thought-out ones!
What do you need to make sensory bins?
You only need a few basic things to make a sensory bin! Everything else will be extra on whether or not you have chosen a theme for your sensory bin.
Some people enjoy making sensory bins to elaborate on a favorite book; we have a few book and sensory bin ideas here.
Others like to make sensory bins for holidays and seasons. Lastly, people make sensory bins purposefully for the sensory experience. There are so many ways to make sensory bins!
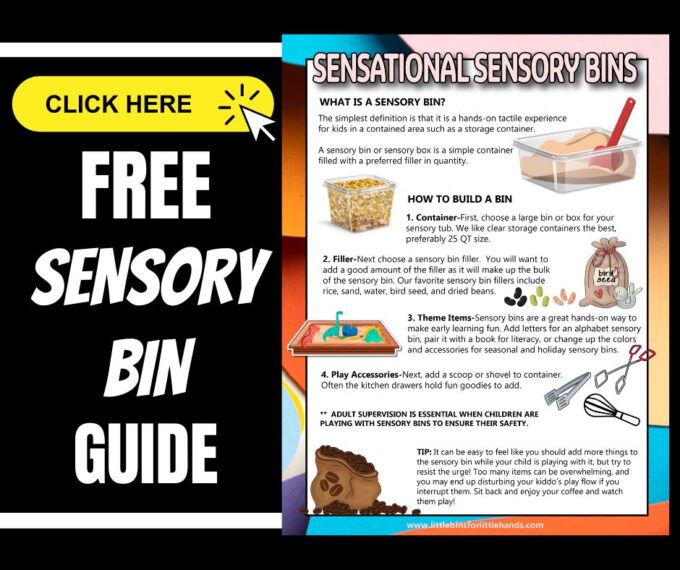
Get Your Free Quick Start Sensory Bin Guide
How To Make A Sensory Bin
Now, you can easily make sensory bins for any playtime with these four easy steps below.
The best part of being able to make sensory bins for your child is getting to enjoy them with your child! Make sure to dig your hands into all those tremendous sensory bins. You are the best model for your child! Play, explore, and learn right beside him or her.
STEP 1: Choose a Good Container
We have a few different-sized and shaped options that we have enjoyed! A larger sensory bin is terrific for getting the hands right into the sensory bin filler without worrying about too much mess.
If you have multiple children playing in the same sensory bin, consider 12″ square of space per child (or shoulder width) for adequate room to play both alongside or with each other.
Tips For Choosing A Good Container
- A long, under-bed rolling container is perfect for the whole body experience or to fit a large amount of sensory filler. These containers are large but easy to store if you can roll them under the bed. Good for younger children who need more space to minimize mess! {not pictured, but you can see my son playing in one at the bottom of this post}
- Larger food storage containers from the dollar store work
- Our favorite sensory bin container has always been the Sterilite 25-quart container (bottom), just high enough to contain the filler but not high enough that it hinders play.
- We also like the 6 quarts for smaller bins or to take with us.
- I do try to buy a few of the same size/style, so our sensory bins stack well.
A good size for one kiddo is approximately 11″x 14 “x 3.5”!
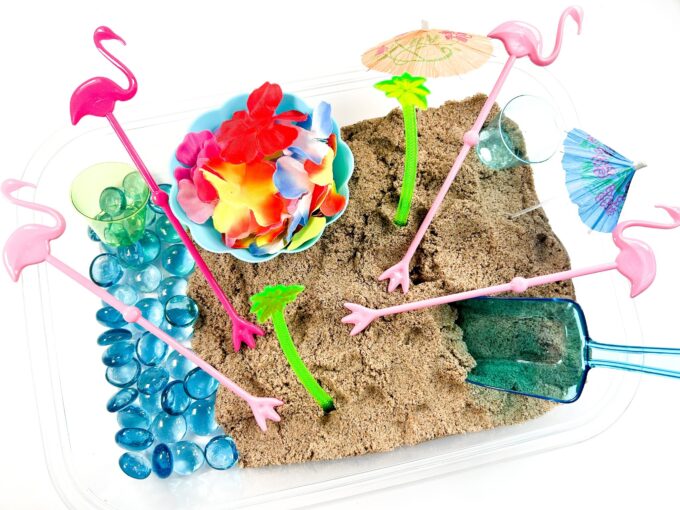
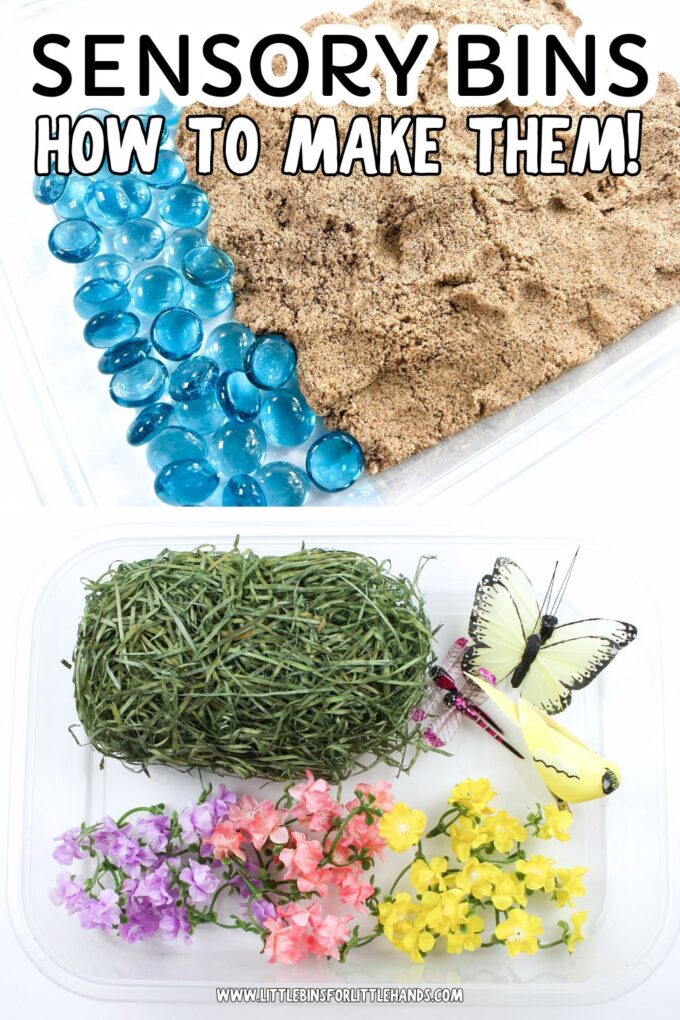
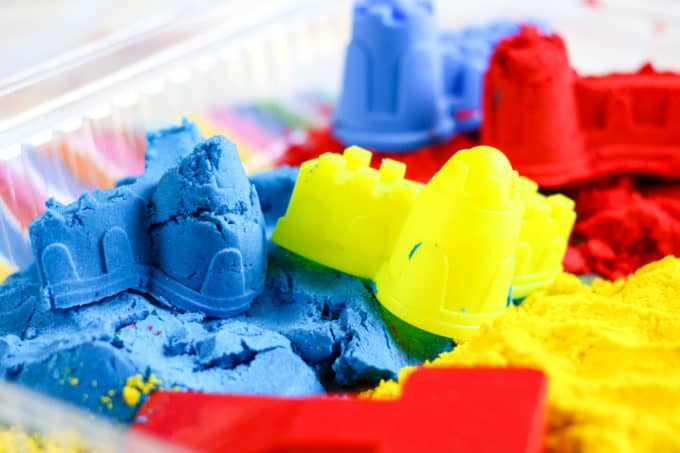
STEP 2: Choose a Sensory Bin Filler
To make homemade sensory bins, you need sensory bin fillers. We have our favorites! Including rice, salt, and dry beans. Cloud dough and kinetic sand also make fun sensory bin fillers.
See our list of the best 10 sensory bin fillers to use!
When you go to make a sensory bin, choose a filler that is appropriate to the child’s age and the level of supervision the child will receive when playing with the sensory bin.
Keep in mind if there is a particular theme you want to include, it’s super easy to dye sensory bin fillers. We have several sensory bin fillers that are easy to color quickly.
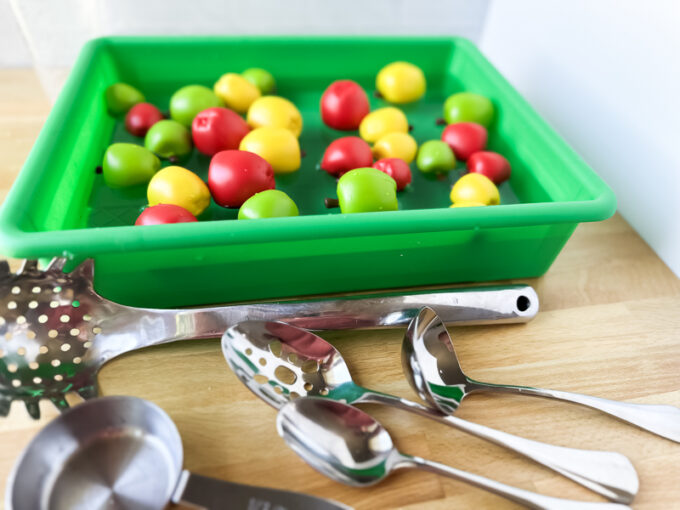
STEP 3: Add Fun Tools
One of the best parts of sensory bins is all the filling, dumping, pouring, and transferring that takes place! What a great hands-on way to practice essential skills while enjoying excellent sensory play!
Sensory bins can quickly improve fine motor skills with the tools you choose to include. Make sure to check the dollar store, recycling container, and kitchen drawers for easy items to add when you make sensory bins.
- Ladles
- Tongs
- Funnels
- Scoops
- Shakers
- Squeeze Bottles
- Empty Spice Containers
- Basters
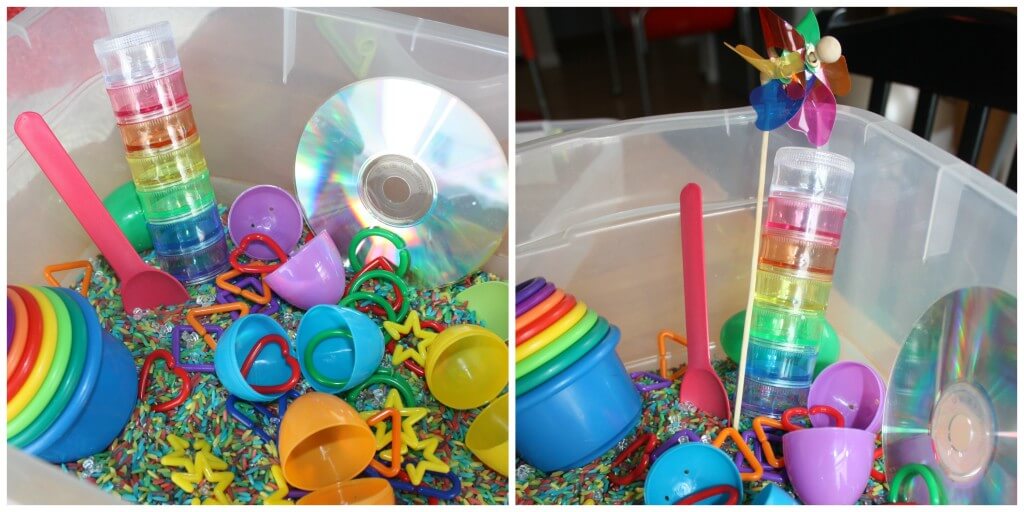
STEP 4: Add a Theme (Optional)
If you have chosen a specific theme for your sensory bin, complete it with colors and accessories that relate to that theme.
For example, if you are going with a rainbow theme sensory bin to explore colors…
- Choose a container size
- Make rainbow colored rice
- Find rainbow-colored objects like plastic easter eggs, dollar store linking toys, plastic cups, and spoons in different colors, and look around the house! I grabbed a pinwheel and an old CD!
DIY Sensory Bins To Make
Now you know how to make a sensory bin, check out these DIY sensory bin ideas below that you can easily put together yourself.
- Tropical Summer Sensory Bin
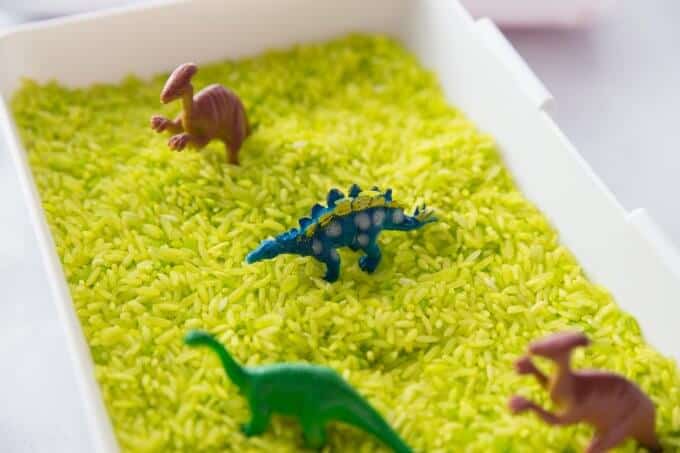
- Dinosaur Sensory Bin
- Ice Cream Sensory Bin
- Icy Ocean Sensory Bin
- Spring Sensory Bin
- Butterfly Sensory Bin
- LEGO Sensory Bin
- Penguin Sensory Bin
- Space Theme Sensory Bin
- Fall Sensory Bins
- Halloween Sensory Bin
- Halloween Sensory Ideas
- Christmas Sensory Bins
- Water Sensory Bins
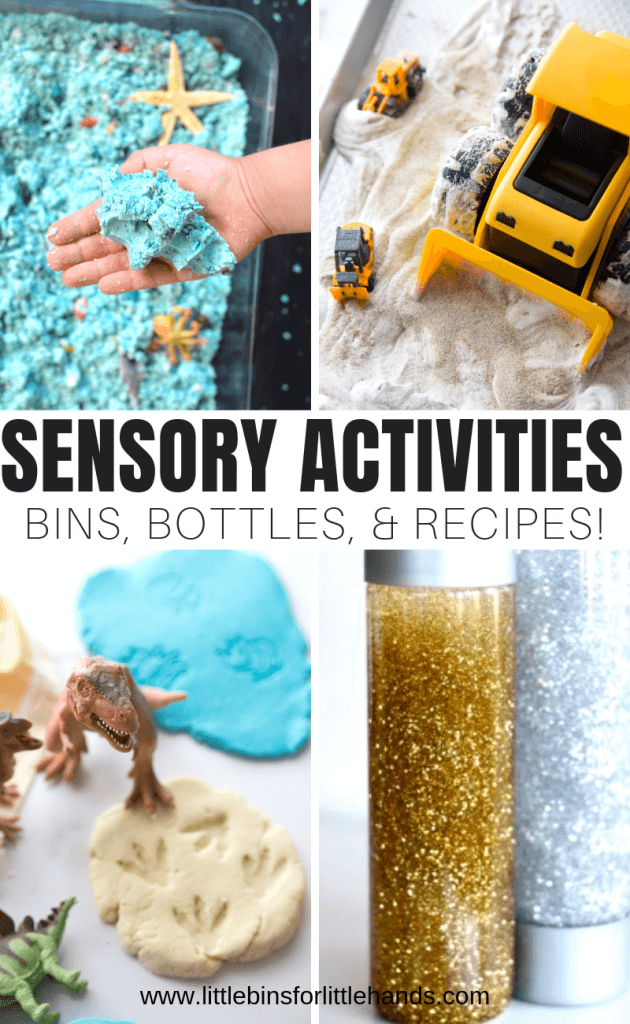
Check Out These Helpful Sensory Bin Resources
There’s so much more to learn about sensory bins and sensory play.
Click on the image below or on the link for more fun and easy sensory activities for kids!


Hi,
I would like to use sensory bins with my 2nd grade class. What is the purpose of the rice or sand? How does it add to the learning? If I add the items without the filler, am I missing out on an important part?
Thank you,
Hi Victoria, the filler is what makes it a sensory bin, the weight and the feel of the filler is most important whether it is sand, rice, or water. The feel of it as it touches the skin, the weight of it as you pour it, scoop it, or fill it! Adding the items to create a theme is really secondary to the filler but it is a great way to say combine learning letters with a sensory rich experience.