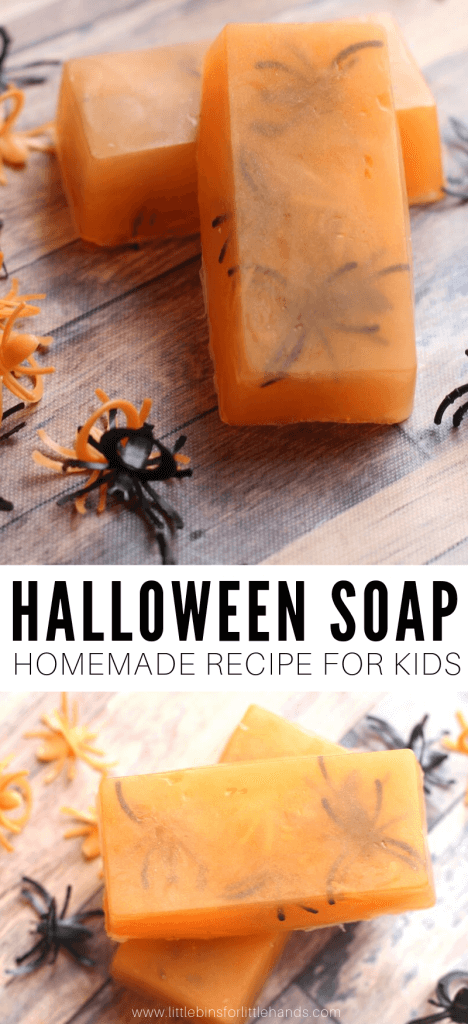
Are you looking for something different to try with the kids this Halloween? How about exploring physical changes with a simple melt and pour soap activity! Your kiddos will love this soapy, creepy way to get clean! This Halloween soap making activity is easy to do and will take care of a few germs in the process.
HOW TO MAKE HALLOWEEN SOAP
HOMEMADE SOAP FOR HALLOWEEN
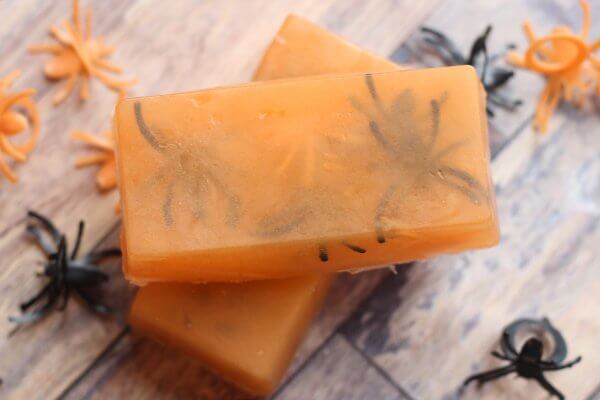
Making homemade soap is a fun and easy activity for kids and it may just encourage them to actually use it at bath time! This orange scented soap cleans away the dirt and grime then rewards the kids with a little surprise as the soap wears away- silly plastic spider rings! You can make just a couple for the house or they can make up a big batch to pass out to the class for Halloween.
Looking for easy to print activities, and inexpensive problem-based challenges?
We have you covered…
—>>> FREE STEM Activities For Halloween
HALLOWEEN SOAP RECIPE
INGREDIENTS:
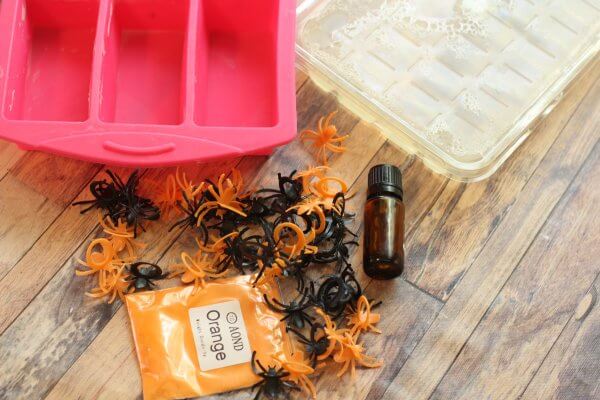
- Clear glycerin soap base
- Orange essential oil
- Orange mica powder
- Plastic spider rings
- Silicone soap mold
HOW TO MAKE HALLOWEEN SOAP
1. Cut the glycerin soap base into 1”x 1” squares with a sharp knife.
How many you will need depends on the size and shape of your soap mold (you can even use silicone cupcake liners in the metal pan for stability). To figure out how many you need the first time you use your mold, estimate based on the size of your soap mold.
Each rectangle in my mold fit roughly 4 of my one inch squares. So to make two I used 8 one inch pieces and two extra to compensate for where they didn’t quite fill in the mold. If you have a little soap base leftover don’t worry you can pour back in the package and let it reset-it will melt and pour over and over again.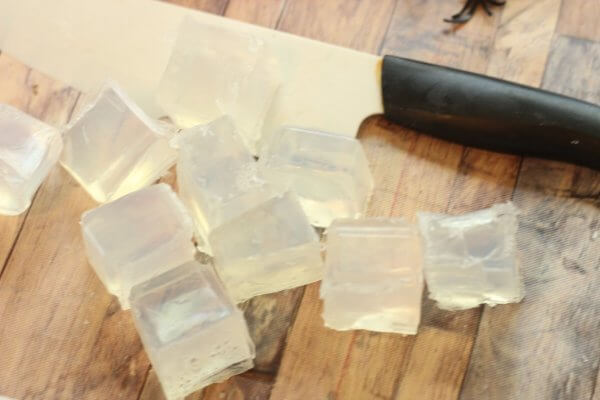
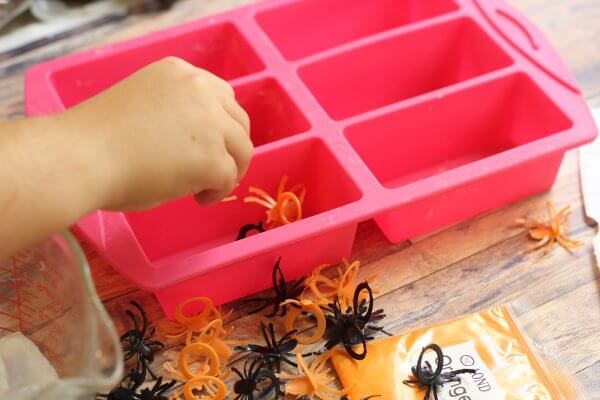
2. Fill your soap cavities with the plastic spider rings, be sure some of the spiders backs are facing down, touching the silicone mold so you can see them when your bars are done!
3. Place the squares in a large glass measuring cup with a lip. This makes it much easier to pour into the molds.
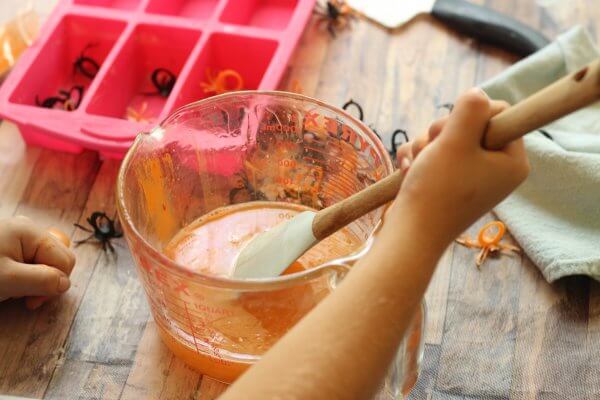
Then melt the glycerin base in the microwave in 30 second increments, stirring each time, until fully melted. Mine took 90 seconds.
5. Then quickly stir in your essential oils and mica powder to color the soap to your desired shade. Less will let you see your spiders more but a darker shade will give you a nice surprise as you wash!
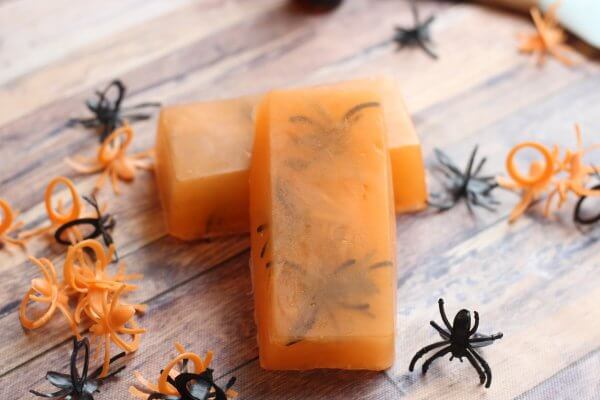
6. At this point your soap mixture will be very warm but still safe to touch, Use a towel against the warm glass and carefully pour your soap mixture to fill each cavity to not quite full.

7. Have an adult carefully move the mold to the refrigerator so it will set up faster. Leave your bars alone at least 2 hours, the waiting is hard but it will be worth it!
Once set carefully remove the soap from mold. Your Halloween soap is now ready to use!
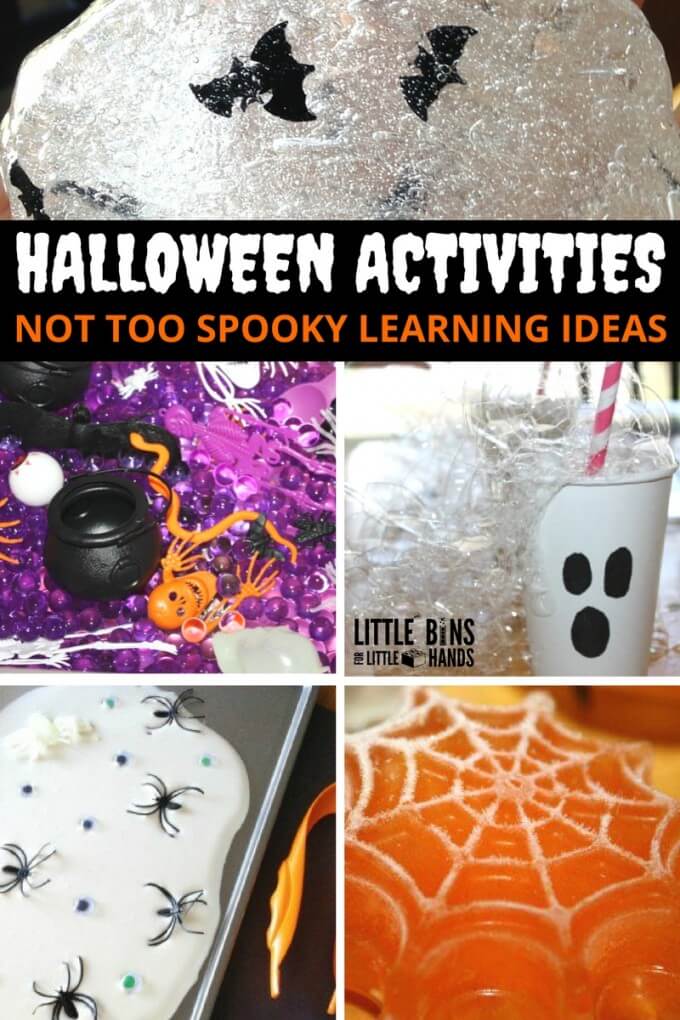
MORE FUN HALLOWEEN ACTIVITIES
- Halloween Slime
- Halloween Oobleck
- Halloween Bath Bombs
- Halloween 3D Papercraft
- Halloween Sensory Bins
- Halloween Glitter Jars
EASY TO MAKE HALLOWEEN SOAP FOR KIDS
Looking for easy to print activities, and inexpensive problem-based challenges?
We have you covered…


