What makes ice melt faster? Let’s investigate with a simple ice melting experiment that kids of varying ages can enjoy. Preschool science, kindergarten science, and elementary-age science can use ice experiments as part of a fun science curriculum for kids. We love simple science experiments for kids!
Examples of Physical Change
Get ready to add these simple ice experiments to your science lesson plans this season. If you want to investigate what makes ice melt the fastest, let’s dig in! Ice is a great way to explore physical change, specifically changes in states of matter, from liquid to solid.
Check out more fun states of matter experiments and examples of physical change!
Our science experiments are designed with you, the parent or teacher, in mind! Easy to set up, quick to do, most activities will take only 15 to 30 minutes to complete and are heaps of fun. Plus, our supplies lists usually contain only free or cheap materials you can source from home!
Below, you will explore:
- Comparing solids: What makes ice melt the fastest?
- Why does salt melt ice?
- Keep it cool: Can you keep ice from melting?
- Ice race: How quickly can you melt a pile of ice cubes?
Any of these ice melting experiments would make for an awesome science fair project. If you want to get started, check out these resources…
Ice Melting Experiments
Let’s get right to learning all about ice. Head to the kitchen, open the freezer and be prepared to experiment with these different ice projects.
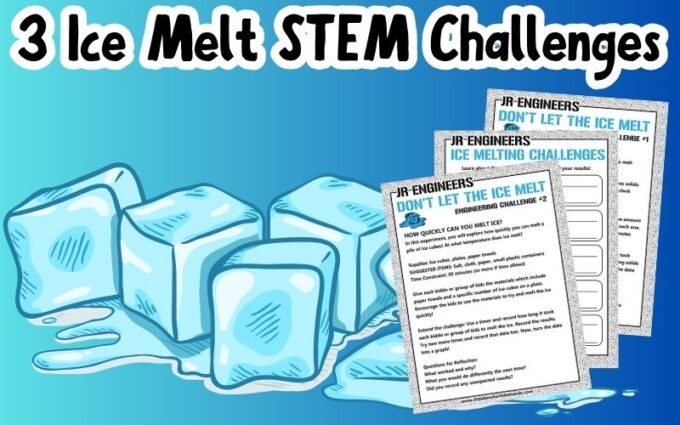
FREE ICE MELTING WORKSHEETS AND GET STARTED TODAY!
PROJECT #1: What Makes Ice Melt Faster?
In this experiment, you will investigate what makes ice melt faster, by adding several different solids to your ice.
SUPPLIES:
- Ice cubes
- Muffin tin, jars, or containers
- Various solids. You can start with salt and sugar, but also include different types of salt, baking soda, sand or dirt etc.
- Stopwatch or clock to determine the time of the experiment

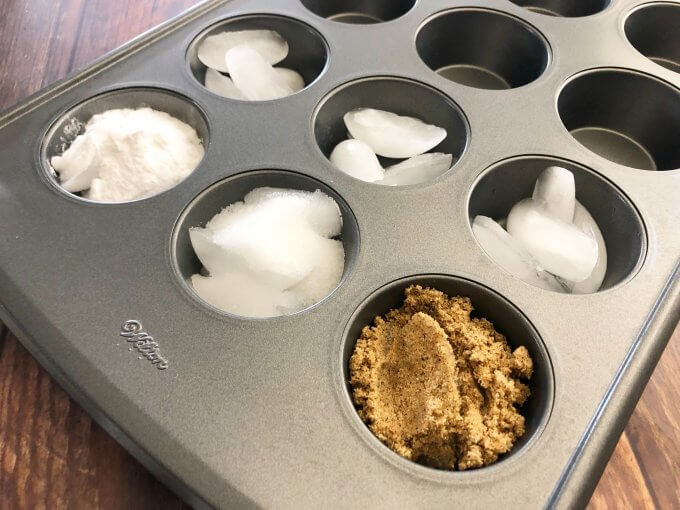
MELTING ICE SET UP:
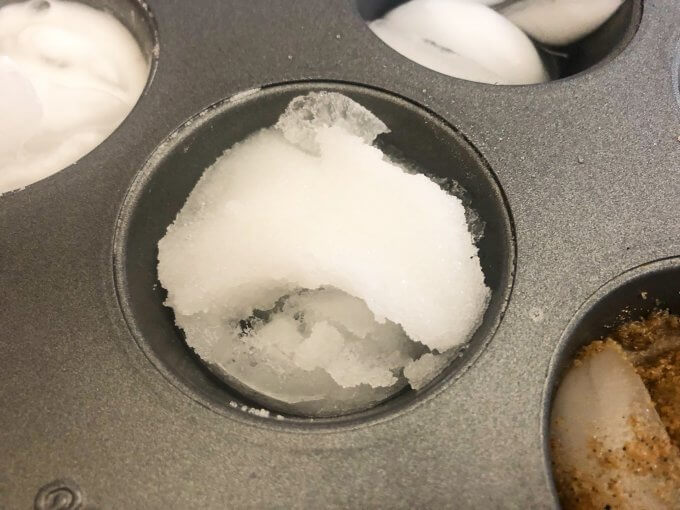
STEP 1: Add 4 to 5 ice cubes to 6 cupcake cups. Make sure the same amount of ice is in each one.
STEP 2: Add 3 tablespoons of each solid to a separate container of ice.
- Add 3 tablespoons of baking soda to cup #1.
- Add 3 tablespoons of salt to cup #2.
- Add 3 tablespoons of sand to cup #3.
Cup #4, cup #5 and cup #6 are your controls and will have nothing added to the ice.
STEP 3: Set the timer to check back on the ice cubes every 10 minutes over 1/2 hour and record your results. Then draw your conclusions.
What did you find caused the ice to melt fastest?
EXTENSION: Use a timer and record how long it took each material to melt the ice. Record the results. Try adding solids of your own choice and record that data too. Now, turn the data into a graph!
Why Does Salt Melt Ice?
It’s no surprise that adding salt made the ice melt fastest. Baking soda was second as it’s a type of salt and can lower the freezing point of water. However it is a powder. Sand did not do much! So why does salt melt ice?
Salt works to lower the freezing or melting point of water. The salt interferes with the ice crystals and by mixing with the liquid water on the melting ice it speeds up the melting process.
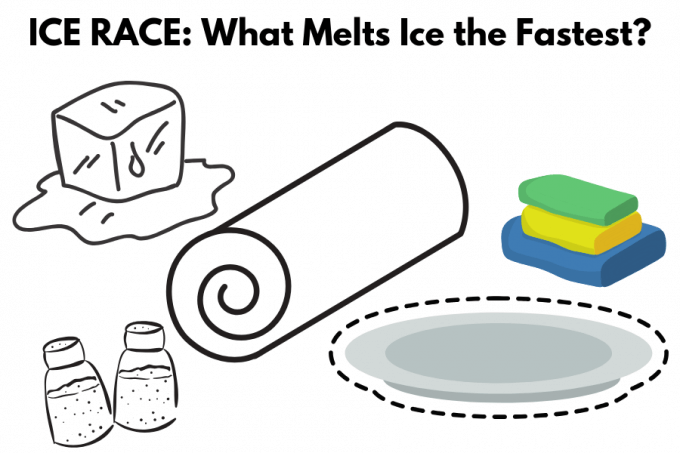
PROJECT #2: How Quickly Can You Melt Ice?
In this experiment, you will explore how quickly you can melt a pile of ice cubes! At what temperature does ice melt? Read on to learn more!
The challenge is to see how quickly you can melt the ice cubes. This can be done individually or in small groups. If you do choose to use the small group format, make sure to allow for a few minutes for the kids to brainstorm ideas together.
SUPPLIES:
- Ice cubes
- Plates
- Paper towels
SUGGESTED ITEMS:
- Salt
- Cloth
- Paper
- Small Plastic Food Containers
EXPERIMENT SET UP:
STEP 1: Give each kiddo or group of kids the materials which include paper towels and a specific number of ice cubes on a plate.
STEP 2: Encourage the kids to use the materials to try and melt the ice quickly!
STEP 3: When the race is over (set a specific amount of time that works for you), ask groups to share the steps of their melting process. Discuss what worked and why? Also, discuss what you would do differently the next time!
EXTENSION: Use a timer and record how long it took each kiddo or group of kids to melt the ice. Record the results. Try two more times and record that data too. Now, turn the data into a graph!
At What Temperature Does Ice Melt?
At what temperature does ice melt? Water not only freezes at 0 degrees Celsius or 32 degrees Fahrenheit, but it also melts at the same temperature! This is why we call this temperature the FREEZING and MELTING point of water!
Freezing occurs at this temperature as heat is removed from the water to form ice crystals. In order to melt ice, you have to use heat energy. The heat energy first goes to break down the ice before it raises the temperature of the water.
Ice at the freezing point of water actually has less energy or heat in it than water at the same temperature!
Learn about the freezing point of water with our freezing water experiment.
More Ways to Melt Ice Cubes
There are many possible ways to melt ice. The simplest way is to just leave the ice to melt at room temperature. The heat energy in the warmer room works to break up the ice structure to turn it to water. We see this all the time with the ice cubes in our drink glasses or if we accidentally leave one out on the counter.
You could hold the ice cube in your hand (brrr, chilly) to speed up the melting process since your body is usually warmer than the room. To make it melt even faster this way, try rubbing your hands together really fast before holding the ice cube. Rubbing your hands together quickly creates friction, which adds more heat through an increased temperature!
Another way to generate more heat and a higher temperature is to rub the ice cube on a piece of cloth.
How about placing the ice cube on a dark piece of cloth or paper and placing it in sunlight? Dark colors retain heat from sunlight better than light colors, so you might feel hotter wearing a dark T-shirt in the middle of a hot summer day!
Finally, we know another way to melt ice quickly, which we discovered in the first experiment above, is with salt!
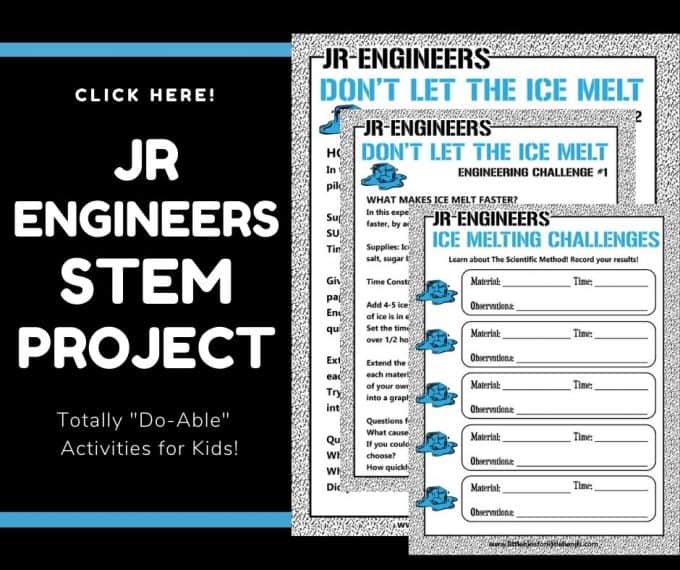
Click below to get your quick and easy scientific method sheets.
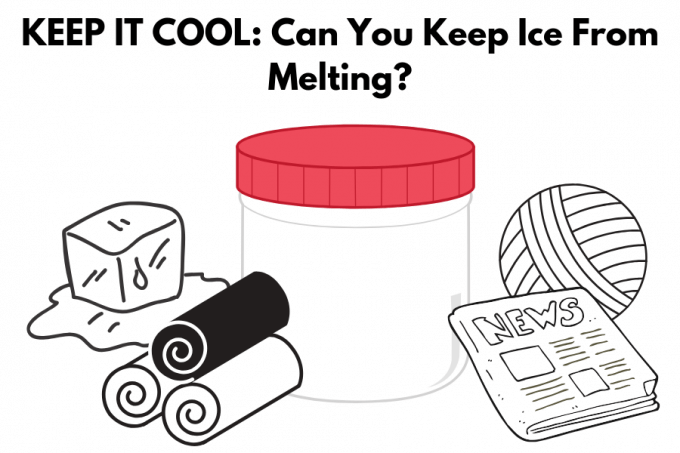
PROJECT #3: How Do You Keep Ice From Melting?
In this third experiment, you will investigate how to keep ice from melting. Instead of seeing how fast ice melts, let’s try to keep it cool instead!
YOU MAY ALSO LIKE: Blubber Experiment
The challenge is to see how slowly you can keep the ice from melting by reducing the amount of heat or energy that surrounds the ice. This can also be done individually or in small groups. Remember, if you do choose to use the small group format, make sure to allow for time for the kids to brainstorm ideas together.
SUPPLIES:
- Ice cubes
- Small zip-top bags
- Small plastic containers (as close to the same size as possible so they are uniform)
SUGGESTED ITEMS:
There are quite a few items that can be potentially used for this ice STEM challenge! Check out the recycling bin, junk drawer, garage, and more. This is also where our dollar store engineering kit comes in handy. You can use the items you have available for a budget-friendly STEM challenge.
- Aluminum foil
- Packing peanuts
- Felt
- Fabric
- Craft foam
- Cotton balls
- Pom poms
- Styrofoam chunks
- Straw or hay
- Napkins or paper towels
- Wrapping paper or tissue paper
- Bubble wrap
- Newspaper
- Yarn
- Wax paper
- Plastic wrap
- Balloons
- Tape
- Rubber bands
EXPERIMENT SET UP:
STEP 1: Brainstorm. What are the best materials available to keep the ice from melting?
STEP 2: Decide what materials or combination of materials you want to use to keep your ice cubes from melting by insulating them! Create one or more insulated containers to test your ideas. You can choose a specific amount of time for this portion of the project or split the STEM challenge up over several days.
STEP 3: When all the insulated containers are finished, place an ice cube in a small zip-top plastic bag and then place it in the insulated container. Make sure to put the lids on!
TIP: As a control, you will want to place a zip-top bag, with an ice cube into it, in a similar container that is not insulated. This control container is for comparison. By creating a control, you make it possible to determine whether the materials (variables) you chose are responsible for the outcome!
STEP 4: Place all the containers in a cool dry place away from a heat source or direct sunlight. No extra energy is needed here!
STEP 5: Check your containers every 10 minutes. Notice any differences Record your o0bservationsuntil all of the ice is completely melted. Make sure you do not handle the ice or remove the ice from the container while you make your observations.
Think about what materials worked best and why. How can you improve your results?
EXTENSION: Choose one thing to change (a variable) such as a smaller or larger container or a larger or smaller ice cube.
TALK ABOUT IT: A great discussion topic would be to talk about where insulation is used in our homes or in machines such as cars?
Quick Ice Science
Everyone knows that when you remove ice from the freezer, it will melt over time. However, most of us don’t think about why it happens. The air around the ice cubes is usually warmer than the ice and it causes the ice (solid) to change into water (liquid). States of matter too!
So, if you do not want the ice to melt, you need to keep the warm air (heat energy) away from the ice by using an insulating material. Some great insulators just for a hint are felt, newspaper, and wool. Insulation prevents the transfer of heat to the ice so the ice crystals stay icy and cold longer.
Insulation is also used to keep our houses warm in the winter in cold parts of the world by keeping the cold out! Additionally, insulation can keep the heat out of a house on a hot day too! Insulation can keep up comfortably when the temperature drops and when it rises!
More STEM Challenges to Try


Printable STEM Pack for Kids
80+ Doable Engineering Projects in one convenient pack!
- Full instructions with sample images
- Activity-specific instruction sheets
- Data Collection Sheets
- Questions for Reflection
- Architecture Building Cards: Try the tallest tower challenge
- Bridge Building Cards: Explore different types of bridges to build your own.
- Paper Chain STEM Challenge: Who can make the longest chain? Great icebreaker or quick challenge!
- 3 Little Pigs Architectural Pack: Design a house that won’t blow away!
- Great marshmallow challenge: A classic challenge kids love!
- Real-world STEM challenge lesson but don’t know where to start? Our easy-to-follow template shows the steps!
- What’s the difference between a scientist and an engineer?
- Crossword and word search with engineering vocabulary.
- Engineering vocabulary cards
- Design a one-of-a-kind invention and write about it with this 5-page activity!


I love your stuff! but why is it so wordy….taakes a lot of ink to print out even the simple stuff….just give list of ingredients……about 15 great ideas but didn’t print out one becasuse they were all 8 to 12 pages long
HI, an article like this is not meant to be printed which is why it’s not helpful to you. Our shop offers paid packs for download though.