Combine art and science to create these fun marbled Christmas ornaments! Use magnets to paint and make unique Christmas ornaments to hang on the tree this year. Explore magnetism and the wonderful world of STEAM this holiday season.
MARBLED CHRISTMAS PAINTING FOR KIDS

PAINTING WITH MAGNETS
Can you paint with magnets? Yes you can, as long as you have the right materials! This fun process art activity can be set up in a snap. Check out how cool it is to paint with science below and then read on for how to set up this unique Christmas craft project with just a few simple materials!
ALSO CHECK OUT: Magnet Ornaments
WHAT IS PROCESS ART?
Process art emphasizes the process of creating art rather than focusing on the finished art. It’s about the journey not necessarily about the destination! Have you tried process art?
- No step-by-step instructions!
- No sample to follow!
- No right or wrong way to create!
- The final product is unique!
- The experience is relaxing!
- The experience is a child’s choice!
Process art is a great choice for young learners who may not have the developmental skills to produce amazing product art. Explore process art for preschoolers and elementary with our magnet painting activity below.
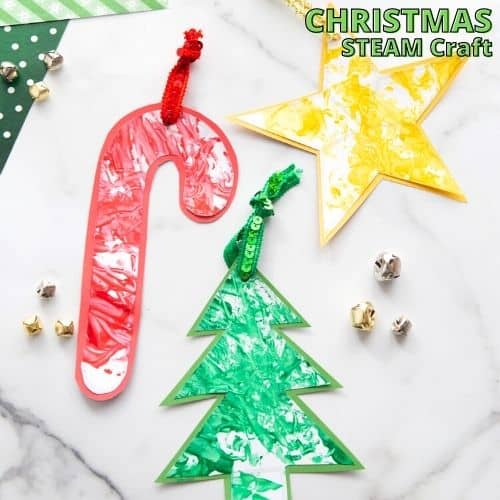
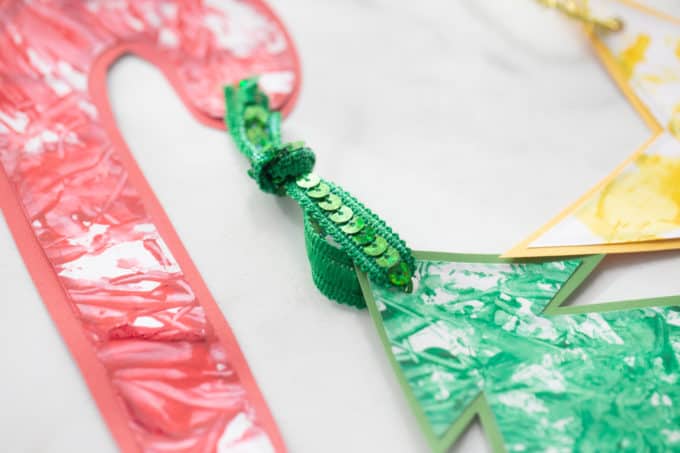
MARBLED CHRISTMAS ORNAMENTS
SUPPLIES:
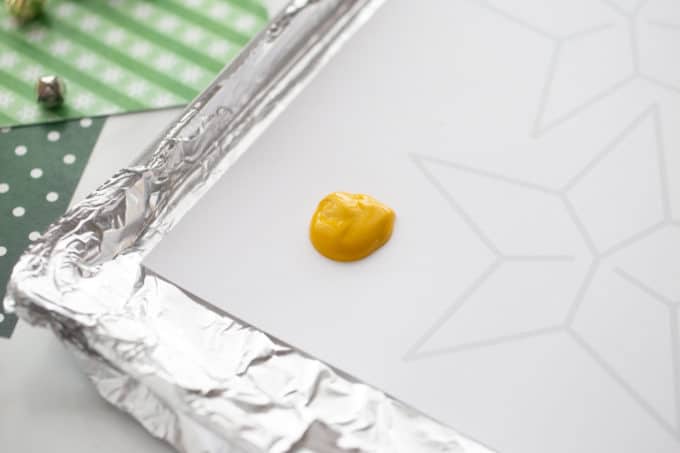
- Magnetic wand or bar (we have this set)
- Acrylic or tempera paint
- White paper with star template, Christmas tree template or candy cane template
- Colored paper
- Ribbon
- Magnetic items with a Christmas theme (we used bells)
- Tray
Check out our homemade tempera paint!
HOW TO PAINT WITH MAGNETS
Make sure to cover your surface as this could get a little messy!
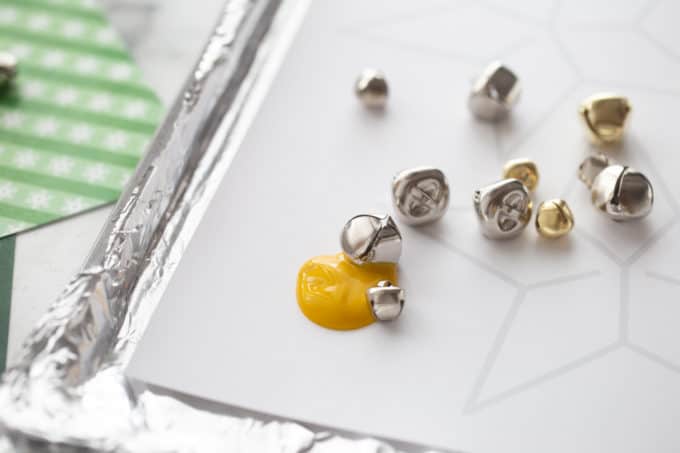
STEP 1: This part is super easy! Put a squirt or blob of colored paint on the paper. Place the magnetic objects on the paper as well.
TIP: If your paint is very thick, make it thinner. In a separate cup, mix a bit of water into the paint. Then add the paint to the paper.
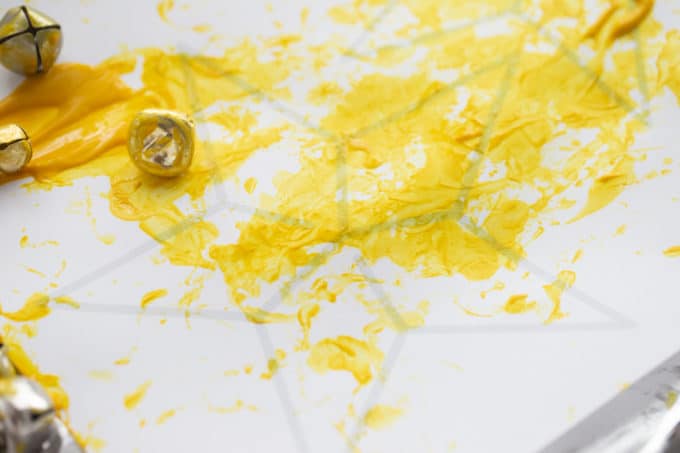
STEP 2: Using a magnetic bar, horseshoe or wand pull the objects through the paint and around the surface of the paper using magnetism! Then leave to dry. Repeat for each type of ornament you want to make.
NOTE: You can also pull the objects from underneath the paper if you have it on a tray!
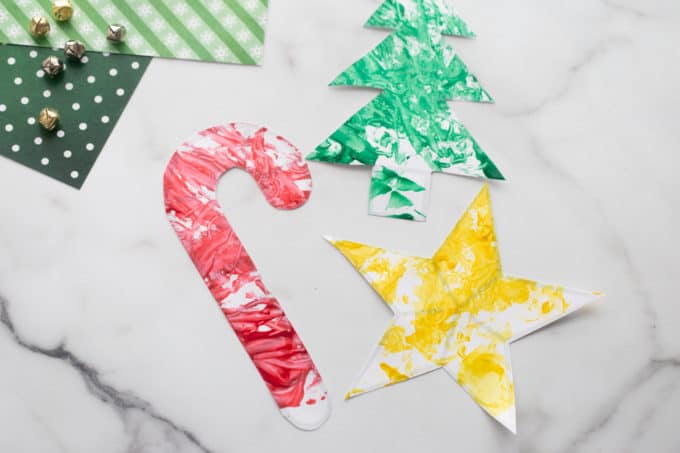
STEP 3. Once the paint has dried, cut around each shape.
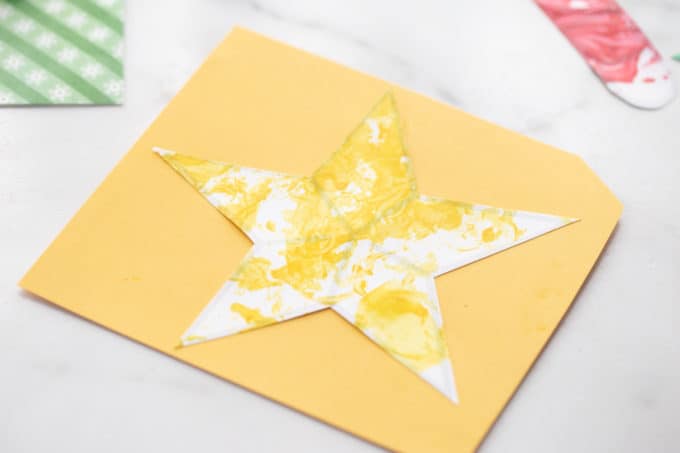
STEP 4. Glue the shape onto a similar colored piece of cardstock. Then cut the cardstock around the shape, leaving a slight edge.
STEP 5. To hang the marble ornaments, punch a hole in the top and tie a cute piece of colored ribbon through it.
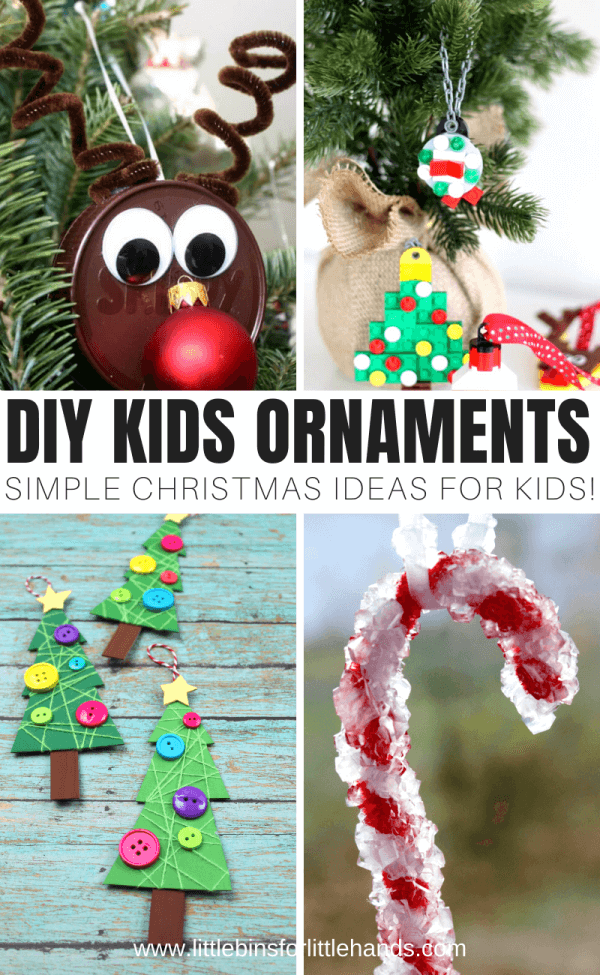
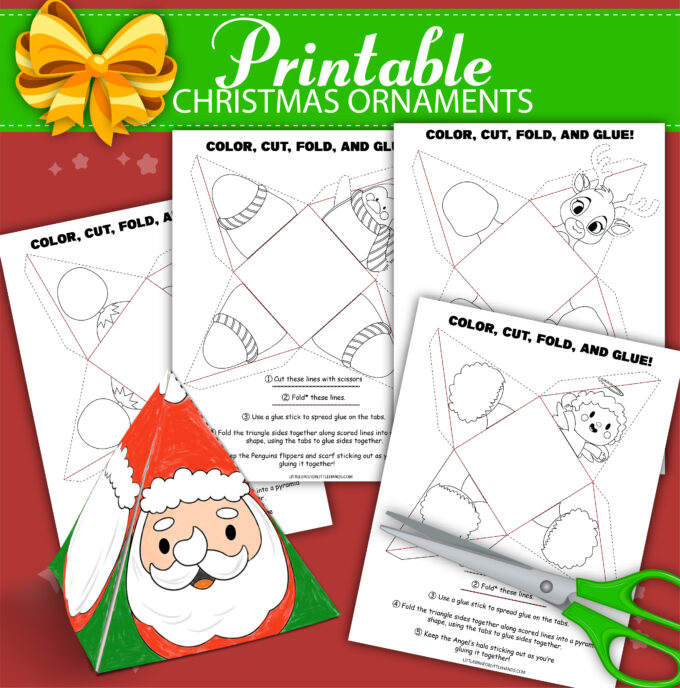
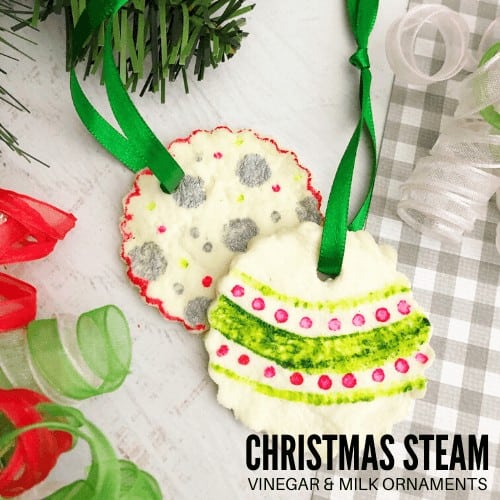
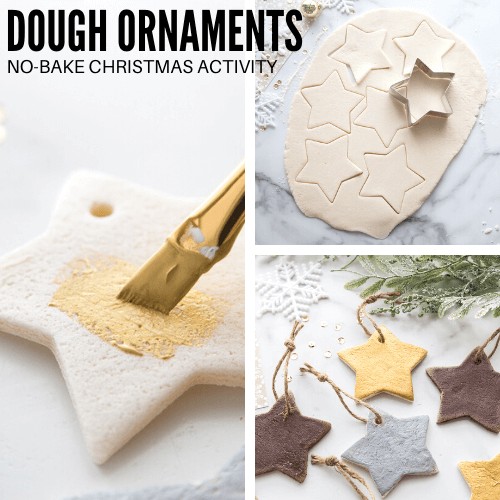
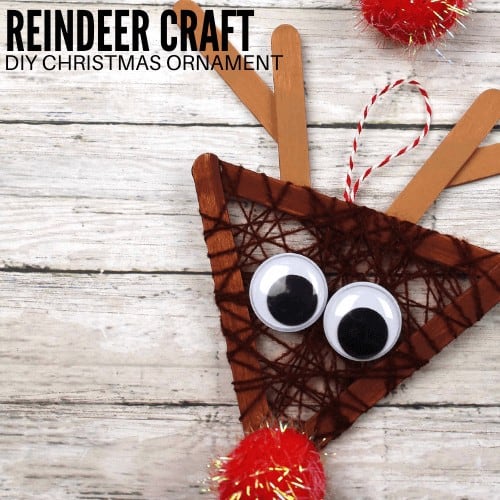
MORE CHRISTMAS ORNAMENTS
PAINT WITH MAGNETS FOR MARBLED CHRISTMAS ORNAMENTS
Click on the image below or on the link for more fun Christmas ornaments for kids.