Ever wondered what adding salt to paint does? Then hop aboard the STEAM train (science plus art!) with a simple to set up raised salt painting activity for kids! Even if your kiddos aren’t the crafty type, every kid loves to paint with salt and watercolors. We love fun, easy hands-on STEAM activities!
WATERCOLOR SALT PAINTING FOR KIDS
Try Salt Art!
Get ready to add this simple salt art project to your art lessons this season. If you want to find out how to do salt painting, read on! While you’re at it, make sure to check out more of our fun art projects for kids.
Our art and craft activities are designed with you, the parent or teacher, in mind! Easy to set up, quick to do, most activities will take only 15 to 30 minutes to complete and are heaps of fun! Plus, our supplies lists usually contain only free or cheap materials you can source from home!
How to Do Salt Painting
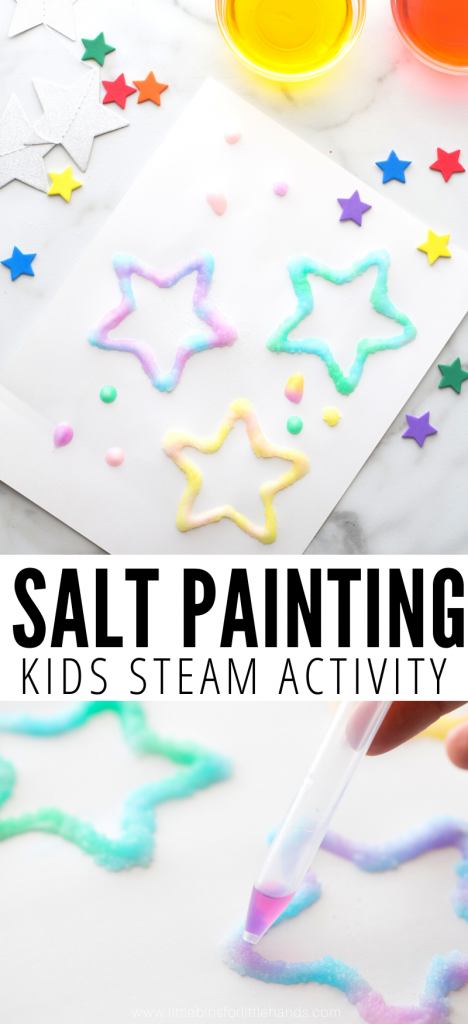
What is salt painting or raised salt painting? It is a fun way to create art with salt. Salt painting involves gluing salt to paper, and then coloring your design with watercolors or a food coloring and water mixture like we have used here.
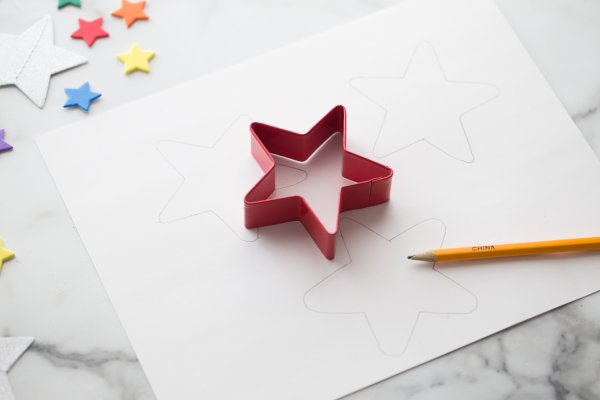
You could use any shapes you like for your salt painting. For this salt art project below we have gone with simple star shapes! Another fun idea would be for kids to write their names with the glue and salt.
For more fun variations check out…
- Snowflake Salt Painting
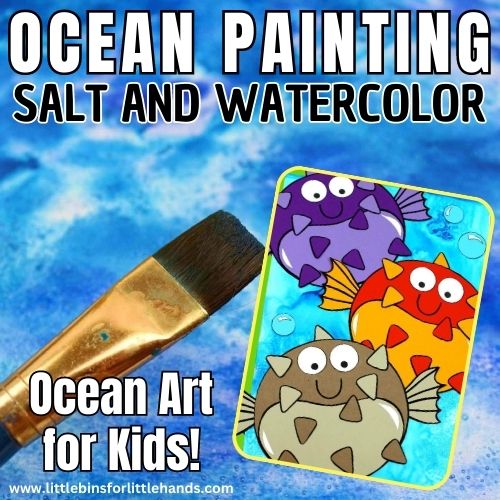
- Ocean Salt Painting
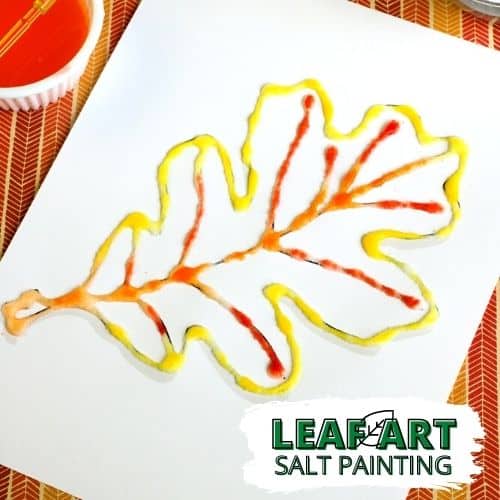
- Leaf Salt Painting
- Watercolor Galaxy Painting with salt!
Stiff paper is recommended for your raised salt painting instead of computer paper or construction paper because it will get a little messy and wet. Look for mixed media or watercolor type paper!
You can also use watercolors instead of our simple food coloring and water mixture below!
What Can Kids Learn from Salt Painting
Not only does adding salt to a painting project create a terrific raised painting effect. But it also allows kids to learn a little science from salt painting.
Ordinary table salt is a really useful product that can absorb moisture from its environment. Its ability to absorb water is what makes salt a good preservative. This property of absorption is called hygroscopic.
ALSO CHECK OUT: How to grow salt crystals
Hygroscopic means that salt absorbs both liquid water (the watercolor paint mixture) and water vapor in the air. When you do your salt painting, notice how the salt absorbs the watercolor mixture without simply dissolving.
Can you use sugar instead of salt for salt painting? Is sugar hygroscopic like salt? Why not try sugar on your watercolor painting for a fun science experiment and compare the results using the scientific method?
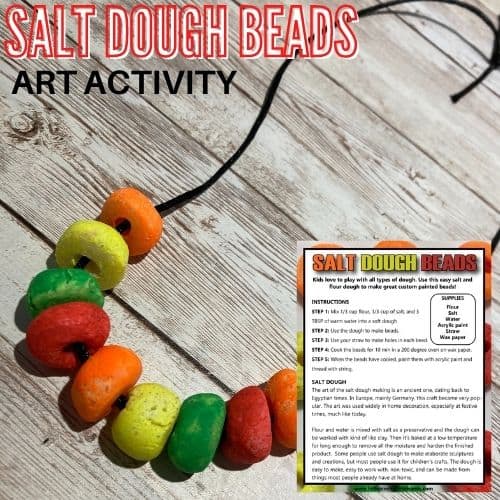
More Salt Activities
Salt Painting for STEAM
Raised glue and salt painting with watercolors or food coloring is an excellent example of a STEAM project for kids because it integrates science and art seamlessly. On the scientific side, the magic of this project lies in the reaction between the salt and the liquid colors. Kids explore absorption, crystallization, and the dispersion of pigments as the liquid interacts with the salt, providing a hands-on lesson in basic chemistry and physics.
What is STEAM? Learn more here.
Through this project, kids not only create stunning artwork but also gain a profound appreciation for the scientific principles that underlie their artistic expressions, making it a perfect illustration of the multidisciplinary essence of STEAM education.
Click here to get your free printable STEAM guide!

Set Up a Salt Painting Activity
YOU WILL NEED:
- PVA school glue or craft glue
- Salt
- Food coloring (any color of choice)
- Water
- White card-stock or watercolor paper
- Template for your shapes
HOW TO MAKE SALT PAINTING
You may want to do this activity in two stages to allow the salt and glue to dry before adding watercolor.
STEP 1: Trace your template onto cardstock.
STEP 2: Add glue to outline your shapes.
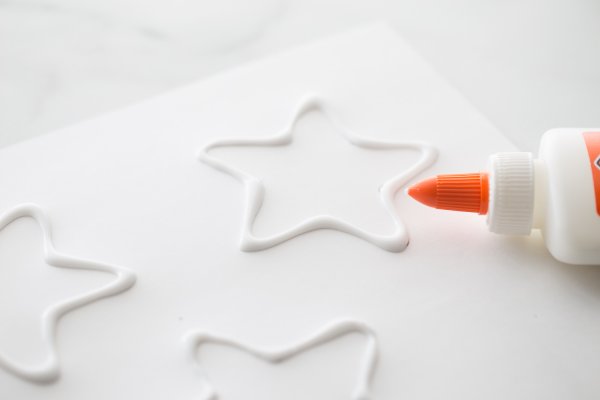
STEP 3: Then add a good amount of salt onto the glue and carefully pour the excess salt off.
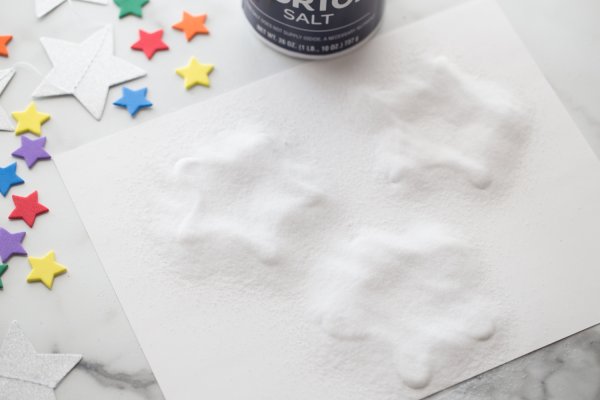
STEP 4: Let the glue and salt dry.

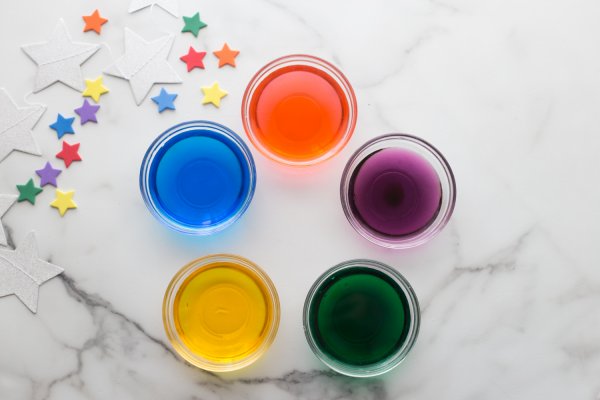
STEP 5: Mix a few tablespoons of water with your choice of food coloring to make your watercolor paint.
Salt Painting Tip: The more food coloring you use the darker your “paint” will appear.
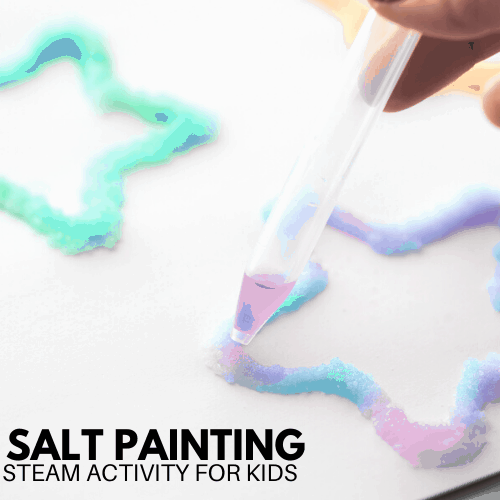
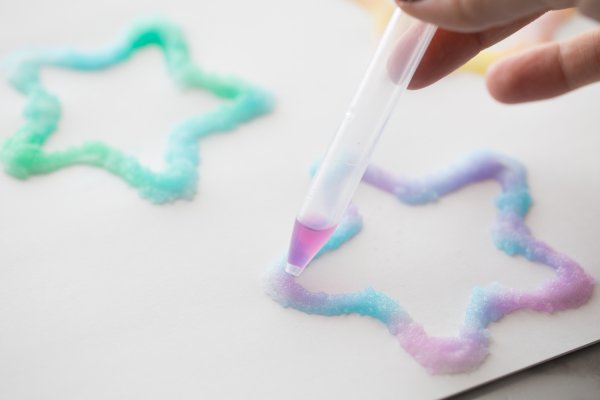
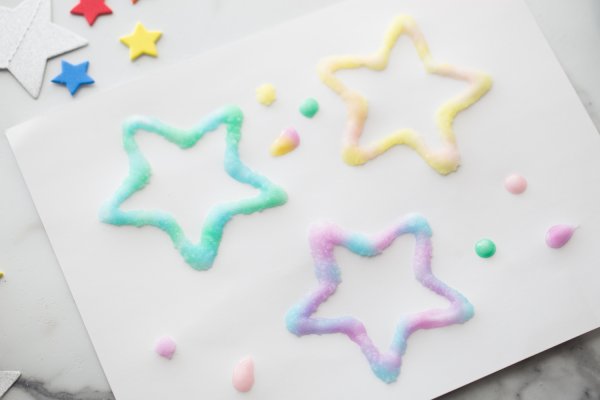
STEP 6: Use a pipette to drip the watercolor mixture onto the salt slowly. Try not to drench the patterns but rather watch the salt soak up one droplet of color at a time.
Notice how the water is absorbed and slowly moves throughout the pattern. You can even add drops of different colors and sees what happens!
Leave your salt painting to dry overnight!
More Fun STEAM Activities
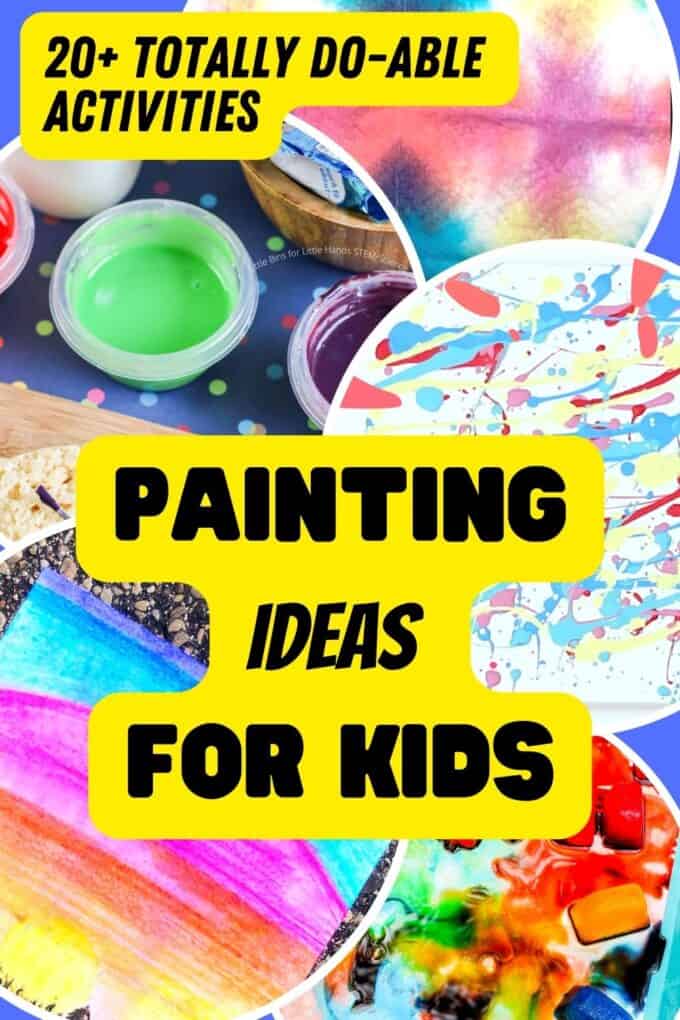
Click on the image or on the link for more easy painting ideas for kids.


Any reason to not use clear glue?