If you’re ready to take your slime-making to the next level, it’s time to try clay slime—a fun and moldable twist on your favorite stretchy recipe. This soft clay slime has a smooth, buttery texture thanks to the addition of modeling clay. It’s super fun to squish, stretch, and even shape like dough!

What Is Clay Slime?
Clay slime is a popular variation of homemade slime made by adding soft modeling clay to a basic slime base. The result is a thicker, smoother, and more moldable texture often referred to as butter slime because of how soft and spreadable it feels.
Note: If you want to make a butter slime but don’t have clay… look at our Butter Slime without Clay recipe!
You can use any of our three basic slime recipes to create clay slime:
- Saline solution slime (used below)
- Liquid starch slime
- Borax powder slime
Once you have your slime base, you simply knead in the clay for a brand-new sensory experience.
Why Kids Love Clay Slime
Whether you’re new to slime or already a fan, this easy clay slime recipe is a must-try.
✅ Soft and smooth texture
✅ Easier to shape and mold than regular slime
✅ Stays stretchy longer
✅ Fun for hands-on sensory play
✅ Easy to color and customize

Clay Slime Ingredients
To make this version of modeling clay slime, you will need:
- 1/2 cup white school glue (PVA, Elmers)
- 1/2 cup water
- Food coloring (optional)
- 1/2 tsp baking soda
- 1 tbsp saline solution (Target Sensitive Eyes recommended)
- 2 oz soft modeling clay (like Crayola Model Magic)
How to Make Clay Slime
🎥 Watch the step-by-step video tutorial here. Below, we are using the saline slime recipe [here] if you want to read more.
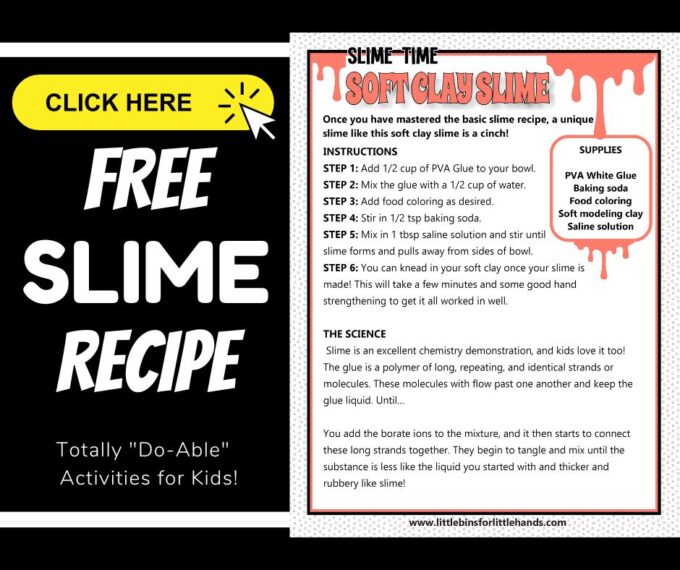
STEP 1: In a mixing bowl, combine 1/2 cup of glue and 1/2 cup of water. Stir well.

STEP 2: Add food coloring if desired and mix to combine.
STEP 3: Stir in 1/2 tsp baking soda.
STEP 4: Add 1 tbsp saline solution and stir until the slime starts to form. It should pull away from the sides of the bowl.

STEP 5: Knead the slime with your hands until smooth and stretchy. Add a few drops of saline solution if it’s too sticky.
STEP 6: Flatten your soft clay and place it on top of your slime. Start folding, pressing, and kneading the clay into the slime. This will take a few minutes, but soon you’ll have smooth, stretchy clay slime ready to play with!


Which Clay Should You Use for Slime?
Not all clays are created equal when it comes to slime! Use this handy chart to pick the best type of clay for your next slime recipe.
Tip: Start with small amounts of clay and add more until you get the consistency you like.
🧪 Clay Comparison Chart for Slime
| Clay Type | Texture When Mixed | Stretchiness | Best For | Notes |
|---|---|---|---|---|
| Model Magic (Crayola) | Smooth, soft | ✅ Good | Beginners, general use | Easy to find, blends well, great for kids |
| Daiso Clay | Light, airy, super soft | ✅ Very Good | Butter slime fans | Softer than Model Magic, hard to find |
| Air-Dry Clay | Dense, thick | ⚠️ Limited | Dough-like slime | Heavier texture, mix in small amounts |
| Polymer Clay (Sculpey) | Too stiff, doesn’t blend | ❌ Poor | Not recommended | Doesn’t mix well, may break slime |
| Homemade Clay | Varies widely | ⚠️ Inconsistent | Experimental play | Texture can vary, may be harder to mix |
Fun Clay Slime Variations
FAQs About Clay Slime
Can I make clay slime without saline solution?
Yes! Use our liquid starch slime or borax slime base instead and follow the same steps for adding clay.
How long does clay slime last?
If stored in an airtight container, it can last up to a week or more. Keep hands clean and avoid storing it in direct sunlight.
Is clay slime edible?
No, it is not edible. For little ones who might be tempted to taste, try our taste-safe slime recipes instead.
Why is my clay slime too stiff?
You may have added too much clay. Knead in more base slime or a few drops of warm water to loosen it up.
Science Behind Clay Slime
Making slime is a fun way to explore basic chemistry! When glue (a polymer) mixes with an activator like saline solution, it forms a stretchy substance. Adding clay changes the structure by thickening the slime and giving it a buttery, dough-like consistency.
🔎 Check out slime science experiments and information on slime chemistry here.
Clay slime is a fantastic hands-on sensory activity that combines play and science.
Get the Free Printable Clay Slime Recipe
Download our easy-to-print slime recipe card for your next slime-making session. Perfect for science centers, classrooms, or weekend play!
More Awesome Slime Recipes To Make
Even the biggest slime-making fan will enjoy these homemade slime recipes and more!
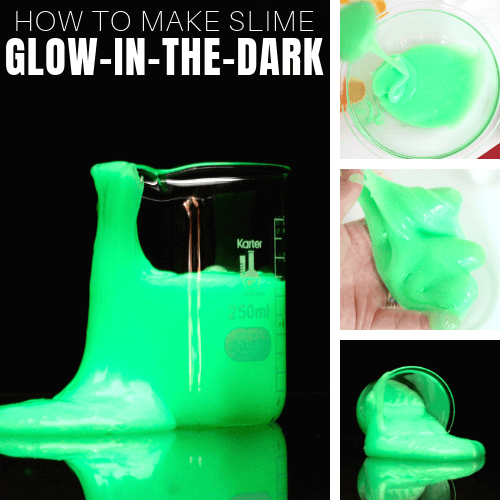
- Glow in the Dark Slime
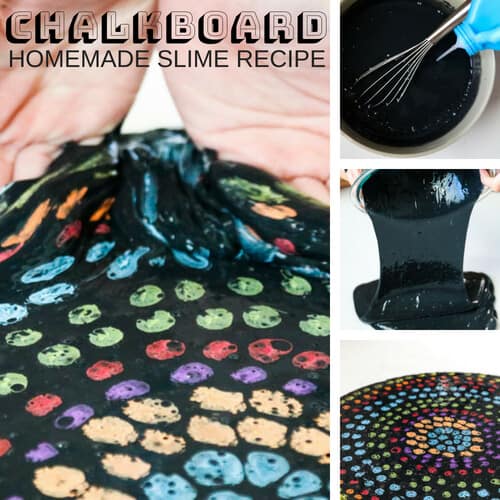
- Chalkboard Slime
- Butter Slime with Soft Clay
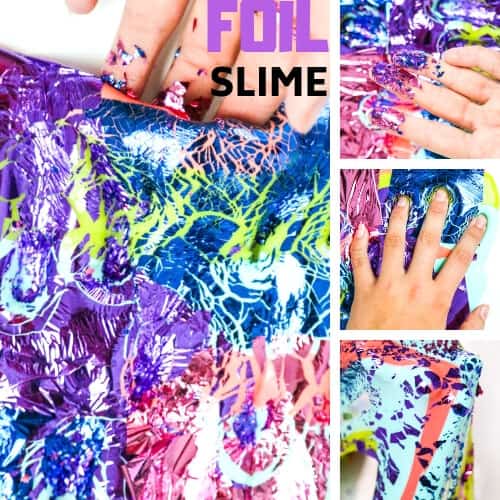
- 90’s Foil Slime
- Taste Safe Marshmallow Slime
- Cloud Slime
Printable Slime Recipes Ultimate Guide
This is the ULTIMATE collection of slime recipes every kid wants to make! Explore the best recipes and find the right supplies to make slime time a breeze! These taste-safe recipes are perfect for kids of all ages, including tweens and teens, and they are also perfect for the youngest slime fans.
What’s Included:
- The Ultimate Slime Guide contains all the specialty recipes you or your kids want to make! You’ll find all the best tips, tricks, hints, and slime-y info in almost 100 pages!
- The Ultimate Slime Holiday Guide covers all the best holidays and seasons with special themes and slime-y projects!
- The Ultimate Borax-FREE and Taste-Safe Slime Guide shows you how to make all the best borax-free, taste-safe, and non-toxic slimes kids love, such as marshmallow slime. These recipes do not use chemical activators such as saline solution, liquid starch, or borax powder, making them truly borax-free.
- The Ultimate Slime Coloring Book is an easy-to-print coloring book kids will love! Color and design your favorite slimes!
- The Slime Starter Guide is a fact-filled information guide with everything you need to know to make the best slime ever!
- Slime Science Project Pack helps you turn slime-making into a science lesson!


How do you make the butter slime more stretchy and less tough after it’s made?
HELLO! we love the soft clay butter slime recipe! We made it with your basic borax slime recipe (with 1/2 tsp borax:1/2 cup water) and a handful or more of daiso soft clay.
It was great to work with but after being in the container for a day or so it gets sticky /moist.
Do you have tips of what we can add to it, or better way to store it dont hat it stays fresh ?
What kind of container did you store it in? Did you use Elmers glue? I have not used the Daiso clay yet with the borax recipe. did you try re-kneading it? Feel free to email me sarah@littlebinsforlittlehands.com