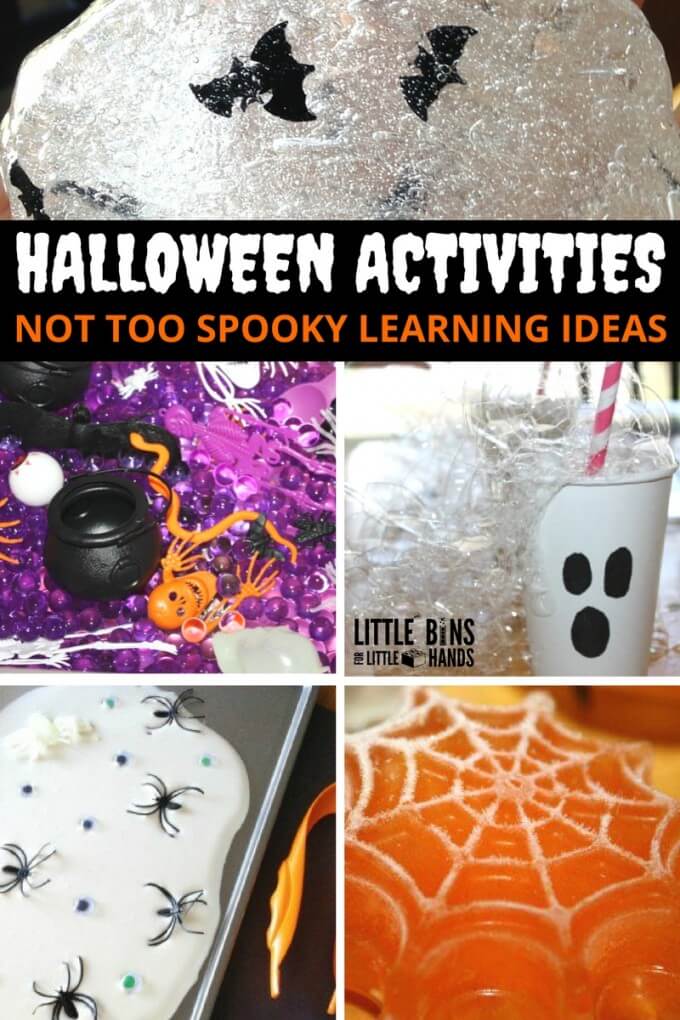
This Halloween paper bowl bat craft is such a fun way to celebrate Halloween with kids! Make it at home, or with a classroom full of kids as one of your Halloween activities this fall!
HALLOWEEN BAT CRAFT FOR KIDS
Paper bowls, paper plates, and paper cups are awesome craft supplies! They’re cheap and are usually on hand so we don’t have to buy a ton of separate supplies.
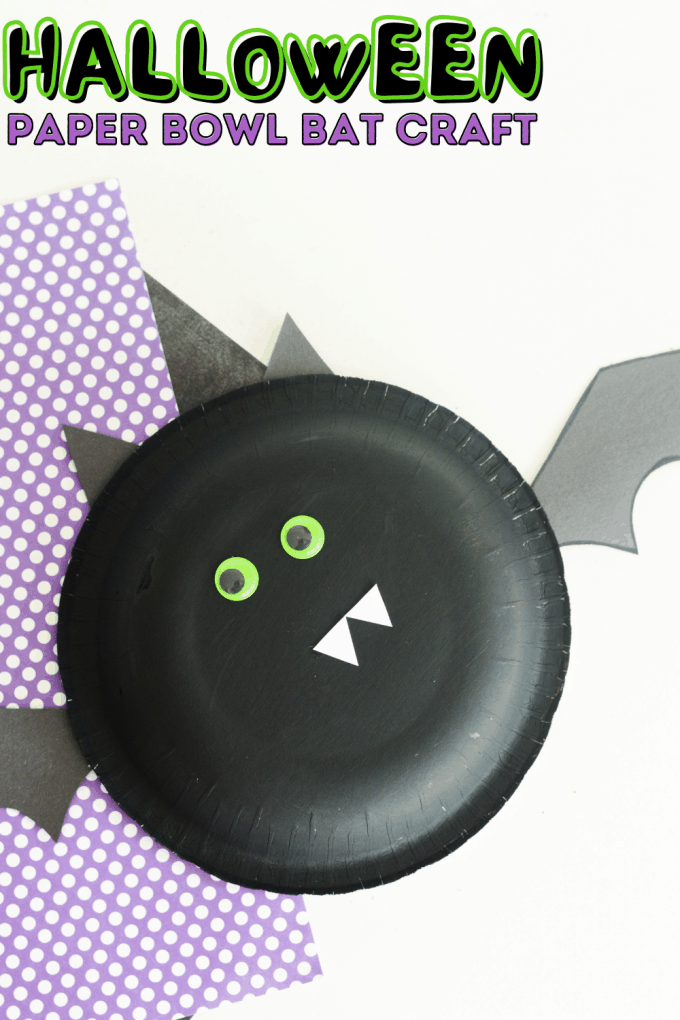
This adorable little paper bowl bat craft is the perfect not-so-spooky project to do with kids! You only need a few supplies to make it, and even the youngest of students can make it with a little support!
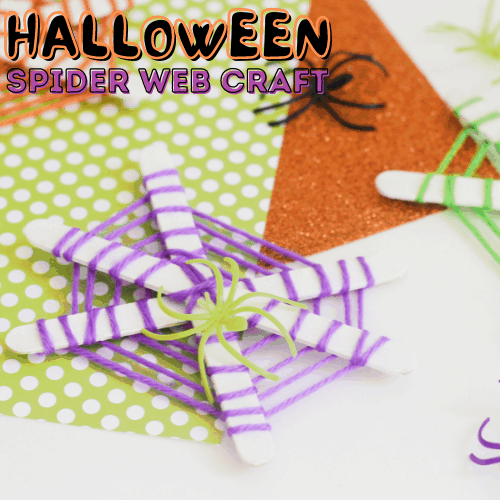
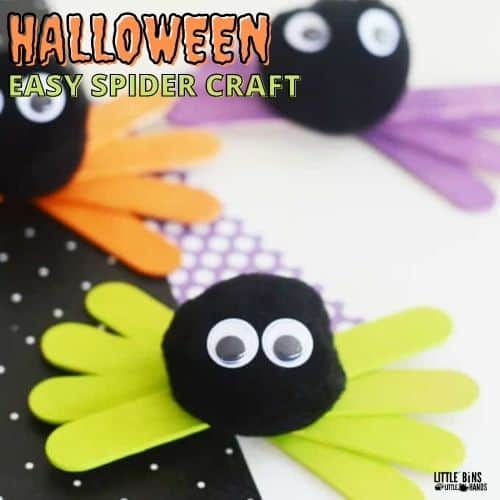
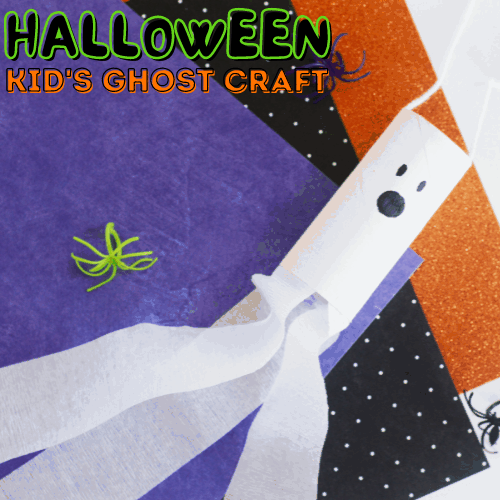
If you want some more fun Halloween crafts, you can also try out this Popsicle Stick Spider craft, this Toilet Paper Roll Ghost craft, and this cute Popsicle Stick Spider Web craft!
TIPS FOR MAKING THIS EASY BAT CRAFT
- Bowls. Don’t worry about whether or not your paper bowls have patterns on them, you will be painting the backs, so you won’t see the inside.
- Googly Eyes. We used fun colored googly eyes, but plain white turn out cute too!
- Mess Free. Keep your paint mess to a minimum by having kids paint their bown on top of a paper plate.
- Glue. You can use glue sticks for this if you want, but school glue will work a lot better and will hold the weight of the wings up.
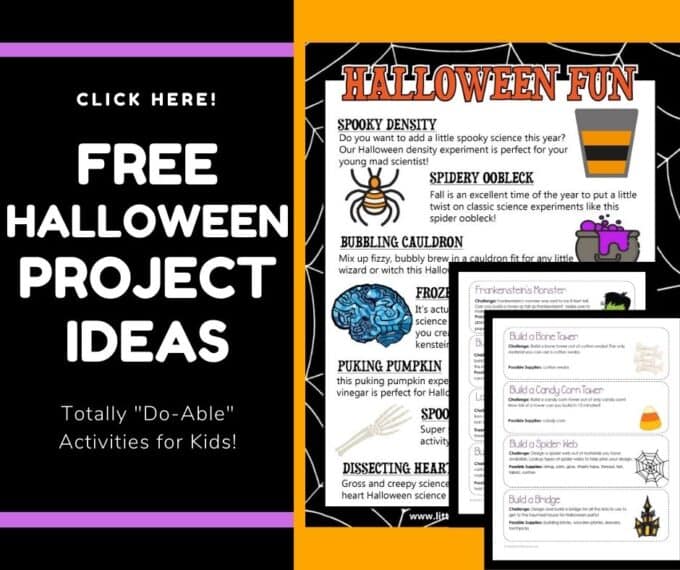
CLICK HERE TO GET YOUR FREE HALLOWEEN STEM PACK
HOW TO MAKE A PAPER BOWL BAT CRAFT FOR KIDS
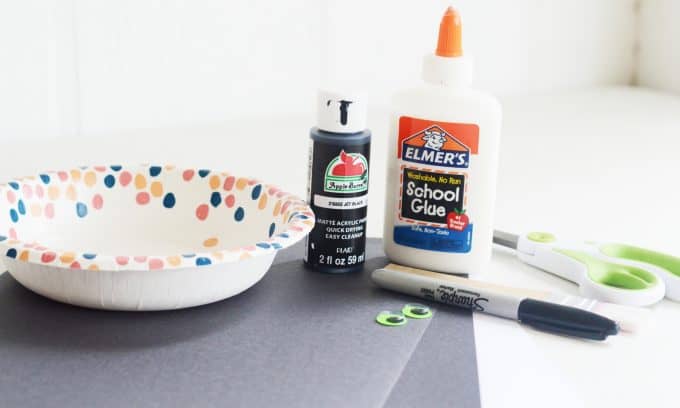
SUPPLIES:
- Paper Bowls
- Black Construction Paper
- White Construction Paper or Cardstock
- Black Paint (we used acrylic paint)
- Googly Eyes
- School Glue
- Paint Brush
- Scissors
- Marker
- Bat Activity Pack (FREE)
PAPER BOWL BAT CRAFT INSTRUCTIONS:
STEP 1: Have students turn their bowls upside down, and paint them black. We put some paint on top of each student’s bowl and had them spread it out evenly over the surface. Remind students that thick paint dries slowly, so to keep their coats thin.
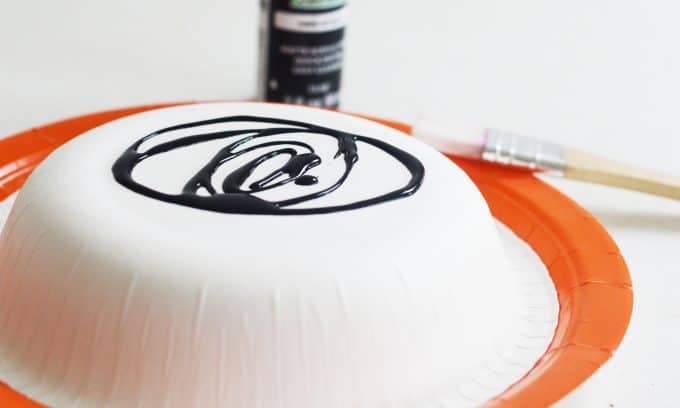
MESS FREE TIP: Have students paint their bowls on top of paper plates to keep the paint mess contained. This makes the drying process simpler too!

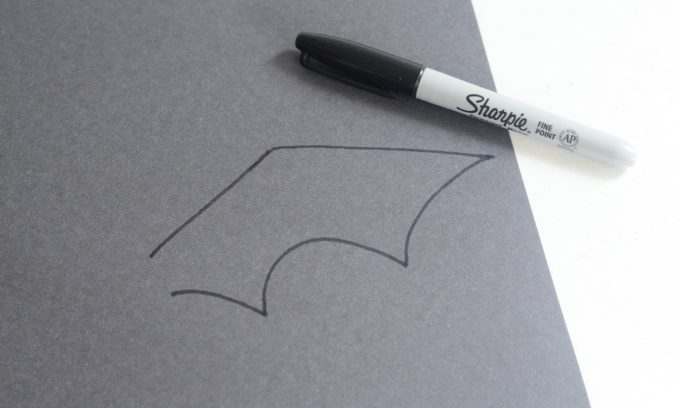
STEP 2. Have students draw wings for their bats onto black construction paper. The best tip is to draw one wing, cut it out, and then trace that wing so both bat wings look the same.
VARIATION: If you’re working with younger students, or students who may need more support, you can either draw the wings for them and have them cut them out, or you can pre-cut the wings for students.
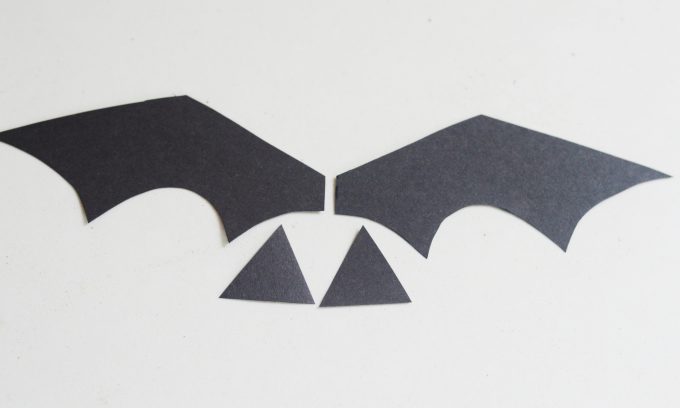
STEP 3: Once the wings are cut out, students will need to cut out some triangles! You will need two larger black triangles (for the ears), and two small white triangles (for the teeth.)
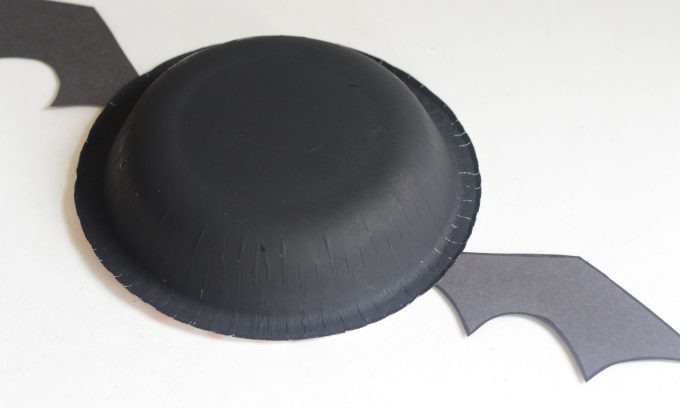
STEP 4. Once the black paint is dry, you can glue on the wings. Use school glue to attach one wing to each side of the bottom of the bowl, as shown below. These dry best with the bowl sitting on top as shown.
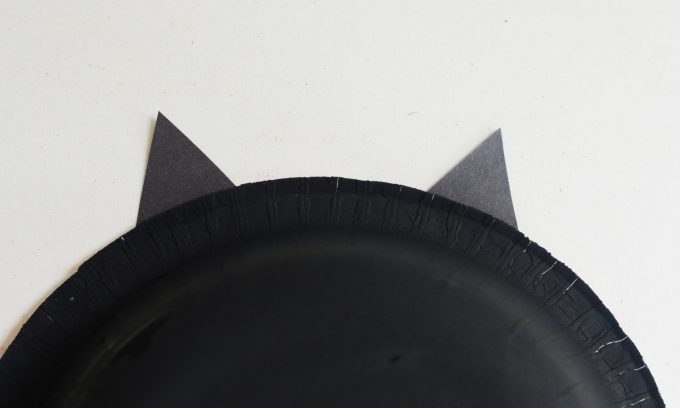
STEP 5. Next, glue the black triangles to the bowl to give your bat craft ears. Allow the glue to dry for about ten minutes before handling. They dry best flat, with the bowl on top.
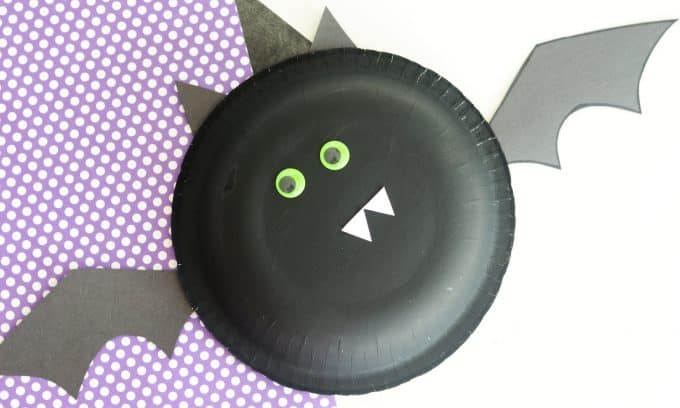
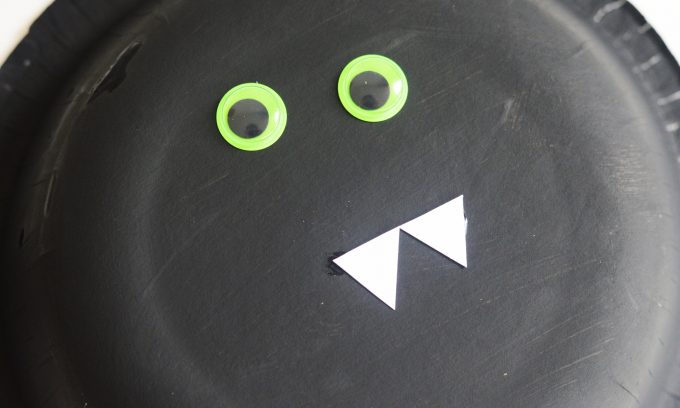
STEP 6: Use school glue to attach the google eyes, and small white triangle teeth to the top of the bowl. Use colored googly eyes in fun Halloween colors, or black and white eyes if it’s what you have on hand. You can also use different size eyes to give your bat craft a goofy look too!
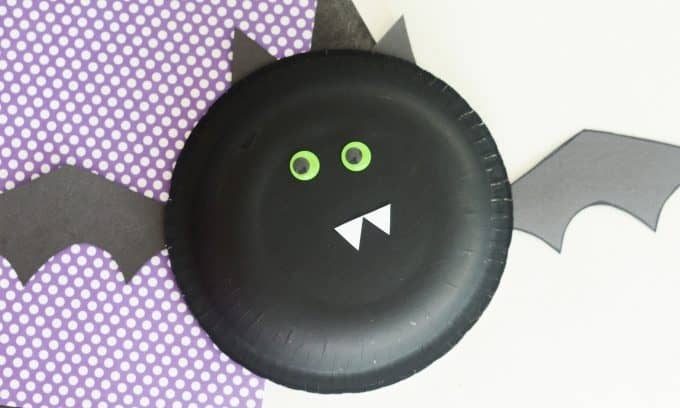
When you’re cute paper bowl bat craft is finished, this is what it will look like! Each student’s bat will look different, but they all will be spooky and adorable!
MORE FUN HALLOWEEN ACTIVITIES
MAKE A CUTE BAT CRAFT FOR HALLOWEEN
Click on the image below or on the link for more fun preschool Halloween activities.