Bring on the classic science, and let’s make homemade butter with kids! This must be one of the simplest science projects, with no waste, because it’s completely edible! It can be so gratifying for young kids to be able to see and taste the final product of their hard work.
Make Your Own Butter
Sink your teeth into this buttery science experiment! Kids love science they can eat, and this quick and easy science activity is a no-brainer if you want to get the kiddos into the kitchen. Even younger scientists can help out!
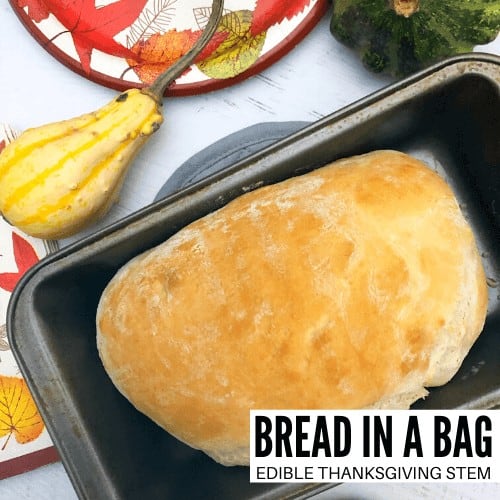
💡 Perfect to pair with our Bread In A Bag Recipe!
Butter In A Jar Recipe
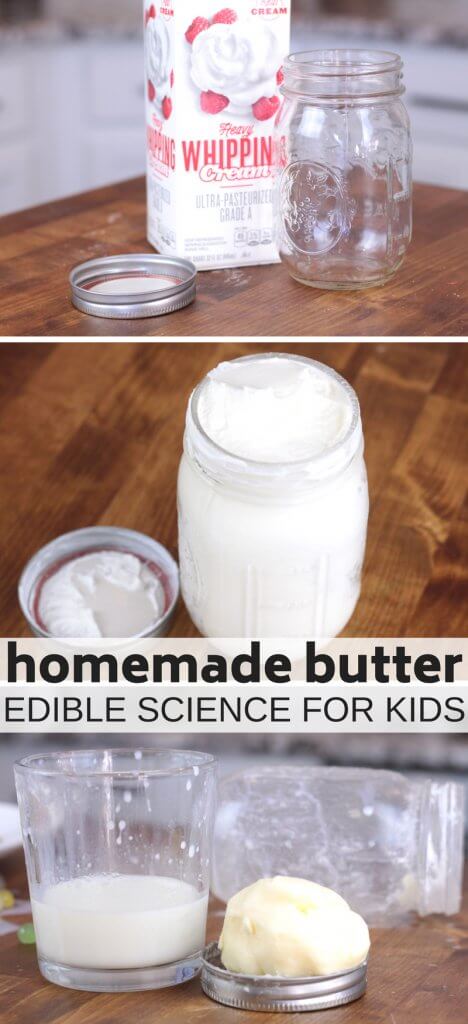
Supplies:
- Glassware with lid {mason jar}
- Heavy whipping cream
That’s it – only one ingredient! You might even have the supplies on hand already. You are only a short while away from enjoying your own homemade butter!

HOW TO MAKE BUTTER IN A JAR
STEP 1. Fill your glass jar about halfway with cream, you need room to shake the cream!
STEP 2. Make sure the lid of the jar is tight and shake.
Making butter requires a bit of arm strength, so you might be trading off with your kids unless you have a house full or classroom full of them!
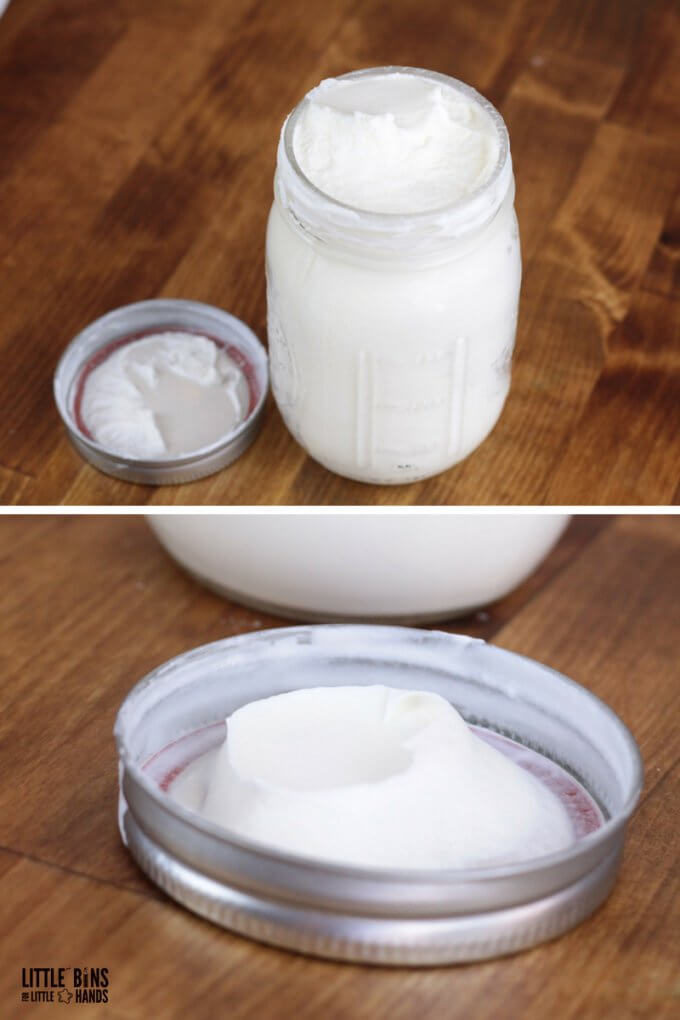
STEP 3. Check your homemade butter every 5 minutes to see the changes.
After the first 5 minutes, there was no real visible change. At the 10-minute check-in mark, we had whipped cream. There’s no reason you can’t sneak a taste at this point just so they can see what’s happening!
MAKE SURE TO CHECK OUT: Magical Dancing Corn Experiment!
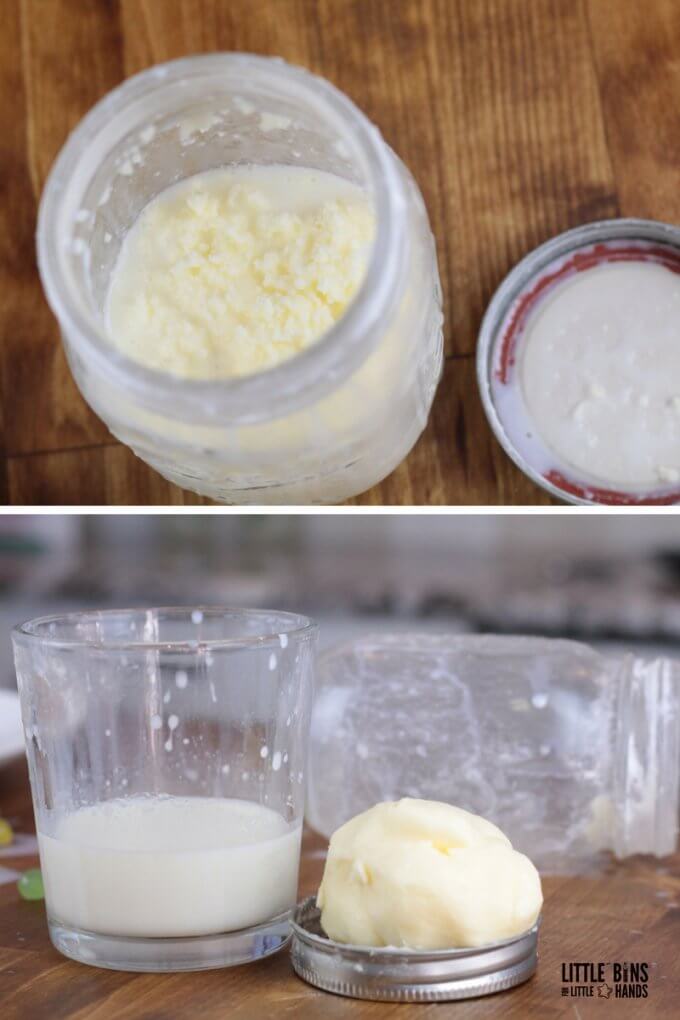
We put the lid back on and kept shaking. After another couple of minutes, my son observed that he couldn’t hear the liquid inside very well.

We stopped and checked and there it was, the makings of delicious homemade butter. I put the lid back on and finished out the rest of the 15 minutes. Yum!
Smooth, creamy, delicious homemade butter all from shaking cream in a jar! How cool is that for kids?
The Science of Making Butter
Our homemade butter in the jar below is made with heavy cream. Heavy cream has a good deal of fat, which is why it can make such delicious items!
Shaking the cream causes the fat molecules to separate from the liquid. The more the cream is shaken, the more these fat molecules clump together, forming a solid, which is the butter.
The leftover liquid, after the solid has formed, is called buttermilk. You know you’ve got butter once you reach the stage where you have both a solid clump and liquid!
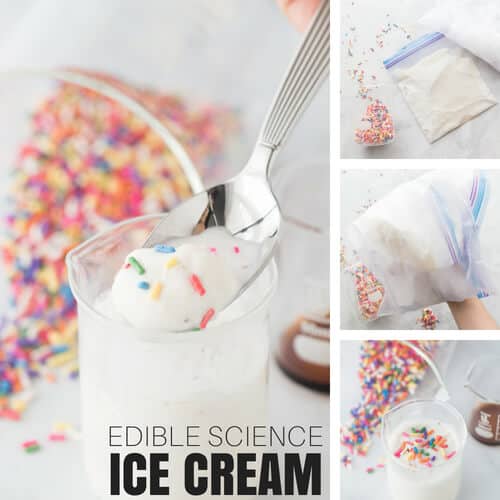
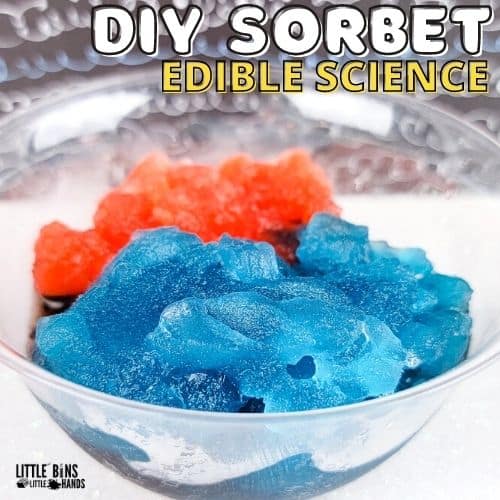
More Science Projects You Can Eat
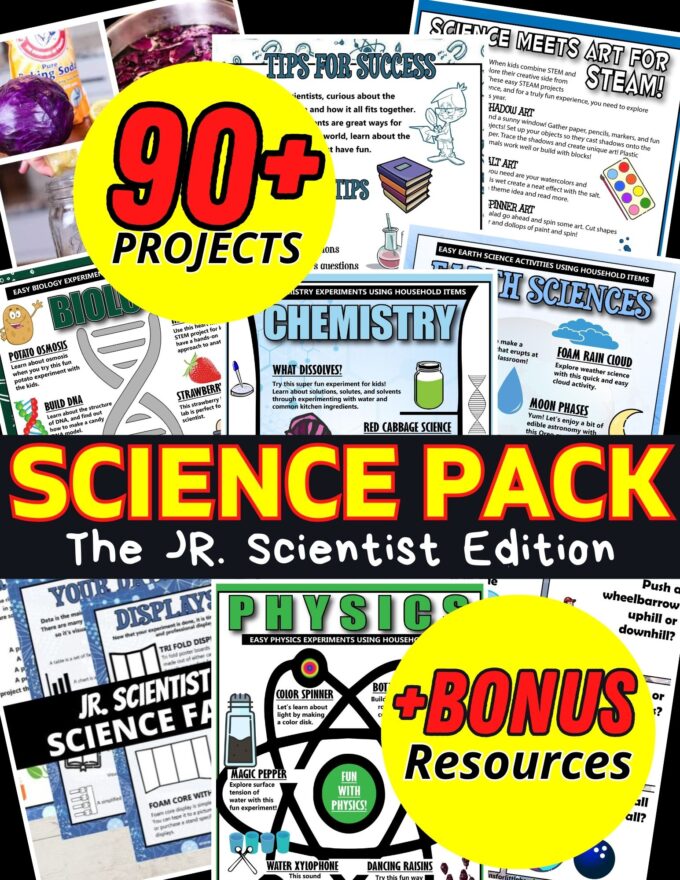
Printable Science Projects For Kids
If you’re looking to grab all of our printable science projects in one convenient place plus exclusive worksheets and bonuses like a STEAM Project pack, our Science Project Pack is what you need! Over 300+ Pages!
- 90+ classic science activities with journal pages, supply lists, set up and process, and science information. NEW! Activity-specific observation pages!
- Best science practices posters and our original science method process folders for extra alternatives!
- Be a Collector activities pack introduces kids to the world of making collections through the eyes of a scientist. What will they collect first?
- Know the Words Science vocabulary pack includes flashcards, crosswords, and word searches that illuminate keywords in the experiments!
- My science journal writing prompts explore what it means to be a scientist!!
- Bonus STEAM Project Pack: Art meets science with doable projects!
- Bonus Quick Grab Packs for Biology, Earth Science, Chemistry, and Physics


Making butter is fabulous! It’s just like magic, I’m so glad you had fun 🙂
Just so you know, I noticed that in your pictures you still had whipped cream not quite butter. If you had kept going a little longer it would have looked like scrambled eggs, then separated right out into butter and buttermilk (uncultured, it looks like skimmed milk). The butter is solid, yellow and looks like butter you would buy. It’s also delicious! And you can use the buttermilk to bake some bread to serve it on. 🙂
It can be difficult to do that last bit in a jar if the cream all sticks to the sides. Adding a marble to the jar can help, or dump the cream in a bowl and stick your hand in – great sensory experience that way too.
Thank you. We did have solid butter. There wasn’t any liquid left in ours just tasty butter. I am sorry if my pictures appeared that way.
I think what the original commenter meant was that, when you are done, you are SUPPOSED to have liquid (buttermilk) and a chunk of solid butter. I’ve done this experiment dozens of times in my classroom and the last couple minutes are the hardest. What you had in your jar at the end was butter mixed up with whipped cream.
Ah yes. I do see in our excitement we didn’t go far enough. Thank you! I will have to try it again with a few more helpers.
I did actually note that in my science section of the post. We definitely had more of a whipped butter!
Have been ”aking butter’ for years with my children, grand children, and now the greats! However, no shaking in my method….sit the children on the floor and have them roll the jar back and forth! Works well with just two, or several.