Learn how to dye eggs for Easter with a science twist! While dyeing Easter eggs is generally a fun family tradition, why not add a dash of science to this yearly ritual? Get ready to elevate your dyed Easter egg game with unconventional methods involving everyday kitchen ingredients like oil and vinegar, baking soda, and even Cool Whip!
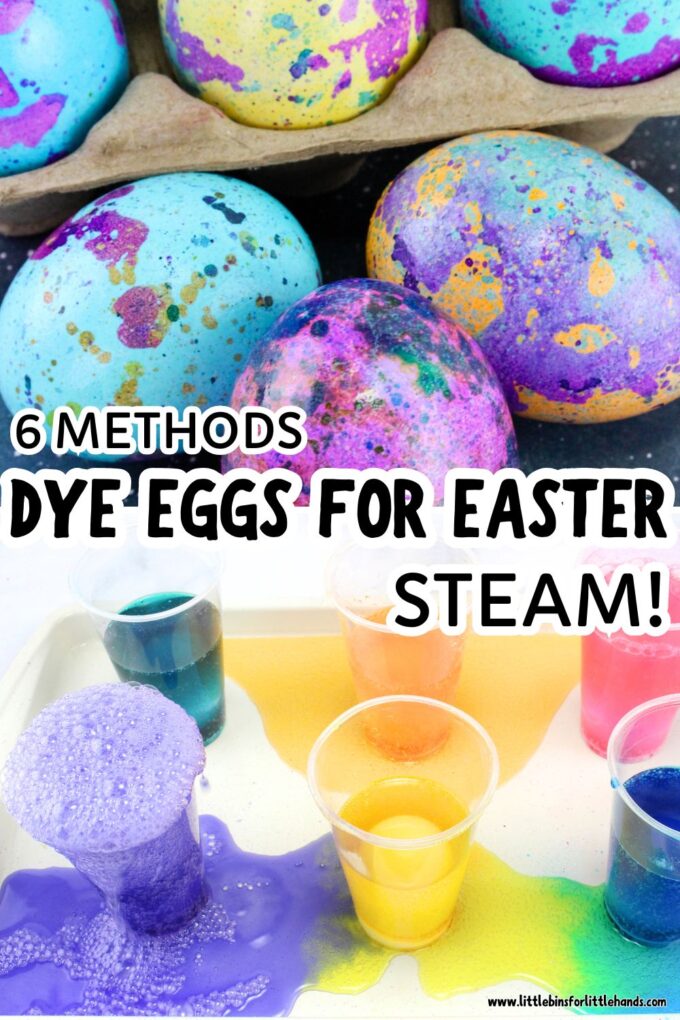
How to Dye Eggs for Easter!
This Easter, unleash your inner scientist and experiment with these creative egg-dyeing methods. Whether you opt for swirls of oil and vinegar, the fizzy excitement of baking soda and vinegar, or the playful method using Cool Whip, your kids will have a blast dyeing eggs for Easter with a science added. So gather your supplies, put on your lab coat (or apron), and let the colorful experiments begin!
What’s STEAM? These Easter egg dye ideas make fantastic STEAM projects for Kids!
Watch the Video:
The Science Behind Dyeing Easter Eggs
Before we dive into the fun experiments, let’s talk about the science behind egg dyeing. Eggs have a porous shell made primarily of calcium carbonate, which allows liquids to permeate through. When submerged in dye, the acidic or essential nature of the solution can interact with the eggshell, causing color changes through chemical reactions or pH shifts.
Try this: Naked Egg Experiment
Oil and Vinegar Marbling
Let’s start with an artistic technique that mimics marble’s beautiful patterns. For this egg dyeing method, you’ll need hard-boiled eggs, food coloring, oil (preferably vegetable or olive oil), vinegar, and a shallow dish.
- Begin by filling a shallow dish with water and adding drops of various food coloring.
- Next, add a layer of oil on top of the colored water. The oil will float because it is lower in density than water.
- Now, carefully dip your egg into the water and oil mixture. The oil will repel the water, creating unique swirling patterns.
- Once satisfied with the design, remove the egg and gently pat it dry with a paper towel.
- To set the colors, lightly dab the egg with a vinegar-soaked cotton ball.
Read More About the Process Here: Galaxy Eggs with Oil and Vinegar
QUICK SCIENCE: Dyeing eggs with oil and vinegar involves a fascinating interplay of chemistry and physics. Acidic vinegar reacts with the calcium carbonate in the eggshell, creating a slightly porous surface.
Instead, the dye adheres to the more porous areas of the shell, resulting in unique patterns and designs. This method demonstrates the principles of surface tension, density, and chemical reactions.
Try it: Homemade Lava Lamps
When the egg is then dipped into colored water mixed with oil, the oil forms a thin layer on top of the water due to differences in density. Since oil and water don’t mix, the oil creates a barrier that prevents the dye from penetrating the shell uniformly.

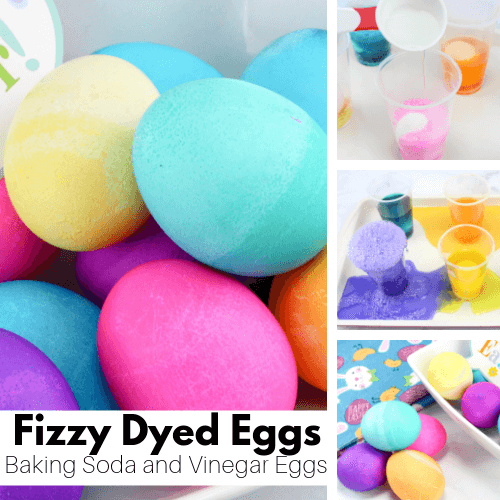
Baking Soda and Vinegar Fizz
Get ready for some fizzy fun with this bubbling egg dyeing method. You’ll need hard-boiled eggs, food coloring, baking soda, vinegar, and a shallow dish.
- Start by placing your eggs in a shallow dish and sprinkling them with baking soda.
- Next, add drops of food coloring directly onto the eggs, creating vibrant patterns or designs.
- Carefully pour vinegar over the eggs and watch as the baking soda reacts with the acidic vinegar, causing a fizzing reaction.
- Allow the eggs to sit in the mixture for a few minutes, absorbing the colors and fizz.
- Once the fizzing subsides, remove the eggs and gently rinse them under cold water to remove any excess baking soda.
Read More About the Process Here: Baking Soda and Vinegar Dyed Eggs
QUICK SCIENCE: Dyeing Easter eggs with baking soda and vinegar involves our favorite chemical reaction. Baking soda, a base, reacts with vinegar, an acid, to produce carbon dioxide gas, which creates bubbles and fizz.
This reaction not only adds an element of excitement to the dyeing process but also helps the dye penetrate the porous eggshell more effectively. As the bubbles form and pop, they mix up the dye solution to create vibrant colors on the eggshell.
Try it: Rainbow Fizzy Eggs (with plastic Easter eggs)
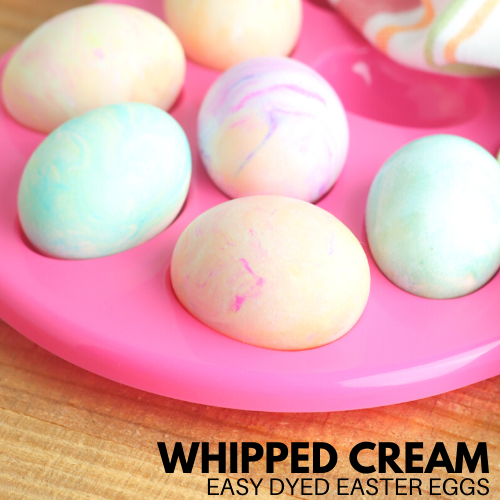
Cool Whip Marbled Eggs
Who knew the same fluffy topping used for desserts could also dye eggs for Easter? For this method, you’ll need hard-boiled eggs, food coloring, Cool Whip (or any other generic whipped topping), and a shallow dish.
- Start by spreading a layer of Cool Whip in a shallow dish.
- Add drops of food coloring onto the Cool Whip, creating a colorful palette.
- Use a toothpick or skewer to gently swirl the colors into the Cool Whip, creating marbled patterns.
- Carefully roll each hard-boiled egg in the colored Cool Whip mixture, ensuring even coverage.
- Allow the eggs to sit in the Cool Whip for 10-15 minutes to absorb the colors.
- Once the time is up, gently rinse the eggs under cold water to remove the Cool Whip and reveal the marbled designs underneath.
Read More About the Process Here: Cool Whip Dyed Eggs
QUICK SCIENCE: Yes, there is science behind Cool Whip dyed eggs! Cool Whip contains ingredients like water, hydrogenated vegetable oil, and stabilizers. When mixed with food coloring, these ingredients create a material that adheres to the eggshell, allowing the colors to transfer and form marbled patterns. The texture of Cool Whip also helps to hold the colors in place as the eggs sit.
More Ways to Dye Eggs for Easter
Silk Tie Method
This method involves using old silk ties or scarves to transfer intricate patterns onto your Easter eggs. Here’s how to do it:
Note: I would not recommend eating these eggs.
- Gather some old 100% silk ties or scarves with vibrant patterns.
- Cut the silk fabric into squares large enough to wrap around the eggs (uncooked).
- Place a silk square around a raw egg, ensuring the patterned side is facing the eggshell.
- Secure the fabric tightly with a twist tie or rubber band.
- Repeat this process for as many eggs as you’d like to dye.
- Place the wrapped eggs in a pot and cover them with water.
- Add a splash of vinegar to the water to help set the colors.
- Bring the water to a boil and let the eggs simmer for about 20-30 minutes.
- Carefully remove the eggs from the water and allow them to cool.
- Once cooled, unwrap the eggs to reveal the beautiful patterns transferred from the silk fabric.
QUICK SCIENCE: This method of dyeing eggs involves the transfer of intricate patterns from silk fabric onto eggshells through a process called sublimation.
When the eggs are wrapped tightly in pieces of silk tie or scarf and brought to a simmer, the heat causes the dye in the silk to sublimate, turning from a solid directly into a gas without passing through a liquid phase. This gas permeates the porous surface of the eggshell and bonds with it, transferring the vibrant colors and intricate designs onto the egg.
Kool-Aid Dyeing
Kool-Aid isn’t just for drinking! It can also be used to dye Easter eggs in vibrant colors. Here’s how:
- Choose your favorite flavors of unsweetened Kool-Aid packets.
- Mix each packet of Kool-Aid in a bowl with about ¾ cup of warm water and a tablespoon of vinegar.
- Stir the mixture until the Kool-Aid powder is completely dissolved.
- Place hard-boiled eggs in the colored Kool-Aid mixture, ensuring they are fully submerged.
- Let the eggs soak for at least 5-10 minutes or longer for more intense colors.
- Use a slotted spoon to remove the eggs from the dye mixture and dry them on paper.
- Once dry, marvel at the bright and colorful Easter eggs created with the power of Kool-Aid!
QUICK SCIENCE: Kool-Aid egg dyeing is a simple yet very colorful method that relies on the acidity and color pigments in the powder mixes. When mixed with water and a splash of vinegar, the powder dissolves, releasing its bright colors.
The vinegar helps the eggshells absorb the dye more effectively due to its acidic nature. The water provides a medium for the dye to penetrate the porous surface of the eggshell. As the eggs soak in the Kool-Aid mixture, they gradually take on the bright colors of the drink mix!
Rice Speckled Egg Dyeing Method
This is just like our Dyed Rice for sensory bins!
For a fun and textured approach to egg dyeing, try the rice speckled technique. You’ll need hard-boiled eggs, food coloring, dry rice, plastic containers with lids, and rubber bands.
- Start by placing a handful of dry rice into a plastic container and adding several drops of food coloring.
- Secure the lid on the container and shake it vigorously to coat the rice grains with color.
- Once the rice is evenly colored, remove the lid and carefully place a hard-boiled egg into the container.
- Seal the container and shake it gently, allowing the rice to adhere to the egg’s surface.
- After a few seconds, remove the egg from the container and gently brush off any excess rice grains.
- Repeat the process with different colors of rice to create a speckled effect on each egg.
- Once the eggs are decorated to your liking, let them air dry on a paper towel before handling or displaying them.
QUICK SCIENCE: This is super fun way to decorate Easter eggs. The science behind this technique lies in the principle of adhesion. When a hard-boiled egg is placed into a container filled with dry rice coated in food coloring, the colored rice grains adhere to the egg’s surface due to static electricity and surface tension. As the container is gently shaken, the rice transfers its color to the egg, creating a speckled effect.
TIP: Once you are finished dyeing the eggs, spread the rice out to dry and create a rice sensory bin!
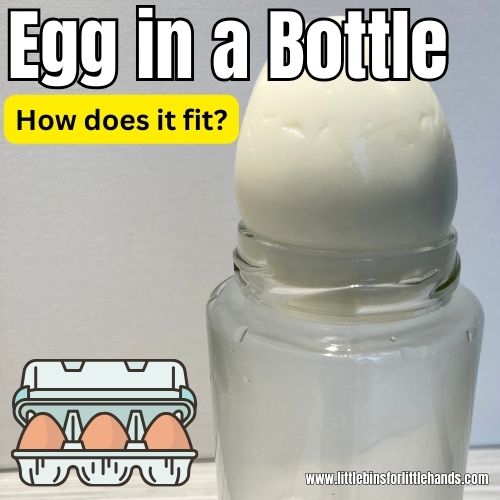
More Egg Activities for Science
- Egg in a Bottle
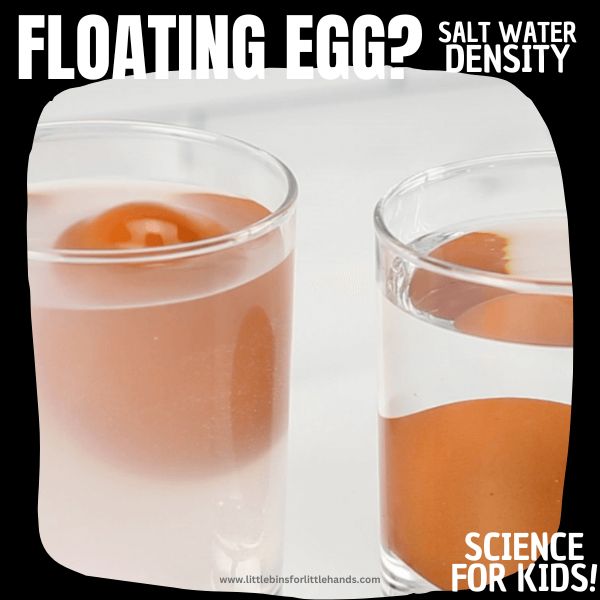
- Floating Eggs
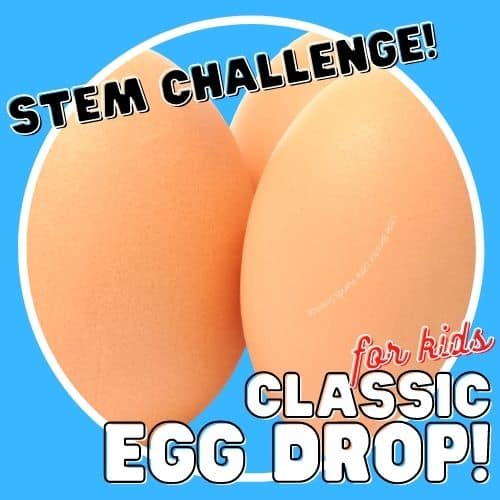
- Egg Drop Challenge
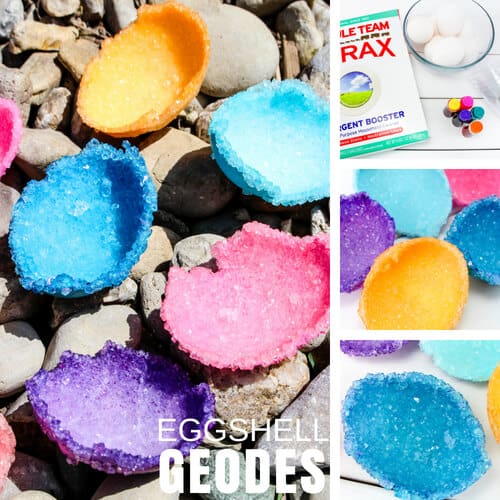
- Egg Geodes (great for those dyed broken shells)
- Egg in Vinegar Experiment
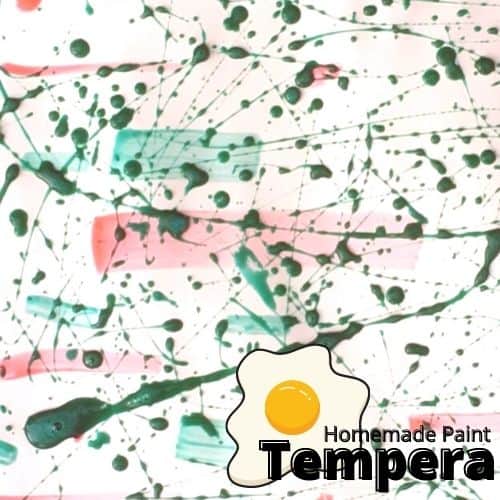
- Make Egg Tempera Paint

Printable Easter Project Pack
- 20+ Easter science activities and STEM projects kids that are easy to set up and fit into the time you have available even if it’s limited!
- Printable Easter theme STEM activities that are simple but engaging for home or classroom. Perfect for K-2 and beyond but easily adaptable to many skill levels.
- Dive into simple background science explanations to share with kids while they explore hands-on and playful experiments, projects, and activities such as Easter oobleck, erupting eggs, regrowing lettuce, and more!
- Engaging Easter STEM activities pack with theme activities, journal pages, and design process steps! Learn about the design process and think like an engineer while you design and build a better Easter basket and more!
- Easy to gather supplies makes these STEM activities ideal when you have limited resources available. Specialty activities include a catapult and balloon rocket challenge pack complete with log sheets!
- Additional STEM activities Include the great Easter egg tower, spaghetti and marshmallow challenge Easter theme, brick-building ideas, puzzles, and screen-free coding activities.
INCLUDES:
- Easter STEM Pack
- PEEPS Theme STEM Pack
- Easter Slime Science Pack


