If you want to take your Easter egg dyeing activity to a whole new level this year, get ready for some fun with oil and vinegar science! If you have a science enthusiast on your hands, you need to learn how to make marbleized Easter eggs with oil and vinegar. Add it to your collection of easy Easter Science Activities for a real treat this season!
Get ready to add this simple Easter egg dyeing activity to your Easter science lesson plans this season. If you want to learn how to dye eggs with oil and vinegar, let’s get set up. While you’re at it, make sure to check out these other fun Easter science experiments and Easter crafts!
Can you dye eggs without vinegar? You betcha! Check out how to dye eggs with whipped cream.
Watch the Video:
How To Dye Eggs With Oil And Vinegar
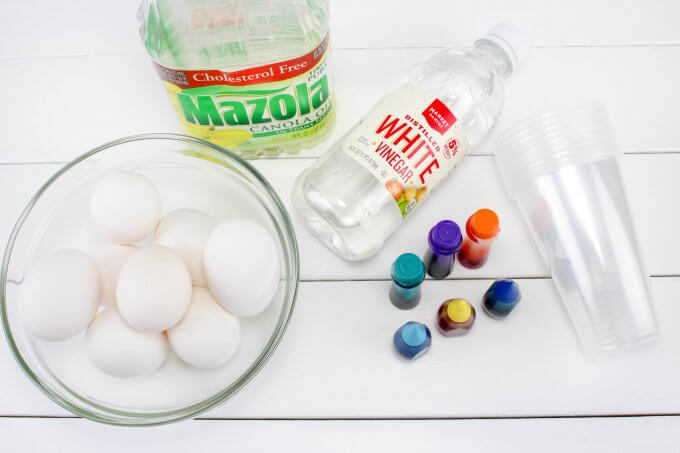
Let’s get right to make these gorgeous and colorful marbled Easter eggs. Head to the kitchen, open the fridge and grab the eggs, food coloring, oil, and vinegar. Make sure to have a good workspace prepared and paper towels!
Want more ways to color Easter Eggs? Check out 6 easy ways to dye eggs!
Supplies:
- Hard-boiled Eggs
- Oil (Vegetable, Canola, or any oil will work)
- Food Coloring (Assorted Colors)
- Vinegar
- Water
- Plastic Cups
- Small Bowls
Instructions:
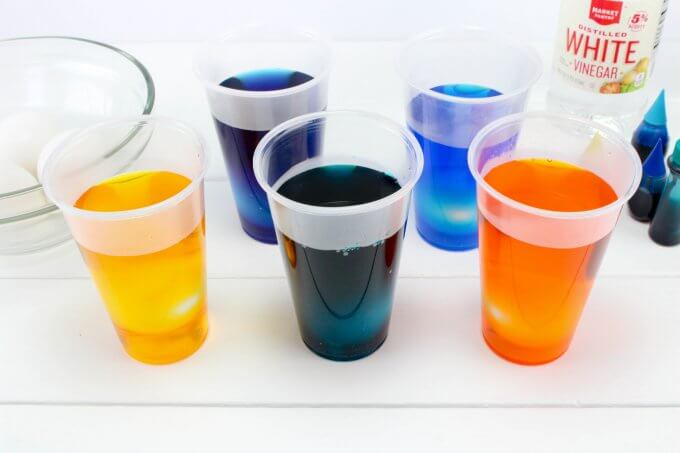
STEP 1: Place 1 cup of very hot water in a plastic cup, add 3-4 drops of food coloring and 1 tsp of vinegar. Mix well. Repeat with other colors.
STEP 2: Add the eggs in each cup and let sit for about 3 minutes. Remove and set on paper towels.

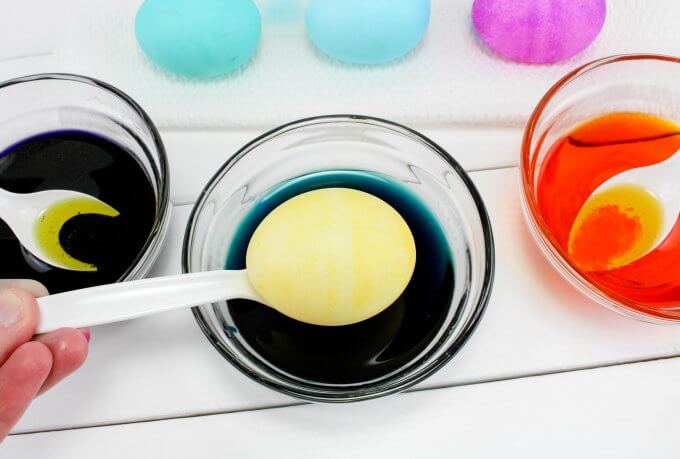
STEP 3: In each bowl, add about 1 inch of water. You only want about ½ of the egg to be covered. Next, add 1 Tablespoon of oil to each bowl and 6-8 drops of food coloring.

STEP 4: Place one egg into each bowl. With a spoon, spoon the water/oil mixture over the egg and let sit for about 3-4 minutes. Then roll the egg so it turns over and let sit for another 3-4 minutes.
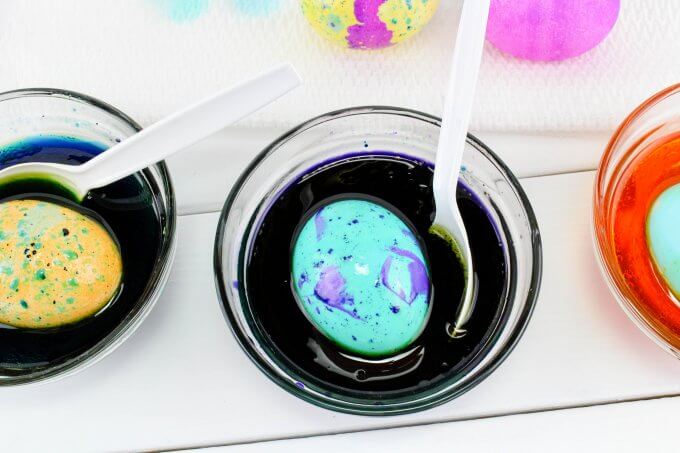
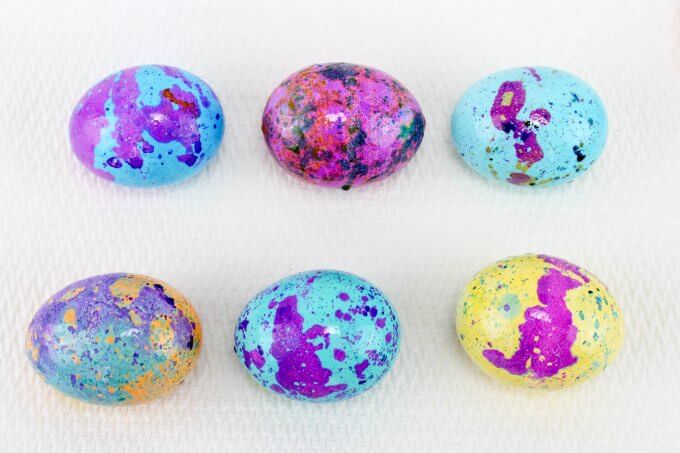
STEP 5: Take out and lay on paper towels. Let sit for a few minutes, then wipe off each egg with additional paper towels.
The Simple Science of Dyed Eggs With Oil And Vinegar
Your good old food coloring from the grocery is an acid-base dye and the vinegar traditionally used to dye eggs helps the food coloring to bond to the eggshell.
We know that oil is less dense than water thanks to some other nifty science projects like our homemade lava lamp. You will notice the oil floats on top in this activity too.
When you put the egg in the final colored oil mixture, the oil keeps parts of the egg from bonding with the food coloring giving it a marbled appearance.
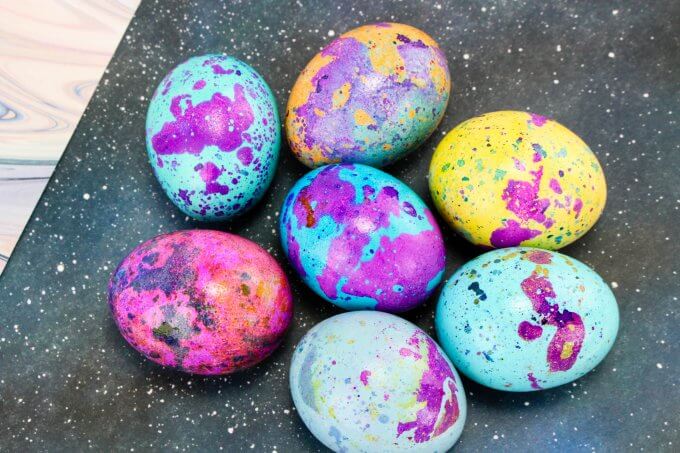
These marbleized oil and vinegar Easter eggs remind me of space or galaxy themes. They are perfect for space enthusiasts and for junior scientists everywhere!

Favorite Easter Science Experiments
See our complete Easter science experiments collection or try one of these!
- Dissolving Jelly Beans
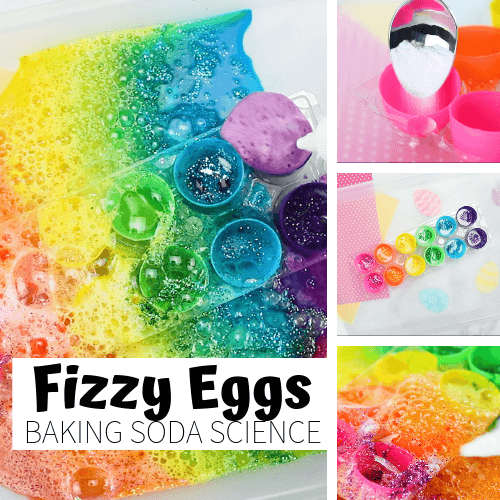
- Fizzy Baking Soda Easter Eggs
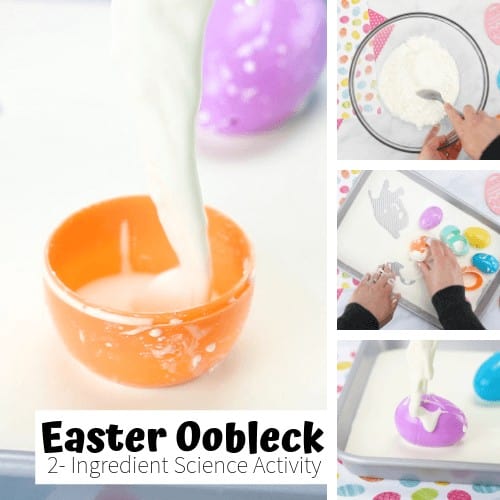
- Easter Oobleck
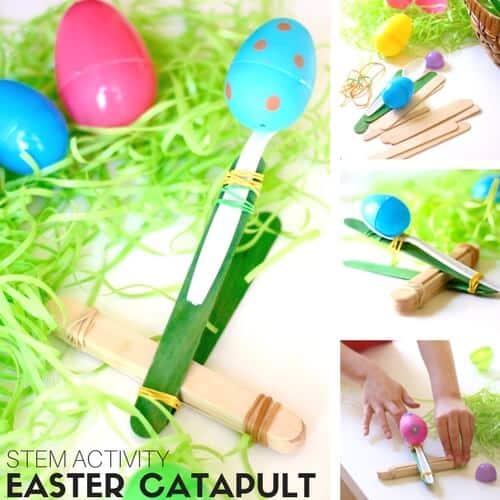
- Easter Egg Popsicle Stick Catapult
Printable Easter Project Pack
- 20+ Easter science activities and STEM projects kids that are easy to set up and fit into the time you have available even if it’s limited!
- Printable Easter theme STEM activities that are simple but engaging for home or classroom. Perfect for K-2 and beyond but easily adaptable to many skill levels.
- Dive into simple background science explanations to share with kids while they explore hands-on and playful experiments, projects, and activities such as Easter oobleck, erupting eggs, regrowing lettuce, and more!
- Engaging Easter STEM activities pack with theme activities, journal pages, and design process steps! Learn about the design process and think like an engineer while you design and build a better Easter basket and more!
- Easy to gather supplies makes these STEM activities ideal when you have limited resources available. Specialty activities include a catapult and balloon rocket challenge pack complete with log sheets!
- Additional STEM activities also Include the great Easter egg tower, spaghetti, and marshmallow challenge Easter theme, brick building ideas, puzzles, and screen-free coding activities.
INCLUDES:
- Easter STEM Pack
- PEEPS Theme STEM Pack
- Easter Slime Science Pack


One Comment
Comments are closed.