Want to make homemade ice cream without a machine? Try this cool and tasty science experiment—make ice cream in a bag! All you need are simple ingredients, zip-top bags, and a little arm strength. Whether you’re in the kitchen or the classroom, this edible chemistry project is always a hit with kids.

Ice Cream in a Bag: Easy Recipe
Let’s explore the science behind freezing, states of matter, and how salt and ice work together—then enjoy a sweet treat when you’re done!
Recommended Ages: Elementary
Time to Complete: 10–15 minutes
Field of Science: Chemistry, Physical Science
Concepts Explored: Freezing point depression, states of matter, reversible change
Ingredients:
- ½ cup half-and-half (or use milk/heavy cream)
- ¼ tsp vanilla extract
- 1 tbsp sugar
- 3 cups of ice
- ⅓ cup kosher salt or rock salt
- 1 gallon-size zip-top bag
- 1 quart-size zip-top bag
- Gloves and a towel for shaking (it gets cold!)
- Optional toppings: chocolate syrup, sprinkles, chopped fruit
How to Make Ice Cream in a Bag
🎥 Watch the Video:
Step-by-Step Instructions
🛑 Caution: Wearing gloves is a MUST. The mixture can get very cold and can potentially be dangerous.🛑
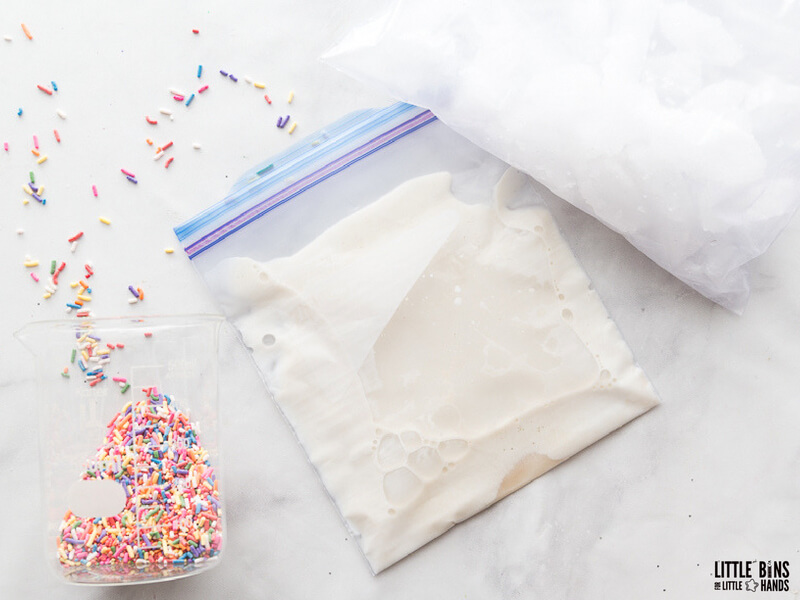
Add ice and salt.
Fill a gallon-sized zip-top bag with 3 cups of ice and ⅓ cup of salt. Set aside.
Mix the ice cream base.
In a quart-size bag, pour in the half-and-half, vanilla, and sugar. Seal the bag tightly, pressing out as much air as possible.
Double bag it.
Place the smaller bag inside the larger bag with ice and salt. Seal the outer bag securely.
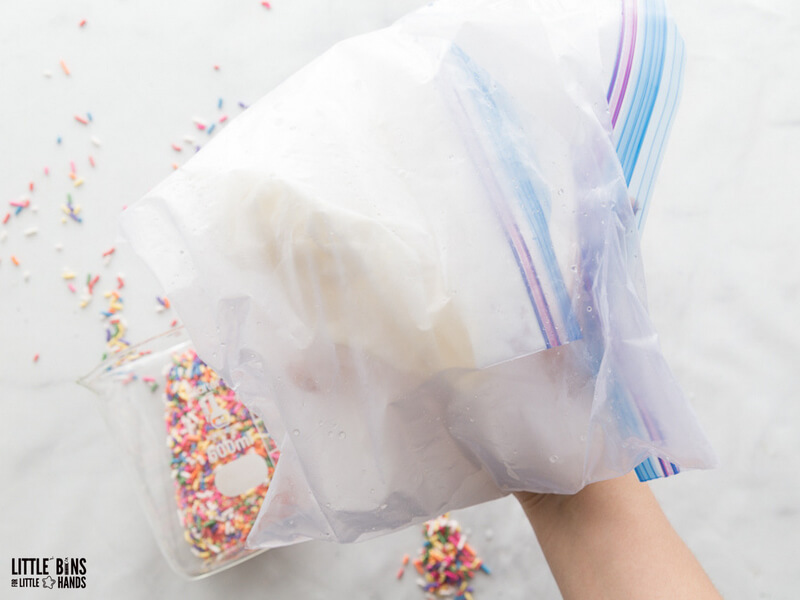
Shake it up!
Wearing gloves or wrapping the bag in a towel, shake vigorously for 5–7 minutes. The ice cream should begin to firm up around 5 minutes.
Enjoy your treat.
Once it reaches your desired consistency, remove the smaller bag, rinse it off quickly to remove salt, and dig in!

The Science Behind Ice Cream in a Bag
This is chilly chemistry in action! When salt is added to ice, it lowers the freezing point of water. This means the ice can get colder without freezing, helping the milk mixture freeze into ice cream faster.
Shaking the bag mixes the cream continuously and adds air, creating a smoother texture. This experiment also shows how a liquid becomes a solid and how it can change back again—an excellent example of a reversible physical change.
Make It a Science Experiment
🔎 Turn this activity into a hands-on experiment using the scientific method!
Try changing one variable:
- ❓What happens if you leave out the salt?
- ❓Does using different types of salt (table, rock, sea) change the result?
- ❓What happens if you use almond milk, oat milk, or heavy cream?
- ❓Does the size of the ice cubes affect how fast the ice cream forms?
Tip: Use a printable science journal page to record predictions, observations, and results.

FAQs: Ice Cream in a Bag
Q: Can I use regular table salt?
A: Yes, but kosher or rock salt works best because it creates a colder environment more effectively.
Q: Can I use a dairy-free milk?
A: Yes, but results may vary. Creamy plant-based milks like oat or coconut yield better results than thin milks like almond.
Q: How long does it take to freeze?
A: About 5–7 minutes of shaking! If it’s not freezing, try adding more salt or ice.
Q: Why is the bag so cold?
A: The salt-ice mixture creates an endothermic reaction, absorbing heat and dropping the temperature fast.
Q: Can I save the leftover ice cream?
A: Yes, just place the sealed bag in the freezer to enjoy later.
More Fun Food Experiments
💡 ALSO CHECK OUT: More Ice Cream Activities for Kids or Edible Science Experiments Kids Love!
- Shake up some butter in a jar
- Try Strawberry DNA Extraction
- Experiment with Cabbage pH Chemistry
- Make Edible Geodes
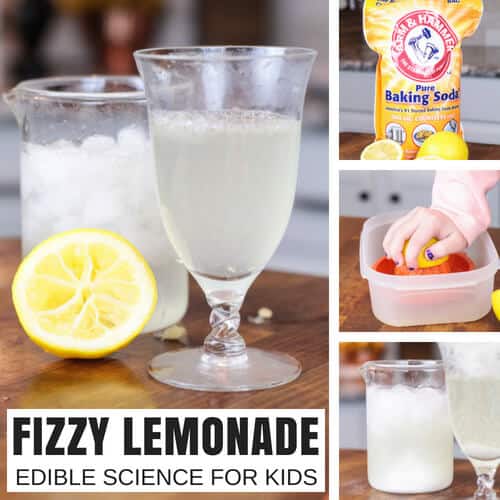
- Set Up Fizzing Lemonade
- Make Maple Syrup Snow Candy
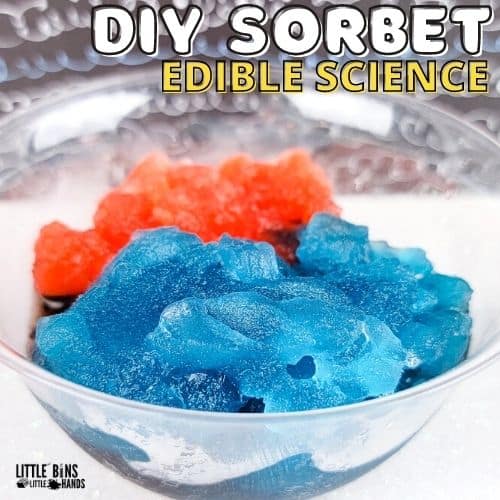
- Try this easy sorbet recipe

Printable Science Projects Pack
If you’re looking to grab all of our printable science projects in one convenient place plus exclusive worksheets and bonuses like a STEAM Project pack, our Science Project Pack is what you need! Over 300+ Pages!


What is “Half and half”?
Can you do it without the rock salt, cannot find it here.
We use sweetened condensed milk (1 can) and 2 liters of your favorite soda pop. It makes the most amazing tasting ice cream ever!!
Half and half is a creamer.
We used coarse ground salt.
Did I miss where you mention how much of each ingredient?
There is a link that says check out the recipe. Since It is not my own original recipe, etiquette requires me to link to it. I will highlight the link.
I love this idea! I would love to use it in a class setting, but am wondering how much each batch makes? Is this recipe for one person or multiple? I mean, we can all use more ice cream, but minimalistically speaking, lol
Hi! We always need more ice cream but I guess it would come down to how much you would expect to serve each kiddo. I think 2-3 kids could enjoy tasting it and surely it would be helpful to have multiple hands to shake each bag since it can get tiring. Make sure to really seal bags well though so that the salt doesn’t make it’s way into the ice cream bag. I have thought about a plastic container with the ingredients and that be put inside the bag with ice and salt…