Here’s another wonderful science experiment that is easy to set up and fascinating to watch. Lately, we have been focusing on a lot of simple water experiments. It has been a while since we mixed it up with oil! Just a few common ingredients and you are well on your way to ooohhhs and aaahhhs by everyone including adults with this alka seltzer science experiment.
ALKA SELTZER EXPERIMENT FOR KIDS
Alka Seltzer Projects
Feel free to explain the science of this alka seltzer experiment as much or as little as you wish depending on the age and attention of your child.
My son is still a little and has a limited attention span. For these reasons, we tend to stick with just making some simple observations and experimenting with the activity as much as he enjoys being a part of it. I would rather spark his curiosity with fewer words then turn him off all together by making him sit and listen to my science definitions.
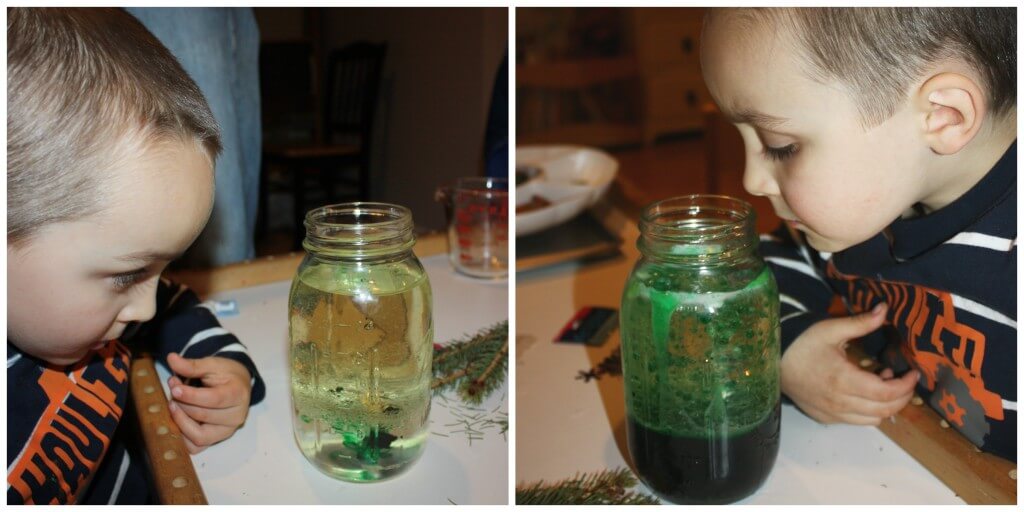
SIMPLE SCIENCE OBSERVATIONS
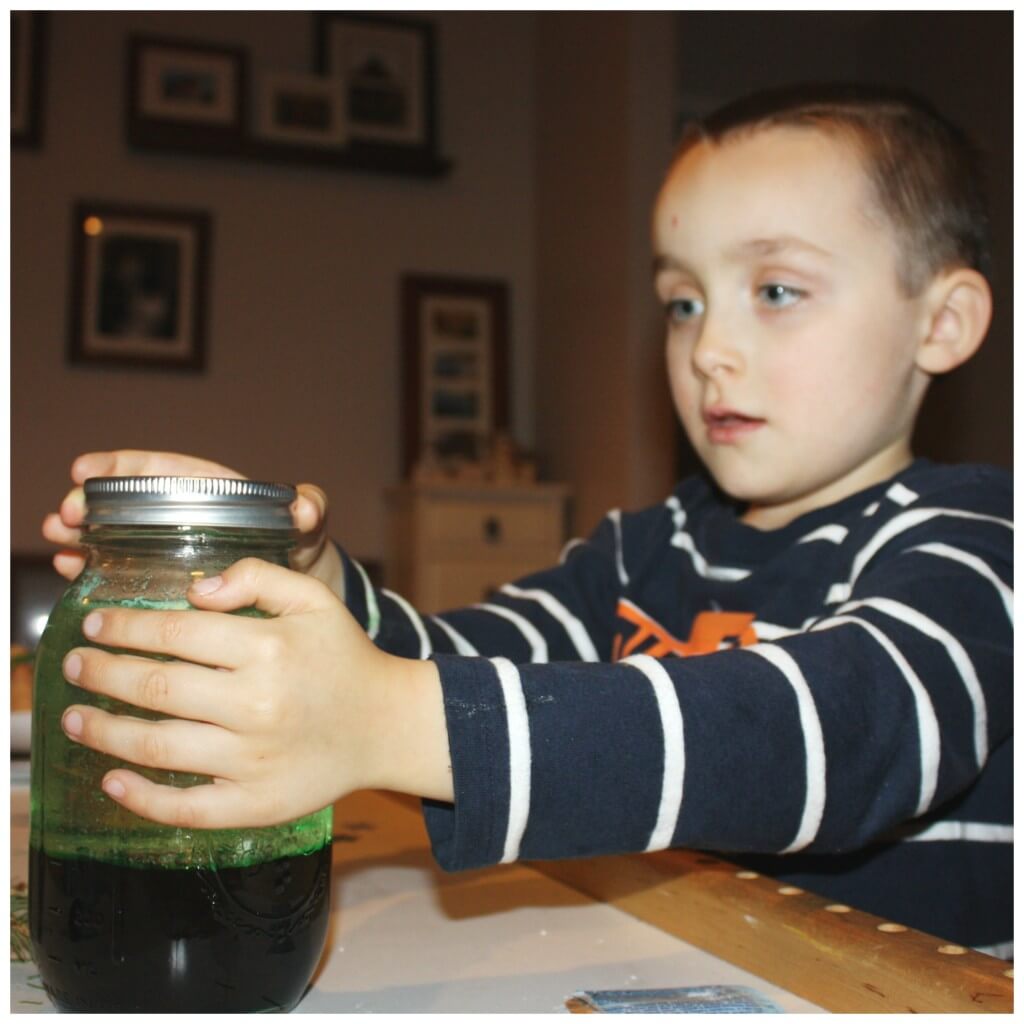
Let them tell you what they see or notice each step of the way. If they need a bit more help observing, guide them but don’t feed them the ideas. Liam has had practice with oil and water before when we made a density tower, so he knew the two did not mix.
He is still working on what is sinking and floating and why, but that is why we practice these concepts over and over again!
He also observed that the food coloring only mixed with the water and that when he added the alka seltzer it only stuck to the colored blobs. Some other observations are the fizzing sound, the blobs being lifting and the little pop they make before settling back down. Lots of fun!
Lets get started!
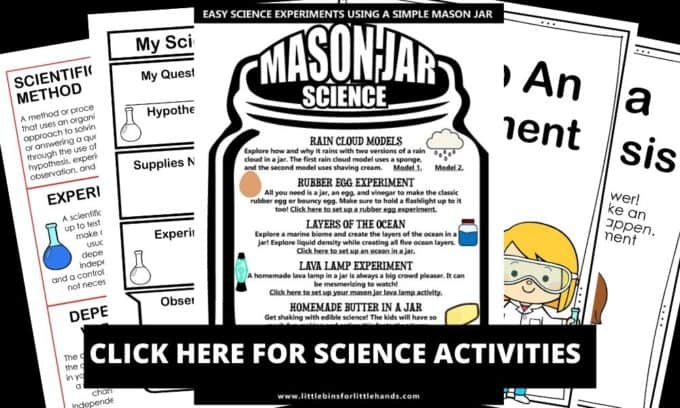
Looking for easy to print science activities?
We have you covered…
—>>> FREE Science Activities Pack
ALKA SELTZER EXPERIMENT
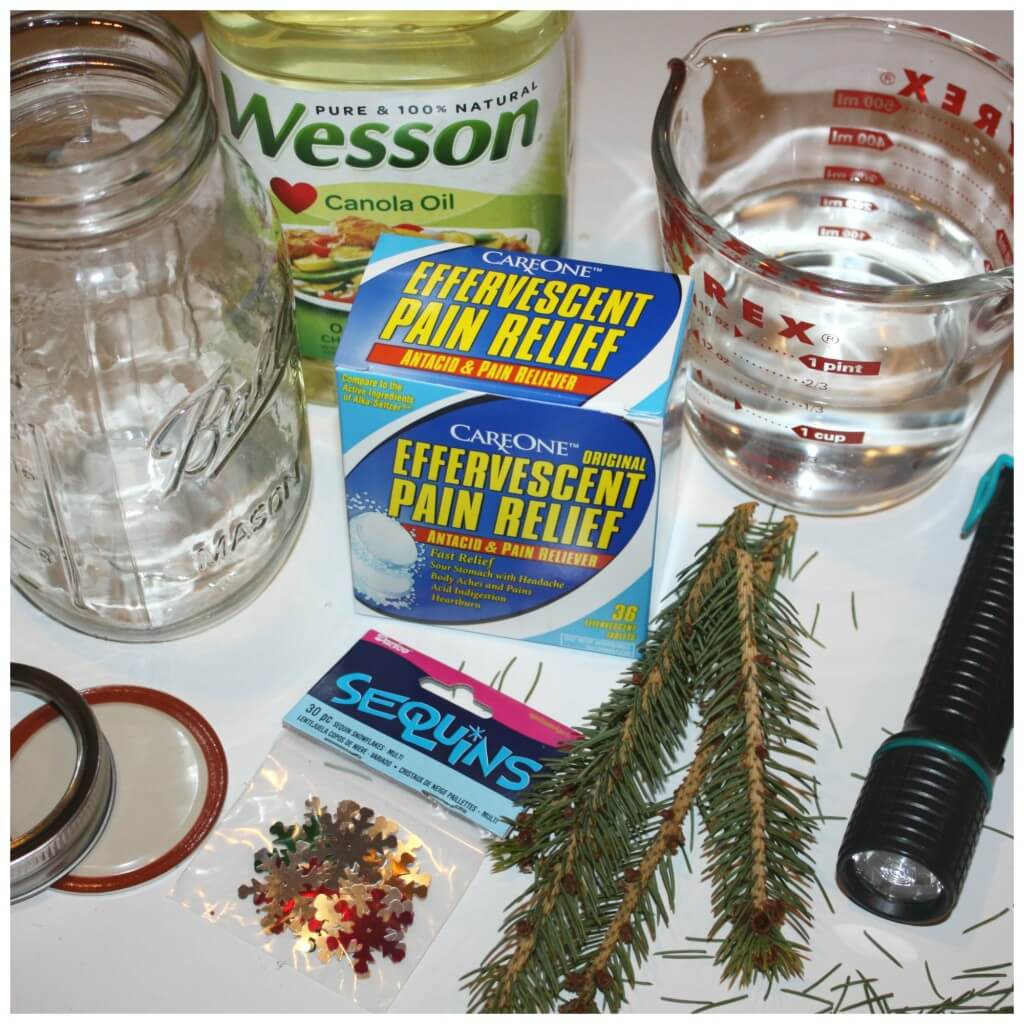
SUPPLIES:
- Alka seltzer tablets or store name brand is fine
- cooking oil
- water
- a jar or bottle with lid (yes, they will want to shake it too)
- food coloring, sequins or glitter (optional)
- flashlight (optional but way cool for a four-year old!)
HOW TO SET UP ALKA SELTZER EXPERIMENT
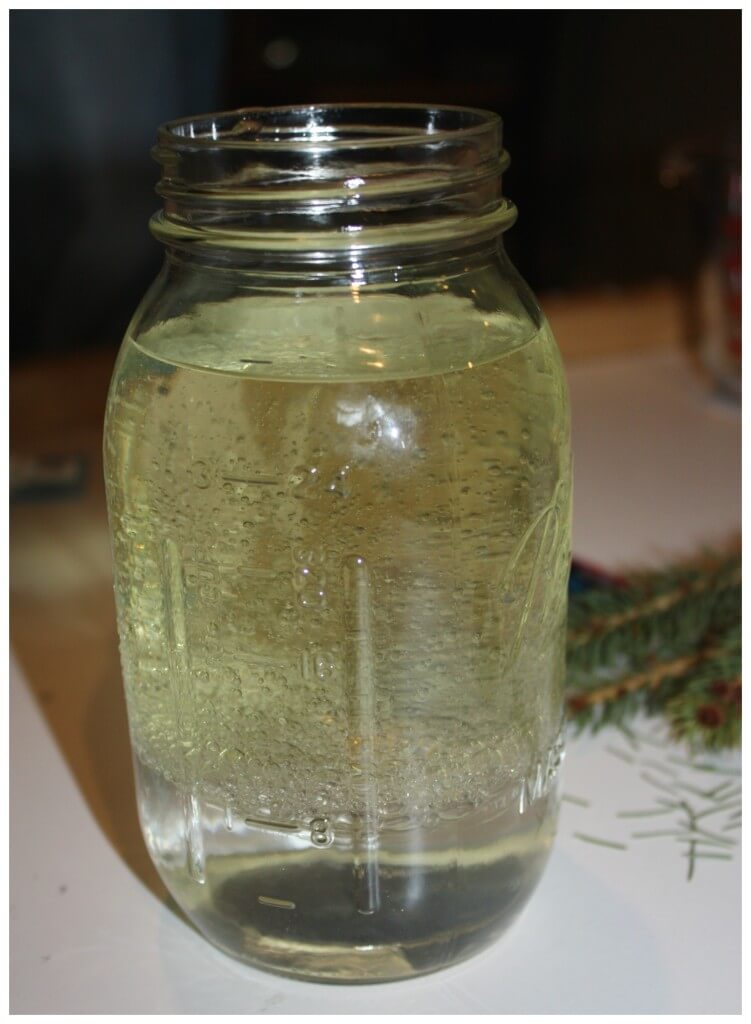
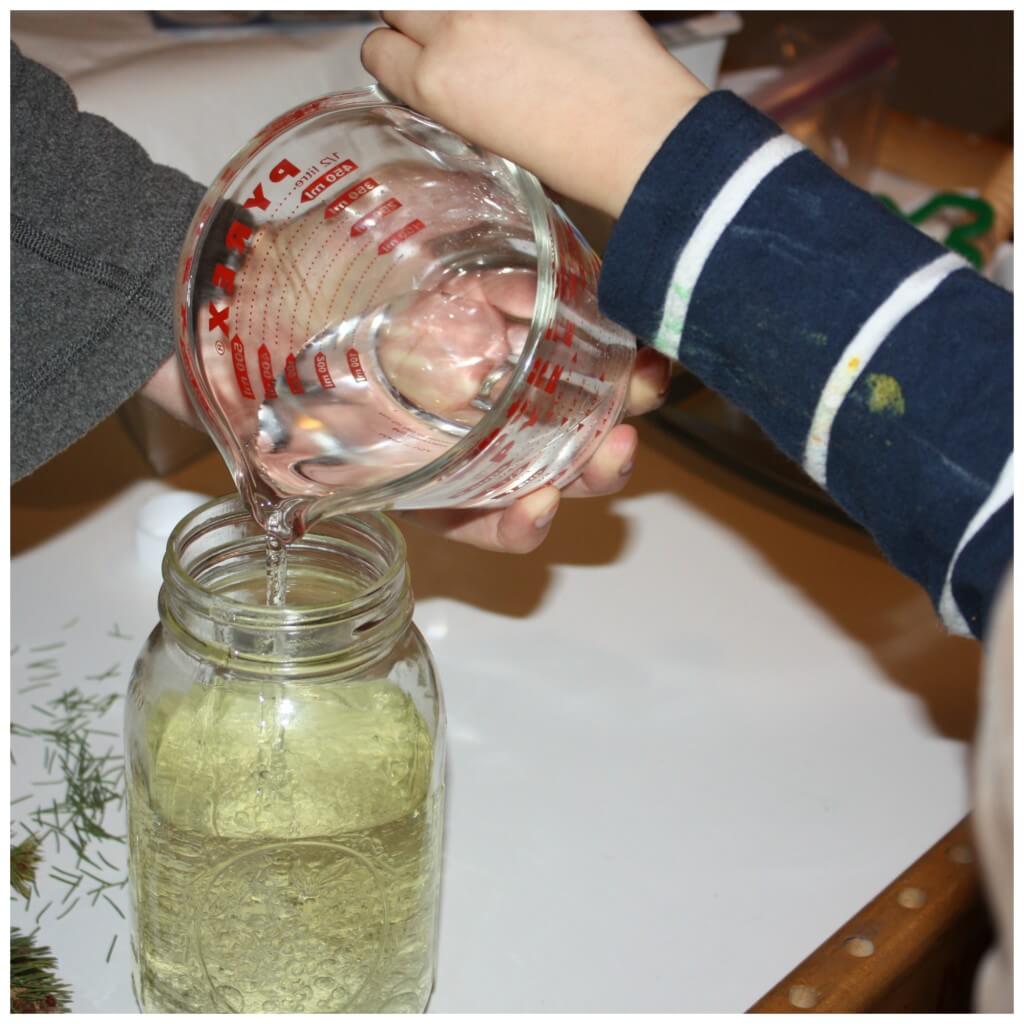
Step 1. Fill the jar with oil to about 2/3 full.

Step 2. Fill the jar with water to almost full.
Step 3. Add a good amount of food coloring so you can see the differences in density!
You could also add sequins or glitter here too. We added some sequins like snowflakes but it wasn’t anything remarkable. Liam did work on getting them to go down with the tablets. Once they got underneath, they would sometimes catch a bubble and ride up!
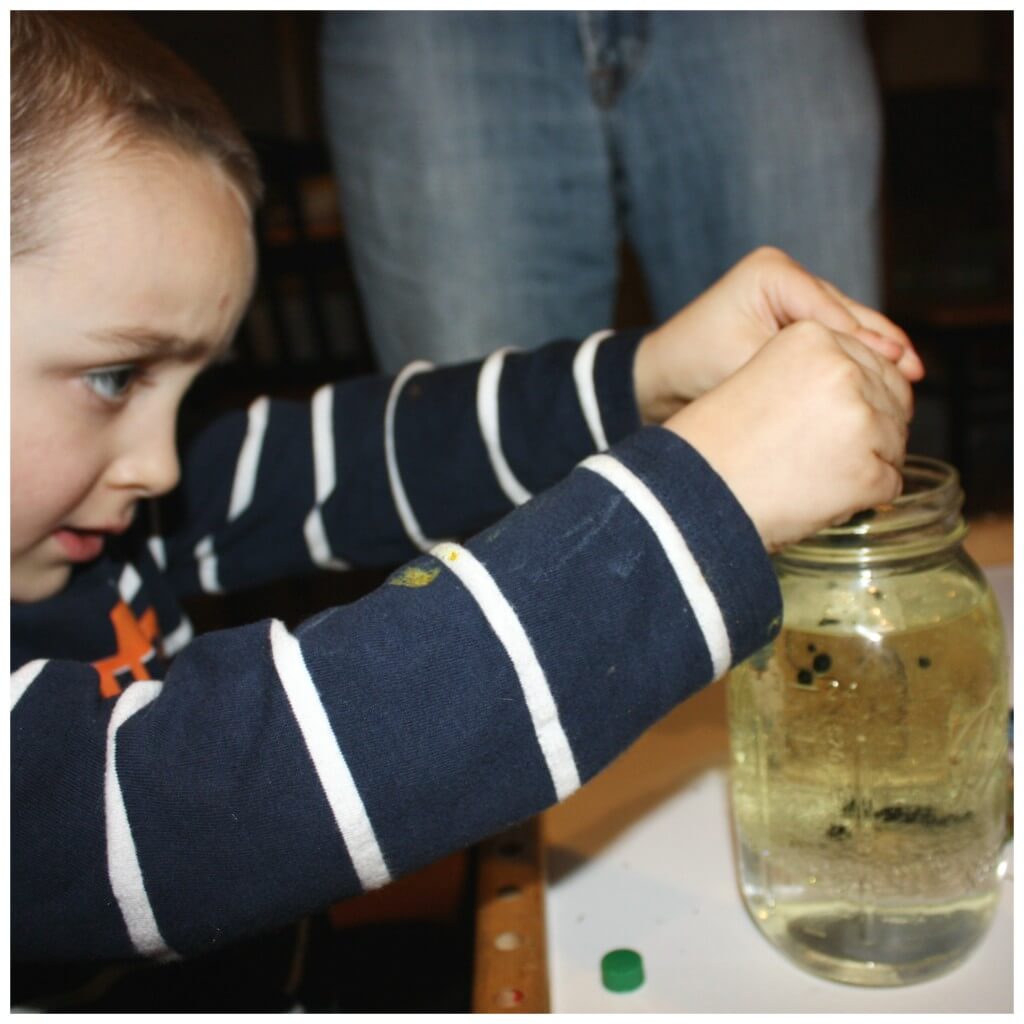
Step 4. Add a small piece of the tablet. We broke the tablets up into little pieces so that we would have lots to try to have smaller eruptions!
We used two full tablets which is probably the best amount. Of course he wanted more and it lost some of its effect, but he love adding it just as much!

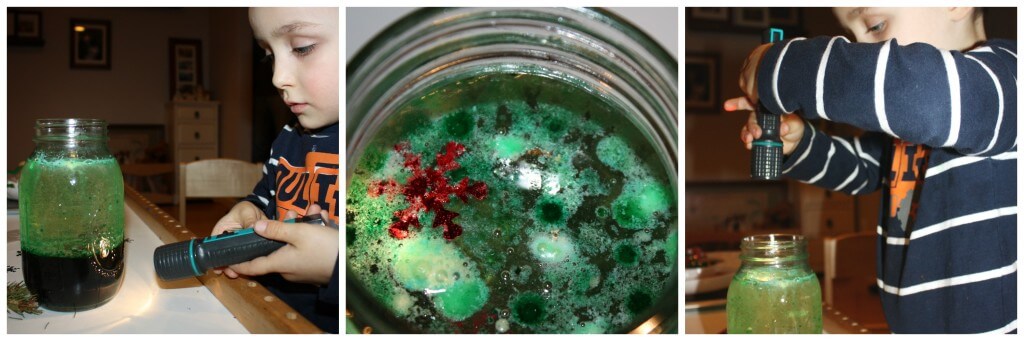
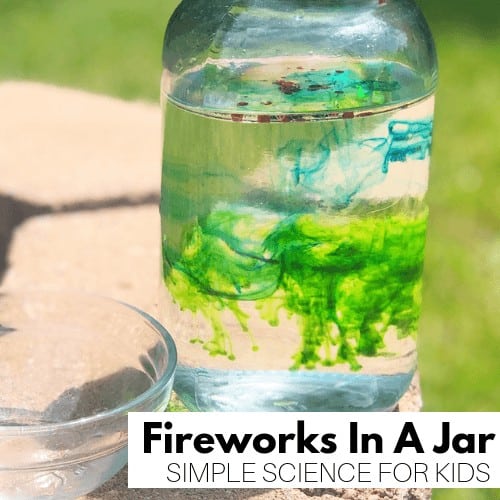
Step 5. Observe the fun and use the flashlight to light up the bubbles!
Step 6. Cover and shake if interested and watch the water and oil separate again!
HOW IT WORKS
There are quite a few things going on here with both physics and chemistry! First, remember liquid is one of three states of matter. It flows, it pours, and it takes the shape of the container you put it in.
However, liquids have different viscosity or thicknesses. Does the oil pour differently than the water? What do you notice about the food coloring drops you added to the oil/water? Think about the viscosity of other liquids you use.
Why don’t all liquids simply mix together? Did you notice the oil and water separated? That’s because water is heavier than oil. Making a density tower is another great way to observe how not all liquids weigh the same.
Liquids are made up of different numbers of atoms and molecules. In some liquids, these atoms and molecules are packed together more tightly resulting in a denser or heavier liquid.
Now for the chemical reaction! When the two substances combine (alka seltzer tablet and water) they create a gas called carbon dioxide which is all the bubbling you see. These bubbles carry the colored water to the top of the oil where they pop and the water then falls back down.
MORE FUN SCIENCE EXPERIMENTS FOR KIDS
TRY AN ALKA SELZTER SCIENCE EXPERIMENT TODAY!
Click on the image below or on the link for more easy and fun preschool science experiments.


We did something very similar this summer — using some old Efferdent tablets… So fun to watch!
This looks like so much fun! We haven’t experimented with oil yet, but we’re definitely going to have to give it a try!
Lots of great learning here! Thanks for linking up with After School!
Very clear explanations. Learners will enjoy it! Thank you!
Rohan
that looks like fun!!!! should try it when I get home aye…
I appreciate your article. Thank you so much Littlebins for this helpful article. Hands-on Science Classes is really effective for preschoolers as early Science Education. Thanks again and I will surely share your article with my friends.