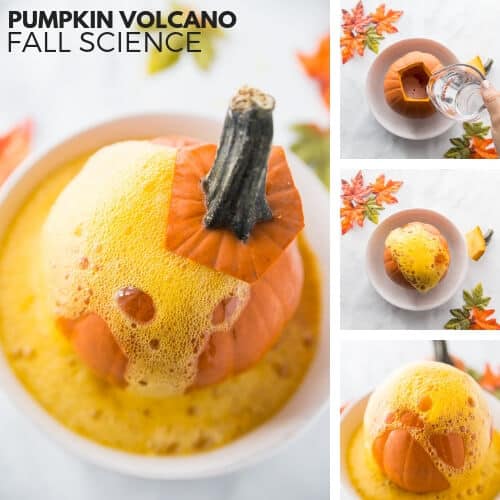
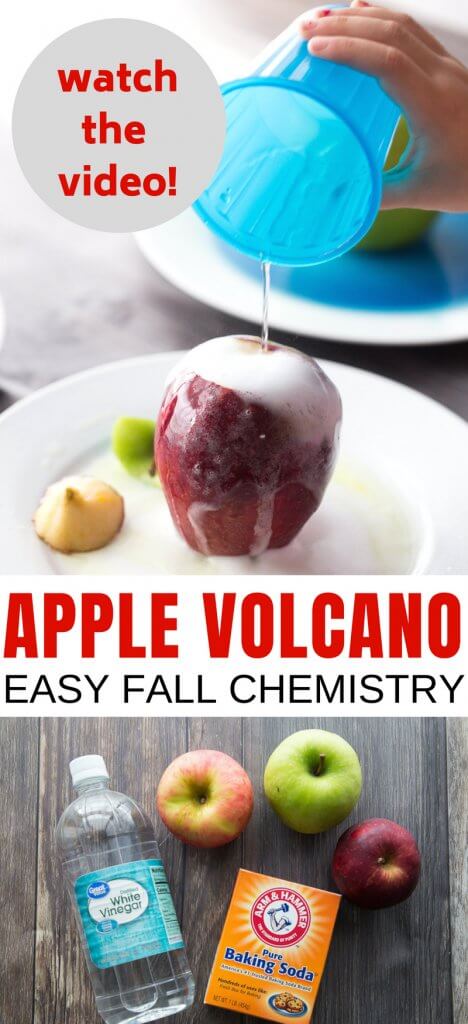
Enjoy erupting apple science for awesome fall science activities for kids! After our pumpkin volcano was a big hit, we wanted to try an APPLE-CANO or apple volcano too! Share this simple chemical reaction that the kiddos will love to try repeatedly.
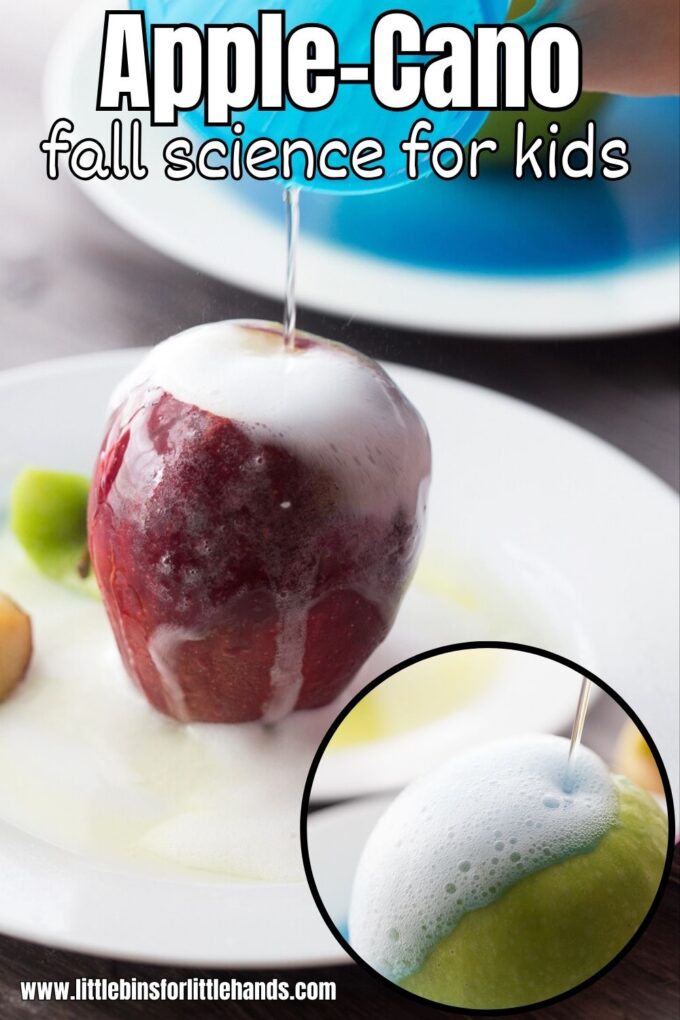
Apple Volcano Experiment
Explore chemical reactions such as baking soda (a base) and vinegar (an acid), which combine to create a fizzy eruption, producing carbon dioxide gas. This hands-on activity also introduces the concept of volcanic eruptions, demonstrating how gases and materials are expelled during an eruption. It is perfect for teaching states of matter and cause and effect through observation.
Recommended Grade Level: PreK-2nd Grade
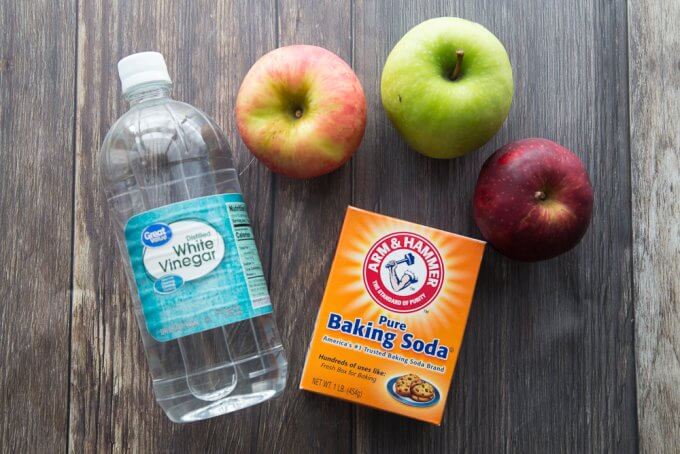
Supplies:
- Apples
- Baking Soda
- Vinegar
- Container to catch the fizz
- Knife to carve out a hole (for adults to do!)
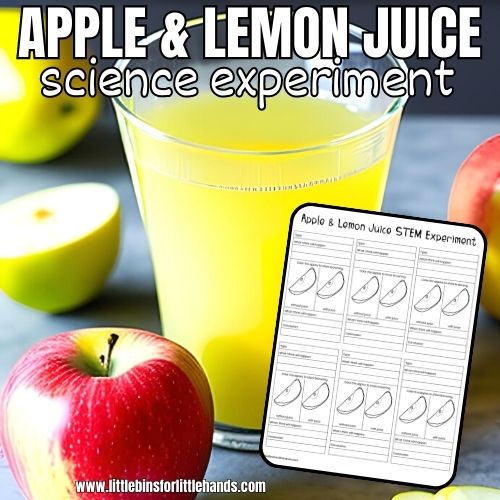
🔎TIP: You could also try lemon juice or apple cider vinegar for this volcano experiment and compare the results! Check out our lemon volcano!
How To Set Up An Apple Volcano
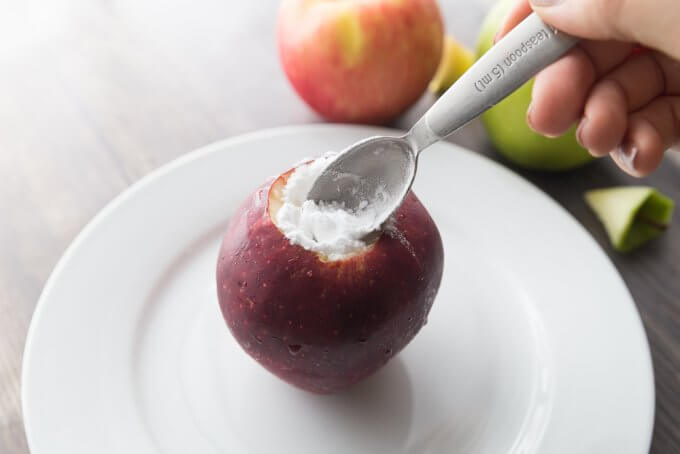
STEP 1. Put your apple on a dish, pie plate, or tray to catch the runoff.
💡 NOTE: An adult should use a knife to cut a hole or vessel in the top of the apple about halfway down.
STEP 2. You can then have the kiddos put a couple of spoons of baking soda into the hole.
💡 Hint: Add a drop of dish soap if you want a foamier eruption! The chemical eruption will produce more bubbles with the added dish soap and create more runoff too!
STEP 3. Add a few drops of food coloring if you want. Mix it up and pair different colors with different apples.
STEP 4. You will want to pour your vinegar into an easy to use cup for the kiddos. Additionally, you can provide them with eye droppers or turkey basters for extra fun.
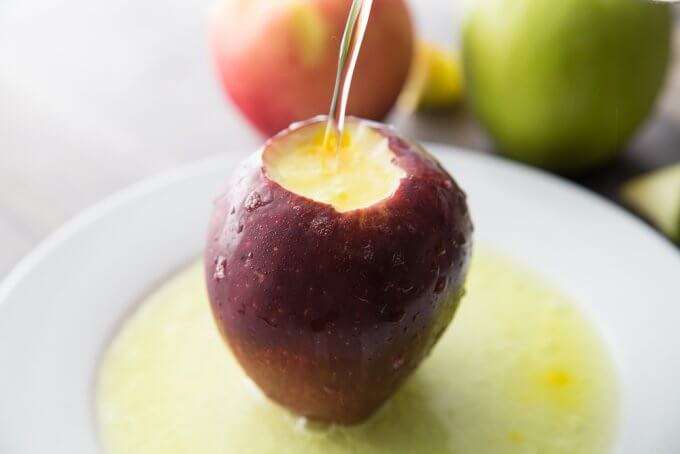
Pouring straight from a cup into the apple will produce a more dramatic volcano effect while using a baster or eyedropper will produce a more minor eruption. However, your kids will also have a blast exploring these science tools.

Check out fizzing red and green apples with all sorts of colors!

The Science Behind The Apple Volcano
A chemical reaction occurs between two or more substances that change and form a new substance. In this case, you have an acid, vinegar, base, and baking soda. When they combine, they make a gas called carbon dioxide, producing the eruption you can see.
The carbon dioxide escapes the mixture in the form of bubbles. You can even hear them if you listen closely. The bubbles are heavier than air, so the carbon dioxide collects at the apple’s surface or overflows the apple because of the small vessel we have given it.
In this baking soda volcano, the dish soap is added to collect the gas and form bubbles that give it a more robust lava like flow down the side! That equals more fun!
You don’t have to add dish soap but it’s worth it. You can even set up an experiment to see which eruption you like more, with dish soap or without.
You can also experiment with a variety of containers to find your perfect volcano vessel or create a more traditional one. We have enjoyed a variety of volcano projects with different fruits as well as a LEGO volcano and an easy sandbox volcano.
Read more about the science behind baking soda and vinegar experiments.

Science Experiments for Kids
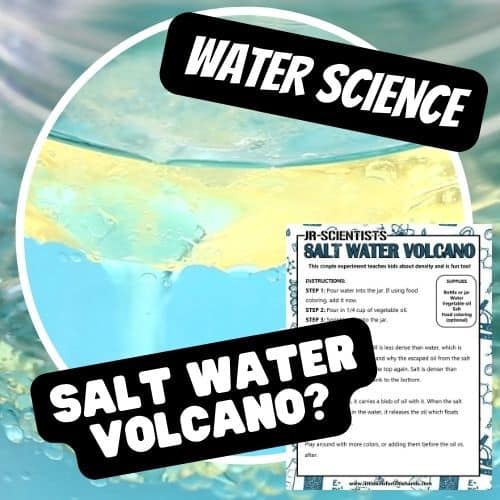
- Make a classic salt dough volcano
- Check out an underwater volcano
- Fall science with a pumpkin volcano
- Lemon volcanoes for fun chemistry
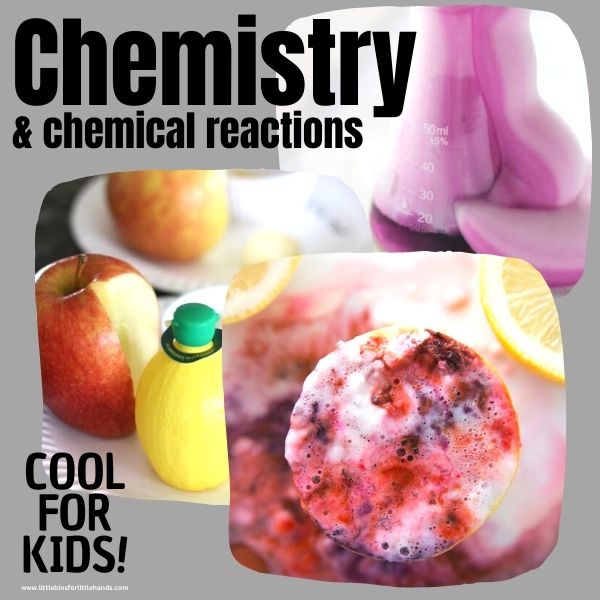
- Chemical reactions for kids
- Apple and lemon juice experiment


Applying the Scientific Method
🔎 The scientific method is a way to explore and understand the world around us. Learn more about the scientific method for kids here!
In this experiment, kids can follow these steps:
- Conclusion: What did you learn from the reaction and how it worked?
- Ask a Question: What happens when baking soda and vinegar mix?
- Hypothesis: Predict what will happen during the eruption.
- Experiment: Mix the baking soda and vinegar inside the apple.
- Observe: Watch the eruption and record any changes.
Printable Science Projects For Kids
If you’re looking to grab all of our printable science projects in one convenient place, plus exclusive worksheets and bonuses like a STEAM Project pack, our Science Project Pack is what you need! Over 300+ Pages!


I did this experiment with my daughter’s pre-k class this morning and it was a hit!!! That being said, I did something different; we used two different types of apples, a red delicious and a granny smith. Did the green apple react differently? You betcha! The difference was only a slight one but there was more bubbly from the green apple. Why? We are thinking the difference is due to the different acidic levels/tartness in the apples. =)
Loved this. I used a red pepper and it worked really well. “V” for volcano, vegetable, and vinegar!
Science is fun!!!
This is so cool. We did this five or more times. My three year old was very impressed.
Thank you for these great ideas! I used them in our STEM Collaboratory today with Kindergarten and they went wonderfully well! The kids had fun and showed great grit, brainstorming, testing, and perseverance!
Love to hear that! Make sure you try it with mini pumpkins too!
Thank you for blogging this. I’ve been a long time reader of your blog.
Awesome! Glad to hear that. We always have something new and fun to share.
Love this experiment! I would love to include it in a roundup on my site growingwilddandelions.com . I would like to use one photo and I will credit your site and link back to your original post. If you agree I will also add you to my list for future posts. Please let me know if this is OK!
Thanks!
Please send an email to sarah@littlebinsforlittlehands.com