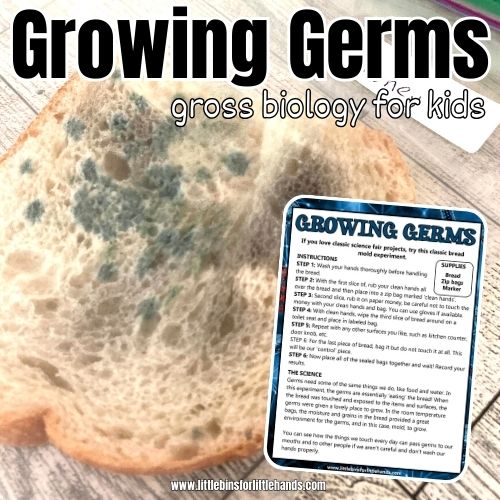
Grow mold for science with this simple bread mold experiment. By testing the effects of moisture on bread, students can observe mold development over time and learn how fungi grow and decompose organic materials. This hands-on microbiology activity is perfect for home, school, or as part of a science fair project.
Bread Mold Experiment
Field of Science: Microbiology / Biology
Grade Level: 4th–8th Grade
Concepts Explored:
- Mold growth and fungal reproduction
- Decomposition and the role of fungi in ecosystems
- Effects of environmental factors (moisture, temperature, air)
- Scientific method and experimental design
NGSS Connection (Simplified):
- What are we trying to figure out?
How does the amount of moisture affect the growth of mold on bread? - What do we need to test or observe?
We are testing how mold grows on bread with and without moisture, keeping other conditions (air, light, temperature) the same. - How can we show what we learned?
We’ll observe and record mold growth over time, compare the results, and present them in charts, photos, or drawings.
Supplies Needed
- 2 slices of the same type of bread
- 2 zip-top plastic bags
- Water (dropper or teaspoon)
- Permanent marker for labeling
- A warm, dark place to store the samples
- Observation notebook or chart (see free printable below)
How to Set Up the Bread Mold Experiment
🔎 What’s Your Hypothesis? Predict before you begin:
Which bread slice will mold faster and why?
Use your observations to compare results to your hypothesis.
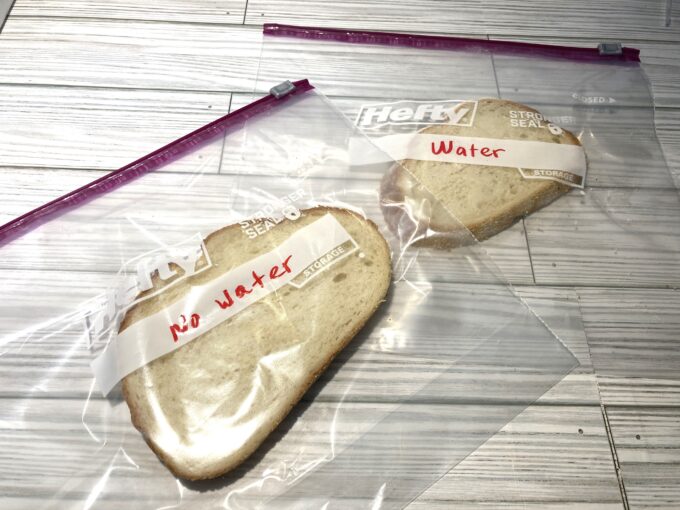
Step 1: Label Your Bags
Label one bag “Wet Bread” and the other “Dry Bread” using a marker.
Step 2: Add Water to One Slice
Place 10 drops of water on one slice of bread and seal it inside the “Wet Bread” bag.
Step 3: Add the Dry Control Slice
Place the dry bread slice into the second bag labeled “Dry Bread” and seal it.
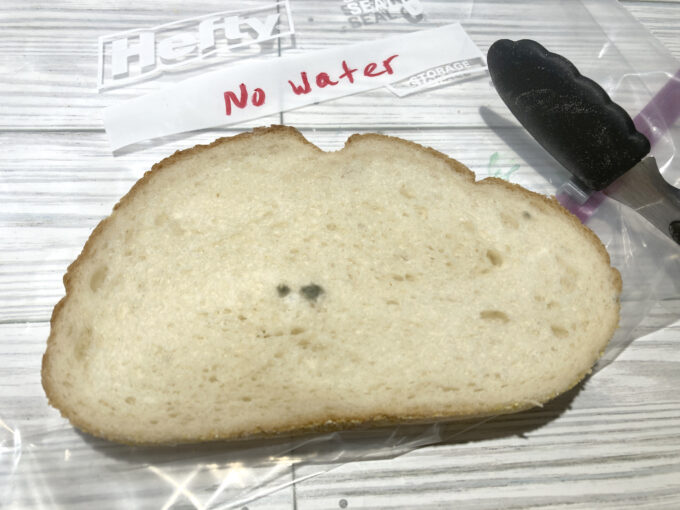
Step 4: Store and Observe
Put both bags in a warm, dark location (like a cabinet).
💡 Timing Tip: Mold may start to appear in as little as 3–5 days. For best results, observe the bread for 7–10 days to see clear differences and mold patterns.
⚠️ Safety Note:
Do not open the moldy bags once growth has started. Mold spores can be harmful if inhaled. Always keep the bags sealed, observe from the outside, and dispose of them in the trash after the experiment is complete.
Bread Mold Experiment Variations to Try
Extend the investigation by changing one variable at a time:
- Type of bread: Try white, wheat, or gluten-free bread.
- Moisture level: Use different amounts of water (5, 10, or 20 drops).
- Temperature: Compare mold growth in warm vs. cold environments.
- Light exposure: Store one bag in sunlight and one in darkness.
- Air exposure: Leave one slice in a sealed bag and one open to the air.
🔎 Why not use extra slices of bread and set up this germ science experiment!
Make It a Science Fair Project
To turn this into a science fair project:
- Clearly define your question and hypothesis.
- Identify your independent (moisture), dependent (mold growth), and controlled variables.
- Record your observations daily using journal pages or photo evidence.
- Create a bar graph or mold growth chart.
- Draw conclusions and reflect on what you learned.
Grab our Free Printable Science Journal Pack to help organize your work!

What Is Mold and How Does It Grow?
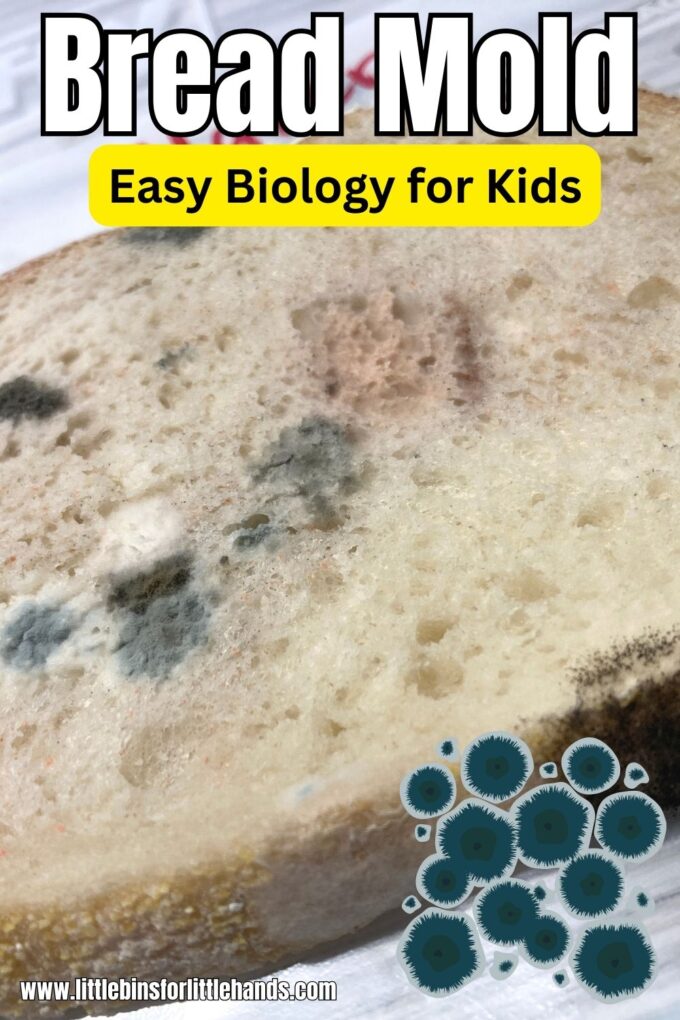
Mold is a type of fungus, which means it’s not a plant, animal, or bacteria—it’s its own category of living thing. The mold that grows on bread is usually Rhizopus stolonifer, also known as black bread mold.
Mold grows from tiny particles called spores that float through the air. These spores land on food, and if the conditions are right—meaning it’s warm, moist, and exposed to air—they grow.
Once mold starts growing, it sends out long, thread-like structures called hyphae. These hyphae spread out and form a fuzzy-looking mat called mycelium. The mold uses enzymes to break down the bread and absorb nutrients. That’s why mold helps with decomposition—breaking down dead things in nature.
Kids can see how living things depend on their environment by experimenting with how moisture affects mold growth. It’s also fun to learn how some microorganisms grow and spread.
How This Fits Into a Microbiology Science Fair Project
This bread mold experiment is a perfect match for:
“How Does Mold Grow on Different Foods?”
You can use it as a standalone mold experiment or expand it by testing other foods like fruit or cheese. It’s an accessible and engaging way to study fungi and decomposition.
Science Fair Resources for Kids
- Using the Scientific Method with Kids
- Writing a Hypothesis for Kids
- Understanding Variables in Science
- How to Make a Science Fair Board
- Easy Science Fair Projects for Kids