Students finished the experiment — now they need to present it.
A science fair board turns observations, data, and conclusions into a clear visual story judges can understand in seconds. The problem most families face isn’t the experiment… it’s figuring out what actually belongs on the display board and how to arrange it.
This guide shows exactly what to put on a science fair board, where each section goes, and how kids can build it themselves without it becoming a parent project.
Grade Level: Best for Grades 3–6 (younger students can use visuals and labels)
Then come back here to pick an experiment that fits.

A strong display board does not need to be fancy — it needs to tell a clear scientific story. Judges should be able to walk up, read from left to right, and understand the question, the testing method, the results, and the conclusion without asking questions.
What Is a Science Fair Board?
A science fair board is a visual summary of your experiment.
It tells the story of your investigation from question → test → conclusion.
Instead of explaining your project out loud, your board should allow someone to understand it just by reading and looking.
💡 Think of it as your experiment turned into a visual report.
What goes on a science fair board
Every science fair board explains the same investigation process:
question → hypothesis → test → data → conclusion
Each section represents one step of the scientific method. The board should show evidence of thinking, not decoration.
👉 Learn the process behind these sections → scientific method for kids
Science Fair Board Layout (Tri-Fold Setup)
Most projects use a standard 36″ x 48″ tri-fold display board.
Each panel has a specific job:
LEFT → Why you did the experiment
CENTER → What you did and what happened
RIGHT → What you learned
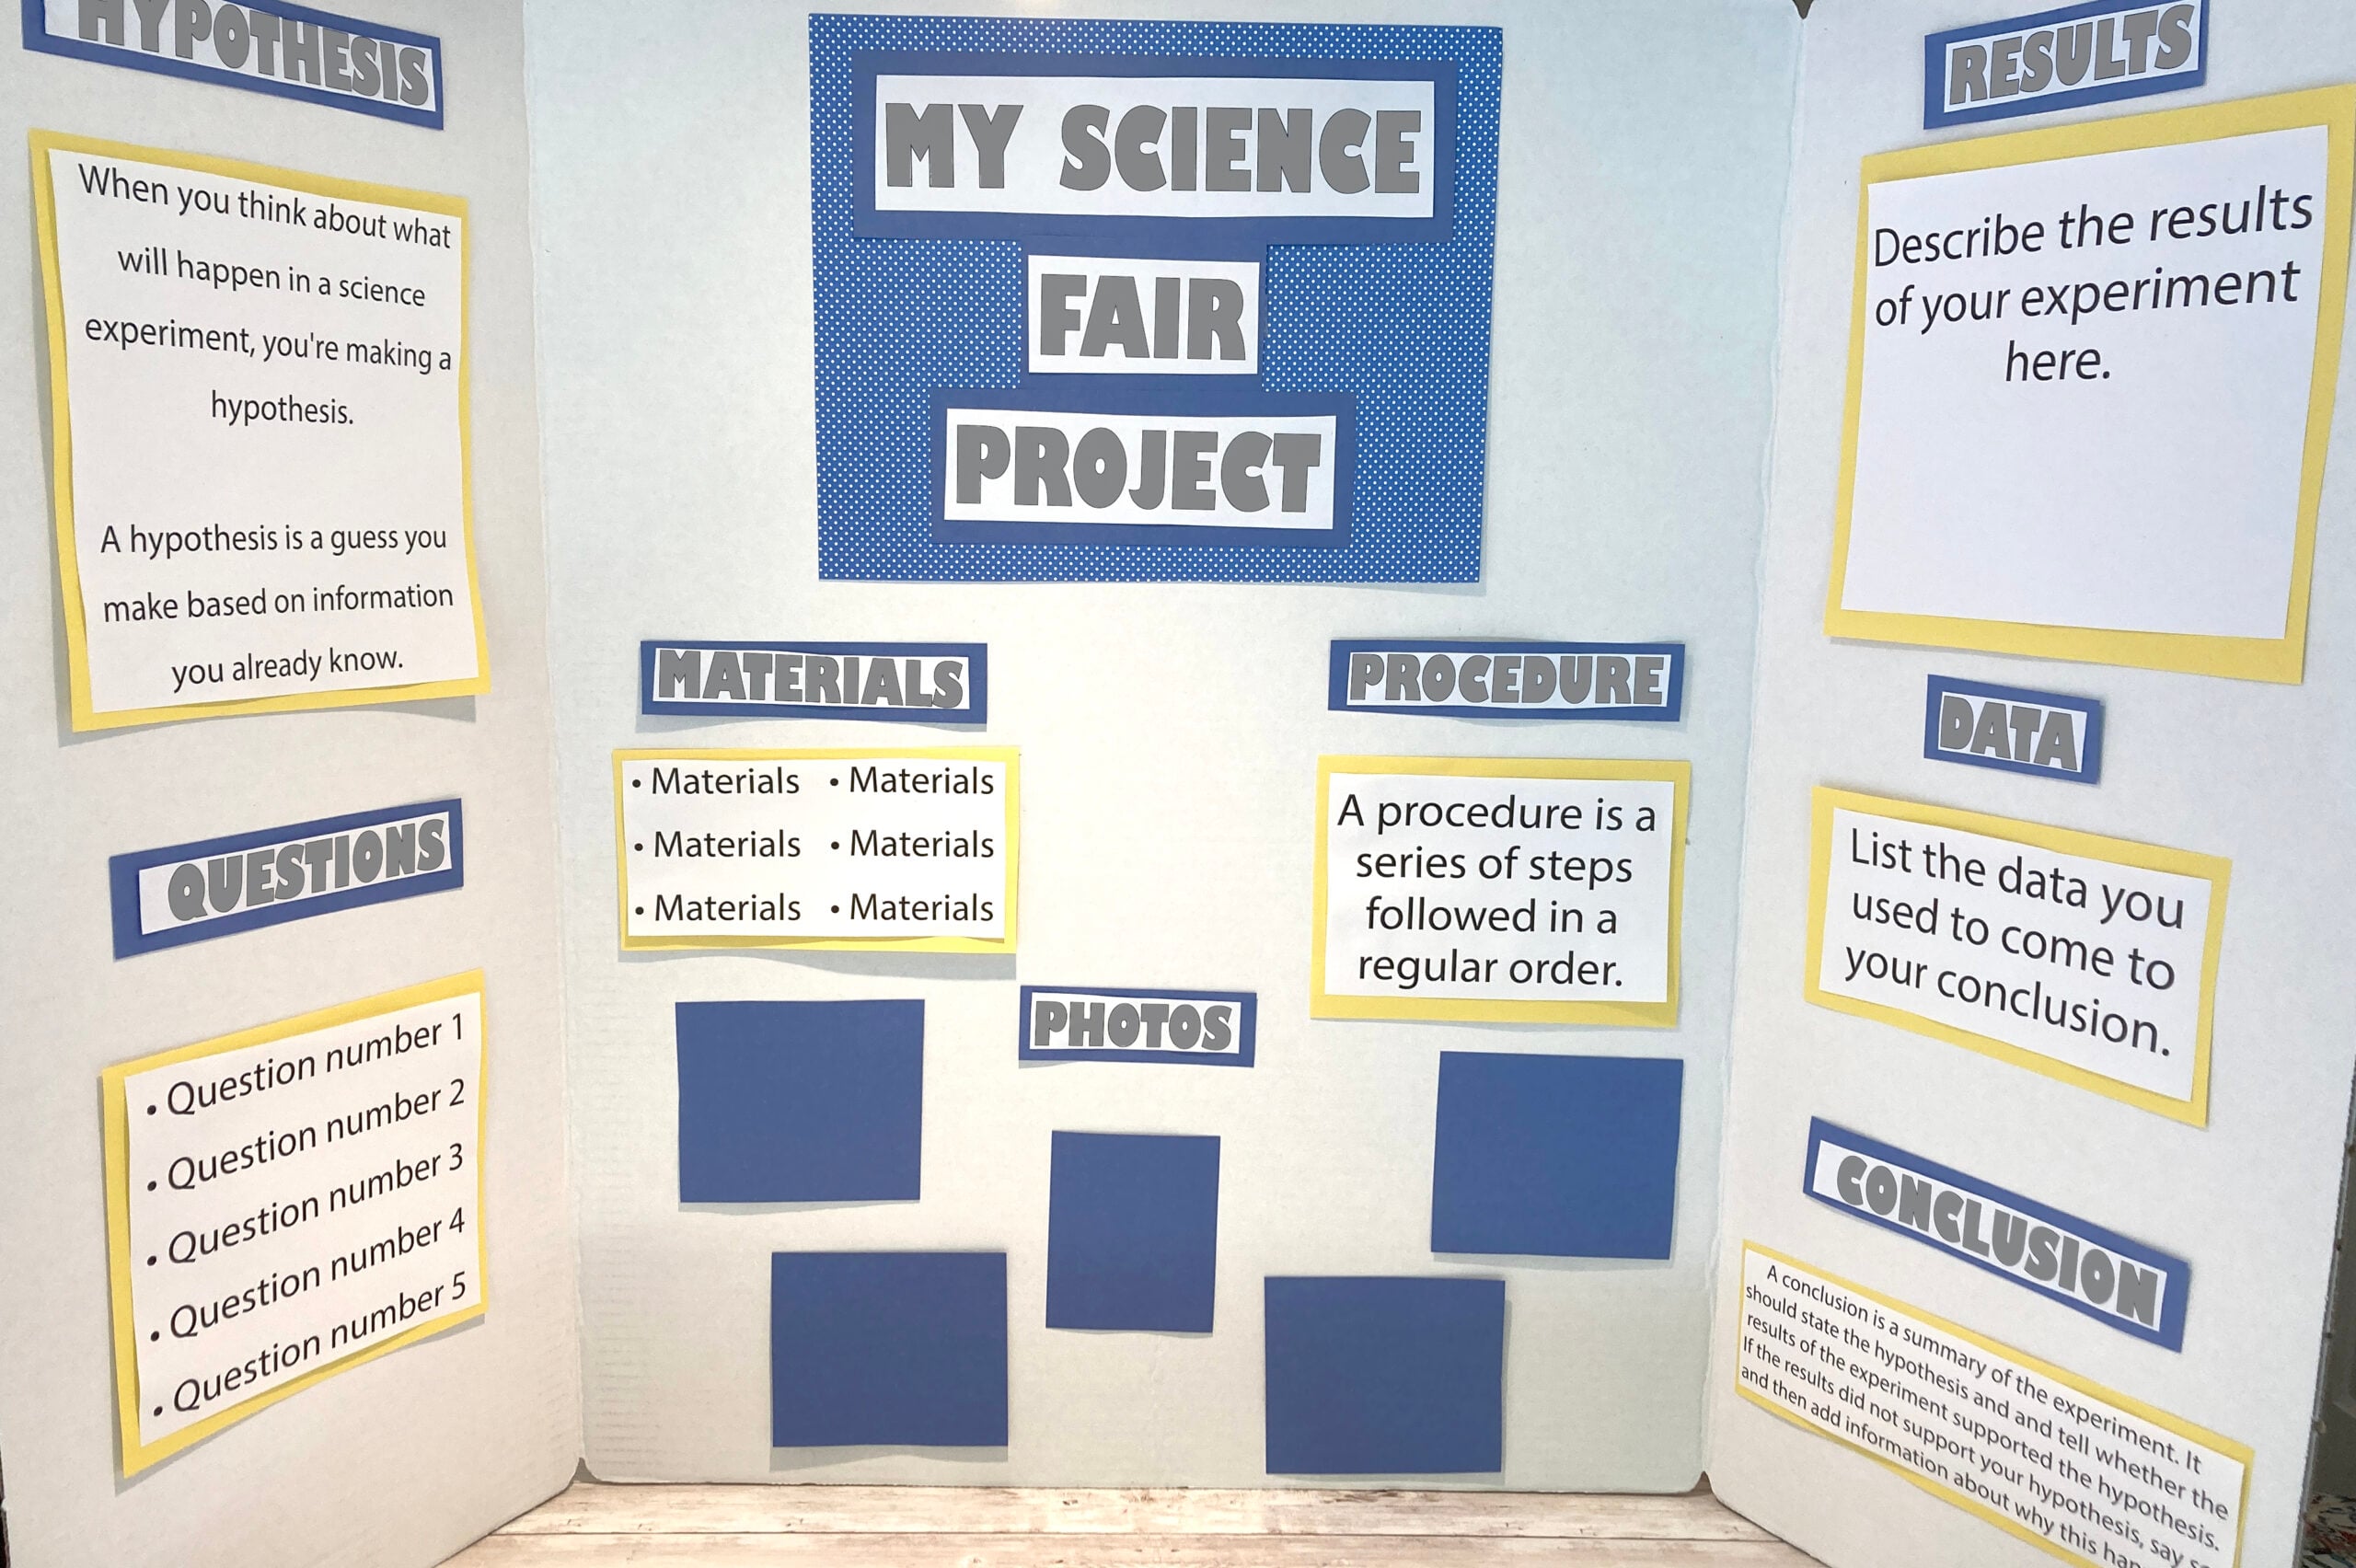
Center Top — Title
Your title should be readable from 6 feet away.
Good titles explain the experiment, not just the topic.
Instead of:
“Plants”
Write:
“Does Sunlight Affect Plant Growth Speed?”
Left Panel — Question & Research
This panel explains the project’s purpose.
Include:
Question / Problem
What are you trying to find out?
Hypothesis
Your prediction is based on what you think will happen.
Background Research
Short explanation of the scientific idea behind your project.
Tip: 2–4 short paragraphs are enough. Judges prefer clear, simple explanations.
Center Panel — Experiment & Data
This is the most important panel.
It shows the actual investigation.
Include:
Materials
List everything used.
Variables
- Independent Variable — what you changed
- Dependent Variable — what you measured
- Controlled Variables — what stayed the same
Procedure
Numbered steps explaining how you ran the test.
Data / Results
Use visuals whenever possible:
- charts
- graphs
- tables
- photos
Judges look here first.
Right Panel — Conclusion
This panel explains what your results mean.
Include:
Conclusion
Did your results support your hypothesis?
Explanation
Why do you think it happened?
Improvements / Next Steps
What would you test differently next time?
What To Put In Front of the Board
Place these on the table:
- Lab notebook or journal
- Extra data sheets
- Testing samples (if allowed)
- Demonstration model (optional)
Judges often check the notebook to confirm real testing occurred.
Basic Science Fair Board Supplies
- Tri-fold display board (white or black)
- Printed text sections
- Glue stick or double-sided tape
- Ruler for straight alignment
- Colored paper backing (2-3 colors max)
- Printed charts and photos
- Markers for headings
Keep decorations minimal — clarity scores higher than creativity.
Presentation Tips That Increase Scores
- Leave white space, so sections are easy to read
- Use large headings and short paragraphs
- Align papers evenly
- Use graphs instead of long explanations
- Let the photos show your process
💡 A clean board is easier for judges to grade — and usually earns higher marks.
Need a Project First?
Before building the board, choose an experiment.


- Reaction Time Experiment
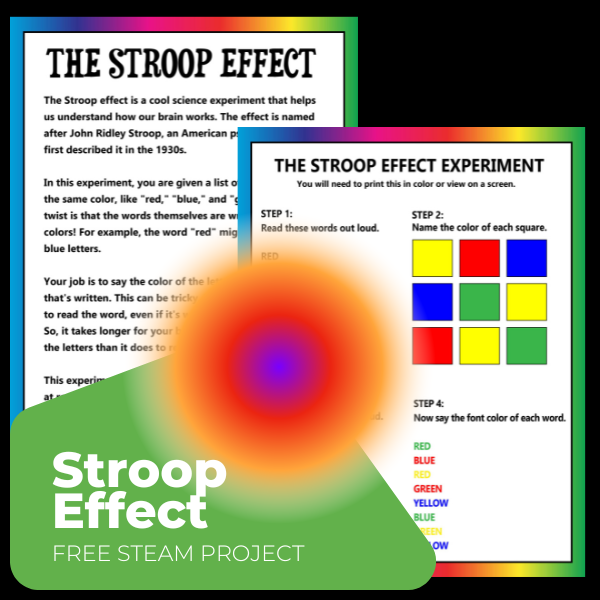
- Stroop Test
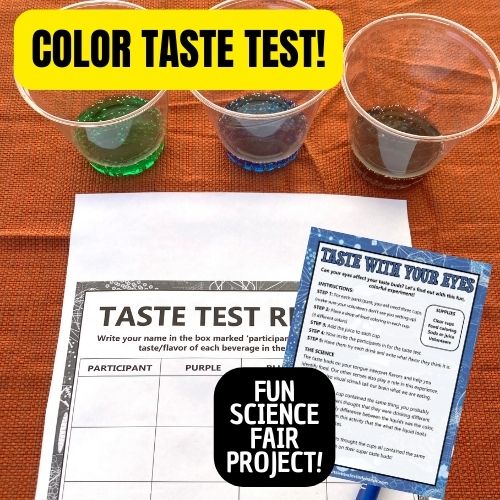
- Color Taste Test
- Plant Growth Experiment
- What Colors Absorb Heat Better
- Airplane Science Fair
Try more → Easy Science Fair Projects
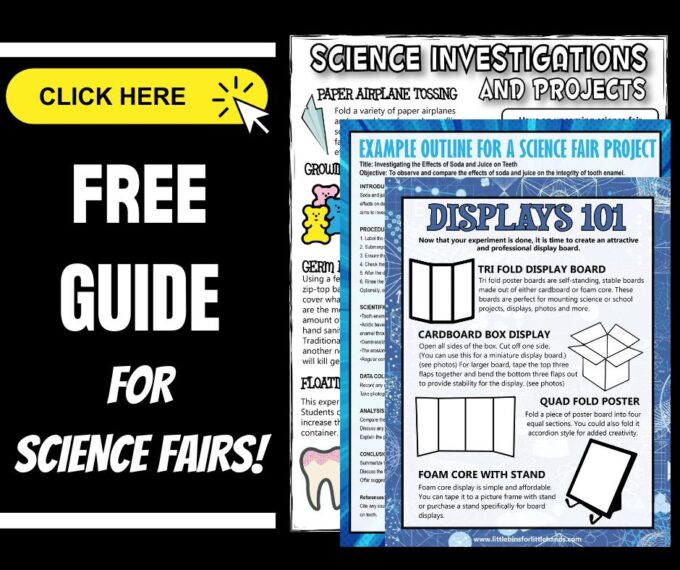
Printable Science Fair Labels & Templates
Download ready-to-use section labels and planning pages to organize your board faster.
Includes layout guides, data sheets, and experiment planning pages.
👉 Get the Science Fair Project Pack
Science Fair Board FAQ
What size should a science fair board be?
Most schools use a standard 36″ x 48″ tri-fold display board. Always check your teacher’s rules, but this size works for nearly all elementary science fairs.
Does the hypothesis go on the board?
Yes. The hypothesis should appear on the left panel under the question. It explains what you predicted would happen before testing.
What order should the sections go in?
Left to right: Question → Hypothesis → Research → Procedure → Results → Conclusion. The board should read like a story of the experiment.
Should I decorate my science fair board?
Keep decorations minimal. Judges score clarity higher than creativity. Use color for borders and headings, not background patterns that make text hard to read.
Do I need pictures of my experiment?
Yes. Photos help prove you actually performed the experiment and make results easier to understand. They often improve judging scores.
Do judges read everything?
Usually no — they scan first. Clear headings, charts, and a readable layout matter more than long paragraphs.
Do science fair boards have to be tri-fold?
Most fairs require a tri-fold board, but check rules first.
Should the board include every step?
Yes — missing hypothesis or data is the most common scoring deduction.
Can I handwrite the board?
Typed text is easier to read, but neat handwriting is acceptable for younger grades.
Where do graphs go?
Graphs belong in the center panel because they show the experimental results.

Make Science Fairs Fun!
This printable project pack walks kids step-by-step from idea → experiment → display board, so they understand what they’re doing (not just glue pieces together).


