Looking for a simple way to show kids how the lungs work? This DIY lung model experiment uses just a bottle and balloons to demonstrate the process of breathing. Kids will learn about the lungs, diaphragm, inhaling, and exhaling with this hands-on life science activity!
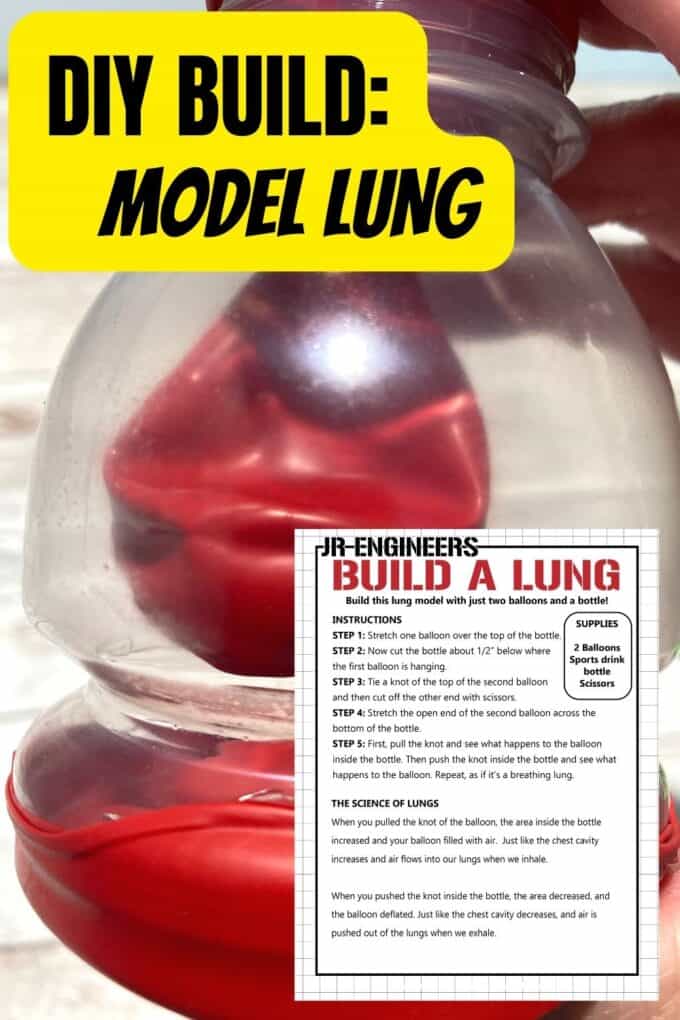
Balloon Lung Model
Branch of Science: Life Science (Human Anatomy)
Grade Level: Elementary (K–5)
Concepts Explored: Lungs, diaphragm, inhaling, exhaling, air pressure, respiratory system
Our lungs are the main organs of the respiratory system. When we breathe in, our diaphragm contracts and pulls downward, increasing the space in our chest cavity and lowering the air pressure so air flows in. When we exhale, the diaphragm relaxes, the chest cavity contracts, and the higher air pressure pushes air out.
🔎 This lung model shows the same process with balloons and a bottle standing in for your chest cavity.
NGSS Guiding Questions
- What happens to your lungs when you breathe in?
- How does the diaphragm help air move in and out of the lungs?
- Why does changing the volume of the chest cavity change how air flows?
Supplies Needed
- 2 balloons
- 1 sports drink bottle (or plastic bottle)
- Scissors
- Find more lung activities in our Anatomy Pack for Kids
🔎 Making DIY science models with kids is a fantastic way to explore big concepts!
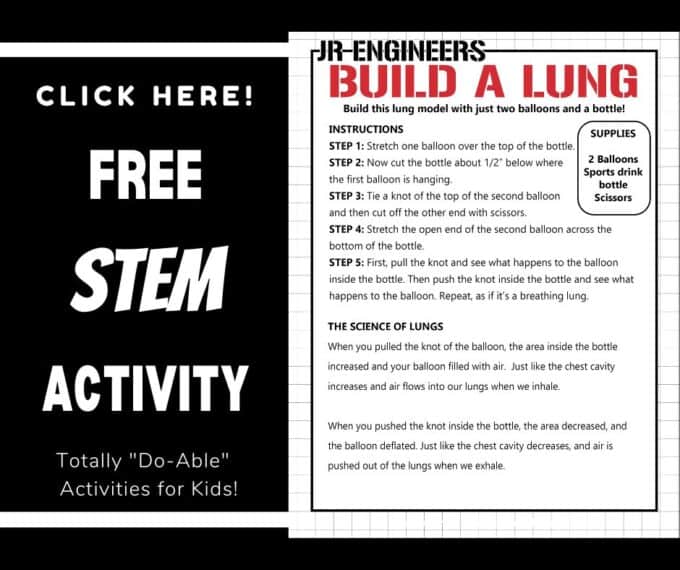
How to Make Balloon Lungs
STEP 1: Stretch one balloon over the neck of the bottle. This balloon will be your “lung.”
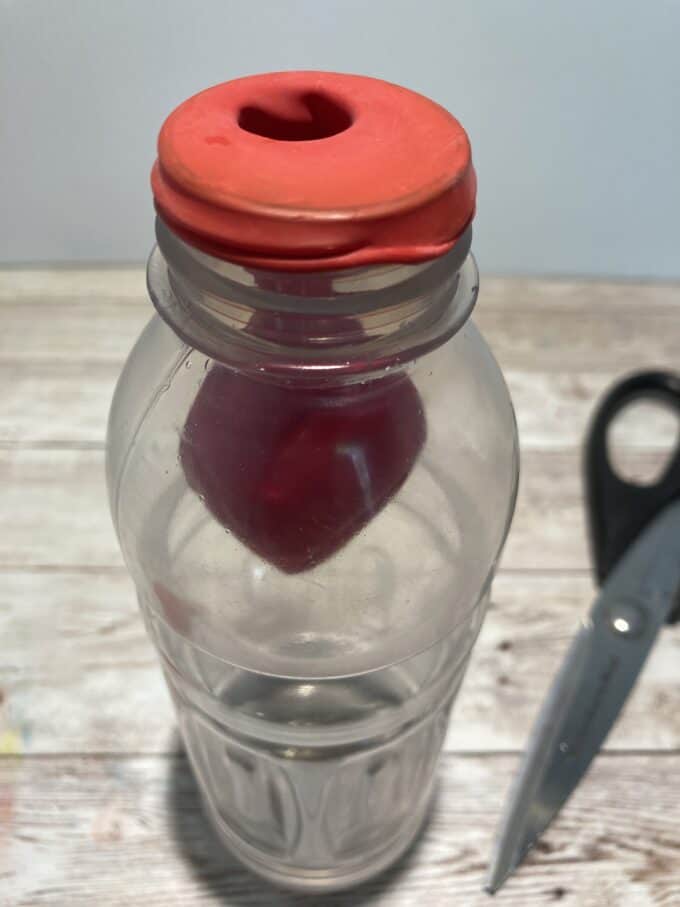
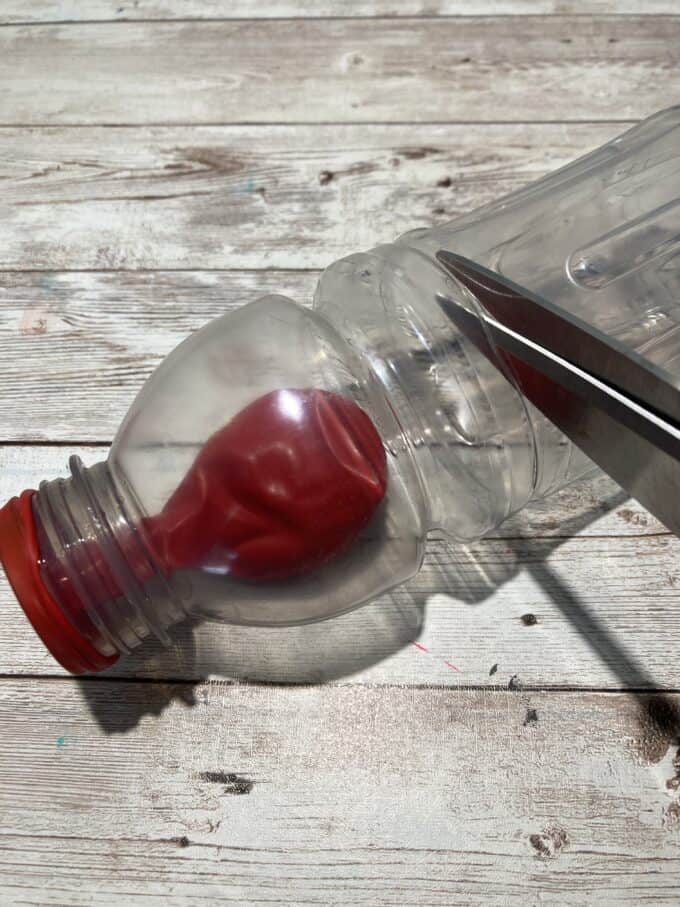
STEP 2: Cut the bottle about ½ inch below where the first balloon hangs.
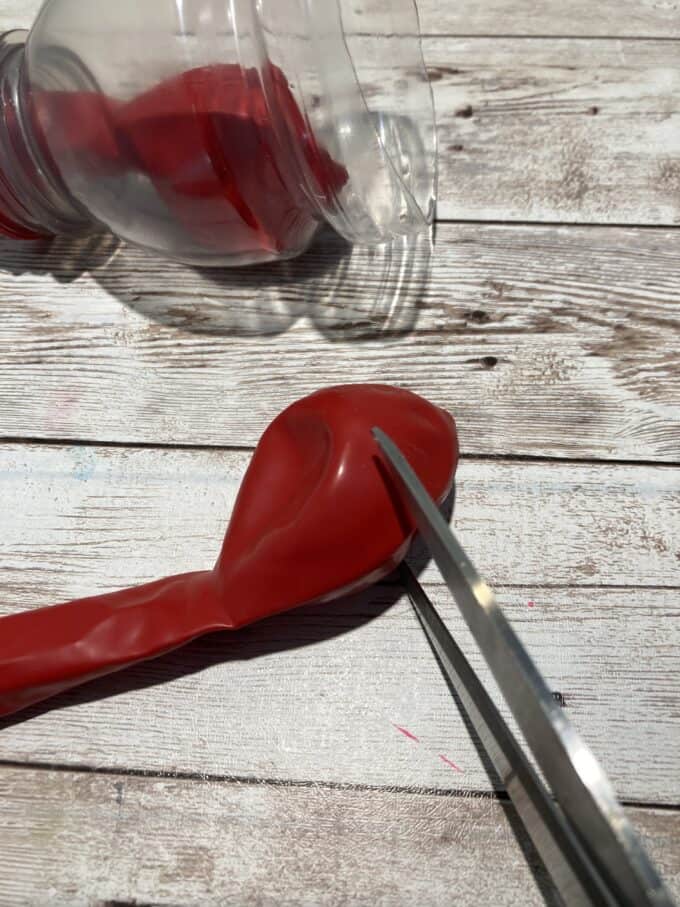
STEP 3: Tie a knot in the second balloon, then cut off the round end.
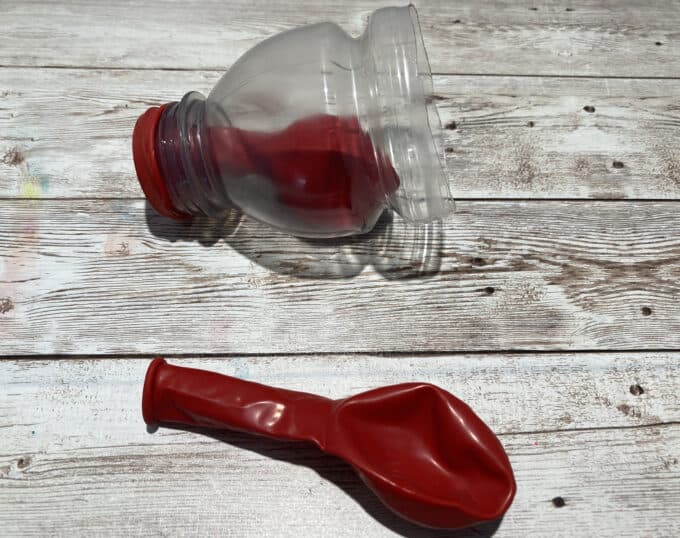
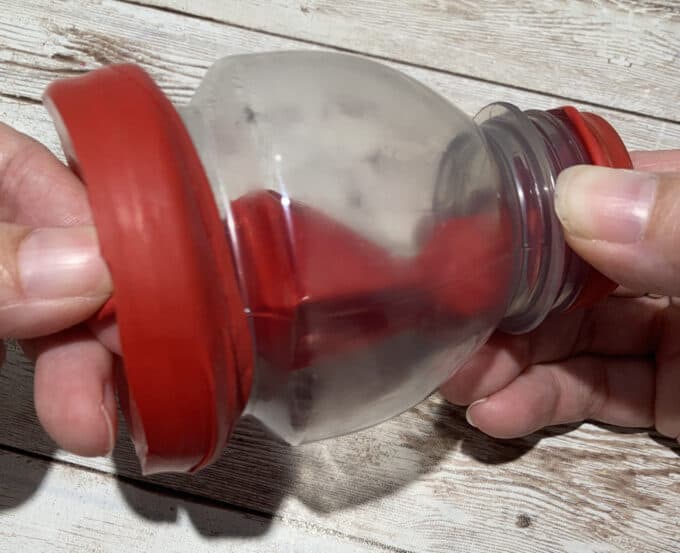
STEP 4: Stretch the open end of the second balloon over the bottom of the bottle. This is your “diaphragm.”
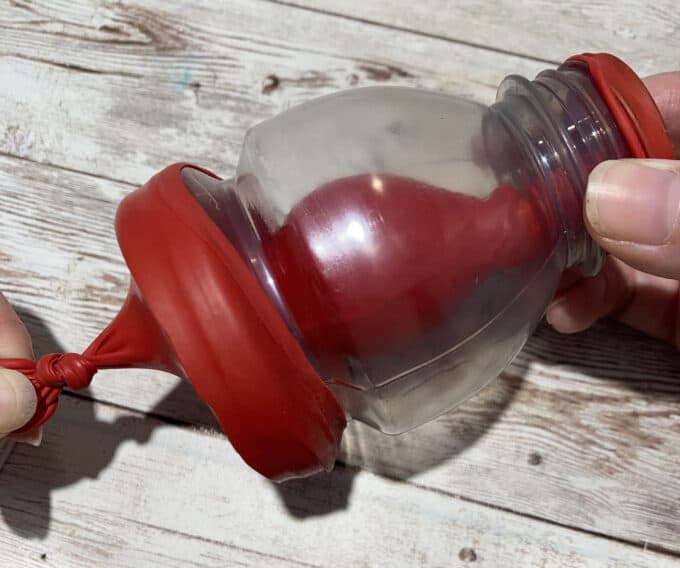
STEP 5: Pull gently on the knot of the bottom balloon and watch the lung balloon fill with air. Push the knot back in and watch it deflate. Repeat to see how breathing works!
🔎 You can also make a DIY stethoscope to listen to the lungs.
How Does a Balloon Lung Work?
- The bottle represents your chest cavity.
- The balloon inside represents your lung.
- The balloon on the bottom represents the diaphragm muscle.
When you pull the diaphragm balloon down, the volume inside the bottle increases. This lowers air pressure and the lung balloon fills with air (inhalation). When you push the diaphragm balloon up, the volume decreases, air pressure increases, and the lung balloon deflates (exhalation).
This is exactly how breathing works in your own body!
Human Anatomy and Body Science Activities
- Robot Hand STEM Activity – Build a paper robot hand and learn how tendons control finger movement.
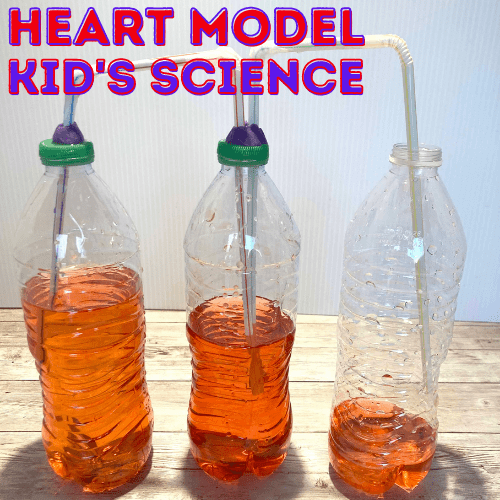
- DIY Heart Pump Model – Use jars, balloons, and straws to show how the heart works.
- Heart Model – Create a working model to show how our heart pumps blood through the body.
- Heart Rate Experiment – Measure how your pulse changes before and after exercise.
- X-Ray STEAM Art Project – Make realistic skeleton art and learn about bones and the skeletal system.
- Banana DNA Extraction Experiment – Smash a banana, add soap and alcohol, and pull out real DNA strands. A fun way to show that DNA is in all living things—even you!
- Wingspan Measurement Activity – Measure your arms from fingertip to fingertip and compare them to your height. Explore symmetry, data collection, and body proportions.
- Giant Thumbprint Experiment: Explore unique thumbprints and learn about yours!


Printable Human Anatomy Activity Pack
Want even more? Check out our Human Anatomy Activity Pack filled with printable worksheets, journal pages, vocabulary, and fun hands-on projects!
FREE Printable Balloon Lung STEM Project!
FAQ About This Experiment
Q: What age is this activity best for?
A: It works well for grades K–5. Younger kids will enjoy the visual effect, and older kids can connect it to the science of air pressure and the respiratory system.
Q: Why does the lung balloon inflate without blowing air in?
A: Pulling the diaphragm balloon increases volume and decreases air pressure inside the bottle, so air from outside rushes in to fill the lung balloon.
Q: Can you use a regular water bottle instead of a sports drink bottle?
A: Yes, as long as it’s wide enough to cut and stretch a balloon across the bottom.
Q: Is this exactly how lungs look inside the body?
A: Not quite—this is a simplified model. Real lungs are spongy organs with many air sacs, but the model shows the basic principle of how air moves in and out.


