Want to show kids how the heart works? This simple pumping heart model is a great hands-on way to learn about the heart’s chambers, valves, and blood flow. Best of all, you only need a few easy supplies to set it up. Life science can be fun when you can actually see it in action!
Heart Model for Science
Branch of Science: Life Science (Human Anatomy)
Grade Level: Elementary (K–5)
Concepts Explored: Heart chambers, valves, blood flow, oxygenation, circulation
Our heart is a muscular organ that pumps blood throughout the body. Blood enters the top chambers (atria), flows into the bottom chambers (ventricles), and is pumped either to the lungs for oxygen or out into the body. Valves make sure the blood flows in only one direction.
💡This model uses water bottles and straws to demonstrate how liquid (blood) moves through the system when pressure is applied—much like the heart squeezes.
Supplies Needed
- 3 plastic water bottles
- 4 bendy straws
- Tape
- Drill (adult help needed)
- Food coloring
- Water
- Play-doh or modeling clay
- Printable instructions in the Anatomy Pack for Kids
🔎 Making DIY science models with kids is a fantastic way to explore big concepts!
How To Make a Pumping Heart Model
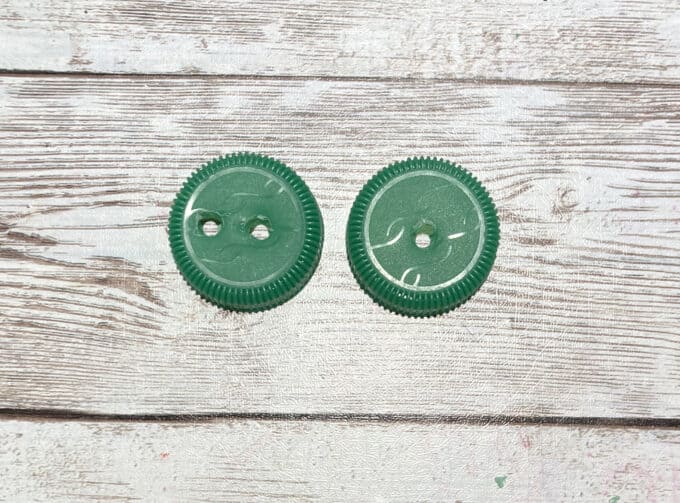
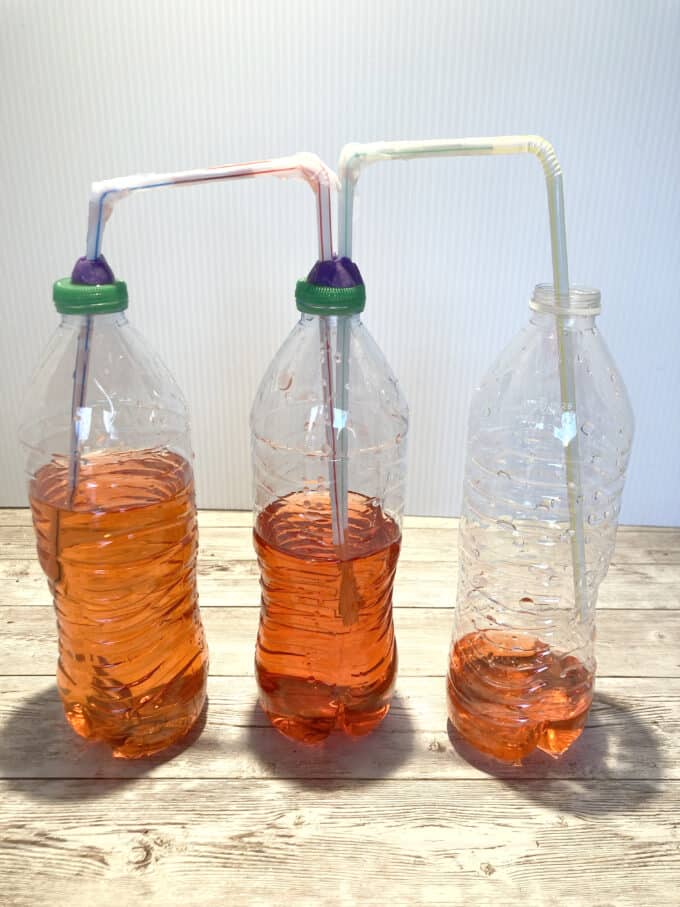
STEP 1: Drill one hole in the cap of the first bottle and two holes in the second cap. Leave the third bottle without a cap.
STEP 2: Fill two bottles about 80% full with water colored red (to represent blood).
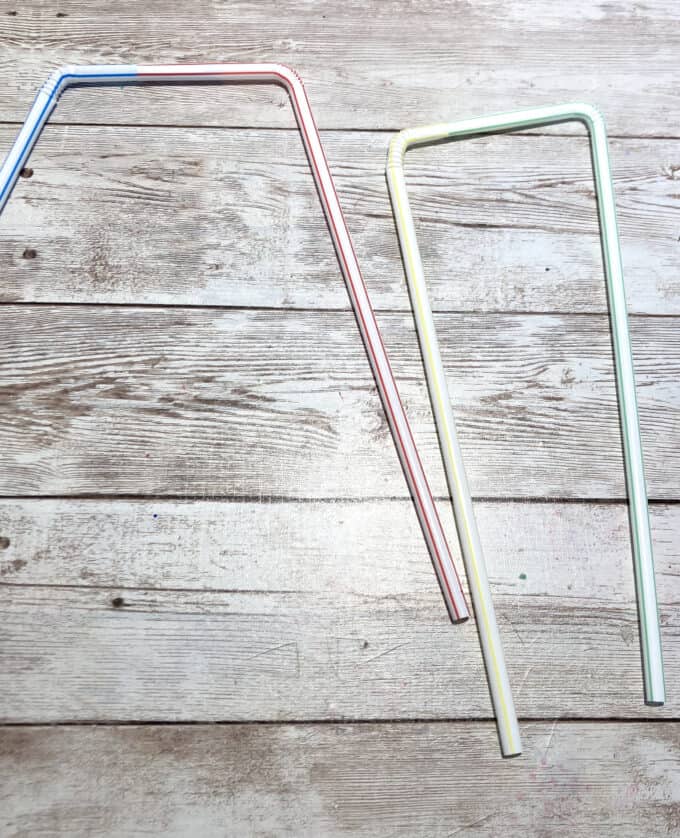
STEP 3: Connect two bendy straws with tape. Repeat with the other two straws. Seal tightly with tape.
STEP 4: Push the straw sets through the bottle caps. Attach the caps to the filled bottles. Insert the other end of one straw into the empty bottle.
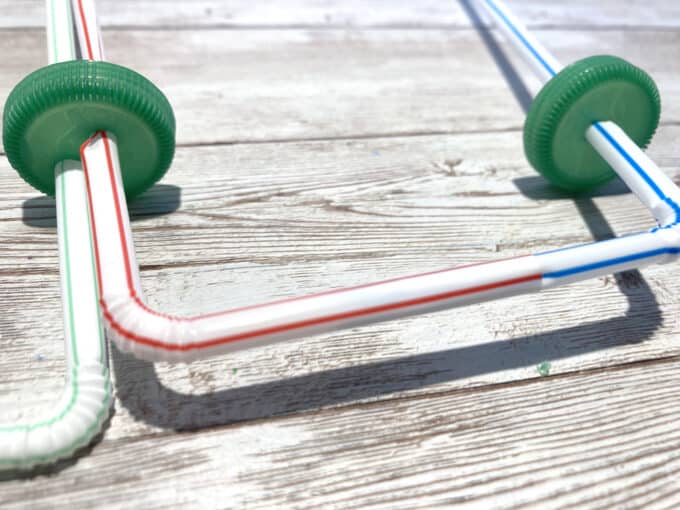
STEP 5: Use play-doh to seal around the straw and cap connections. This prevents leaks.

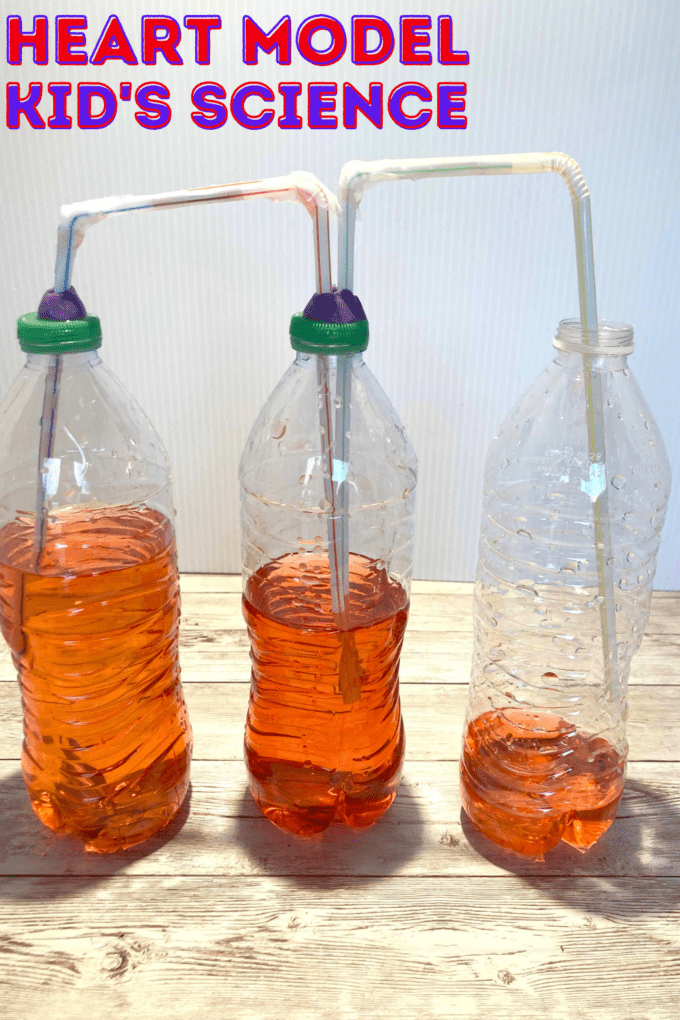
STEP 6: Pinch the straws between the two filled bottles and squeeze one of them. Watch as the “blood” moves into the empty bottle. Release, and it flows back into the system.
How Does The Heart Model Work?
- The first bottle represents the atrium (receiving blood).
- The second bottle represents the ventricle (pumping blood).
- The third bottle represents the body or lungs.
- Your fingers pinching the straws act as valves, controlling the one-way flow of liquid.
Blood always flows in a loop:
Body → Heart → Lungs → Heart → Body
NGSS Guiding Questions
- What happens to blood when it moves through the heart?
- How does the heart act like a pump to move blood through the body?
- Why do we need valves in the heart to control the flow of blood?
These align with NGSS Life Science standards for K–5 (LS1.A: Structure and Function, LS1.D: Information Processing, LS1.B: Growth and Development of Organisms).
🔎 Encourage kids to record observations in a science journal! Free journal pages here 👇

Human Anatomy and Body Science Activities
- Robot Hand STEM Activity – Build a paper robot hand and learn how tendons control finger movement.
- DIY Heart Pump Model – Use jars, balloons, and straws to show how the heart works.
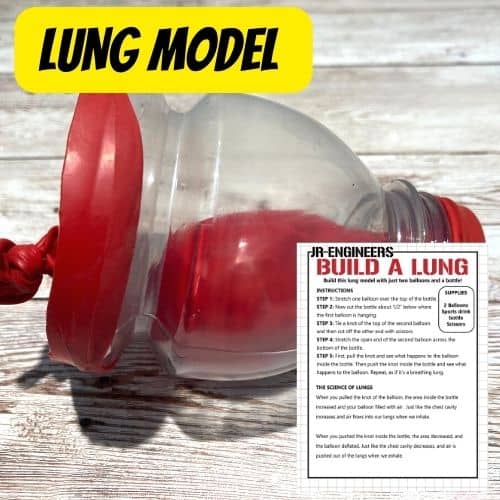
- Lung Balloon Model – Create a working model to show how our lungs expand and contract with air.
- Heart Rate Experiment – Measure how your pulse changes before and after exercise.
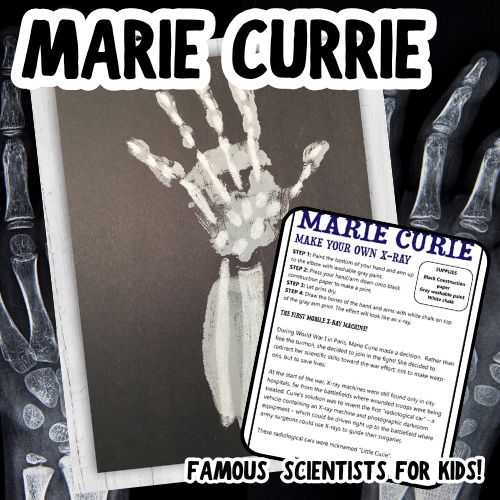
- X-Ray STEAM Art Project – Make realistic skeleton art and learn about bones and the skeletal system.
- Banana DNA Extraction Experiment – Smash a banana, add soap and alcohol, and pull out real DNA strands. A fun way to show that DNA is in all living things—even you!
- Wingspan Measurement Activity – Measure your arms from fingertip to fingertip and compare them to your height. Explore symmetry, data collection, and body proportions.
- Giant Thumbprint Experiment: Explore unique thumbprints and learn about yours!


Printable Human Anatomy Activity Pack
Want even more? Check out our Human Anatomy Activity Pack filled with printable worksheets, journal pages, vocabulary, and fun hands-on projects!
FAQ About This Experiment
Q: What age group is this activity best for?
A: This project works well for grades K–5. Younger kids may need help with setup, while older kids can explore the science behind circulation in more depth.
Q: Do I need to use food coloring?
A: No, but it helps kids visualize the “blood” flowing through the bottles. You can also use two different colors to represent oxygenated and deoxygenated blood.
Q: Why do we use straws and play-doh?
A: The straws act as blood vessels, and the play-doh helps create airtight seals so the liquid can’t leak out.
Q: How does this compare to a real heart?
A: This is a simplified model. A real heart has four chambers and valves that open and close automatically. But this experiment helps kids understand the main idea of blood moving in one direction through the body.


