Using a DIY wind vane provides an opportunity for hands-on learning about meteorology and wind patterns. Find out how to make your own wind vane or weather vane at home or in the classroom. All you need are a few simple supplies to get started! It’s a simple yet effective tool for understanding the basics of wind direction, and it can be a fun addition to your weather activities.
How Does A Wind Vane Work?
Let’s find out how to make a wind vane, how they work and what they are used for! While you’re at it, make sure to check out these other fun earth science activities.
A wind vane or weather vane is like a special arrow on a stick that tells us which way the wind is blowing. When the wind blows, it pushes on the arrow. The arrow turns and points in the direction where the wind is coming from.
So, if the arrow points to the barn, that means the wind is blowing from the barn to where you are. It helps us know which way the wind is going.
Wind vanes are typically mounted on rooftops or other elevated structures to accurately show the wind’s direction. They are not affected by wind speed, only its direction.
This basic principle of wind pressure and rotation allows people to easily determine the wind direction, which is valuable information for understanding weather patterns and making
practical decisions, such as when sailing, farming, or simply gauging local weather conditions.
What Is The Difference Between An Anemometer and A Wind Vane?
A wind vane indicates the direction of the wind (e.g., north, south) but does not measure wind speed. While an anemometer measures the speed or velocity of the wind, providing information about how fast the wind is blowing.
How To Make A Wind Vane
💡 Add a wind vane to a simple weather station to track and record local weather.
Supplies:
- Template
- Paper plate
- Pencil
- Straw
- Card stock
- Scissors
- Nail
- Marker
Instructions:
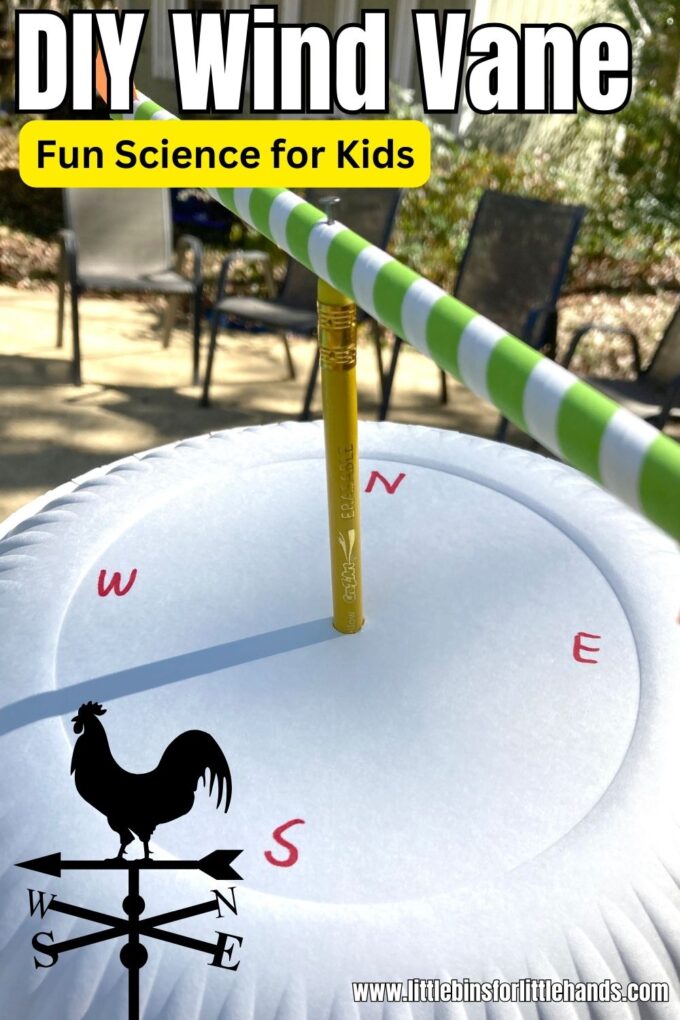
STEP 1: Mark North, South, East, and West on your plate.
Optional: Make the DIY wind vane more engaging by allowing kids to decorate it with colors, drawings, or symbols.
STEP 2: Poke a hole through the middle of the place with your pencil.
STEP 3: Attach your straw to the top of the pencil using the nail so the straw will spin.
STEP 4: Using scissors, snip each end of the straw.
STEP 5: Use the template to create a tail and arrow out of card stock and attach to the end of the straw.
STEP 6: Take your weather vane outside and record your observations!
Tips For Using A DIY Wind Vane
Secure It Properly
Ensure that your DIY wind vane is securely attached to a stable surface or post. The accuracy of wind direction readings depends on the wind vane being stable and properly aligned. Use materials like tape, glue, or ties to secure it firmly in place.
Position for Accuracy
Place the wind vane in an open area away from things that may disrupt the flow of the wind. Ideally, it should be placed at a height where it can catch the breeze without interference from buildings, trees, or other structures.
Regularly Check and Calibrate
Periodically check the alignment and calibration of your DIY wind vane. Make sure it points accurately in the direction from which the wind is coming. If needed, recalibrate it to ensure accurate readings over time.
Combine with Wind Speed Measurement
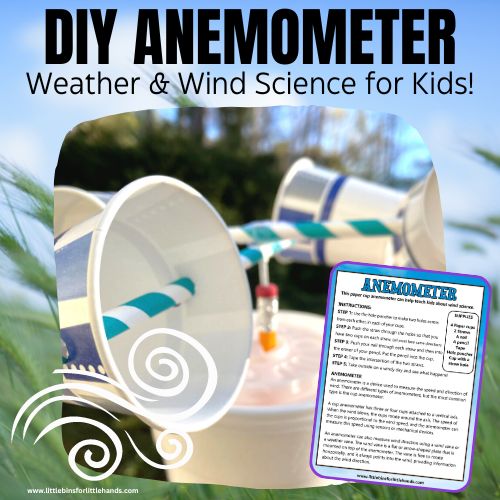
To get a more comprehensive understanding of the wind, consider combining your DIY wind vane with a wind speed measurement tool, such as an anemometer. This combination provides both the direction and speed of the wind, offering a more complete picture.
Find out how to make an anemometer here.
Engage in Weather Observations
Encourage regular observations of the wind direction and discuss how it may affect the weather. For example, changes in wind direction can indicate approaching weather fronts. Engage in weather-related activities, such as tracking the wind’s direction during different times of the day or noting how it influences local conditions.
Free Earth Science Project Guide
This free Earth Science Guide includes clickable links to help get you started (download first to activate), a journal page, and the science process! For complete instructions and more, see our Science Project Pack.

More Fun Weather Activities For Kids
When kids finish making their wind vane, explore more weather science with one of these ideas below. You can find all our weather activities here!
Learn how a tornado forms with a simple tornado in a bottle.
Make a DIY anemometer to measure the direction of wind.
Explore where rain comes from.
Make a simple rain gauge to measure local rainfall.
Make a barometer and use changes in air pressure to predict the weather.
Set up this seasonal temperature experiment.
Build a windmill from paper cups and straws.
Identify the layers of the atmosphere with these printable worksheets.
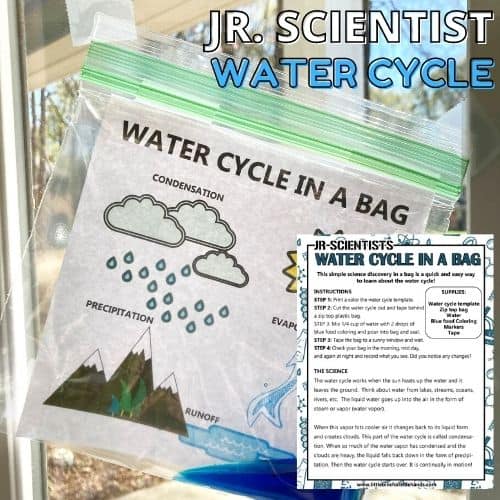
Set up a water cycle in a bottle or a water cycle in a bag for weather science.
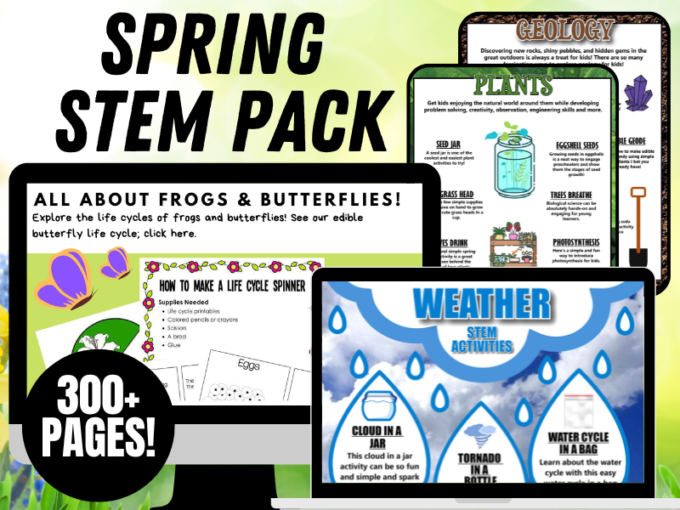
Printable Weather Activities Pack
If you want to have all your printable activities in one convenient place, plus exclusive worksheets with a spring theme, our 300+ page Spring STEM Project Pack is what you need!
Weather, geology, plants, life cycles, and more!