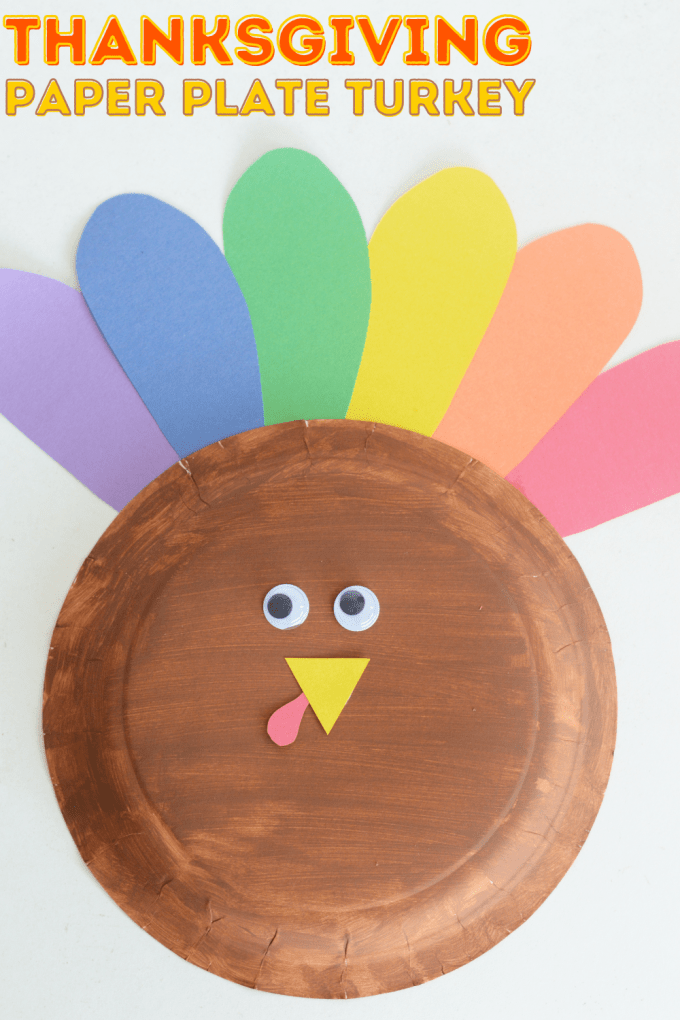
This easy paper plate turkey craft for kids is such a fun Thanksgiving craft! It’s simple enough to make with a large classroom full of kids, or at home too. Add this to your list of fun turkey crafts for Thanksgiving this year!
Tips For Making This Turkey Craft
- Plates. Get the cheap paper plates for this craft. They work the best for this turkey craft. You can also use plates with designs on them, as you’ll be painting the back.
- Painting. If you want to skip the painting, skip the painting! Have kids color the paper plate with markers or crayons instead.
- Googly Eyes. You can use two large googly eyes, or you can make your turkey look goofy by giving him one small eye and one large eye.
- Prep. Prep all the pieces for kids in advance, or let them cut out all the pieces themselves. You can choose the method that fits your time slot for this Thanksgiving craft best.
How To Make A Paper Plate Turkey
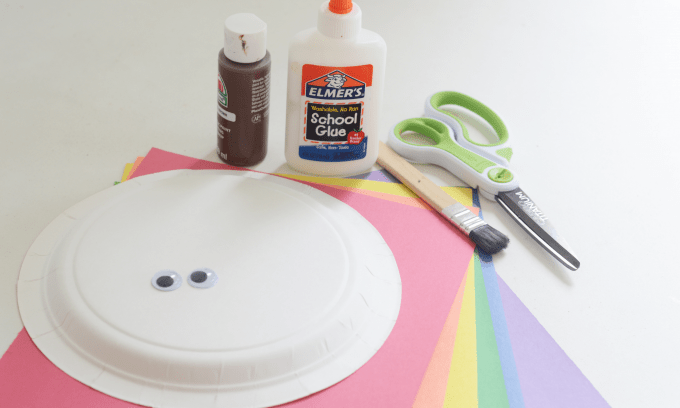
Supplies:
- Paper Plate
- Brown Paint (we used acrylic paint)
- Googly Eyes
- Bright Colored Construction Paper
- School Glue
- Scissors
- Pencil or Pen
- Paintbrush
Turkey Craft Instructions:
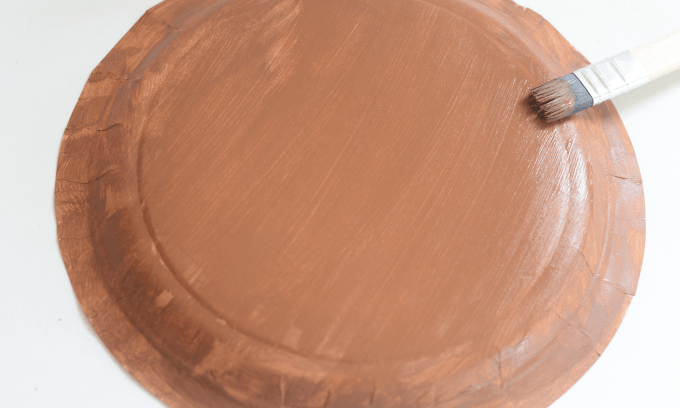
STEP 1: The first thing you need to do to make your paper plate turkey, is to paint the back of your paper plate brown. We used brown acrylic paint, and just added some to the top of each kid’s plate and let them cover the plates using a paintbrush. By doing this, we kept them from using too much paint on the paper plate.
CLASSROOM TIP: If making this Thanksgiving craft with a group of kids, or in a classroom, have students also write their names on the back of their plate shapes before painting to keep their projects separate and easy to locate when they’re done.
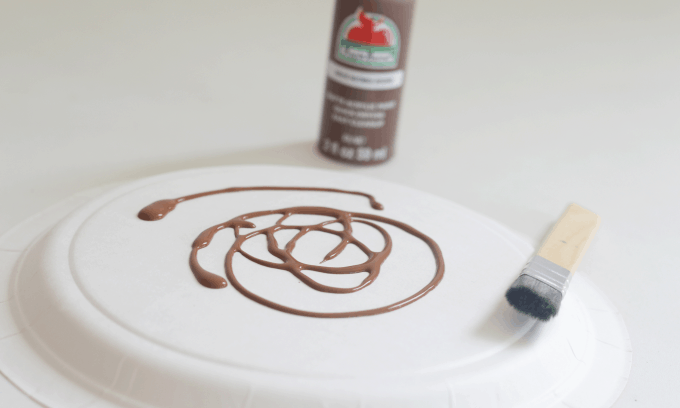
Have students spread the paint evenly to cover the whole nack of the plate. We had to remind our students to make it even so they didn’t leave sections with thick paint that would take forever to dry.
Set the plates aside to dry, and move on to the next step.
VARIATION: If you want to skip the painting portion for a more mess-free craft, you can also have students color their plates with brown markers or crayons.
STEP 2: While you wait on the paint to dry, students can cut out the next pieces they will need for their turkey craft.
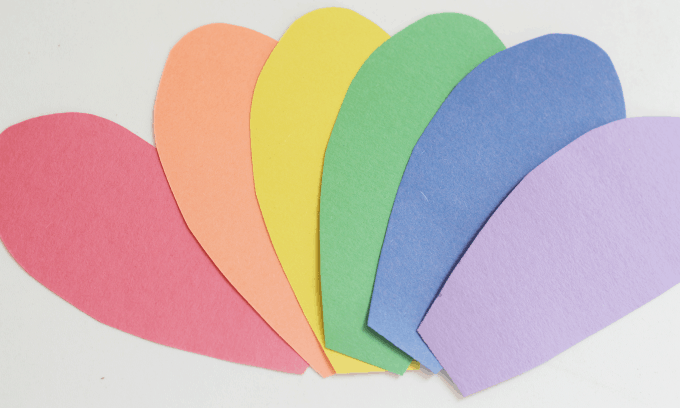
Each student will need to cut out 6-8 tail pieces for their turkeys. We used bright, rainbow-colored construction paper, but you can also let students choose their colors too.
Have students draw and cut out feather-shaped pieces, or draw it for them. What worked well for us was giving them one pre-cut tail piece for them to trace around so they had a guide to use to make their tail feathers.
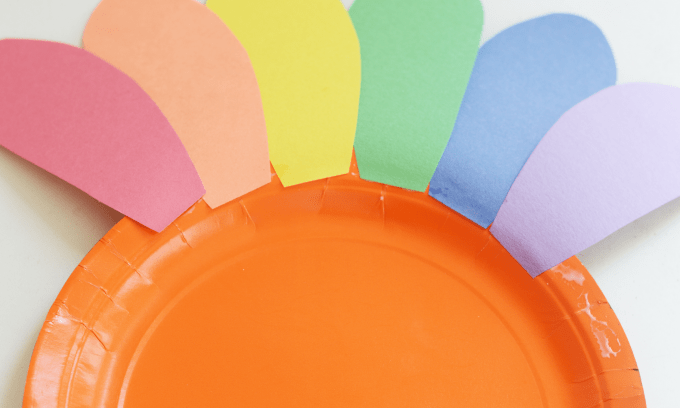
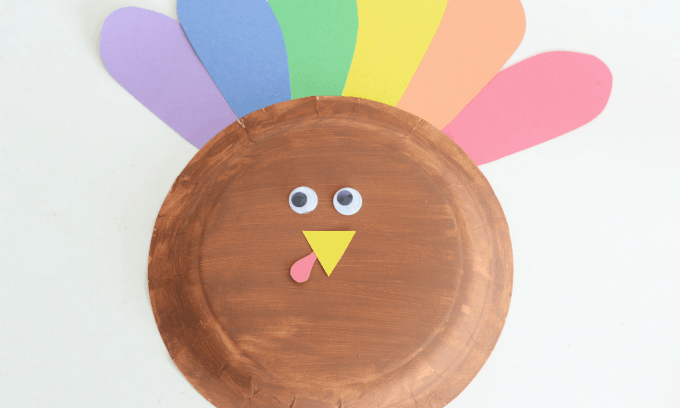
STEP 3: Next, as long as your paper plates are dry, it’s time to attach your tail feathers! Use school glue to attach the flat ends to the top of the back of the plate. Overlap each feather just a bit to make the turkey’s tail look nice and full.
Flip your plates over to dry so the feathers dry flat.
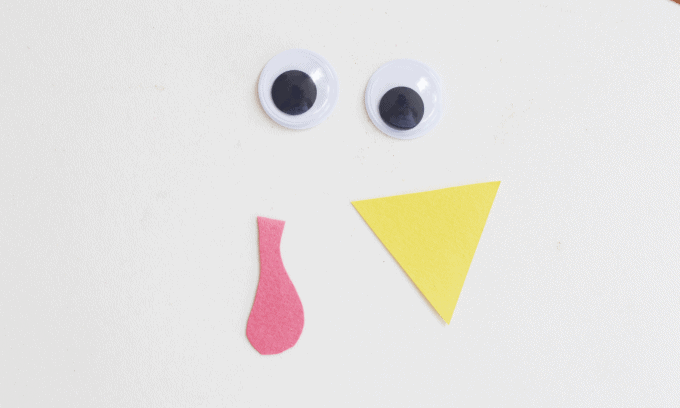
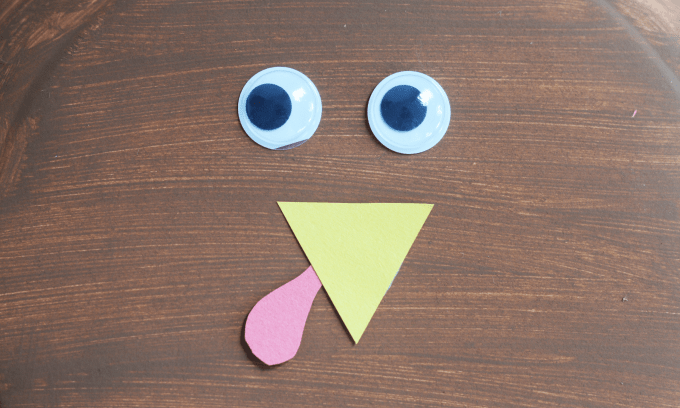
STEP 4: To complete your turkey, students will need to cut out a yellow triangle for the turkey’s beak, and a long teardrop shape for the turkey’s wattle.
TURKEY FUN FACT: Did you know the turkey’s wattle can change color? While we normally see it as red, it can also change to blue if the turkey is scared! See more fun turkey facts!
You will also need two googly eyes per student.
STEP 5: Attach the pieces to the paper plate using school glue. Be sure to glue on the wattle first, before gluing on the beak piece.
When your paper plate turkey craft is finished, he should look something like this! Students can use these as masks, or as a fun way to have hands-on Thanksgiving learning!
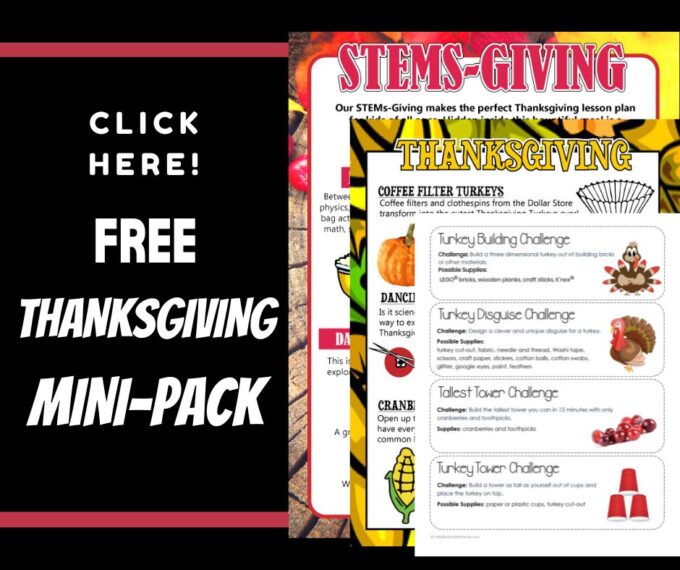
Get your FREE printable Thanksgiving activity guide!
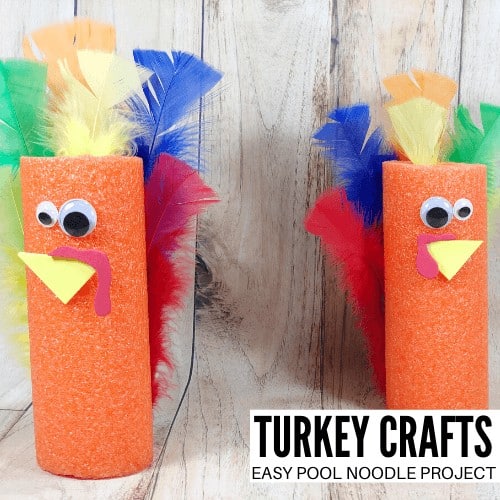
More Easy Thanksgiving Crafts To Make
Have fun with turkey crafts this Thanksgiving, including…
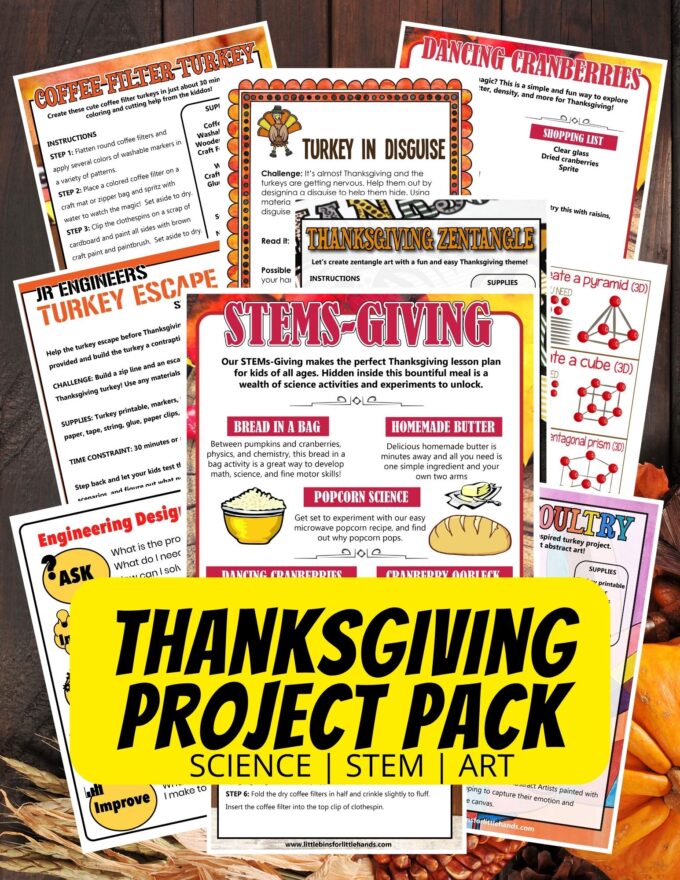
Printable Thanksgiving Project Pack
STEMS-Giving Pack! A full menu of Thanksgiving dinner science activities, secret codes, and more! Grab this printable resource in our shop today.