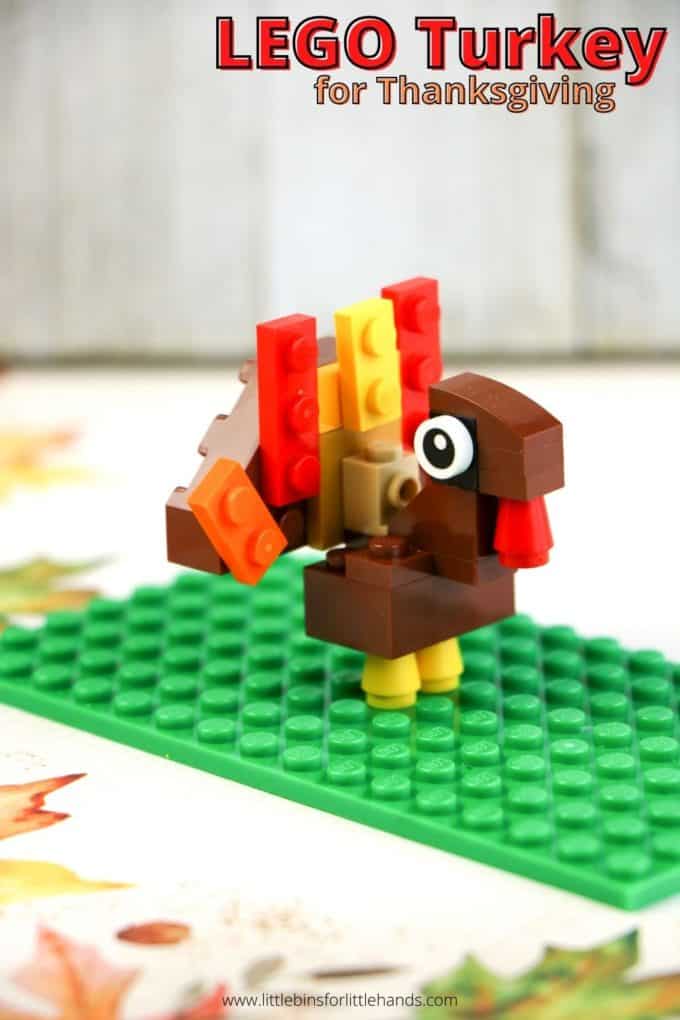
It’s not long till Thanksgiving! Here is a simple LEGO turkey you can build with basic bricks! Thanksgiving is always a blast around here and finding fun and creative ways to play with our LEGO pieces is a must. Make sure to check out more easy seasonal LEGO building ideas! Now read on for the complete LEGO turkey instructions.
THANKSGIVING LEGO
My son and I like to build LEGO creations with basic bricks. Thanksgiving LEGO ideas are perfect for young kids starting out in the LEGO world. Plus they are simple enough for your kiddos to do on his or her own! Easy LEGO ideas that are quick to build and fun to repeat!
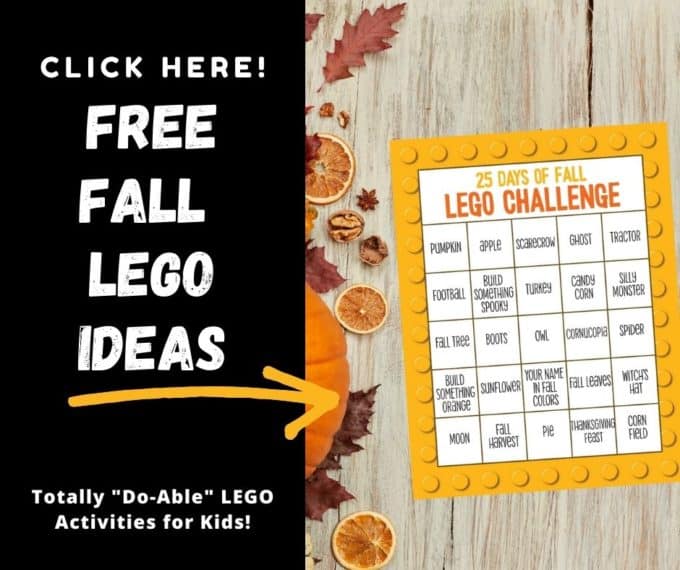
Click here to get your quick and easy brick building challenges!
BUILD A LEGO TURKEY
MATERIALS
TIP: Use our turkey design as an example if you don’t have the same bricks! Make your own creation.
TIP: Build your collection! I love both of these LEGO classic brick sets that are currently on sale at Walmart. See here and here. I have bought two of each already!
- 1 red 1×1 nose cone
- 2 yellow 1×1 nose cones
- 2 1×1 round eyes
- 1 brown 1×2 brick with bow
- 1 brown 1×1 plates
- 1 black or brown 1×1 brick with 2 knobs
- 1 brown 1×2 45º roof tile
- 1 brown 3×3 cross plate
- 1 brown 1×3 brick
- 1 beige 1×1 brick with a knob
- 1 brown or gold 2×2 flat plates with a knob
- 1 yellow 1×2 flat plate with knob
- 2 orange 1×2 plates
- 2 red 1×3 plates
- 1 yellow 1×2 plate
- 2 brown 3×3 ¼ circle bricks
LEGO TURKEY INSTRUCTIONS
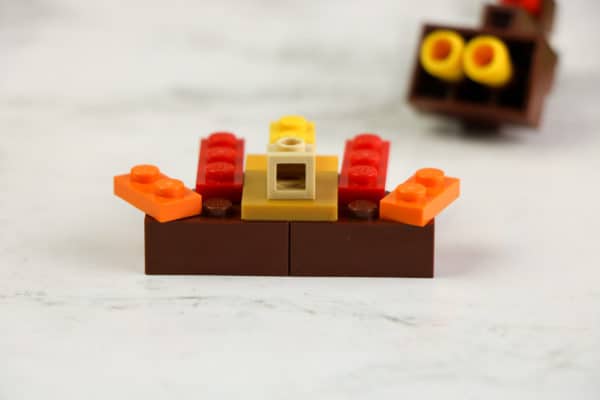
STEP 1. Align the two 3×3 ¼ circle plates. Over the seam, press the yellow 1×2 flat plate with knob and the brown or gold 2×2 flat plate with knob.
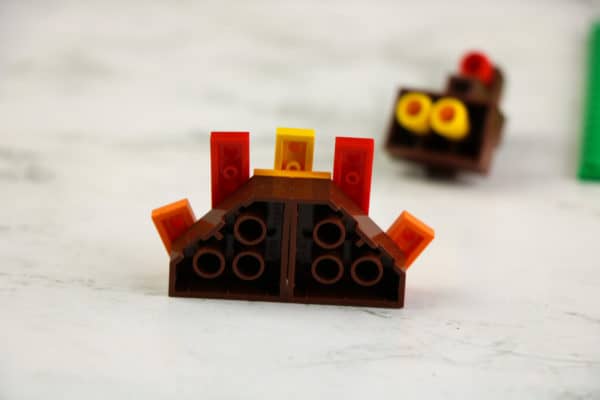
STEP 2. To create the tail feathers, add one 1×2 orange plate to each corner of the 3×3 ¼ circle bricks. On the next knob on each side, add the red 1×3 plates. Finally, over the 1×2 plate with the knob in the middle, add the 1×2 yellow plate.

STEP 3. For the body of the turkey, place the cross plate on the 2×3 brick with one end of the cross plate extending to become the base for the turkey neck. On the back of the cross plate, add the 1×1 brick with a knob. This will be the connection to the tail.
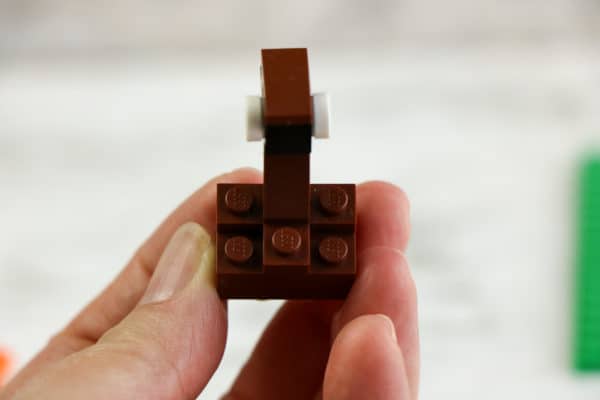
STEP 4. To create the turkey neck and face, stack the 1×2 45º roof tile on the extended portion of the cross plate with the angle sliding towards the tail.
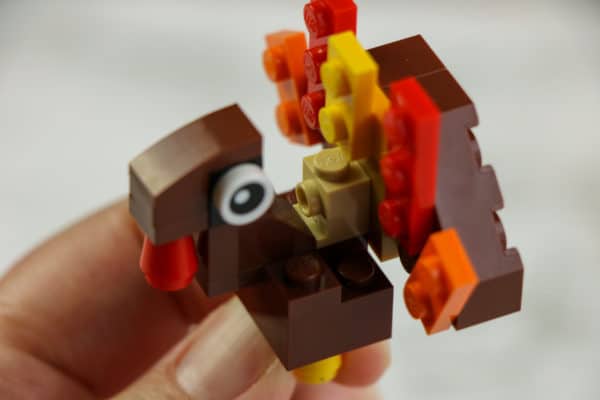
On top of the roof tile knob, add the black (or brown) 1×1 brick with two knobs. Add an eye to each knob.
Snap the brown 1×2 brick with bow over the top of the black 1×1. Squeeze the two 1×1 plates together to form a cube and snap it under the bow. Attach the red nose cone under the cube to be the turkey’s waddle.

Attach the two yellow nose cones under the 2×3 brick as the turkey’s feet.

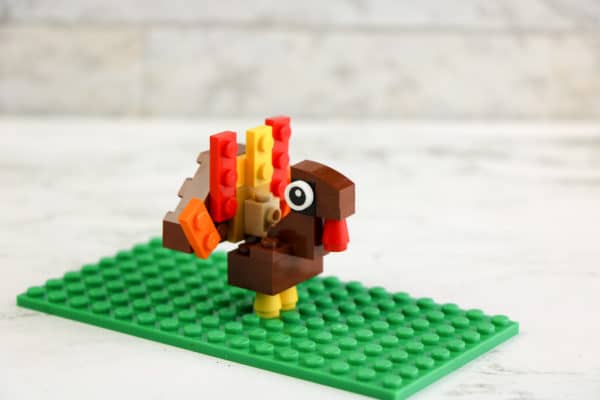
Enjoy your finished LEGO turkey!
MORE FUN THANKSGIVING ACTIVITIES
- Build a Thanksgiving LEGO Habitat
- Combine art and science with coffee filter turkeys.
- Try this fun printable disguise a turkey project.
- Relax with a printable Thanksgiving zentangle.
- Play with fluffy turkey slime.
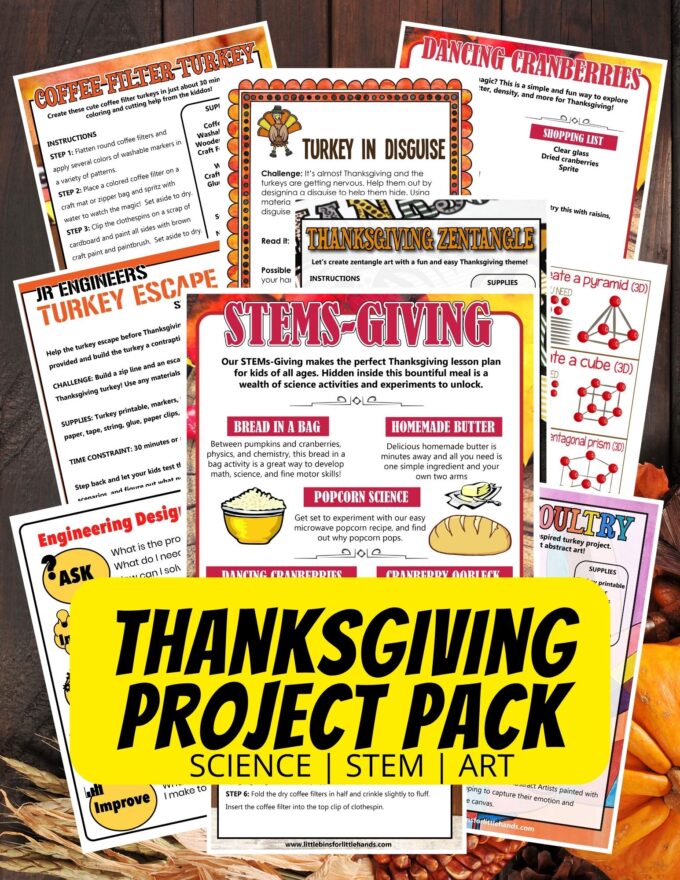
Printable Thanksgiving Project Pack
STEMS-Giving Pack! A full menu of Thanksgiving dinner science activities, secret codes, and more!
What’s Included:
- STEMS-Giving! A feast of science and STEM with simple experiments and projects for home or classroom!
- Even More Thanksgiving theme STEM activities with printable sheets, instructions, and useful information all using easy-to-source materials and perfect for limited time needs. Includes a Thanksgiving theme engineering pack with fun, problem-based challenges for kids to solve!
- Got STEAM? Try a turkey in a disguise challenge with writing prompts and more! Also color by code turkeys in disguise!
- Try your hand at building shapes with cranberry structure challenge cards.
- Discover Thanksgiving brick-building challenges perfect for early finishers, quiet time, hands-on math, or family time.