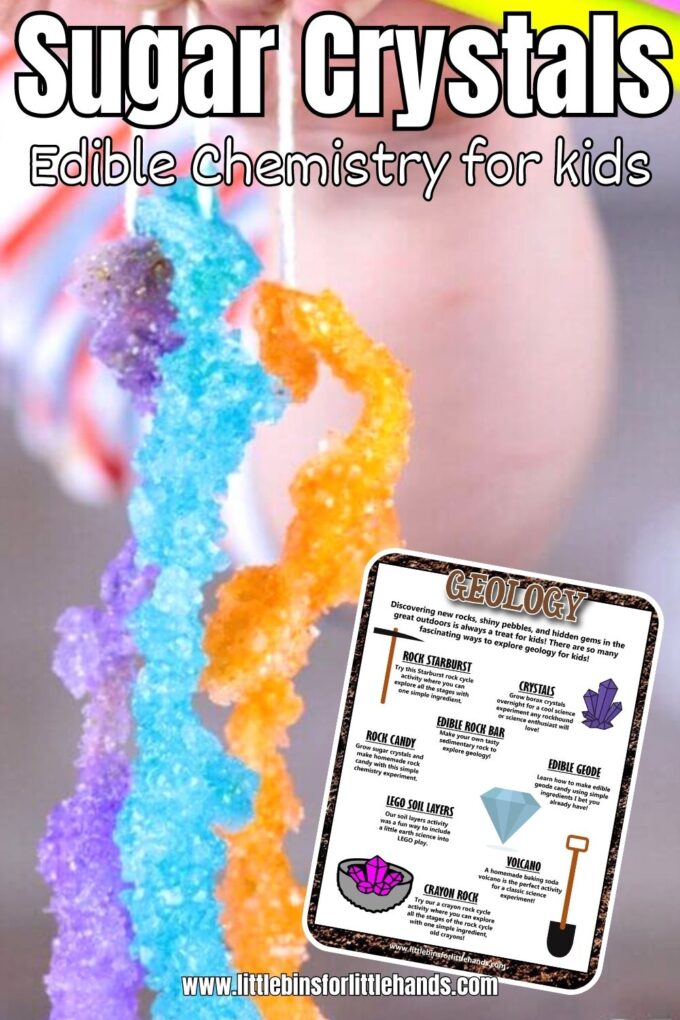
Learn how to grow sugar crystals at home with this fun and tasty rock candy science experiment! This simple chemistry activity for kids explores crystal formation, saturated solutions, and the scientific method—all with just sugar and water!
The Science Behind Sugar Crystals
- Field of Science: Chemistry
- Grade Level: K–5
- Concepts Explored: Crystallization, solubility, saturation, evaporation, and molecular structure
When you dissolve sugar in hot water and let it cool undisturbed, the sugar begins to form crystals. This happens because you’ve made a supersaturated solution, and as the water evaporates, sugar molecules come back together in repeating patterns, creating beautiful crystals!
NGSS Alignment (Simplified)
- What will kids figure out? How crystals form from dissolved substances.
- What will they do? Mix a sugar solution, grow crystals, and record their observations.
- What will they know? Crystals grow when a saturated solution cools and water evaporates.
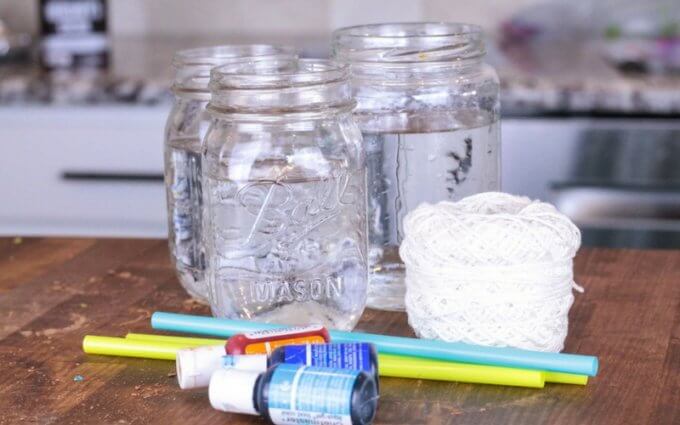
Supplies
- 4 cups granulated sugar
- 1 cup water
- Mason jars or clear cups
- Cotton string
- Popsicle stick or straw
- Food coloring (optional)
- Edible glitter (optional)
- Clothespins (optional, to hold string in place)
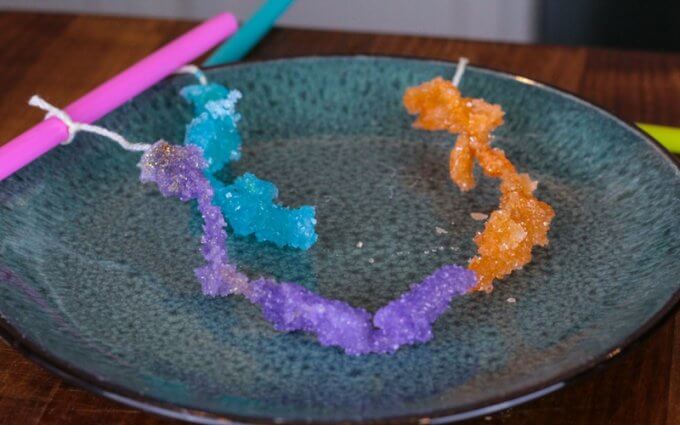
How to Grow Sugar Crystals
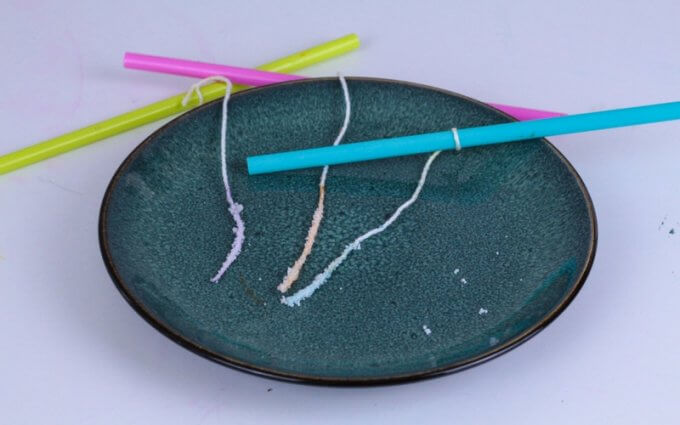
STEP 1: Prepare your string.
Cut a piece of string a little longer than your jar. Wet the string and roll it in sugar. Let it dry overnight—this gives your crystals a head start!
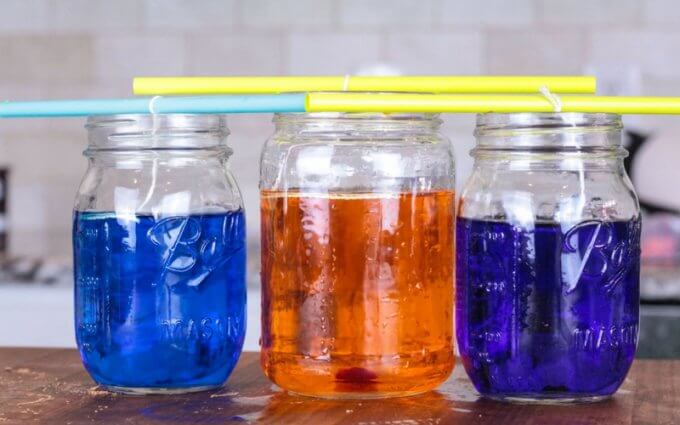
STEP 2: Make a sugar solution.
In a saucepan, heat 1 cup of water until it just starts to boil. Slowly add sugar, stirring constantly, until no more sugar dissolves (around 4 cups). This creates a supersaturated solution.
STEP 3: Add color and glitter (optional).
Pour the hot sugar solution into your jars. Add food coloring or edible glitter if desired.
STEP 4: Add the string.
Tie the string to a straw or popsicle stick and place it across the jar’s opening, letting the string dangle into the solution without touching the sides.
STEP 5: Grow the crystals.
Place the jars in a safe location and let them sit undisturbed for 7–10 days. Watch the crystals grow day by day!
STEP 6: Remove and dry.
Once the crystals are big enough, remove the string and let it dry on a paper towel. Enjoy your homemade rock candy!
Sugar Crystals FAQ
Why didn’t my sugar crystals grow?
If no crystals formed, your solution may not have been saturated enough. Make sure you used enough sugar and that it was fully dissolved in hot (but not boiling) water. Let the string dry with a sugar coating beforehand—it helps start the crystal growth.
Can I eat the sugar crystals?
Yes! If you used clean jars, food-safe string, and edible glitter or food coloring, your sugar crystals are safe to eat.
How long does it take to grow sugar crystals?
Typically, 5 to 10 days. You’ll start to see crystals forming within 1–2 days, but the longer they sit, the bigger they’ll grow.
Can I use brown sugar or powdered sugar?
Yes, but the results will vary. Brown sugar may produce darker, less clear crystals due to molasses. Powdered sugar dissolves faster but might not form strong crystals. Try it out as a science fair variable!
Can I speed up crystal growth?
Not really—patience is key! But placing your jar in a warm, undisturbed area with good airflow (to aid evaporation) can help.
Can I reuse the sugar solution?
Not once the crystals start forming. However, you can start over with a fresh batch if you want to experiment with different variables.
Make It a Science Project
Use this activity for a chemistry science fair project! Try testing variables like:
- Sugar-to-water ratios
- Temperature of the environment
- Different types of sugar (brown, white, powdered)
- String materials or thickness
- Length of time crystals grow
🔎 This is a great opportunity to explore the scientific method, learn how to write a hypothesis, and choose variables!
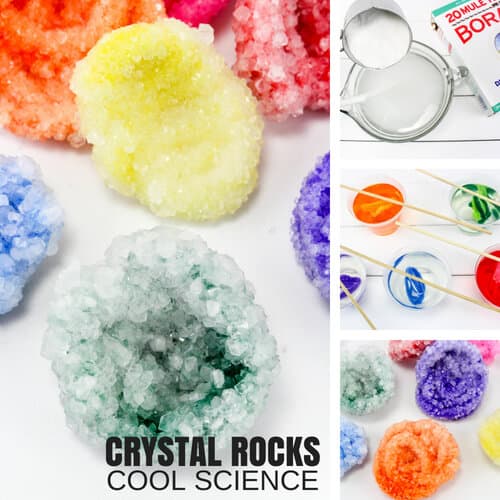
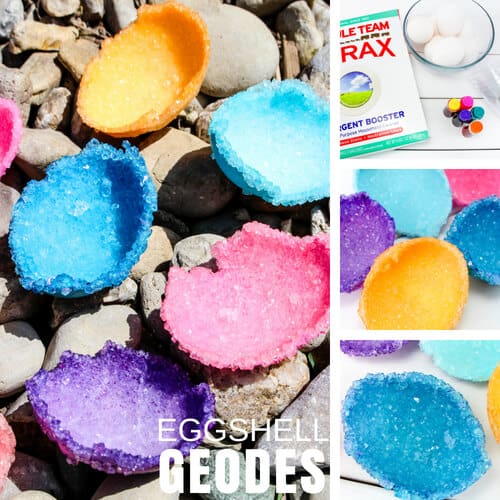
More Crystal Science for Kids
More Fun Edible Experiments
See if you can turn one of these science experiments into a science fair project!
- Ice Cream In A Bag
- Strawberry DNA Extraction (not edible, but a great project)
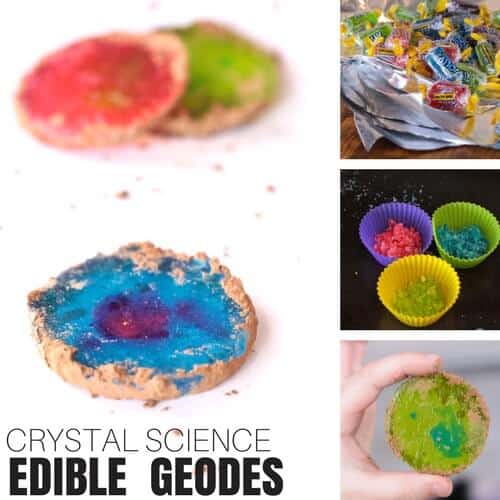
- Make Edible Geodes
- Fizzing Lemonade
- Maple Syrup Snow Candy
- Homemade Butter
FREE Geology Activities Guide
Just because it’s food or candy doesn’t mean you can’t apply the scientific method.

Support STEM Learning and Join the Library Club Today!
Support Real Learning with Real Projects! When you join the Library Club Membership, you’re not just getting instant access to our complete library of art and STEM printables—you’re helping us keep hands-on, high-quality learning alive. Thoughtfully created resources made by real people who care about inspiring kids through creativity, curiosity, and connection.


I am a librian and I just wanted to say that I love your website!! We have been doing take-home kits instead of in person youth programming due to COVID, and your STEM projects with explanations of the science are a real life-saver!
Love it! So happy to hear that we’ve been of help to you in these difficult times!