

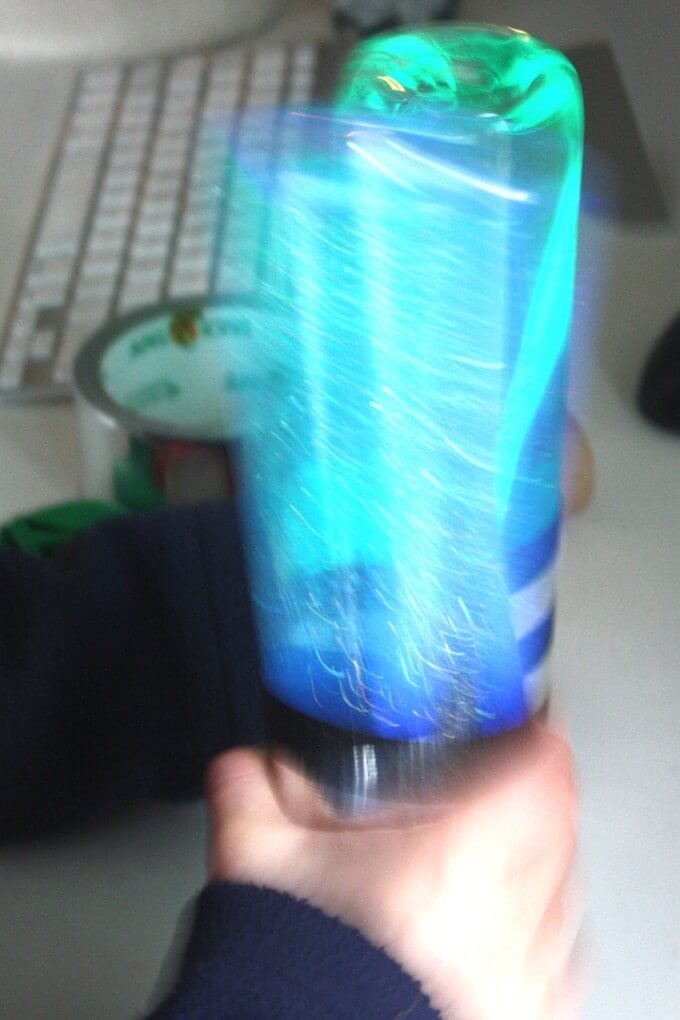
This is a big week for Star Wars fans everywhere, including my son, husband, and me! I made these fun and easy glowing lightsaber sensory bottles for my son to enjoy. Yes, they glow in the dark, just like our Star Wars slime! Why not try a few Star Wars activities at home to build excitement? Of course, Star Wars is a hit all year round if your house is anything like ours.
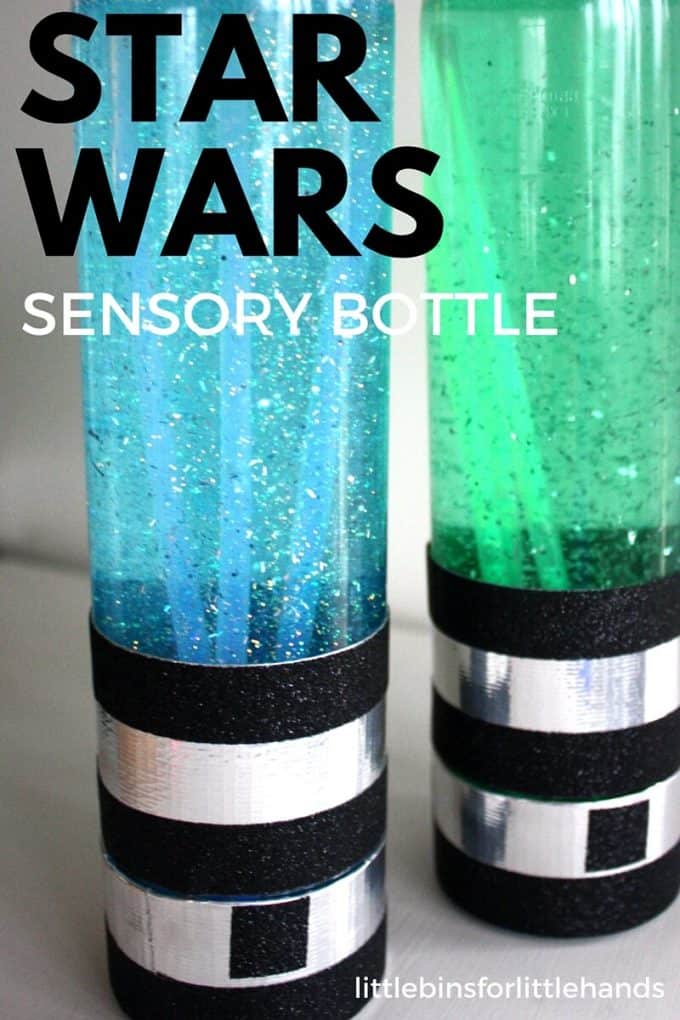
We love sensory bottles, so I was pretty excited to try out these glow-in-the-dark lightsaber sensory bottles with my son. Our light saber sensory bottles are super easy to make and a fun craft time activity for the not so crafty kids like my son. A few supplies and you are ready!
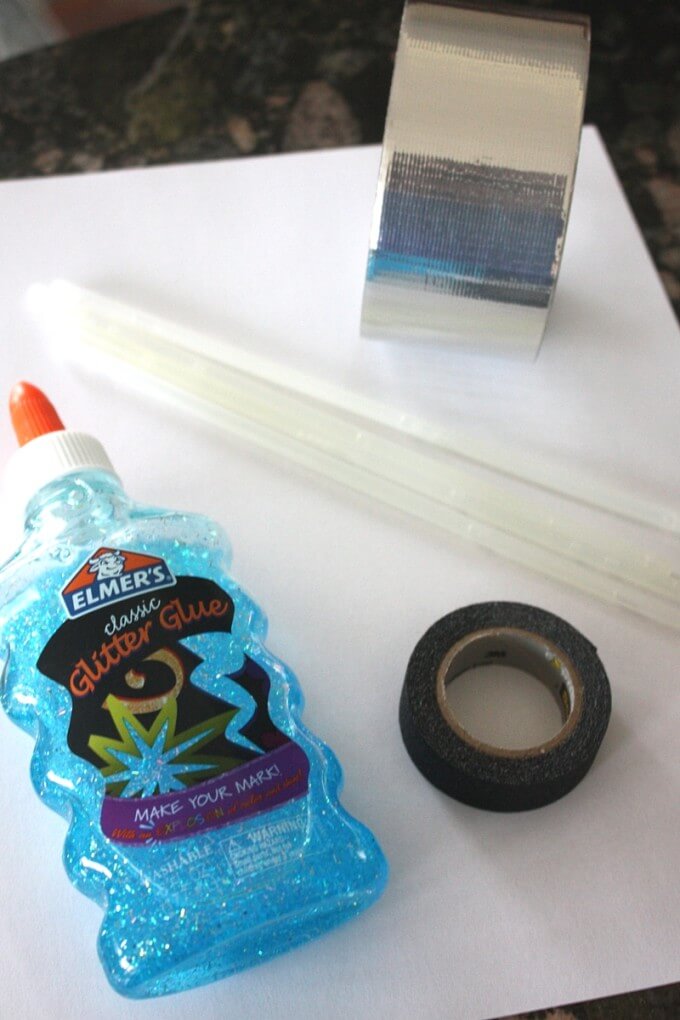
Supplies Used for Light Saber Sensory Bottles
- Glitter glue {alternatively, you can use clear glue, food coloring, and glitter seen here}
- Glow Sticks
- VOSS Water Bottles
- Silver Duck Tape
- Charcoal Grey/Black Sparkle Tape {also has a neat rough texture to it}
MAKE LIGHTSABER SENSORY BOTTLES
Step 1: Add 1/3 of the glitter glue to the water bottle. You can also do this with clear glue, add a drop of food coloring, and shake or two of glitter. The blue lightsaber sensory bottle is made with glitter glue. The green light saber sensory bottle is made with the clear glue method, but you may want to add more clear glue. The glue slows the glitter while it settles.
Step 2: Fill with water if the bottle is empty and mix/shake to distribute the glue evenly.
Step 4: Add your glow sticks. We bought a box of 100 for Halloween treats and had a ton left.
Step 5: Decorate your lightsaber sensory bottles with cool colored tapes to make a handle.
HOW TO MAKE HANDLES ON LIGHTSABER SENSORY BOTTLE
If you want your bottles to look like ours, read below. Encourage your kids to come up with their own ideas, too! We tried several variations together. Younger children may need more help with the tapes, as my son did.
I used silvery wide and narrow dark grey or black glitter tape to give it a metallic look. Hey, if you have duct tape and electric tape at home, go for it! I removed the cap and wrapped it in the silver tape first. I did not try to cut the excess tape since the tape is wider than the cap. I pressed it into the underside of the cap instead. Re-cap the bottle. {This could be done before you fill the bottles.}
Next, just underneath where the cap meets, I wrapped another silver piece of tape around the bottle itself. Don’t go over the cap. This way you can remove your glow sticks and add fresh ones if you want! I added a strip of the darker tape at the top and bottom of the silver tape. You can also add buttons or other design elements.
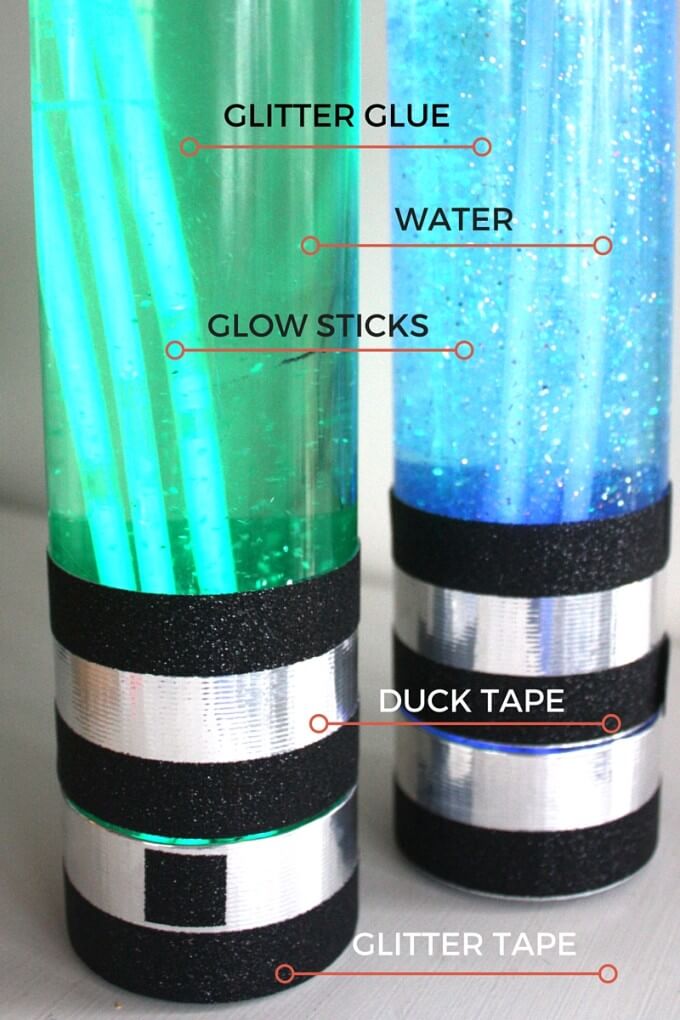
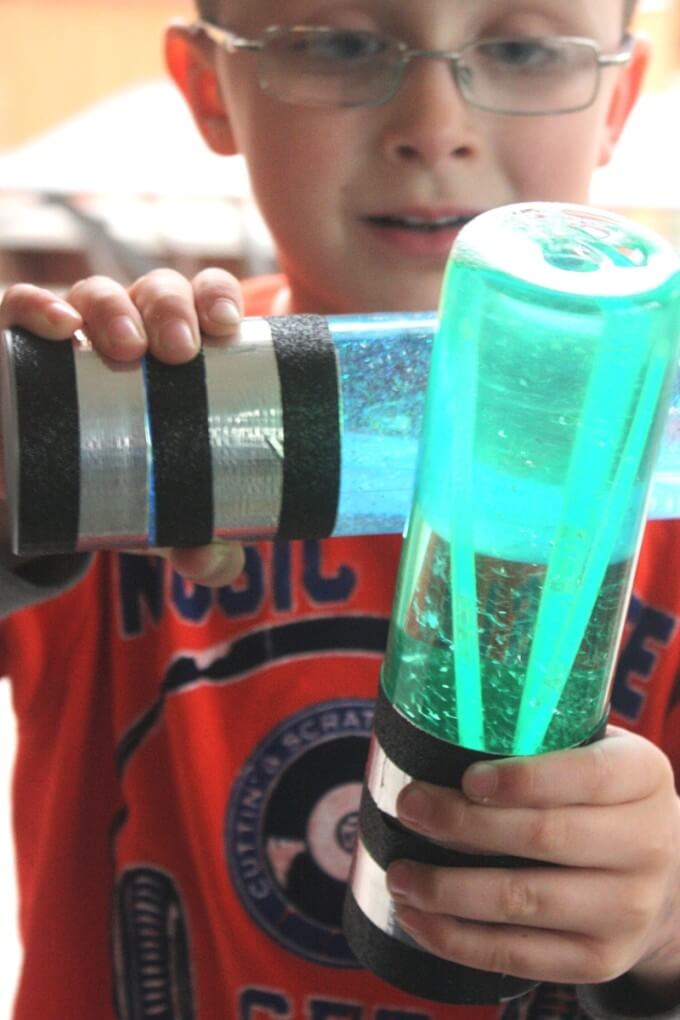
Your lightsaber sensory bottles are complete. You could also do a red lightsaber bottle! However, I wouldn’t go into a lightsaber dual with these. They were a very cool and fun activity to do with my son. My husband thought they were pretty neat, too. We added our lightsaber sensory bottles to my son’s desk and used them for a night light instead of his glowing stars. The glow sticks are easy to take out and change with an adult’s help.
MORE AWESOME STAR WARS IDEAS
- How to build LEGO STAR WARS
- Build LEGO Star Wars creations.
- Build a Death Star with STAR WARS playdough.
- Or even make your own glow-in-the-dark STAR WARS slime.
Click on the image below or on the link for STAR WARS Science Activities.
Free I Spy Star Wars Printable Here
Grab the free Star Wars Pack along with the I Spy printables!


29 Comments
Comments are closed.