Glitter bottles are a fun, calming, and mesmerizing DIY project kids love! This sensory play activity is perfect for stress relief, focusing, or just providing a moment of relaxation. Learn how to make a glitter sensory bottle with easy-to-find materials.
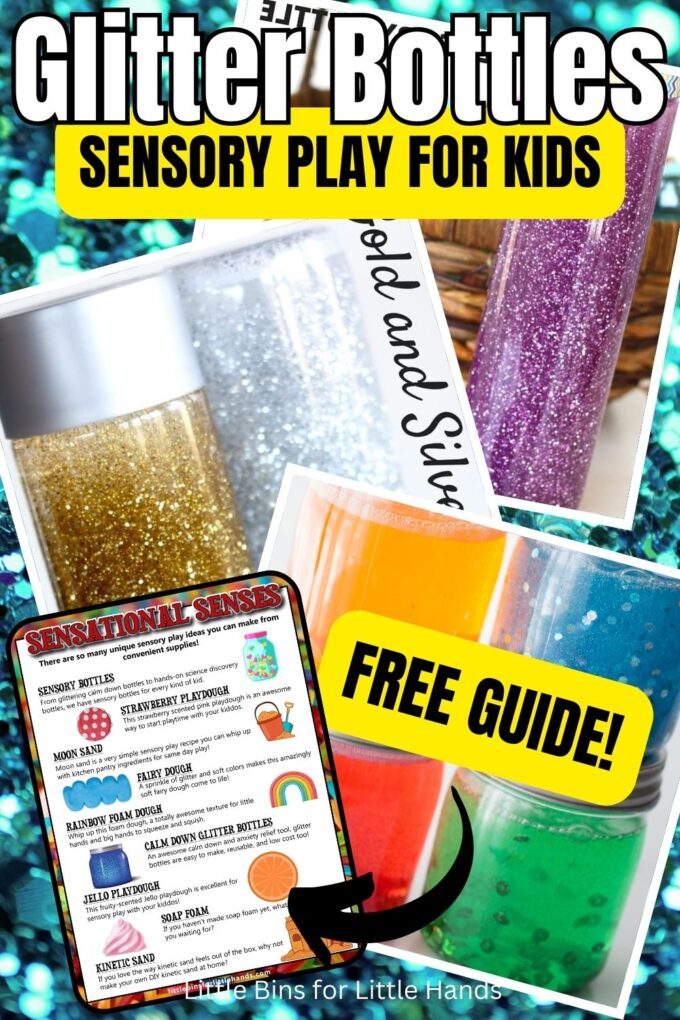
Glitter Bottles for Kids
I’ve been making glitter bottles for years! When my son was in preschool, we created new ones all year. It became a fun, non-messy way to make themed sensory play items that helped him wind down after a long day. It’s a simple, inexpensive, reusable project and perfect for toddlers, preschoolers, and elementary-aged children.
These simple glitter bottles quickly became a favorite calming tool in our home (even for adults). I hope these bottles bring joy and relaxation to your kids or classroom!
Supplies Needed for Your Glitter Bottle
- Water bottle (We love using VOSS bottles for their sleek design, but any plastic water or soda bottle works!) You can even use plastic jars with lids.
- Clear glue (The more glue you use, the slower the glitter will settle)
- Water (Room-temperature water is best for mixing the glue and glitter quickly)
- Food coloring (Optional, for creating vibrant colors)
- Glitter (The more glitter, the better!)
- Confetti or table scatter (Optional, for themed glitter bottles)
Step-by-Step Instructions: How to Make Your DIY Glitter Bottle
Creating a glitter bottle is simple and fun! Follow these easy steps to make a beautiful sensory bottle that will captivate kids of all ages:
- Fill the Bottle with Water
Start by filling your bottle with water. You can add food coloring to make the liquid colorful. Mix up different colors to create unique combinations! - Add Clear Glue
Add clear glue to slow down the glitter’s movement. The more glue you add, the longer the glitter will settle. For the perfect balance of settling time, we recommend using about half a bottle of glue for each bottle. - Add Glitter
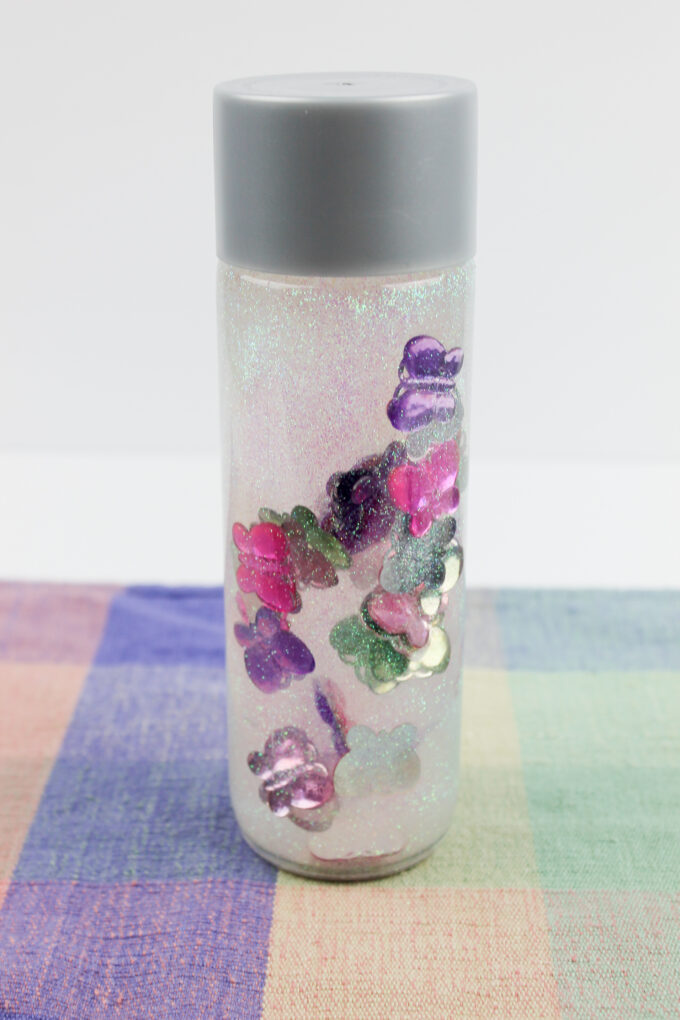
Now comes the fun part—add glitter! Don’t be shy—pour in a generous amount for a sparkling effect. You can also experiment with different types of glitter or themed confetti for added texture and visual appeal. - Shake and Seal
Secure the cap tightly and give the bottle a good shake! Watch as the glitter dances and slowly settles. If you’re worried about the bottle cap being unscrewed by little hands, you can glue or tape the cap for extra security. - Customize Your Bottle
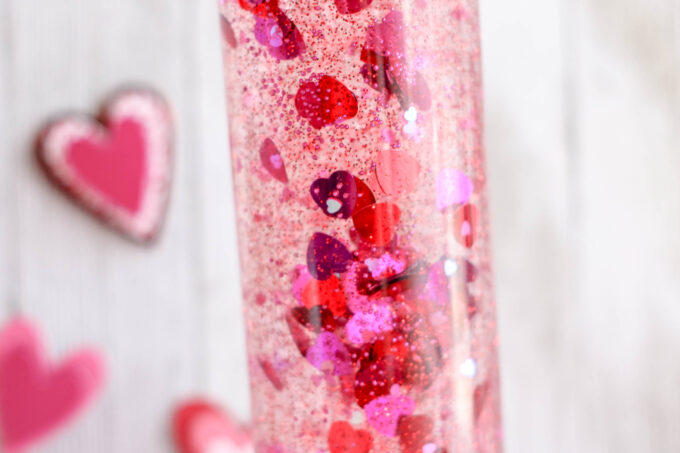
Want to get creative? Add confetti or shapes for a themed sensory bottle. You can create holiday-themed bottles or use stickers to decorate the outside of the bottle.

Tips for Making the Best Glitter Bottles
- Use a Water Bottle
We recommend using VOSS bottles for their aesthetics, but any plastic or glass bottle works perfectly. If you’re using a plastic bottle, try searching for unique shapes at your local store for extra fun! ALTERNATIVE: Use plastic jars with lids, as seen above. - Consider Taping the Lid
If you’re concerned about kids opening the bottle, you can glue or tape the lid shut. This ensures the glitter stays inside, even during active playtime. - Explore Different Liquids
While water is the best base for most glitter bottles, try mixing water and oil for a cool science sensory bottle. For fun science exploration, you can also make temperature-themed bottles with warm and cold water! - Make It a Calming Tool
Glitter bottles are perfect for use as a calming tool. To help calm down or reset, simply shake the bottle and focus on the glitter’s slow movement for a few minutes. - Alternative to Glitter
Looking for something different? You can swap glitter for table confetti or even foam shapes for a fun sensory bottle that still provides the calming effect.
FAQ: Common Glitter Bottle Questions
What is the best type of bottle to use for glitter bottles?
We recommend using clear plastic bottles, such as VOSS water bottles or soda bottles. They are durable, easy to find, and provide the perfect display for the glitter inside.
Can I make a glitter bottle without glue?
Yes! You can create a glitter bottle using just water and glitter. However, adding glue helps slow down the glitter’s movement, making it more calming and giving it a mesmerizing effect.
How can I make a themed glitter bottle?
To create a themed glitter bottle, consider adding themed confetti or using colored glitter that matches the theme. You can make holiday-themed bottles, like a Christmas glitter bottle, or create bottles with fun shapes like stars or hearts.
Why does the glitter settle slowly?
The glue inside the bottle makes the glitter settle more slowly. The more glue you use, the longer it takes for the glitter to sink, which creates the calming effect that many sensory bottles provide.
Can glitter bottles help with calming?
Yes! Glitter bottles are often used in therapy and home settings as a tool for calming. The act of shaking the bottle and watching the glitter settle can help children focus and relax.

Our Favorite Sensory Bottle Ideas
Looking for more DIY sensory bottle ideas? Here are some of our top sensory bottle projects:
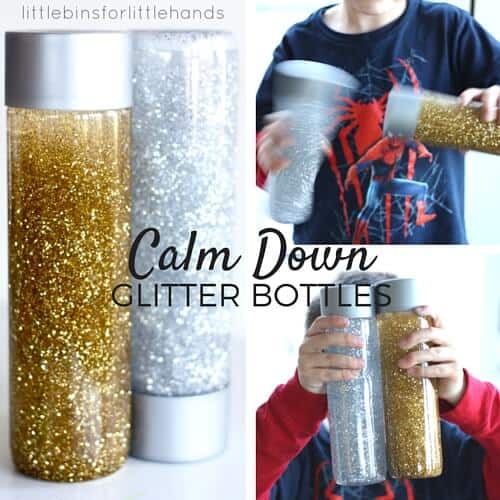
- Gold and Silver Glitter Bottle
A simple yet elegant glitter bottle using gold and silver glitter for a classy effect. - Ocean Sensory Bottle
Create a calming ocean-themed sensory bottle using blue liquid, clear beads, and seashells. - Glow-In-The-Dark Sensory Bottle
Add glow sticks or use glow-in-the-dark glue for a nighttime sensory experience. - Fall Sensory Bottle
Celebrate the season with a fall-inspired bottle filled with orange and yellow glitter. - Snowman Sensory Bottle
A wintery theme perfect for the colder months, with white glitter to represent snow!
Want to see more ideas? Check out our 21 Sensory Bottles and Glitter Jars for over 20 easy-to-make sensory bottle ideas that will keep kids engaged for hours!
More Sensory Play Resources
💡 Explore all of our best sensory play ideas here.
- Make Your Own Playdough
- Free Printable Playdough Mats
- Best Sensory Bin Ideas
- Sensory Bin Fillers
- Tips For Easy Clean Up
- 21 Sensory Bottles and Glitter Jars
- Easy Sensory Play Recipes
- Taste Safe Sensory Play
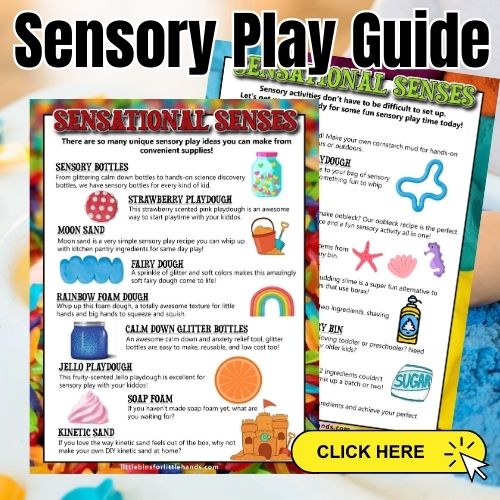
Get Your Free Sensory Play Guide!
For more fun and educational sensory play ideas, download our Get Your Free Sensory Play Guide!


New discovery (always learning!!): A glitter bottle made with red dishwashing liquid (half dish liquid and half water). All the glitter lost it colour after a few days. Could not see it at all. Obviously the soap does something to the glitter here in South Africa.
hello I am making these with my 4 year olds. Does white glue work?
Will just look very different!
Terrific! You can even get them to drive cars around it!
How do you remove the label from the Voss bottles?
Peel off the label as best as possible then use rubbing alcohol and a rag! Works great!
Blow hot air from a hairdryer on the labels for 15-30 sec and then they peel off without leaving residue
Yes but it makes the water murky.
Yes the water won’t be completely clear when not mixed but you an color the water too.
I use Goo Gone… It takes off the labels and any residue- No problem!
Are these bottles that you use the glass kinds or the plastic? I’m just wondering with the glass ones if I’d be worried about them being too heavy for kiddos or worrying about them dropping and breaking… Thanks
I’m a counselor working with children so I’d like these to be able to be transportable/portable so the kids can take them home, or wherever they might need help calming down or focusing. The VOSS ones I saw in store just seemed so big, i”m torn
These are plastic VOSS water bottles you can pick up in the grocery store!
Can l used glitter glue instead ?
Hi
My glitter is sticking together and falling fast, any suggestions please
How much glue did you out in? The glue will help it to fall slowly. Check out our gold and silver glitter bottles too.
https://littlebinsforlittlehands.com/silver-and-gold-glitter-calm-down-bottles/
Goo Gone removes any sticky labels from most anything!
How much water do you use
It seems like something I’ve been looking for to make; but until now I didn’t know what it was. Now I know!!
They aren’t as big as others I’ve seen. I am pretty sure their plastic one, at least the ones I just purchased to do this with, are only 11.5 ounce bottles.
Hi 🙂 Love this idea! I found clear glue but it says “washable” – will that work or will it dilute too much in the water? Thank you
Oops! Never mind – I just read the label of the glue bottle in your picture