We’ve been told this is the best “formula” for sidewalk puffy paint! Here’s an actual review from a kid-tested reader, “Others I’ve tried have been too liquidy and lost their shape and would expand too much.” She also said the homemade paint was perfect for detailed pictures and it washes off the driveway or sidewalk just fine too.

Puffy Sidewalk Paint Recipe
💡 Try all our sidewalk paint recipes! Make DIY sidewalk paint (non-puffy) and fizzing sidewalk paint for a touch of science! Or make homemade sidewalk chalk!
Watch the video:
Supplies:
- 3 cups flour
- 3 cups water
- 6 to 8 cups shaving cream (like Barbasol)
- Food coloring: red, yellow, blue
- 6 squirt bottles (one for each color)
TIP: Have leftover shaving foam? Make our all-time favorite fluffy slime!
How to Make Puffy Sidewalk Paint
Instructions:
STEP 1. Stir together 1 cup of flour and 1 cup of water until smooth.

STEP 2. Add 10 or more drops of food coloring, remembering that the colors will be fainter once the paint is mixed completely. Stir to combine.

STEP 3. Fold in 2 cups of shaving cream until the color is even. Mix gently to keep your paint nice and fluffy.

STEP 4. Transfer half of the paint to a plastic bag with the corner clipped. Squeeze the bag into a squirt bottle.


You can make TWO colors from each batch as follows:
Red and purple – Make the red first. Transfer half of the paint to a squirt bottle. With the remaining paint, add blue food coloring until you reach the desired shade of purple. If the paint has gotten flat, add an additional cup of shaving cream before transferring to the squirt bottle.
Yellow and orange – Make the yellow first. Transfer half of the paint to a squirt bottle. With the remaining paint, add red food coloring until you reach the desired shade of orange. If the paint has gotten flat, add an additional cup of shaving cream before transferring to the squirt bottle.
Blue and green – Make the blue first. Transfer half of the paint to a squirt bottle. With the remaining paint, add yellow food coloring until you reach the desired shade of green. If the paint has gotten flat, add an additional cup of shaving cream before transferring to the squirt bottle.

More Fun Things to Do Outside
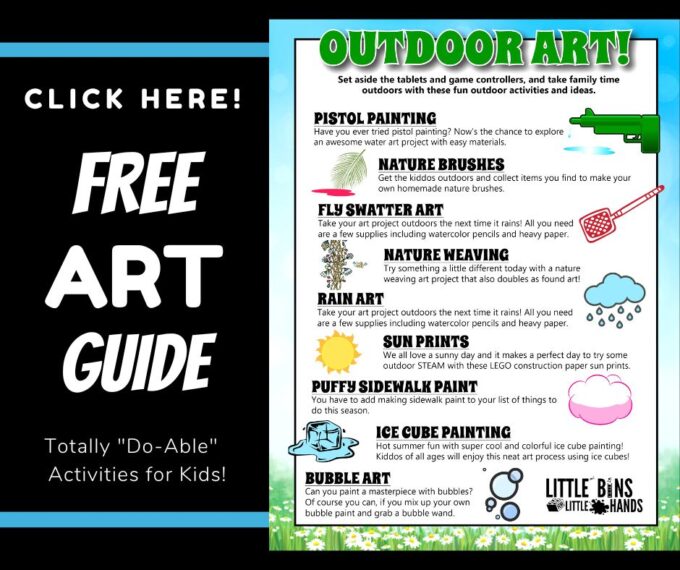
We have a whole list of outdoor art activities and outdoor STEM for you. Here are a few of our favorites…
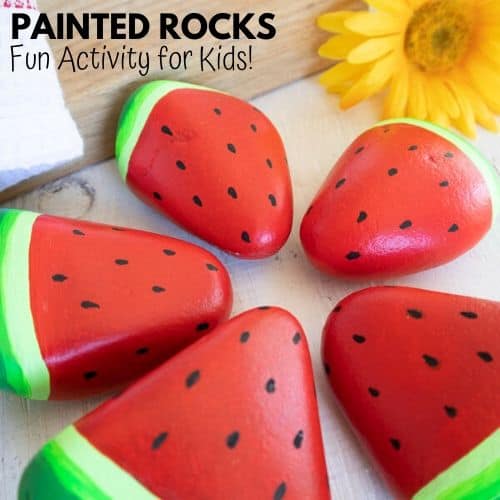
- Painted Rocks
- Fly A Kite
- Make Sun Prints
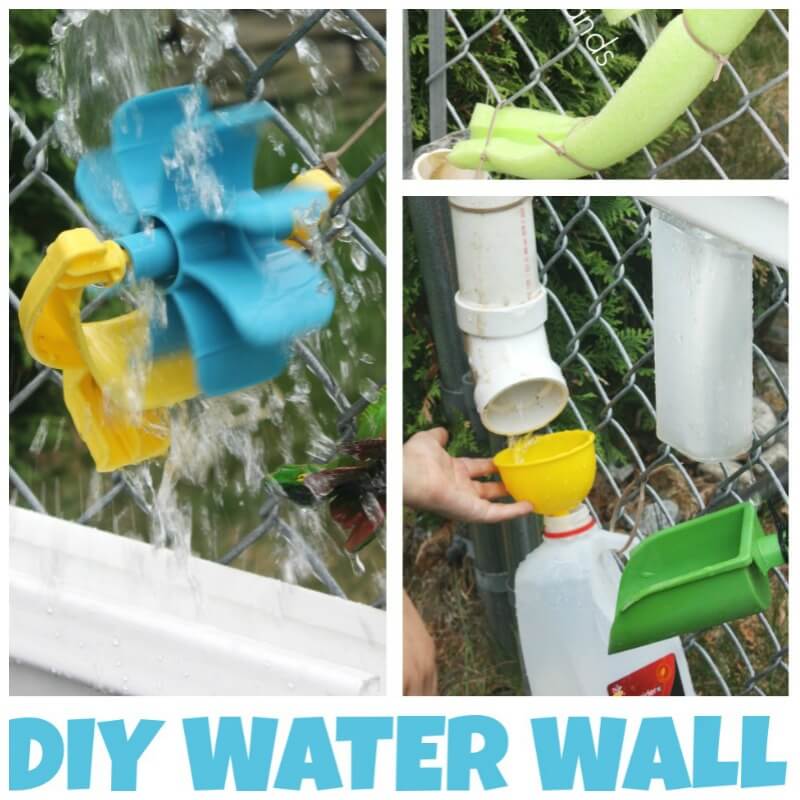
- Engineer a DIY water wall
- Play with frozen castles
- Nature Weaving Craft
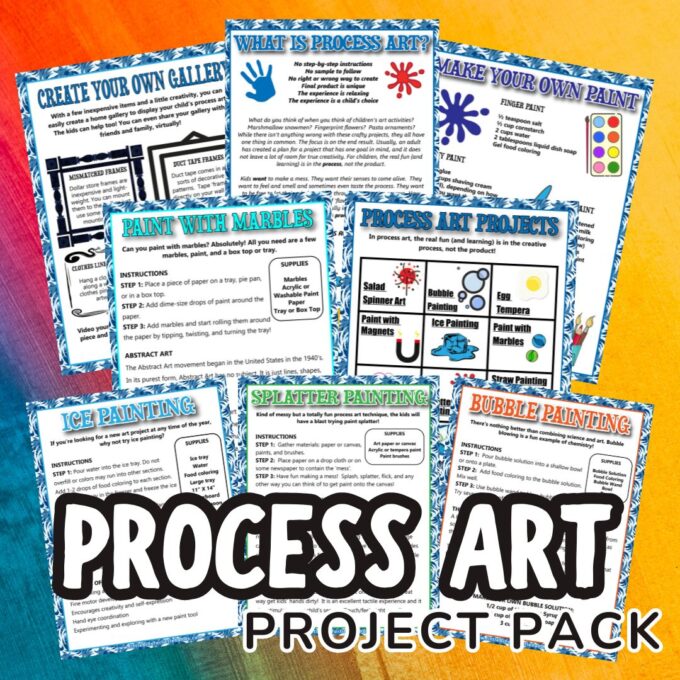
Process Art Project Pack
Are you ready to unlock your kid’s creativity and imagination with hassle-free, budget-friendly fun? Look no further than our Process Art Pack, curated with 12 exciting activities suitable for kids of all ages!
Say goodbye to complicated setups and expensive supplies – our pack utilizes common art materials, making it convenient and accessible for busy parents and educators.
🌈 Dive into Endless Creativity: From vibrant bubble painting to mesmerizing marble rolling, our pack offers diverse activities that celebrate the artistic process. Watch your kids explore colors, textures, and shapes while having a blast!
👩🎨 Fun for Every Age: Whether you have a curious toddler or a budding artist, our activities are designed to engage children of various ages and developmental stages. With easy-to-follow instructions and adaptable techniques, every family member can join the fun. Or use in the classroom to supplement your art lesson plan.
💰 Budget-Friendly and Easy Setup: There is no need to break the bank or spend hours gathering supplies—our Process Art Pack uses everyday items found in your home or local craft store. Grab some paper, paint, and a few household items, and you’re ready to unleash your child’s creativity!
🎉 Create Lasting Memories: Bond with your little ones as you embark on artistic adventures together. Our Process Art Pack isn’t just about making masterpieces – it’s about cherishing the joy of exploration and discovery, creating memories that will last a lifetime.