
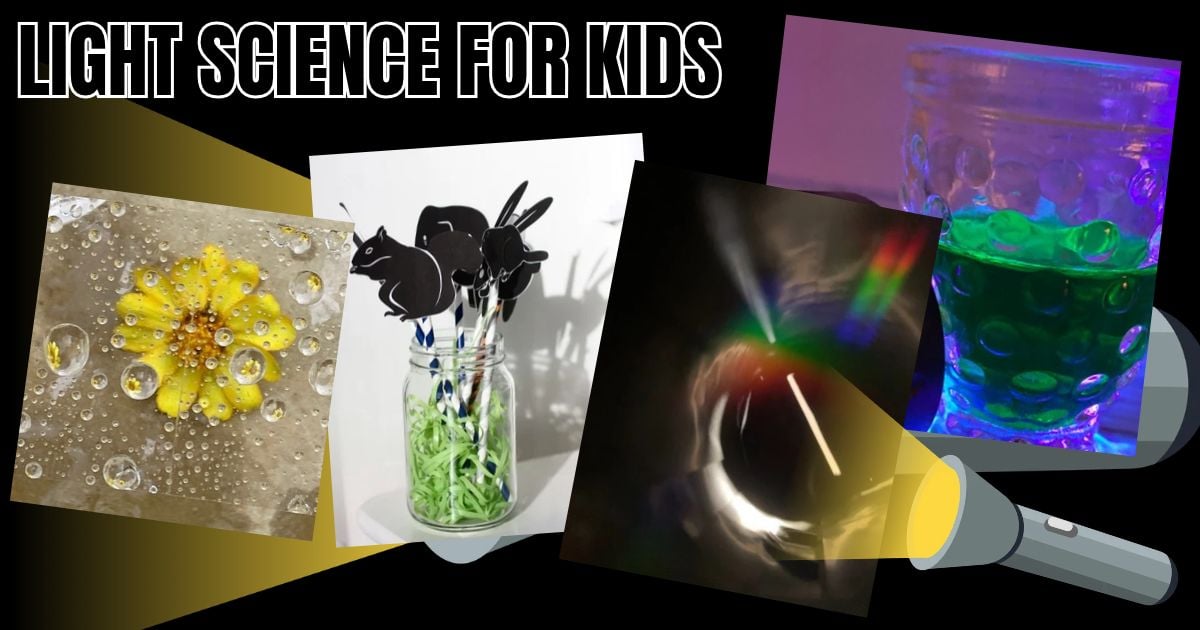
Grab a flashlight, gather a few everyday materials, and explore these light experiments for kids! Investigate what light passes through, make shadows grow and shrink, bounce light with mirrors, and discover how water can change the way things look.
These hands-on activities make light science approachable for home and classroom learning. Start with a simple flashlight investigation, then choose more projects to explore shadows, reflection, refraction, and color.
What Is Light Energy?
Light is a form of energy that allows us to see. Visible light is the part of the electromagnetic spectrum that human eyes can detect.
The Sun, stars, flashlights, and light bulbs are sources of light. Some objects, such as the Moon, look bright because they reflect light from another source.
💡 We see objects when light from a source—or light reflected from an object—enters our eyes.
Light travels in straight lines through a uniform material, such as air. When it meets a different material, it can be:
- Reflected: Light bounces off a surface.
- Absorbed: A material takes in light energy. Some of that energy can become heat.
- Transmitted: Light passes through a material.
- Refracted: Light changes direction as it passes between materials, such as air and water, at an angle.
🔎 More than one of these can happen at the same time. A window, for example, lets light through while also reflecting some light.
Start With These Easy Light Activities
For a quick introduction, try these three investigations:
- Test materials: What happens when you shine a flashlight through clear plastic, wax paper, and cardboard?
- Change a shadow: How does moving a flashlight affect a shadow’s size?
- Explore a mirror: Can you redirect light onto a white card?
Best for: K–3, with extensions for grades 3–5
Time: About 10–20 minutes per introductory investigation
Basic supplies: Flashlight, white card, everyday materials, an unbreakable mirror, paper, and pencils
Safety: Keep flashlights pointed away from eyes. Never look directly at the Sun or use a magnifying glass to view it.
Free Light Science Worksheet (Coming Soon)
Ready to investigate how light travels through different materials? Grab our free Light and Materials Investigation Worksheet to help kids predict, test, and record what happens when they shine a flashlight through everyday objects.
Kids will explore transparent, translucent, and opaque materials while practicing observation and comparison skills.
Download the free printable below and start exploring!
Does Light Pass Through? A Material Investigation
Some materials let us see clearly through them. Others let through a soft glow, while some block light. Test a few materials to discover the differences!
Supplies
- Flashlight
- White paper or card to use as a screen
- Clear plastic lid or clear plastic bag
- Wax paper
- Tissue paper
- Cardboard
- Aluminum foil
- Paper and pencil
Directions
1. Predict. Look at each material. Will light pass through it? What do you think you will see on the white screen?
2. Set up. Aim the flashlight toward the white card. Hold one material between the flashlight and the card.
3. Test. Observe the light or shadow on the card. Keep the flashlight, material, and card in approximately the same positions as you test each material.
4. Look through. Look through the material toward an everyday object. Can you see the object clearly, or does it look blurry or hidden? Avoid looking directly into the flashlight.
5. Record. Write each material’s name and draw or describe your observations. Use the definitions below to sort your materials.
💡 This is a fantastic science journal entry!
Transparent, Translucent, and Opaque
Try Another Test
🔎 Compare one layer of tissue paper with two, three, or four layers. How does the amount of transmitted light change? Keep the flashlight’s position the same and change only the number of layers.
Ask: Which materials let you see through them clearly? Which made the darkest shadows? Did anything surprise you?
Tip: Results can vary with a material’s thickness, color, and finish. Encourage kids to record the actual sample they tested.
Shadow Experiments for Kids
A shadow forms when an object blocks light from reaching a surface. These activities explore how the positions of the light source, object, and surface affect the shadow.
Changing Shadows Outdoors
Trace a shadow at different times during the day to investigate changes in its length and direction.
Mark a standing position and have a partner trace your shadow in the morning. Return to the same position, facing the same direction, around midday and again later in the afternoon. Label each tracing with the time and compare the lengths.
💡 Alternatively, you can use a toy figure!
As Earth rotates, the Sun appears to move across the sky. That changes the angle of sunlight and the shadows objects cast. Shadows are generally shortest around local solar noon, when the Sun is highest in the sky. This may not be 12:00 on the clock, but make it work for you. Simply record the time as part of your observations.
Ask: When was your shadow longest? Did it point in the same direction each time?
👉 Explore the Changing Shadows Activity

Drawing Shadows
Combine science and art by tracing the shadows of blocks, LEGO builds, or toy animals.
Use sunlight or a flashlight to cast a shadow onto paper. Trace the outline, then change the flashlight angle and trace again in another color.
Ask: What changed about the shadow’s shape or position?
👉 Try Shadow Drawing With LEGO
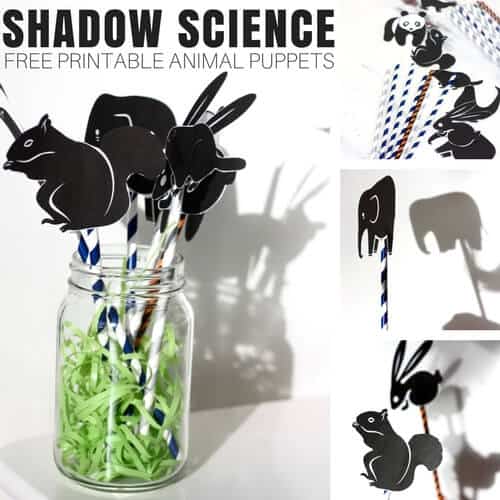
Shadow Puppets
Make simple puppets and investigate how to change their shadows.
Position a puppet between a flashlight and a wall. Keep the puppet and wall in place while moving the flashlight closer to and farther from the puppet.
Ask: How can you make the same puppet cast a larger shadow? Can you make it smaller again?
Make a Sundial
Use a simple sundial to observe how a shadow changes position throughout the day.
Check it at several times and mark where the shadow falls. Keep the sundial in the same position for each observation.
Ask: What pattern do you notice? Why would a sundial be difficult to use on a cloudy day?
Reflection Activities for Kids
Reflection happens when light bounces off a surface. Smooth surfaces, such as mirrors, can produce clear reflected images.
Mirror Reflections
Start by looking at everyday objects in an unbreakable mirror. Compare what you see when you change the mirror’s position.
For another investigation, aim a flashlight at the mirror and catch the reflected light on a white card. Slowly change the mirror’s angle.
Ask: Can you move the patch of light without moving the flashlight?
👉 Explore Mirrors and Reflections
Make a Kaleidoscope
Build a simple kaleidoscope to explore repeated reflections and patterns.
Observe the patterns as you turn it. Discuss how reflective surfaces help create the repeated images.
Ask: Which shapes or colors repeat? What changes when you rotate the kaleidoscope?
Refraction and Color Experiments
Refraction is a change in light direction as it passes between materials. Water, lenses, and prisms let you explore this effect.
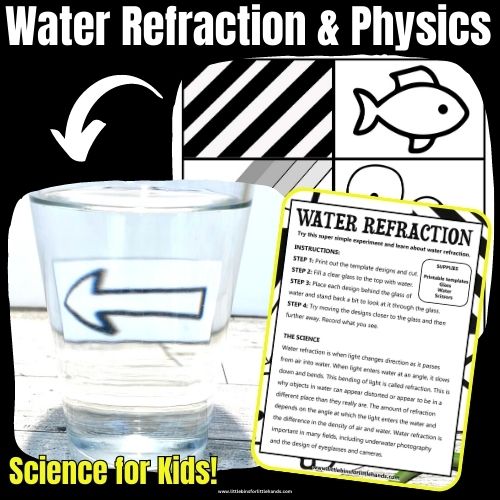
Water Refraction
Use water to investigate why an image can appear to change when viewed through a curved, water-filled container.
Follow the setup and adjust the viewing distance to observe the effect.
Ask: How does the image look before and after adding water? Does your viewing position make a difference?
👉 Try the Water Refraction Experiment
Water-Droplet Lenses
Explore how a water droplet can act like a small lens, bending light and changing how details appear.
Compare the view through a droplet with the view without it.
Ask: Do the details look larger? What happens when the droplet’s size changes?
👉 Explore Water-Droplet Refraction

Make Rainbows
Explore the colors in white light using a prism or another simple rainbow-making setup.
A prism refracts different wavelengths of light by different amounts, spreading white light into a spectrum of colors.
Ask: Which colors can you identify? How does changing the prism’s position affect what you see?
👉 Try Rainbow Science Activities
Color Wheel Spinner
Make a colorful spinning wheel and observe how its appearance changes as it spins.
The reflected colors blend in our visual perception. Depending on the colors, materials, and spinning speed, the wheel may look pale, grayish, or muted.
Ask: How does the wheel look when it spins slowly compared with quickly?
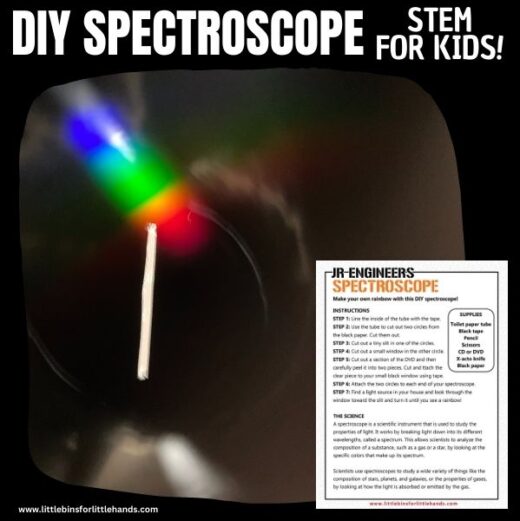
DIY Spectroscope
Build a simple spectroscope to investigate the colors present in light from different sources.
This is a useful extension for older elementary students with adult support.
Ask: Do different light sources produce the same patterns of colors?
Safety: Never point a spectroscope directly at the Sun.
More Light Science Investigations
Explore how light is produced, how it forms images, and how sunlight interacts with materials.
Glow Stick Chemistry
Compare glow sticks at different temperatures to investigate how temperature affects their brightness.
Glow sticks produce light through a chemical reaction called chemiluminescence. Use sealed glow sticks and adult-supervised warm—not hot—water.
Ask: Which glows more brightly at first? Does brighter necessarily mean it will glow longer?
👉 Try the Glow Stick Experiment
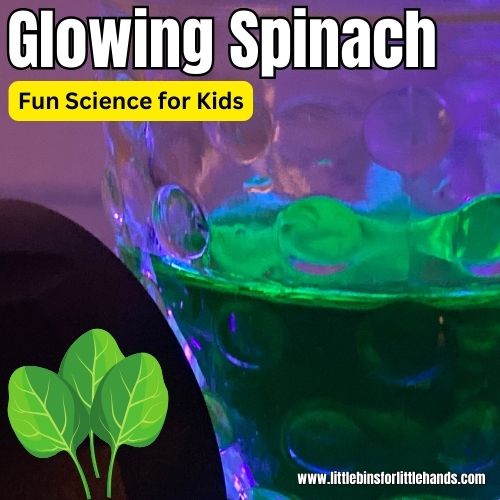
Glowing Spinach
Explore fluorescence with an adult-led chlorophyll investigation.
Chlorophyll extracted from spinach can produce a red glow under suitable ultraviolet light, even though the solution appears green in ordinary light. Follow the activity’s preparation and safety directions.
Ask: How does the mixture’s appearance change under different lighting?
Pinhole Camera
Build a simple pinhole camera and observe the image it forms.
Light from different parts of an object travels through the small opening to different parts of the screen, producing an inverted image.
Ask: Which way up is the image? What changes when you point the camera toward a different scene?
Safety: Use it to observe ordinary scenes, never to look directly at the Sun.
Construction Paper Sun Prints
Place objects on construction paper and leave the setup in sunlight. Compare exposed areas with the areas covered by objects.
Sunlight can fade the exposed paper, while covered areas retain more of their original color. Results depend on the paper and exposure time.
Ask: Which objects leave the clearest shapes? What happens if an object moves?
👉 Make Construction Paper Sun Prints
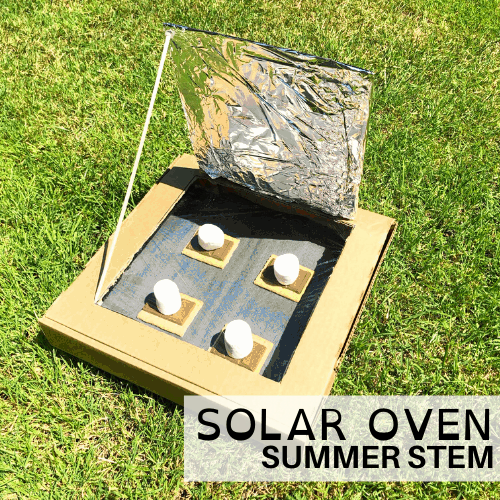
Solar Oven
Build a pizza-box solar oven to explore how sunlight can warm materials.
The project combines reflection, absorption, and heat transfer as you direct sunlight into the oven and observe temperature changes.
Ask: How does the oven’s position affect its temperature? What happens when clouds cover the Sun?
A Simple Five-Day Light Science Plan
Explore light with five days of easy hands-on science and STEM! Each activity introduces a science concept, uses everyday supplies, and encourages kids to ask questions, make predictions, and test their ideas.
| Day | Activity | Main Question |
|---|---|---|
| 1 | Light Source Hunt | What makes its own light? |
| 2 | Test Materials With a Flashlight | Which materials let light pass through? |
| 3 | Flashlight Shadow Investigation | How can you change a shadow’s size? |
| 4 | Mirror Reflection Investigation | How can you redirect light? |
| 5 | Shadow Puppet STEM Challenge | Can you make a puppet’s shadow grow or shrink? |
For K–2: Make observations aloud, use simple materials, and draw what you discover.
For grades 3–5: Make predictions, change one variable at a time, label diagrams, and explain results using evidence.
Keep Exploring: Try our Shadow Puppets activity for more ideas, or experiment with water refraction to discover another way light behaves.
👉 Seasonal connection: Groundhog Day activities offer another opportunity to explore light and shadows.
Questions To Encourage Scientific Thinking
Help children go beyond naming what happened:
- What do you predict will happen?
- What did you change?
- What did you keep the same?
- What evidence supports your explanation?
- Can you repeat the result?
- What would you like to test next?
👉 For more support, explore the scientific method for kids and variables in science.
Frequently Asked Questions
What is a simple light experiment for kids? Shine a flashlight through clear plastic, wax paper, and cardboard. Compare how much light reaches a white card, then look through each material toward an object to investigate clarity.
What is the difference between reflection and refraction? Reflection happens when light bounces off a surface. Refraction happens when light changes direction as it passes between materials, such as air and water, at an angle.
Does the Moon make its own light? The Moon’s familiar glow is reflected sunlight. It is an example of an object we see because light from another source bounces off it.
Why do shadows change size? Shadow size depends on the positions of the light source, object, and surface receiving the shadow. With the object and screen fixed, moving a small flashlight closer to the object generally makes the shadow larger.
Can we explore light science without a dark room? Yes! A slightly dim room usually works for flashlight investigations. Shadow tracing, sun prints, and sundials use sunlight outdoors.
More Physical Science To Explore
Keep investigating with these hands-on science collections: