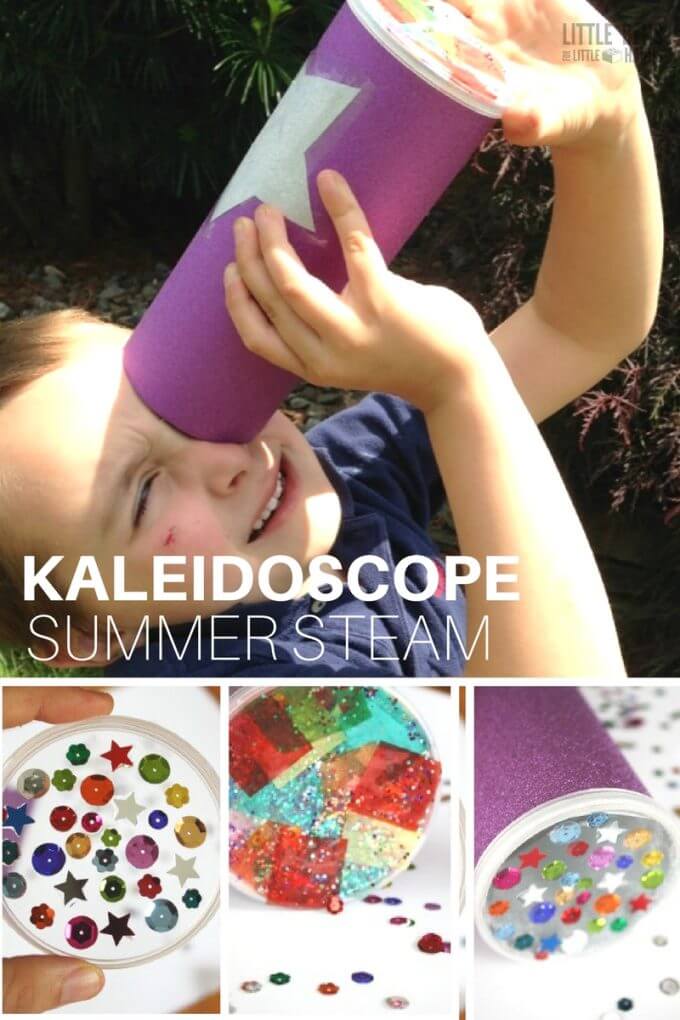
Make a homemade kaleidoscope for STEAM (Science + Art)! Find out what materials you need and how to make a kaleidoscope with a Pringles can. We spent a fun morning designing and crafting our DIY kaleidoscope and then took it outside. This kid’s kaleidoscope uses every component of STEAM to create a cool, homemade science toy.
What Is A Kaleidoscope?
A kaleidoscope is a toy that has a tube with two or more reflecting surfaces or mirrors set at an angle and pieces of colored glass or paper. When the tube is rotated, repeated light reflecting off the mirrors produces beautiful, changing patterns.
Our science lesson is pretty simple since this homemade kaleidoscope doesn’t use a prism or mirrors. We discussed the reflection of light.
Reflection involves a source of light and a surface. The light travels towards the surface and bounces off of it. Mirrors reflect a lot of light, but most objects reflect at least a bit.
We took our kaleidoscope outdoors and used the sun as our light source. When the light comes in, it bounces off the shimmery paper and is reflected back out in the direction it came in, creating the colors and patterns. He pointed out all the colors he could see as he twisted the lid.
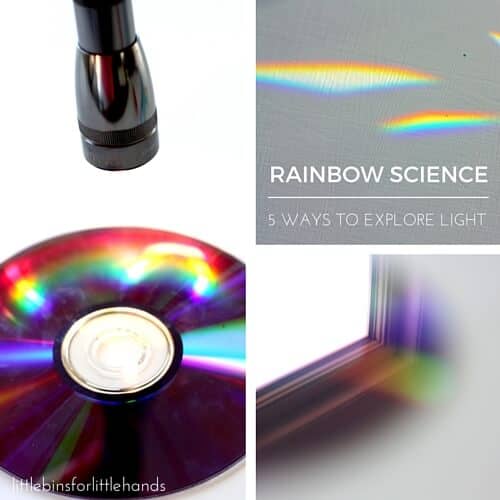
Check out our rainbow prism activity to learn about refraction of light!
Kaleidoscope Craft
Supplies:
- Pringles can {without chips}
- Shimmery scrap-book paper or aluminum foil
- Hammer and nail
- Clear glue
- Tissue paper, glitter, and sequins
Instructions:
STEP 1: If you are going to make a Pringles can kaleidoscope, get started by removing chips {eat of necessary}, rinse, and dry the can!
STEP 2: Roll a piece of shimmery silver paper and put it inside the can. Mark and cut off excess. I did not have to tack it down as it uncurled nicely to fit the inside the can.
STEP 3: Cover the outside of the can with a colored paper. We used a shimmery purple paper {or you can paint it!} and secured it with tape. Decorate if you like with markers, stickers, tape, and other embellishments!
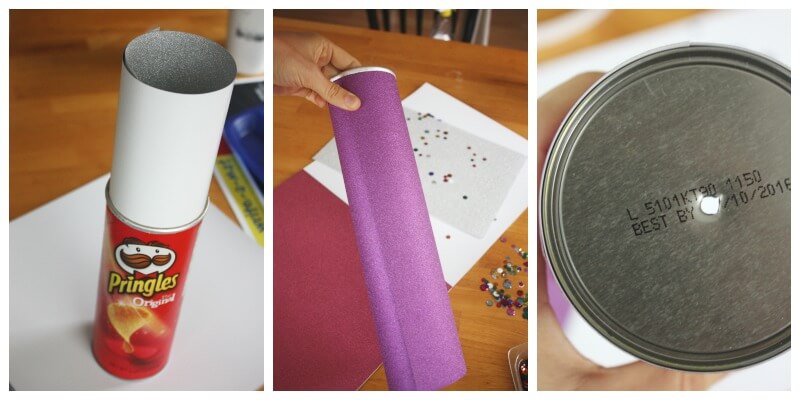
STEP 4: Use a hammer and nail to punch an eye hole in the sealed end of the can.
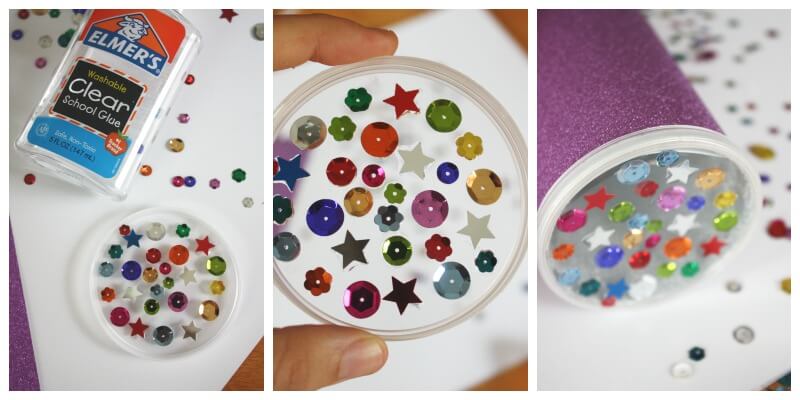
STEP 5: Glue sequins on the inside of the Pringle’s can lid. Then add glitter and colorful paper or other embellishments.

I mixed clear glue with a bit of water and glitter, lots of glitter. We tore and cut tissue paper to glue to the outside of the lid.
TIP: Lots of leftover glitter? Why not make a glitter jar or even glitter slime!
Your simple kaleidoscope needs one more thing, A second colorful lens!
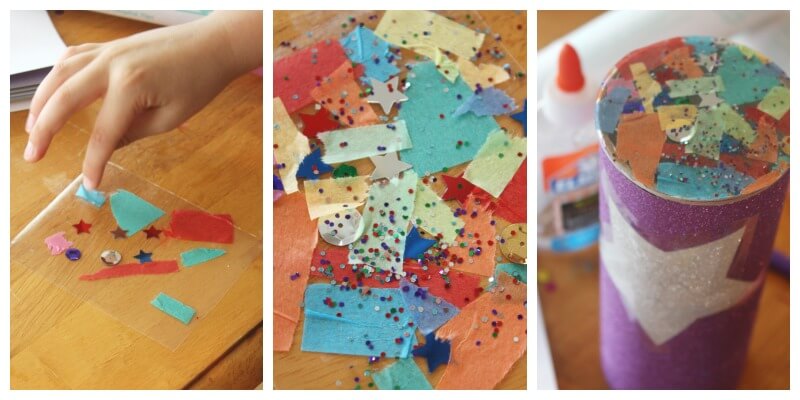
STEP 6: For this you want to use clear contact paper. I cut a square and taped it sticky side up to the table. He added a little bit of everything. I pressed another piece of contact paper over the top to seal it.
STEP 7: Use scissors and cut the contact paper to fit your can. You will be putting the lid on over this, so make sure it is a close fit.
Next you want to glue it to the top of can. Our regular Elmer’s glue or PVA school glue works fine.
It’s very important to let everything dry really well. Put the lid on your simple kaleidoscope and head outside.
TIP: Check out more ways to enjoy science and STEM outdoors!
How To Use Your Homemade Kaleidoscope
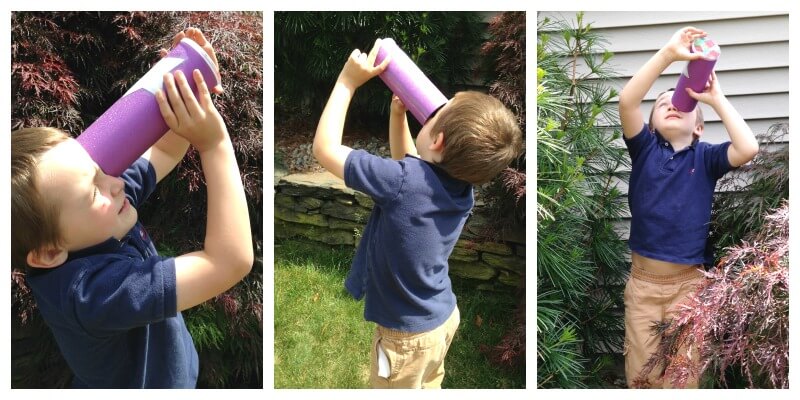
- Twist the lid as you point the kaleidoscope up towards the sun. The fixed lens underneath the lid stays in place while the outside lid spins around it mixing all sorts of shimmering colors! The brighter the light the cooler it looks. We tested this of course!
- Teach children to adjust the viewing angle of the kaleidoscope to observe changes in the patterns. By rotating or tilting the kaleidoscope, they can discover how slight movements create dynamic transformations in the images reflected inside.
- Encourage children to experiment with light sources of different intensities and colors. They can observe how natural sunlight, artificial light, or colored LED lights affect the patterns inside the kaleidoscope.
NOTE: Please help your child and never encourage looking directly into the sun!
More Fun Light Activities For Kids
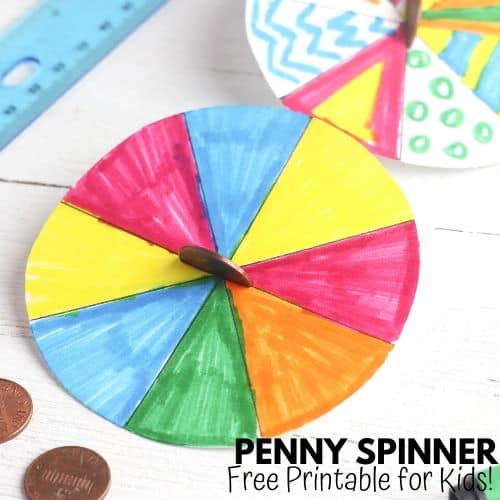
- Make a color wheel spinner.
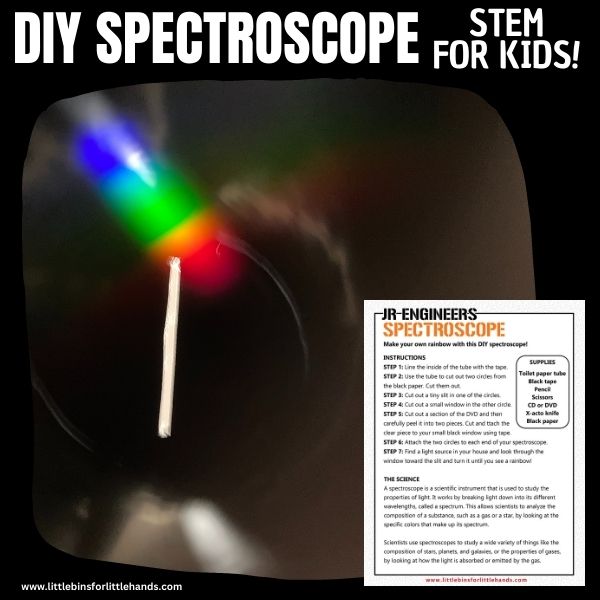
- Explore light with an easy DIY spectroscope.
- Learn about refraction of light with a rainbow prism.
- Set up a simple mirror activity for preschool science.
- Learn more about the color wheel with our printable color wheel worksheets.
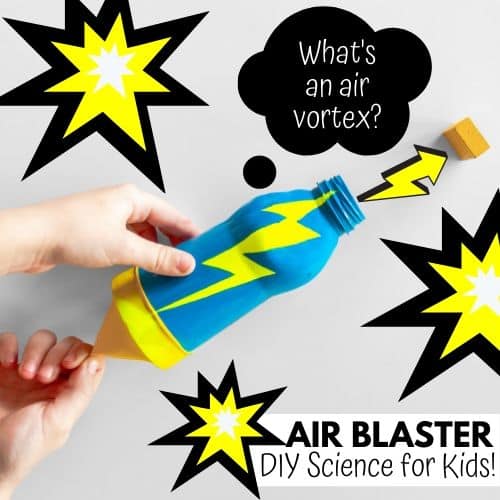
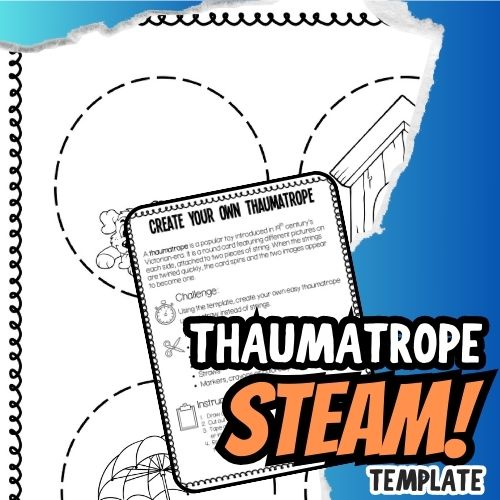
Awesome Science Toys You Can Make
Love science toys? Why not make…
Printable Science Projects For Kids
If you’re looking to grab all of our printable science projects in one convenient place plus exclusive worksheets and bonuses like a STEAM Project pack, our Science Project Pack is what you need! Over 300+ Pages!
- 90+ classic science activities with journal pages, supply lists, set up and process, and science information. NEW! Activity-specific observation pages!
- Best science practices posters and our original science method process folders for extra alternatives!
- Be a Collector activities pack introduces kids to the world of making collections through the eyes of a scientist. What will they collect first?
- Know the Words Science vocabulary pack includes flashcards, crosswords, and word searches that illuminate keywords in the experiments!
- My science journal writing prompts explore what it means to be a scientist!!
- Bonus STEAM Project Pack: Art meets science with doable projects!
- Bonus Quick Grab Packs for Biology, Earth Science, Chemistry, and Physics


So cool Sarah! I love the spinning lid idea and we just happen to have a pringles can at home. I think this is our project for today (it’s raining – perfect!)
I had no idea it could be so easy to make a kaleidoscope!
I know right Emma. I had no idea either. Although I would love to try one with a prism but this is still so cool.
Thank you! It works out pretty well. I am not crafty and even I could show my son how to do it!
I love it!
Love the process for adding the sparkle to the kaleidoscope. We made these at preschool the other day and this tutorial would have made them so much better!
Such a cool, cool idea! 🙂 Love how colorful and fun it turned out!
I want ideas for retired residents for crafting projects, that stimulate and encourage them to think out of the box.
I have to point out that this is a potentially dangerous concept. Pointing objects at the sun and exposing young retinas to direct light is risky with huge potential downsides. Even if well-made the object is risky; if poorly constructed it could be downright dangerous. The site’s owners need to have very high public liability insurance!
Thank you for your feedback. It is noted that kids should not look directly into the sun.
This helped my young brother a lot and made him interested in doing more such projects developing his skills and knowledge
Very easy to make
I do summer crafts with kids at my church. I have been looking for a project just like this for them. Age perfect!
Awesome! Have fun!