Snowflake salt painting is a simple and engaging winter STEAM activity that combines art and science using just glue, salt, and watercolor paint. Kids create raised snowflake designs and then observe how color spreads through the salt, making this project both visually exciting and scientifically meaningful. Easy to set up and perfect for preschool through elementary, snowflake salt art works beautifully for classrooms, homeschool, and indoor winter learning.
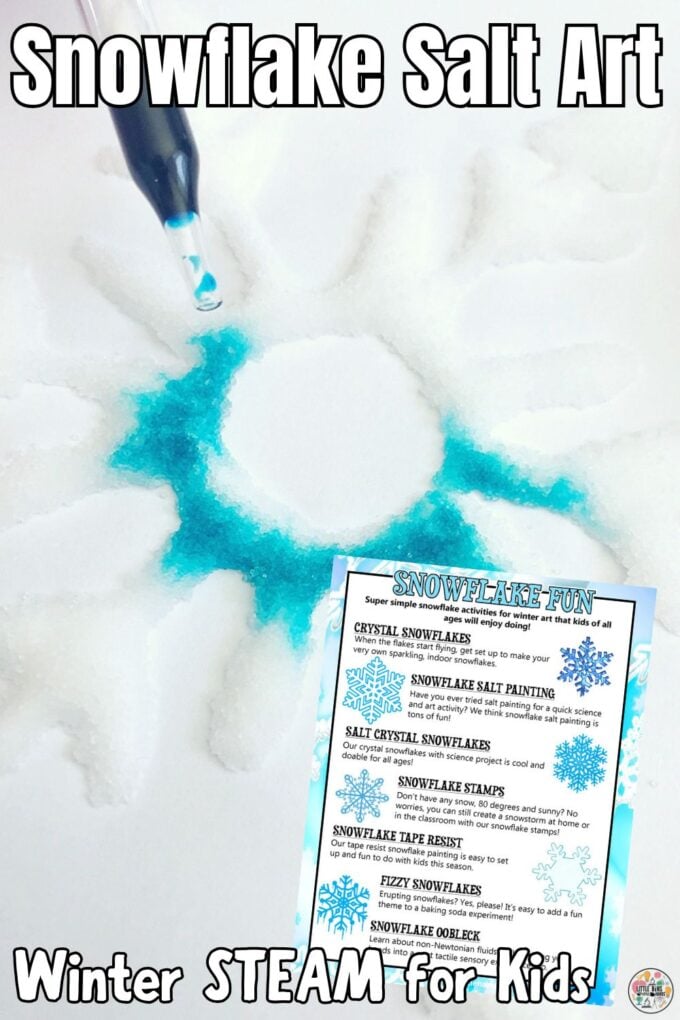
If you’re looking for a hands-on winter activity that blends creativity with real science concepts, snowflake salt art is a favorite every year.
What Is Snowflake Salt Painting?
Salt painting (also called raised salt painting) is an art technique where salt is added to wet glue, creating raised lines. When watercolor or food coloring is added, the liquid spreads through the salt, producing bright, frosty patterns—perfect for snowflake art.
This activity naturally introduces kids to:
- Absorption
- Capillary action
- Observation and experimentation
- Art techniques with watercolor
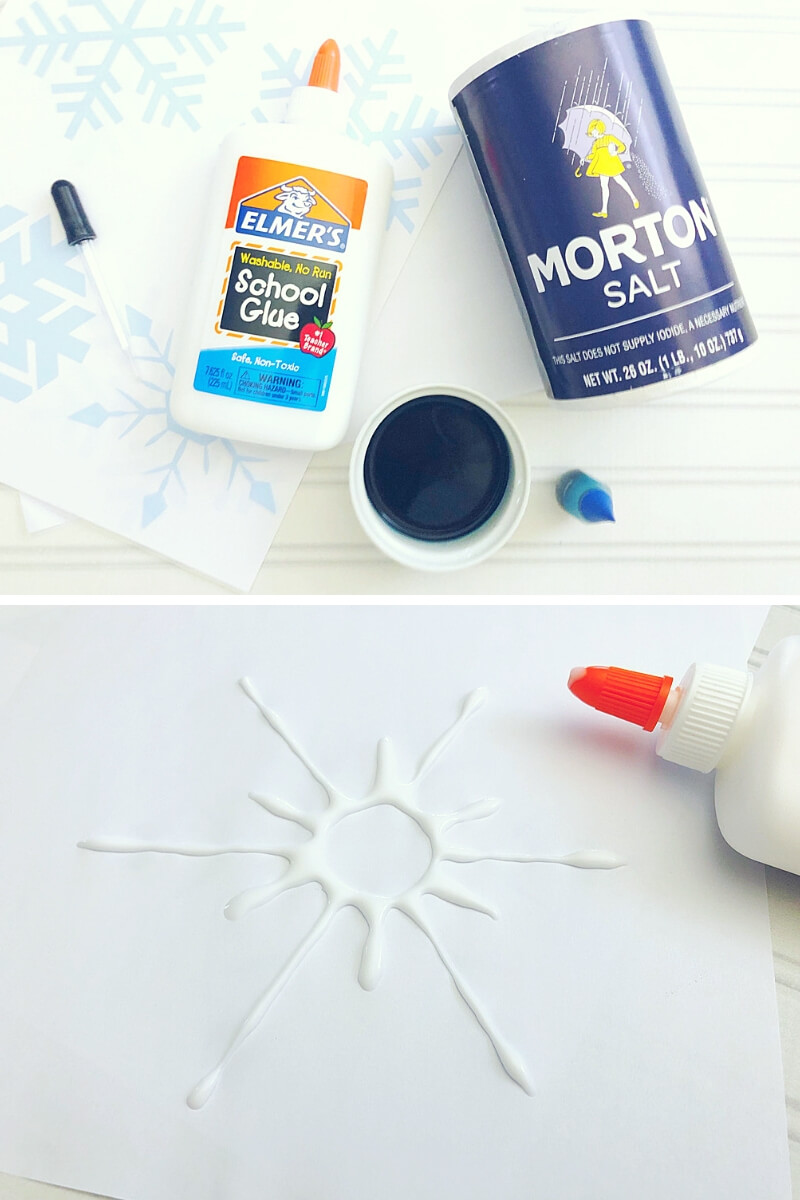
Supplies for Snowflake Salt Art
You’ll need just a few basic materials:
- Snowflake template (optional, click here to download)
- Elmer’s white school glue
- Salt
- Paintbrush, pipette, or eyedropper
- Watercolor paint, liquid watercolors, or food coloring
- Water
- White cardstock, mixed media paper, or watercolor paper
(Computer paper works, but thicker paper gives better results.)
💡 Prep tip: Heavier paper holds up better to water and prevents warping.
How to Make Snowflake Salt Painting
Step 1: Create the Snowflake Design
Print snowflake templates or draw your own snowflakes. You can trace templates or use them directly on sturdy paper.
Step 2: Trace with Glue
Use white glue to trace the snowflake lines. Be sure to include all the small arms and details.
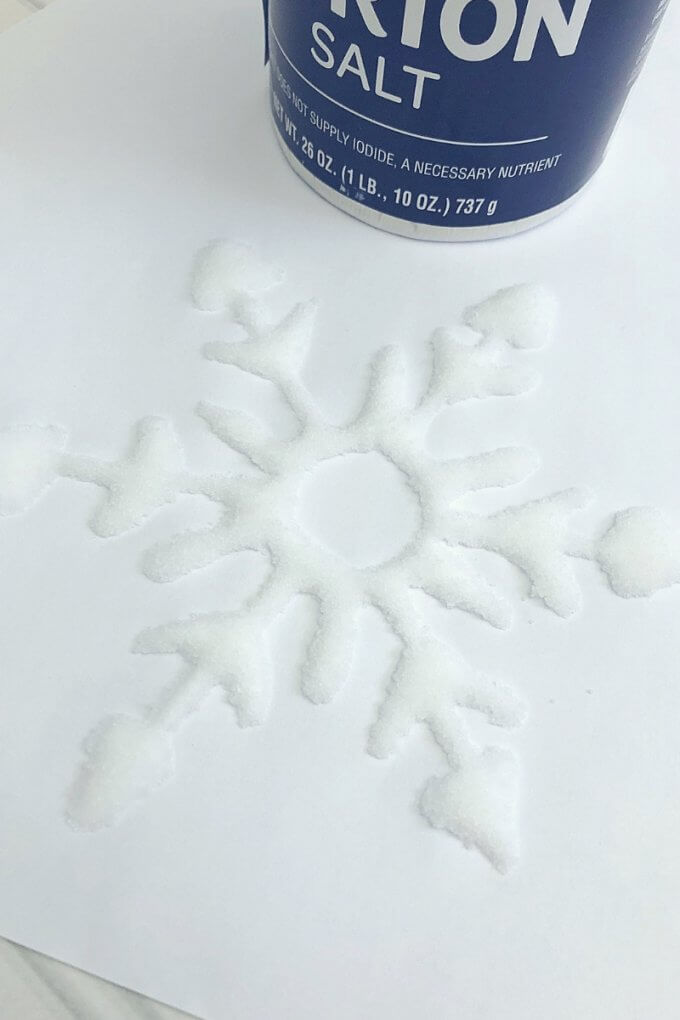
Step 3: Add Salt
Sprinkle salt generously over the glue. Tilt the paper to pour off excess salt.
Step 4: Let It Set
Allow the glue and salt to dry slightly. This helps keep the design crisp when adding color.
💡 Mess tip: Place your project on a baking sheet or tray to catch extra salt.
Step 5: Prepare the Paint
Mix a few tablespoons of water with food coloring, or prepare watercolor paint.
- More color = darker, more vibrant designs
- Liquid watercolors give the brightest results
Step 6: Paint the Snowflakes
Use a pipette, eyedropper, or brush to gently drip color onto the salt lines. Add one drop at a time and watch the color spread.
Let your snowflake salt paintings dry completely—preferably overnight.
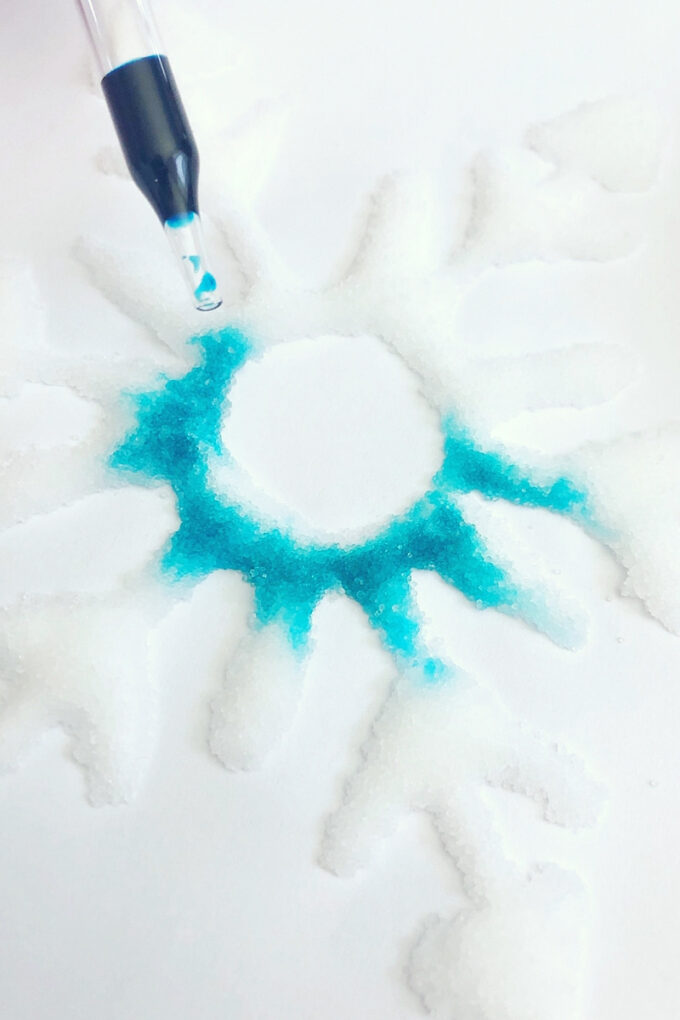
What to Observe (Science Connection)
As kids add color, they’ll notice:
- The water spreads along the salt lines
- Colors travel and sometimes mix on their own
- The salt absorbs and pulls the liquid outward
Encourage kids to slow down and observe what happens before adding more color.
How Does Salt Painting Work? (The Science)
Salt painting works because salt is hygroscopic, meaning it attracts and absorbs water. When water mixed with food coloring or watercolor touches the salt, the liquid moves through the salt crystals. This movement spreads the color along the glue lines, creating the icy, frosted effect.
This process also demonstrates capillary action, where liquid moves through small spaces without being pushed.
🔬 Try This Extension:
Swap salt for sugar and compare results. Sugar absorbs water differently, which leads to noticeable changes in how the color spreads.
Make It a STEAM Activity
You can easily extend this activity beyond art:
- Science: Observe absorption and color movement
- Math: Count snowflake arms and look for symmetry
- Art: Experiment with color blending and watercolor techniques
- Engineering: Test different materials (salt vs. sugar)
FAQ: Snowflake Salt Painting
What age is snowflake salt painting best for?
This activity works well for preschool through elementary. Younger kids enjoy the color spreading, while older kids can focus on symmetry and observation.
Can I use food coloring instead of watercolor?
Yes! Food coloring works great. Liquid watercolors create brighter colors, but both are effective.
Why isn’t my color spreading?
Try adding a little more water or salt. If the glue fully dried, the salt won’t absorb liquid as easily.
Does salt painting have real science?
Yes. Kids explore absorption, capillary action, and material properties while creating art.
How long does salt painting take to dry?
Allow projects to dry overnight for best results.
More Winter STEAM Activities
Check out more snowflake art activities here. Explore more hands-on winter fun:
- Create tape-resist snowflake art
- Learn how to make frost on a can.
- Make a snowball launcher for indoor snowball fights.
- Create a winter snowstorm in a jar.
- Explore how polar bears stay warm.
- Fish for ice cubes indoors!
- Make fake snow.
- Try snow slime recipes.
- Learn how to draw snowflakes step by step.
Extend Your Winter Learning
If your kids enjoyed this winter activity, explore our Winter STEM Pack—a collection of hands-on winter science and STEM activities with printable instructions, recording pages, and extension ideas. It’s perfect for homeschool, classroom centers, or seasonal learning.


One Comment
Comments are closed.