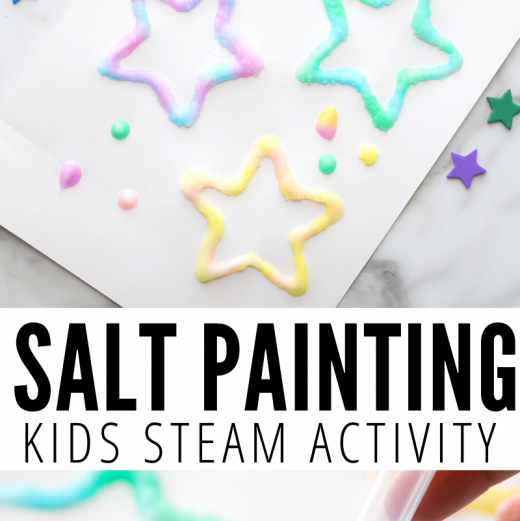
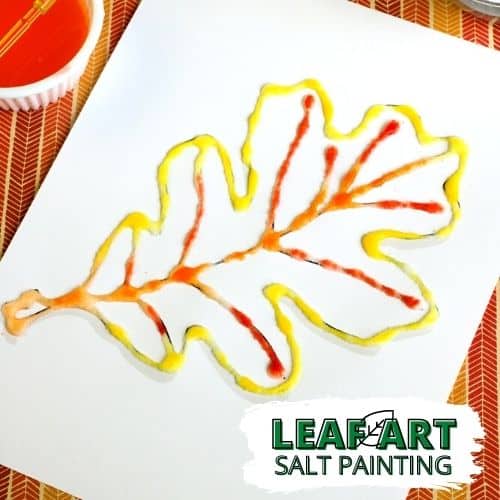
Raised salt painting with glue and watercolors is an incredible STEAM project because it combines art and science. Kids can explore how salt absorbs water and spreads color with this easy painting activity. Join us for fun hands-on STEAM activities!

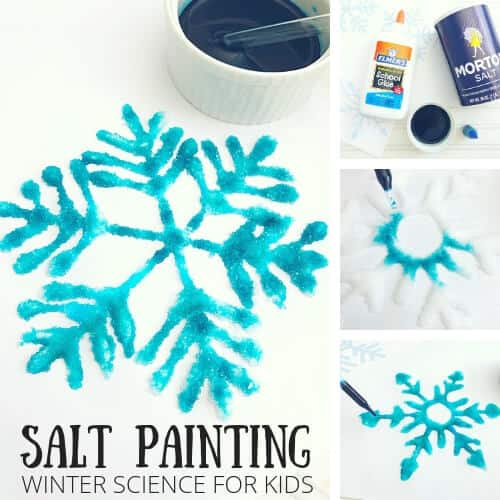
Salt Painting Supplies
💡 Recommended Grade Level: Preschool through elementary grades, particularly kindergarten to 2nd grade. However, it can be adapted for older elementary students by incorporating more complex designs or combining them with a lesson on the science of salt absorption.
Raised glue and salt painting with watercolors or food coloring is an excellent STEAM project for kids because it seamlessly integrates science and art.
Kids can learn about absorption, crystallization, and the how the colored liquid interacts with the salt, providing a basic chemistry and physics lesson.
💡 What is STEAM? Learn more here.
Supplies You Will Need:
- PVA school glue or craft glue
- Salt
- Food coloring or watercolors
- Water
- White card-stock or watercolor paper (the heavier the weight, the better)
- Template for your shapes
How to Make A Salt Painting
You may want to do this activity in two stages to allow the salt and glue to dry before adding watercolor.
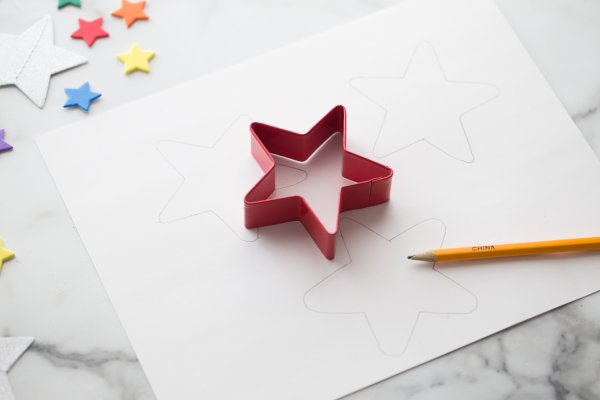
STEP 1: Trace your template onto cardstock.
💡 Stiff paper is recommended for your raised salt painting instead of computer paper or construction paper because it will get messy and wet. Look for mixed media or watercolor-type paper!
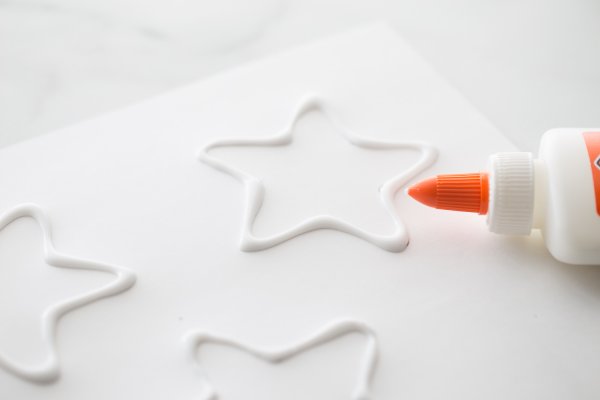
STEP 2: Add glue to outline your shapes.
STEP 3: Then add a good amount of salt onto the glue and carefully pour the excess salt off.
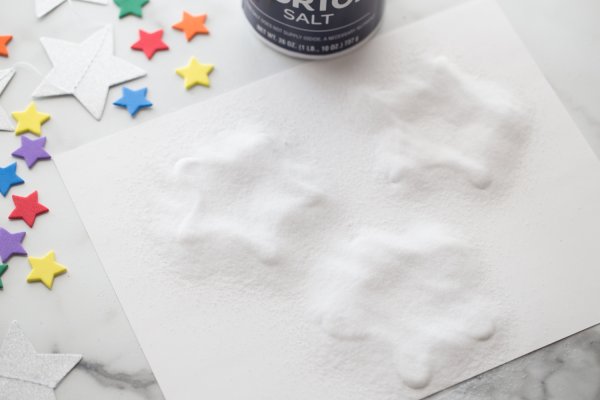
STEP 4: Let the glue and salt dry.

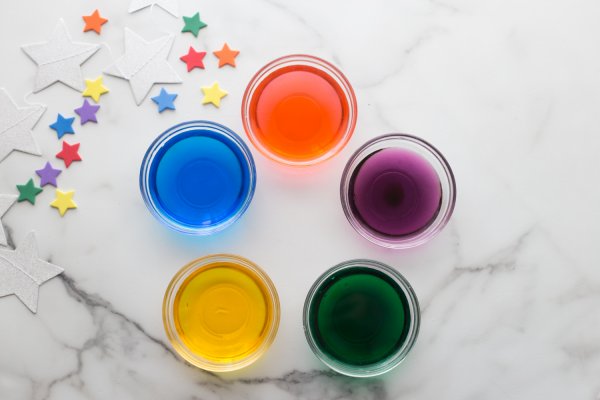
STEP 5: Mix a few tablespoons of water with your choice of food coloring to make your watercolor paint.
Salt Painting Tip: The more food coloring you use, the darker your “paint” will appear.
💡 Use watercolors instead of our simple food coloring and water mixture below!
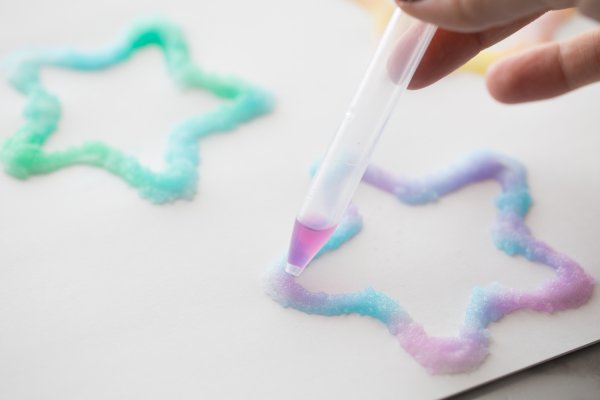
STEP 6: Use a pipette to drip the watercolor mixture onto the salt slowly. Try not to drench the patterns but rather watch the salt soak up one droplet of color at a time.
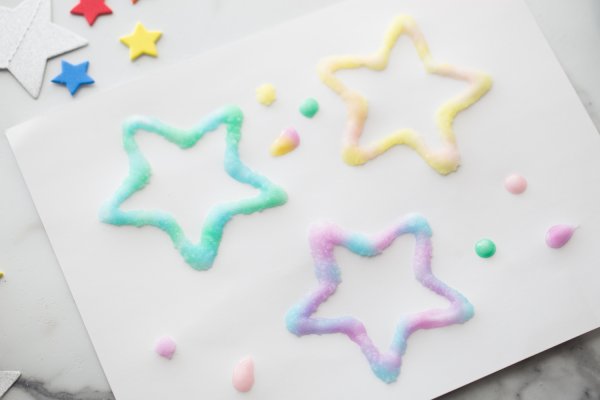
Notice how the water is absorbed and slowly moves throughout the pattern. You can even add drops of different colors and sees what happens!
Leave your salt painting to dry overnight!
Free Printable STEAM Activities Guide

The Science of Salt Painting
Salt has absorbent properties, meaning it can soak up liquids. When kids add liquid watercolor or food coloring to the salt-covered glue lines, they observe how the color spreads along the lines.
This happens because of capillary action, the process where a liquid moves up through small spaces (in this case, the spaces between salt grains). The liquid moves along the salt grains due to the attraction between the molecules of the liquid and the surface of the salt.
Ordinary table salt also absorbs moisture from its environment. Its ability to absorb water is what makes salt a good preservative. This property of absorption is called hygroscopic.
Hygroscopic means salt absorbs liquid water (the watercolor paint mixture) and water vapor in the air. When you do your salt painting, notice how the salt absorbs the watercolor mixture without simply dissolving.
Can you use sugar instead of salt for salt painting? Is sugar hygroscopic like salt? Why not try sugar on your watercolor painting for a fun science experiment and compare the results using the scientific method?
More Fun Salt Painting Ideas
More Easy STEAM Activities
Printable Science Projects For Kids
If you’re looking to grab all of our printable science projects in one convenient place plus exclusive worksheets and bonuses like a STEAM Project pack, our Science Project Pack is what you need! Over 300+ Pages!
💡 Bonus STEAM Project Pack: Art meets science with doable projects!
- 90+ classic science activities with journal pages, supply lists, set up and process, and science information. NEW! Activity-specific observation pages!
- Best science practices posters and our original science method process folders for extra alternatives!
- Be a Collector activities pack introduces kids to the world of making collections through the eyes of a scientist. What will they collect first?
- Know the Words Science vocabulary pack includes flashcards, crosswords, and word searches that illuminate keywords in the experiments!
- My science journal writing prompts explore what it means to be a scientist!!
- Bonus STEAM Project Pack: Art meets science with doable projects!
- Bonus Quick Grab Packs for Biology, Earth Science, Chemistry, and Physics


Any reason to not use clear glue?