When it comes to Winter drawing ideas, what’s top of the list? Snowflakes, of course! Learn how to draw a snowflake step by step for fun winter art projects. Once you know how to draw an ice crystal, it’s a snap to draw a snowflake! Have a go at an easy snowflake drawing with pictures.
SIMPLE SNOWFLAKE DRAWING
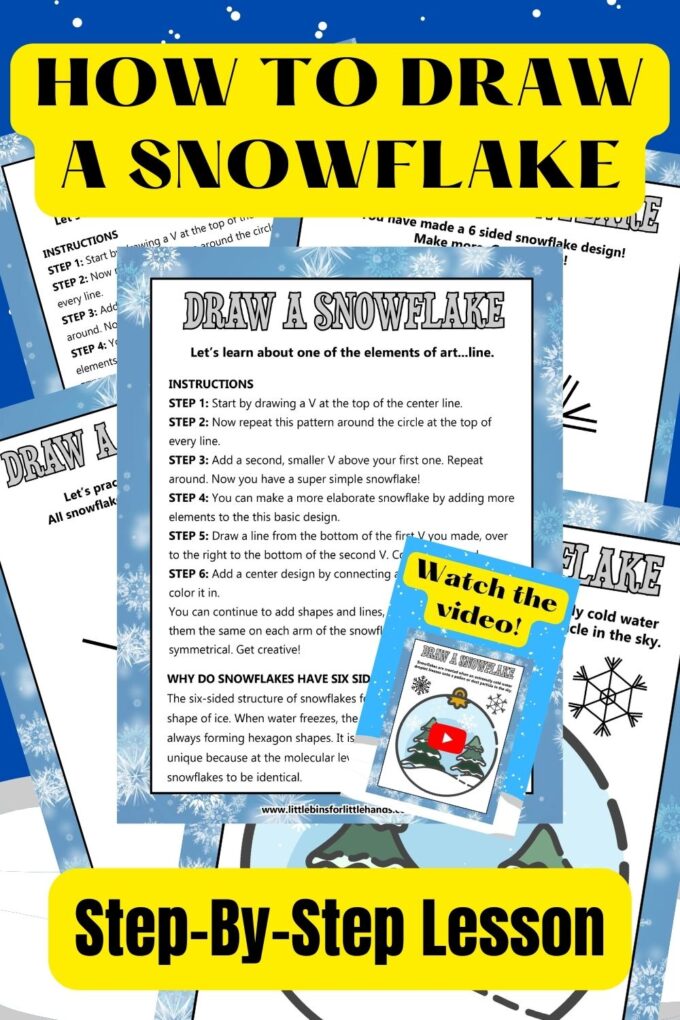
Let’s learn about one of the elements of art… lines to create a snowflake simple drawing! Use the step-by-step instructions below to learn how to draw a snowflake you’ll be proud of! PLUS, make sure to download the FREE 10 Page Snowflake Drawing Lesson below (with video)!
HOW TO DRAW A SNOWFLAKE STEP BY STEP
Please download the free HOW TO DRAW A SNOWFLAKE PACK to get started!
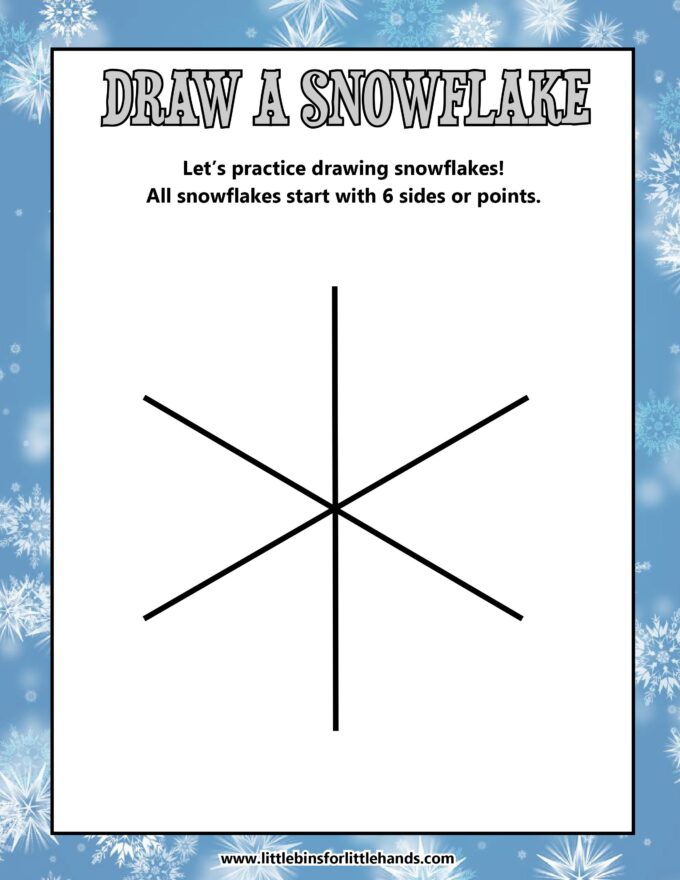
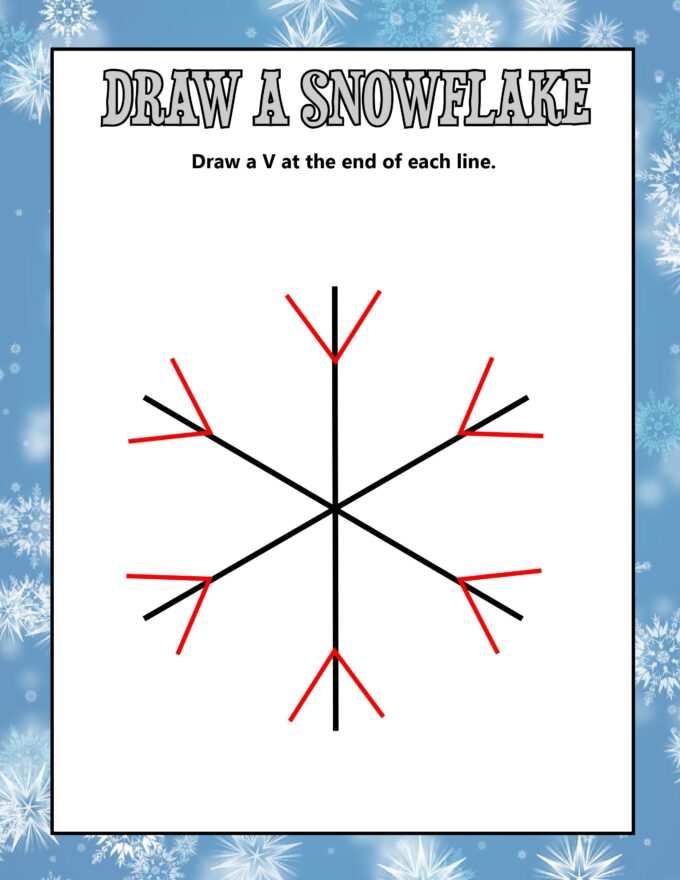
💡NOTE: To get started, use the template provided with three intersecting lines. Alternatively, you can use your paper and draw three equally spaced and intersecting lines. This creates six sides and is the basic shape for your snowflake.
STEP 1: Start by drawing a V at the top of the center line.
STEP 2: Repeat this pattern around the circle at the top of every line.
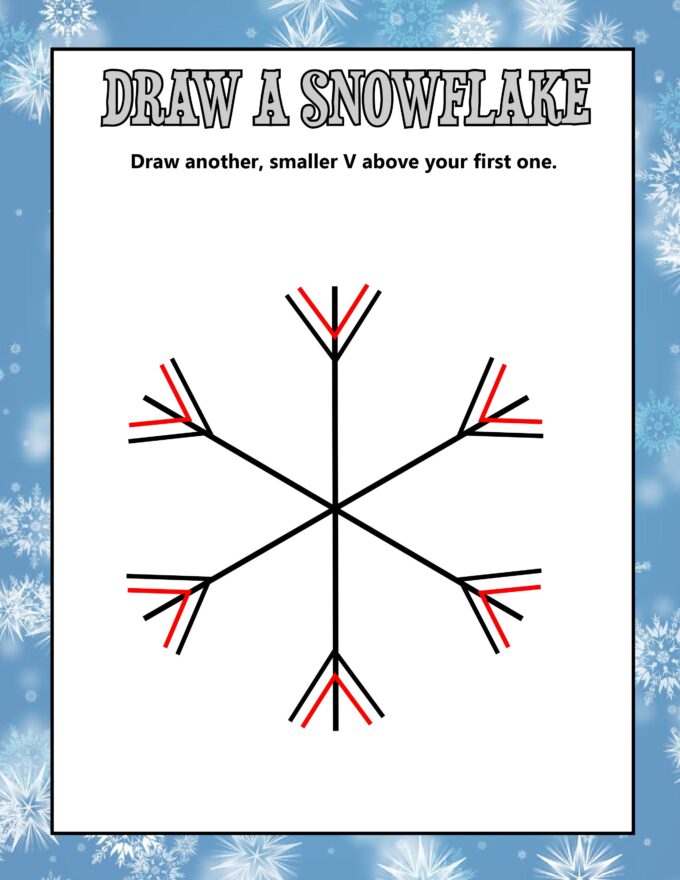
STEP 3: Add a second, smaller V above your first one. Repeat around. Now you have a super simple snowflake!
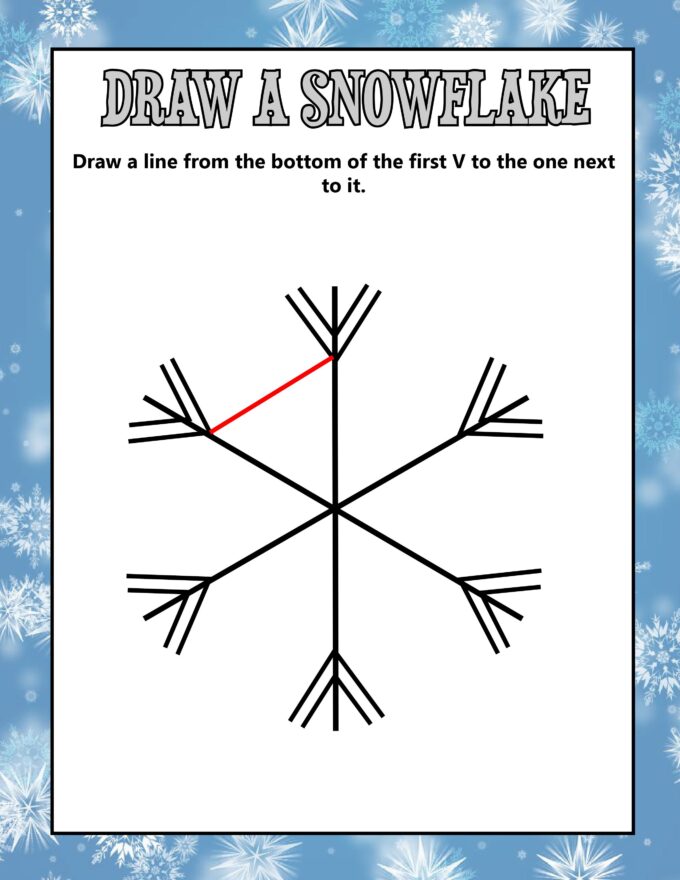
STEP 4: You can make a more elaborate snowflake by adding more elements to this basic design.
STEP 5: Draw a line from the bottom of the first V you made to the right to the bottom of the second V. Continue around.
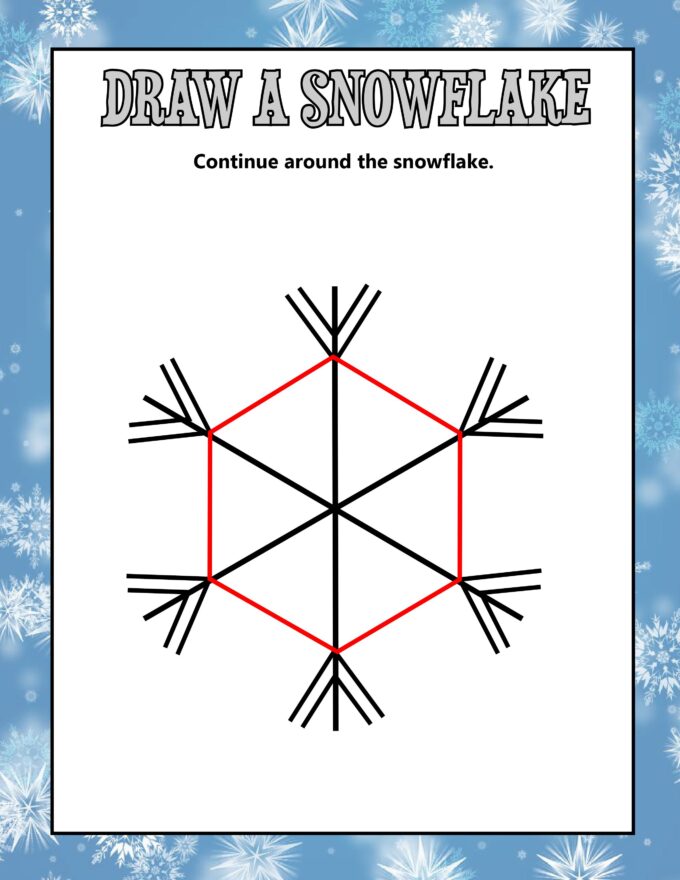
STEP 6: Add a center design by connecting the lines, then color it in.
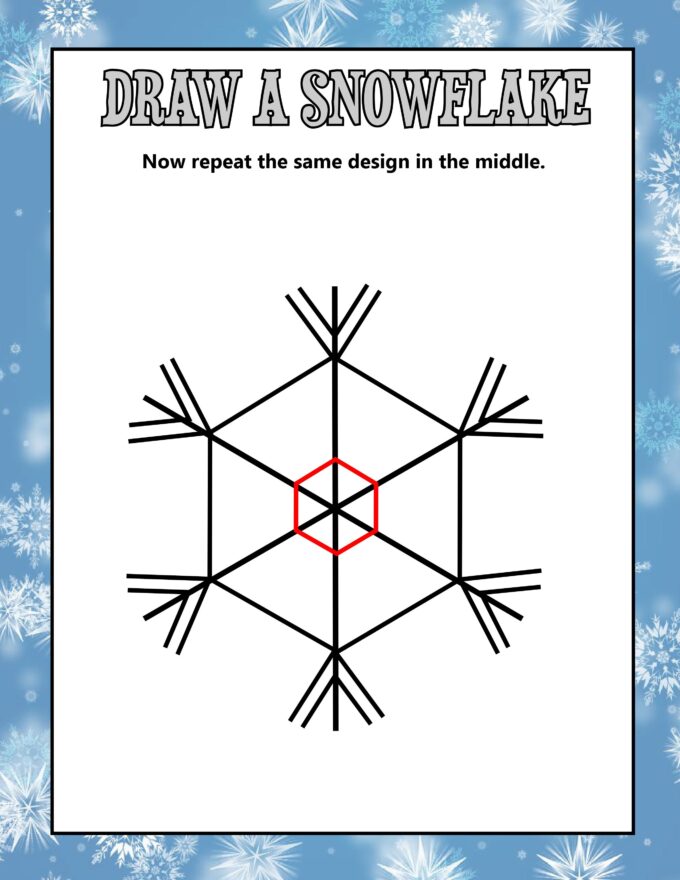
GET CREATIVE: You can continue to add shapes and lines as long as you make them the same on each arm of the snowflake, as snowflakes are symmetrical. Get creative!
Once you get the basic shape of a snowflake down, you can start playing around with the type of snowflake! There are nine specific types of snowflakes.
The most common snowflake is the stellar dendrite or the fernlike stellar dendrite. Other types of snowflakes include…
- hexagonal plate
- stellar plate
- needle shape
- column shape
- bullet shape
- rimed snowflake, and
- the most common found in nature, the irregular shape (due to melting and refreezing along the journey from the sky to the ground).

SNOWFLAKE FACTS FOR KIDS
Snowflakes are about numbers and symmetry, so you are also adding some basic math and geometry to your drawing lesson. If you want to learn how to draw a snowflake that looks realistic, you want to include six sides or 6 points.
Why six sides or points? Here’s a little science behind the snowflake. It all starts with an ice crystal. Molecules in the ice crystal come together to form a hexagon. (In geometry, a hexagon is a 6-sided shape.)
The water molecules continue to bond and grow from this hexagon shape to form 6 arms and then off of those arms with branch more arms! Each snowflake is unique but also symmetrical!
The six-sided structure of snowflakes forms from the small hexagon shape of ice. When water freezes, the molecules connect, always forming hexagon shapes. Every snowflake is likely unique because, at the molecular level, it is difficult for two snowflakes to be identical.
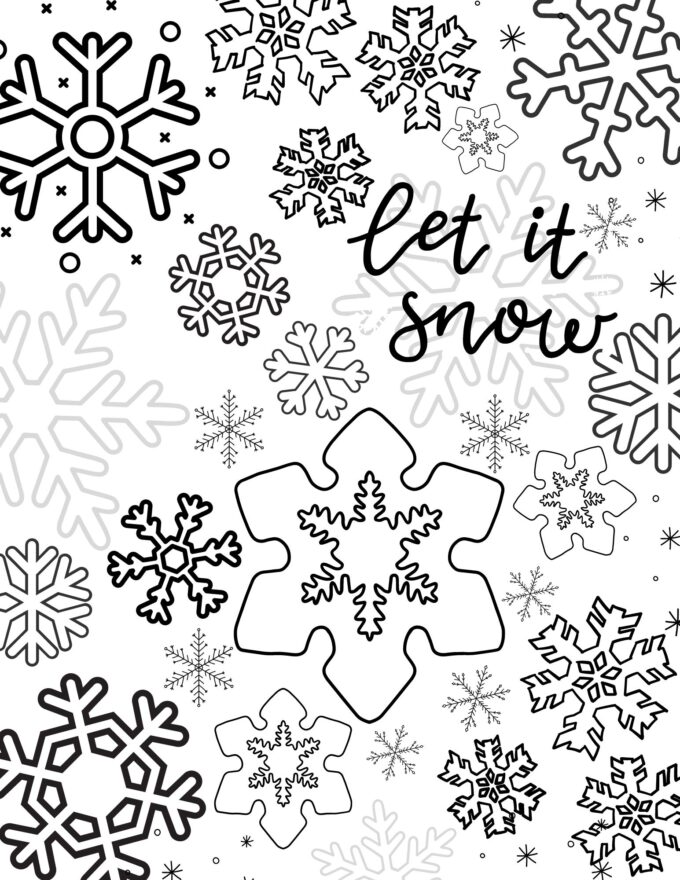
BONUS FREE PRINTABLE SNOWFLAKE COLORING PAGE
After you learn how to draw a snowflake, grab this free winter coloring page below to inspire your snowflake designs all season long! Instant download here.
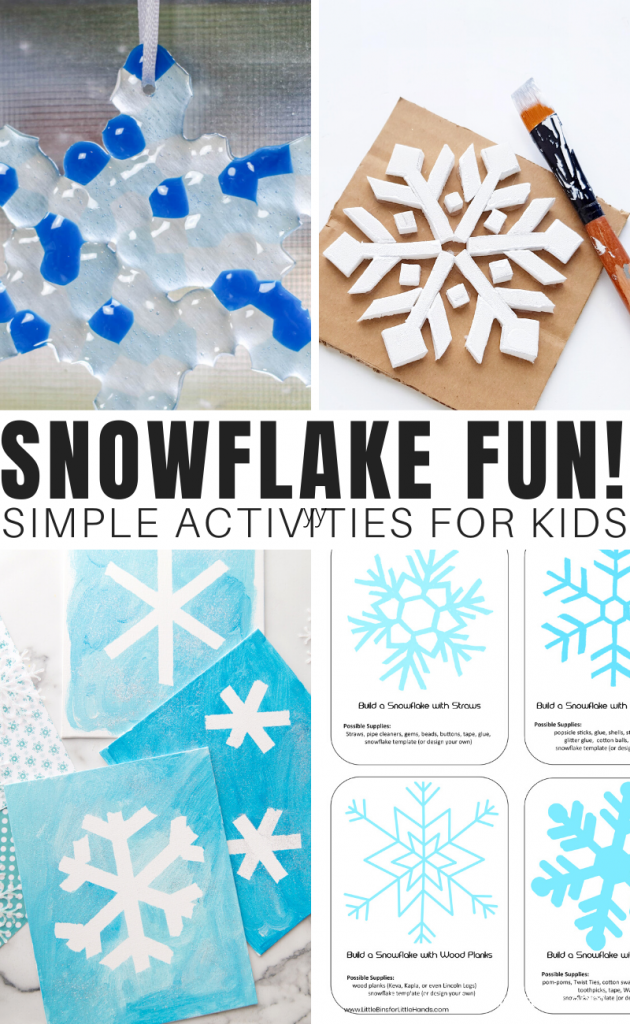
MORE FUN SNOWFLAKE ACTIVITIES
Find a variety of snowflake-themed winter projects here! Including…