This has to be the BEST homemade air dry clay recipe around! Finally, an easy DIY clay you can use at home or in the classroom! Kids love making things with clay and this recipe works magically for a variety of ages. Add this air dry clay recipe to your repertoire of craft activities, and you will always have something fun to whip up any time you want!
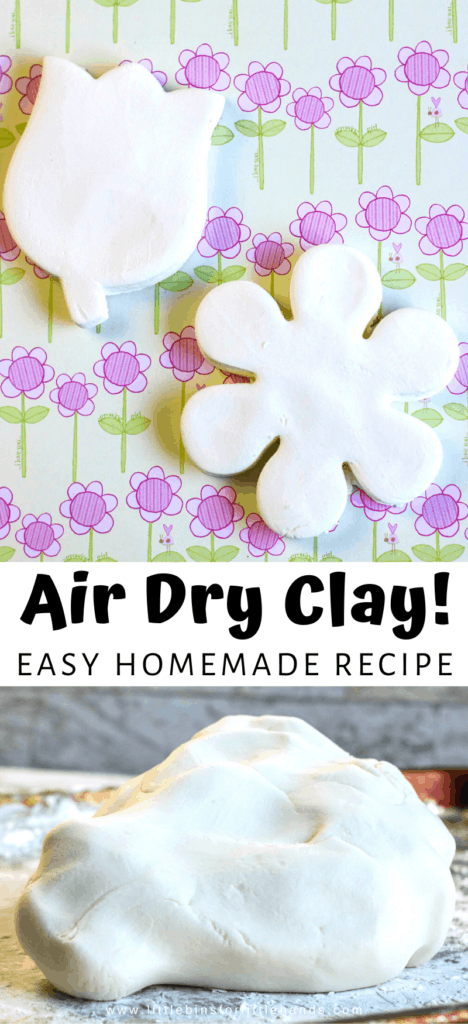
Air Dry Clay Recipe
I don’t know too many kids who don’t love a fresh batch of soft air dry clay to play with. It makes for a wonderful art activity, enhances learning activities, and feels amazing for the senses! Plus, it is super easy to make.
Cookie cutters, natural materials, plastic kitchen tools are all fun accessories to use with air dry clay. I am excited to share with you this awesome go-to DIY clay recipe that we love. Change it up for the seasons and holidays too!
Ingredients:
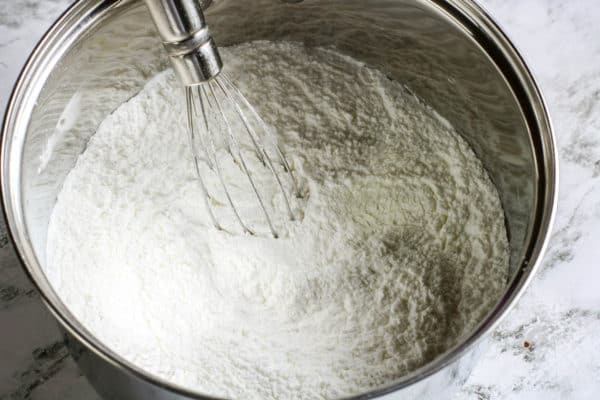
- 2 cups baking soda
- 1 cup cornstarch, plus more for kneading
- 1 ½ cups water
Recipe Variation: Instead of baking soda and cornstarch, try our no cook salt dough recipe with flour and salt! The salt dough does have a more grainy texture due to the salt.
Instructions:
STEP 1. Mix together the baking soda and cornstarch in a small saucepan. Then stir in the water until completely blended.
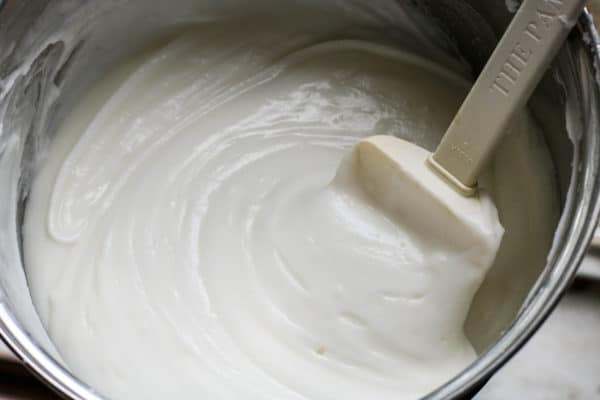
STEP 2. Place pot over medium heat and cook, stirring constantly for 10 to 15 minutes until the clay begins to form. Remove from heat and continue stirring until the mixture becomes a sticky but soft dough.
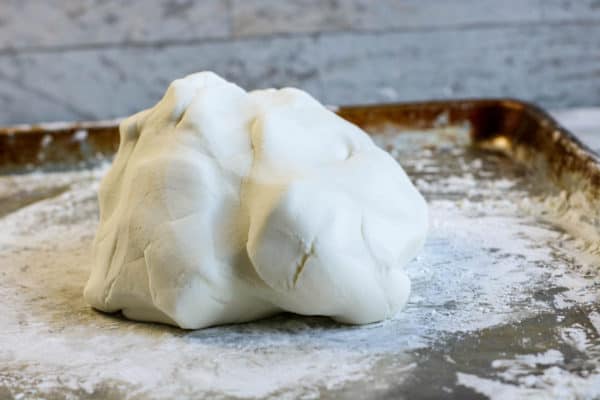
STEP 3. Allow the dough to cool to the touch. Then place the dough on a surface coated with additional cornstarch. Begin kneading the clay adding more cornstarch as needed until the clay becomes smooth and the tacky feeling is gone.

Keep kneading!
STEP 4. Time to have some fun modelling with your soft DIY clay.
To dry, place your shapes on a drying rack. If needed flip shapes over after one side has dried. Depending on the thickness of the object, the clay may take up to 3 days to dry completely.
Tip: To store, wrap any unused clay tightly in plastic wrap and place in an airtight container.
How To Color & Decorate Air Dry Clay
Before Drying (Coloring the Clay Itself)
Before the clay is dry you can mix a small amount of acrylic paint, food coloring or liquid watercolor paint into the clay. Paint will give you a more vibrant, consistent color while food coloring is a safe alternative if using with younger kiddos.
After Drying (Decorating)
You can use acrylic paint, markers, watercolors, glitter glue and even chalk or pastel crayons to decorate the surface of your air dry clay. Spray with a sealant afterwards especially if using chalk.
Add Fun Embellishments
- Use alphabet stamps, textured objects, or cookie cutters to imprint designs into the clay before it dries. Kids can create personalized items like name tags or textured pendants.
- Press sequins, beads, or small jewels into the clay before drying for a decorative touch.
- Attach ribbons, bows, or small fabric accents to dried creations using glue.
- Use craft glue to add pom-poms, feathers, or other fun textures after the clay dries.
- Glow in the dark paint is perfect for older kids to create nightlight-style decorations or spooky designs.
Troubleshooting Your Air Dry Clay
1. Hard or Dry Air-Dry Clay
If your clay has dried out or hardened, you can break the hard clay into smaller pieces and then wrap the pieces in a damp paper towel and place them in a sealed plastic bag. Let it sit for 12–24 hours. Knead the softened clay thoroughly. Add more water gradually if needed.
Alternatively, submerge the hardened clay in water for a few minutes. Drain excess water and knead the clay until it regains its pliability. If the clay is only slightly hard, mist it with water and knead until soft.
2. Crumbly or Brittle Clay
If the clay is falling apart or feels crumbly you need to add moisture. Knead in a small amount of water or baby oil to hydrate the clay. Be cautious not to overdo it, as this can make the clay too sticky. You can also massage a small amount of hand lotion or hair conditioner into the clay. This softens and binds it, making it smoother and easier to work with.
TIP: To keep air dry clay from becoming hard wrap unused clay tightly in plastic wrap and place it in an airtight container. Also keep parts of the clay you aren’t using covered with a damp cloth to prevent drying out during use.
3. Cracking Clay
Cracks often appear when the clay dries unevenly or shrinks too much. To prevent cracking roll the clay to an even thickness (ideally 1/4 inch) to reduce shrinkage. Allow the clay to air dry slowly by covering it loosely with plastic wrap or a damp cloth for the first 24 hours. Smooth cracks while the clay is still damp by adding a small amount of water and rubbing with your finger or a soft tool.
4. Overly Soft Clay
Clay can become too soft and lose its shape. Add a small amount of cornstarch or flour to give it more structure. Place the clay in the fridge for 15–20 minutes to firm it up.
Craft Ideas With Air Dry Clay
Here are some fun things kids can make with their homemade air dry clay:
- Handprint Keepsakes – Press a child’s hand into a rolled-out piece of clay to create a lasting memory.
- Miniature Animals – Sculpt small animals like turtles, bunnies, or ladybugs. Use tools like toothpicks for details and paint them once dry.
- Personalized Keychains – Add a small hole for a keyring before drying, then paint and seal.
- Jewelry – Roll the clay into small balls or other shapes and thread them once dry.
- Pencil Topper – Sculpt fun shapes like monsters, flowers, or animals, and attach them to the top of pencils.
- Fridge Magnet – Shape clay into stars, animals, or abstract designs, and attach a magnet to the back after drying and decorating.
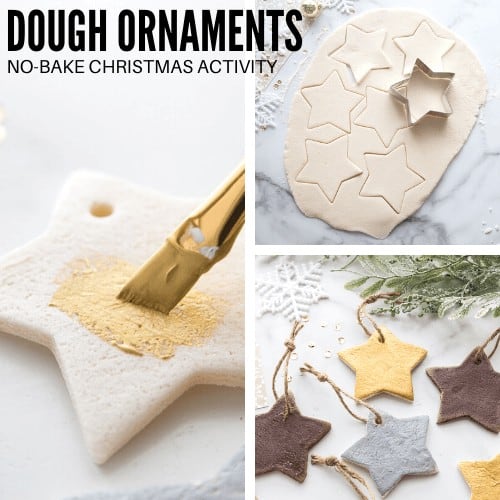
- Holiday Ornaments – Cut out shapes like snowflakes, trees, or stars using cookie cutters. Add a hole for hanging and decorate with paint, glitter, or stamps.
- Nature Stamped Art – Press leaves, flowers, or shells into the clay to create natural imprints. Paint the details for a beautiful keepsake.
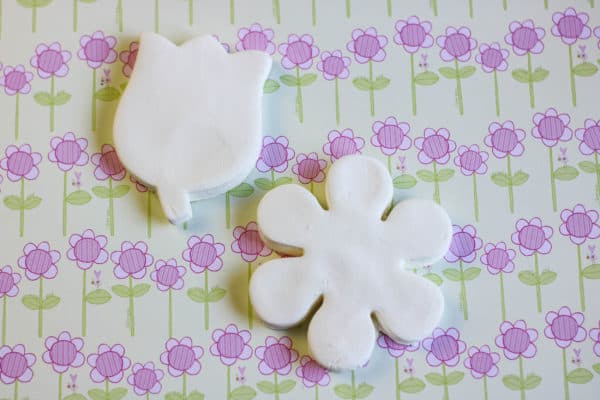
Free Grow A Flower Printable
Use this free printable to make flowers with air dry clay!
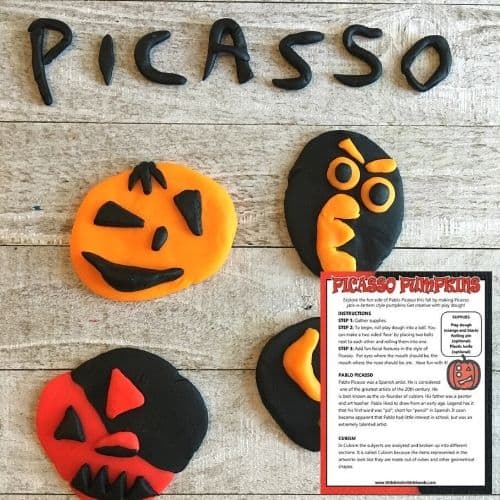
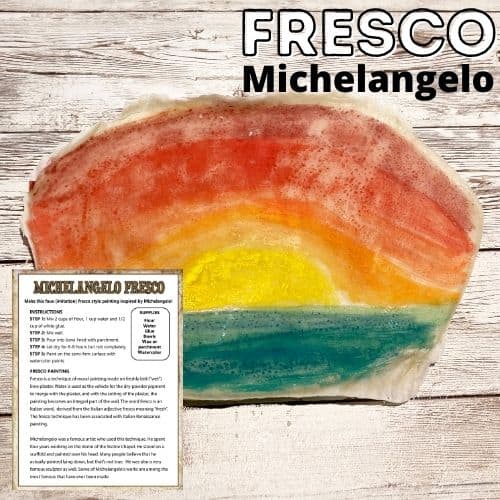
Modelling Art Projects To Try
- Picasso Pumpkins
- Michaelangelo Fresco Painting
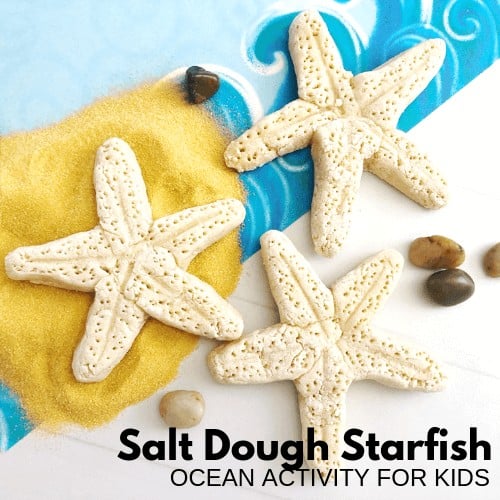
- Salt Dough Starfish
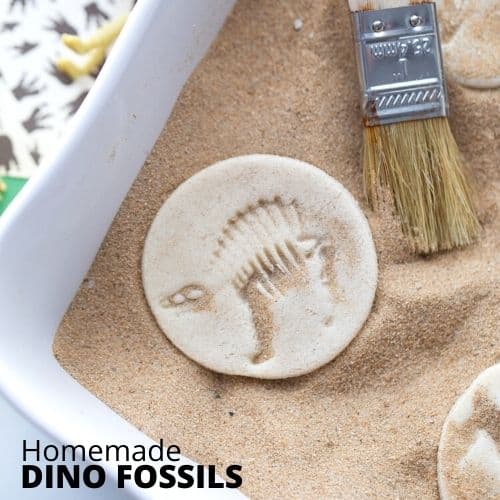
- DIY Fossils
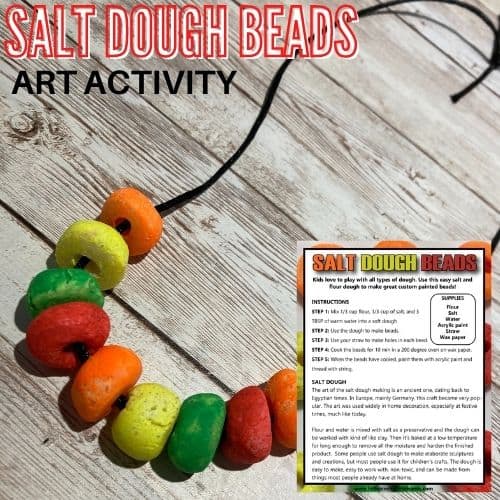
- Beaded Necklace
- Christmas Ornaments
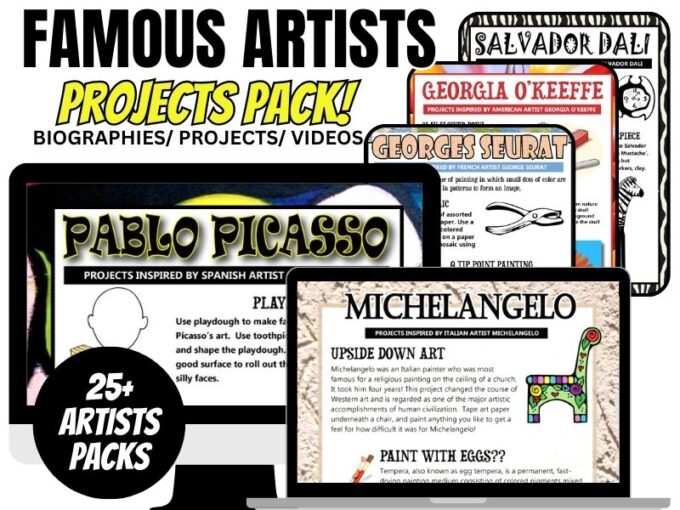
Printable Famous Artist Pack
You’ll find each of our famous artists featured in our Famous Artists Project Pack 👇 including a bonus Andy Warhol Coloring Book!
25+ artists and growing with unique projects not available on the website!