

No-Bake Salt Dough Ornaments for Kids
Make your own salt dough ornaments without turning on the oven! This easy no-bake salt dough recipe uses just three ingredients—flour, salt, and water—to make homemade Christmas ornaments kids can decorate and hang on the tree.
Simply mix, roll, cut, and let your ornaments air-dry. It’s a fun, low-prep Christmas craft for home or the classroom, and the finished decorations make lovely handmade keepsakes!

Easy No-Bake Salt Dough Recipe
Salt dough is one of our favorite homemade doughs for kids. It’s easy to mix, fun to shape, and perfect for making Christmas ornaments with cookie cutters.
The best part? You don’t have to bake these salt dough ornaments! Just give them enough time to dry completely before painting and decorating.
These homemade ornaments are also a wonderful sensory activity for kids who enjoy rolling, pressing, and shaping dough.
👉 Looking for more ideas? Explore our collection of DIY Christmas ornaments for kids.
💡 IMPORTANT: Salt dough is not edible. Supervise young children and keep the dough and finished ornaments away from pets. The high salt content can be dangerous if swallowed.
Salt Dough Ingredients
- 2 cups all-purpose flour
- 1 cup salt
- 1 cup warm water
Additional Supplies
- Mixing bowl
- Rolling pin
- Christmas cookie cutters
- Drinking straw
- Baking tray
- Acrylic paint and brushes
- Ribbon or twine
- Clear craft sealer (optional)
👉 Alternatively, you can make our cinnamon dough ornaments here.
How to Make Salt Dough Ornaments Without Baking
💡 You can make these easy salt dough ornaments in just a few steps. Plan ahead so the ornaments have enough time to air-dry before decorating.
STEP 1: Combine the flour and salt in a mixing bowl. Make a well in the center.

STEP 2: Gradually add the warm water, mixing until a soft dough forms.
TIP: If the dough feels sticky, let it rest briefly, then add a little more flour. If it’s too dry or crumbly, add water a teaspoon at a time.

STEP 3: Knead the dough until smooth. Roll it out to approximately ¼ inch thick.

STEP 4: Use Christmas cookie cutters to make stars, trees, hearts, or other holiday shapes.

STEP 5: Use a drinking straw to make a small hole near the top of each ornament for hanging.

STEP 6: Place the ornaments on a tray and leave them to air-dry for at least 24–48 hours. Thicker ornaments or humid conditions may require several additional days.
⭐️ Turn the ornaments occasionally to help both sides dry evenly.
STEP 7: Once completely dry and firm, paint and decorate your ornaments. Add ribbon or twine when finished!

How Long Do Salt Dough Ornaments Take to Air-Dry?
Thin salt dough ornaments may dry in 24–48 hours, but thicker designs can take several days.
Drying time depends on:
- How thick you roll the dough
- Room temperature and humidity
- Air circulation around the ornaments
- The size of your ornament shapes
For best results, keep ornaments around ¼ inch thick and allow them to dry completely before decorating.
💡 TIP: If your ornaments still feel soft or cool and damp in the center, give them more time to dry. Painting too early can trap moisture inside.
How to Paint Salt Dough Ornaments
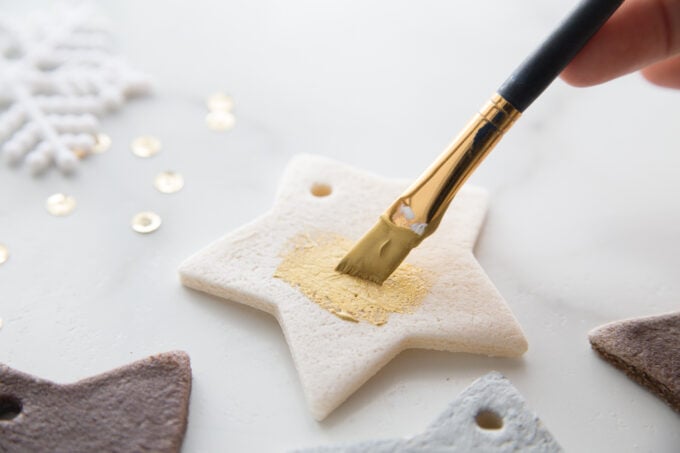
Once your ornaments are completely dry, it’s time to decorate! We used silver and gold acrylic paint for our Christmas stars, but kids can experiment with any festive colors.
Try these simple decorating ideas:
- Paint stars with gold or silver acrylic paint.
- Make colorful Christmas trees with green paint and small dots for ornaments.
- Add glitter for extra sparkle.
- Use paint pens to add names, dates, or simple designs.
- Make personalized ornaments as gifts for family members.
💡 FUN VARIATION: Mix glitter with clear craft glue or Mod Podge and brush it onto your dry ornaments for a sparkly finish.
How to Preserve Salt Dough Ornaments
Salt dough ornaments can last for years when thoroughly dried, sealed, and stored properly.
Once your paint is dry, an adult can apply a suitable clear craft sealer or Mod Podge, following the product instructions. A protective coating can help preserve the painted surface, but it won’t make salt dough completely waterproof.
Storage Tips:
- Allow the ornaments to dry completely before storing.
- Wrap individual ornaments in tissue paper.
- Keep them in a cool, dry location.
- Avoid damp basements or humid storage areas.
- Store them in a sturdy container to prevent breakage.
With proper care, you can enjoy your homemade salt dough ornaments year after year!
Frequently Asked Questions
Do you have to bake salt dough ornaments? No! Salt dough ornaments can air-dry naturally without an oven. Place them on a tray and let them dry completely before painting.
How long does salt dough take to air-dry? Thin ornaments may dry in 24–48 hours, but thicker ornaments can take several days. Drying time depends on dough thickness, humidity, and airflow.
Why are my salt dough ornaments still soft? They may need more drying time, especially if the ornaments are thick or the room is humid. Turn them occasionally and allow both sides to dry thoroughly.
Can you make salt dough ornaments ahead of time? Yes! Make your ornaments several days before you plan to decorate them. Once completely dry, you can paint, seal, and store them for future Christmas celebrations.
More Things to Make With Salt Dough
Salt dough isn’t just for Christmas! Try these easy hands-on projects throughout the year.
- Salt Dough Fossils — Make pretend dinosaur fossils and explore how fossils form.
- Salt Dough Earth — Create a model Earth for Earth Day.
- Salt Dough Volcano — Build a model volcano for a science experiment.
- Salt Dough Beads — Make homemade beads for necklaces and other crafts.
- Salt Dough Starfish — Create a simple ocean-themed craft.
- Cinnamon Salt Dough Ornaments — Try another festive ornament recipe.
- Homemade Air-Dry Clay — Explore another easy homemade modeling dough.
Free Printable Christmas Ornaments
Want more easy Christmas crafts for kids? Grab our FREE Christmas Ornament Printable Pack for simple holiday crafting fun!
Get Your Free Christmas Ornament Printables!
More Christmas Ornaments to Make
Keep creating with these fun homemade Christmas ornament projects!
- Light-Up Circuit Ornaments — Explore simple circuits with a holiday project.
- Crystal Candy Cane Ornaments — Grow crystals on candy cane shapes.
- Cinnamon Salt Dough Ornaments — Make another style of homemade dough ornament.
- LEGO Christmas Wreath Ornament — Create a festive ornament using LEGO bricks.
- Straw Christmas Ornaments — Make colorful decorations using straws.
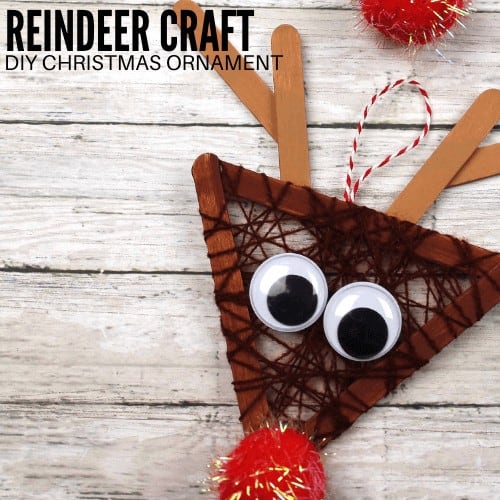
- Popsicle Stick Reindeer Ornament — Try an easy reindeer craft.
Explore even more ideas in our complete collection of Christmas ornament crafts for kids.


Free Printable Christmas Ornament Crafts
Need a quick Christmas craft with minimal prep? Grab our FREE printable Christmas ornaments! Kids can color, cut, and create their own festive decorations using simple supplies.
Perfect for classroom art centers, holiday parties, or an easy afternoon craft at home.
🎄 Get Your Free Christmas Ornament Printables Below!
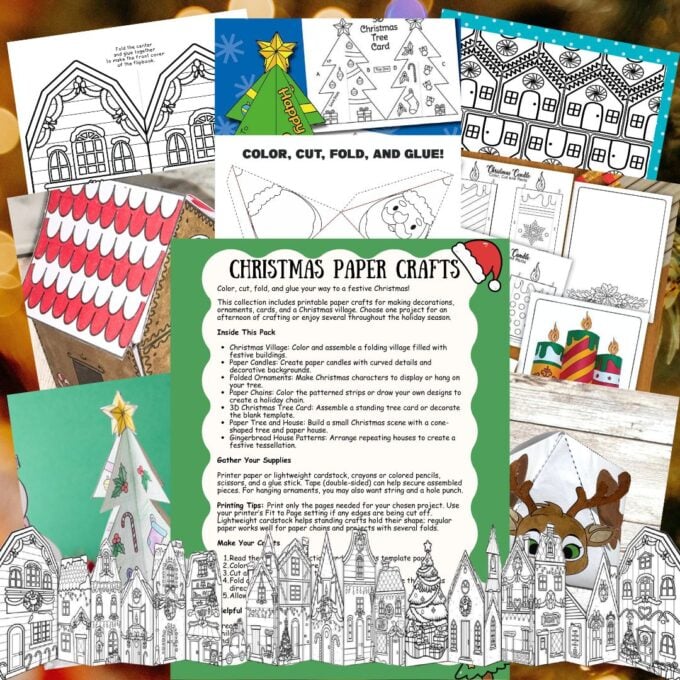
Printable Christmas Paper Crafts Pack
Looking for even more easy Christmas crafts for kids? Our Christmas Paper Crafts Pack makes holiday crafting simple with ready-to-print projects for classrooms, holiday parties, and creative afternoons at home!
Skip the complicated prep and enjoy festive paper crafts kids can color, cut, assemble, and display.
Perfect for:
- Classroom Christmas craft centers
- Holiday parties and seasonal activities
- Fine motor practice and creative play
- Easy, low-prep crafting at home
Just print, grab your scissors and glue, and start creating!
🎄 Explore the Christmas Paper Crafts Pack