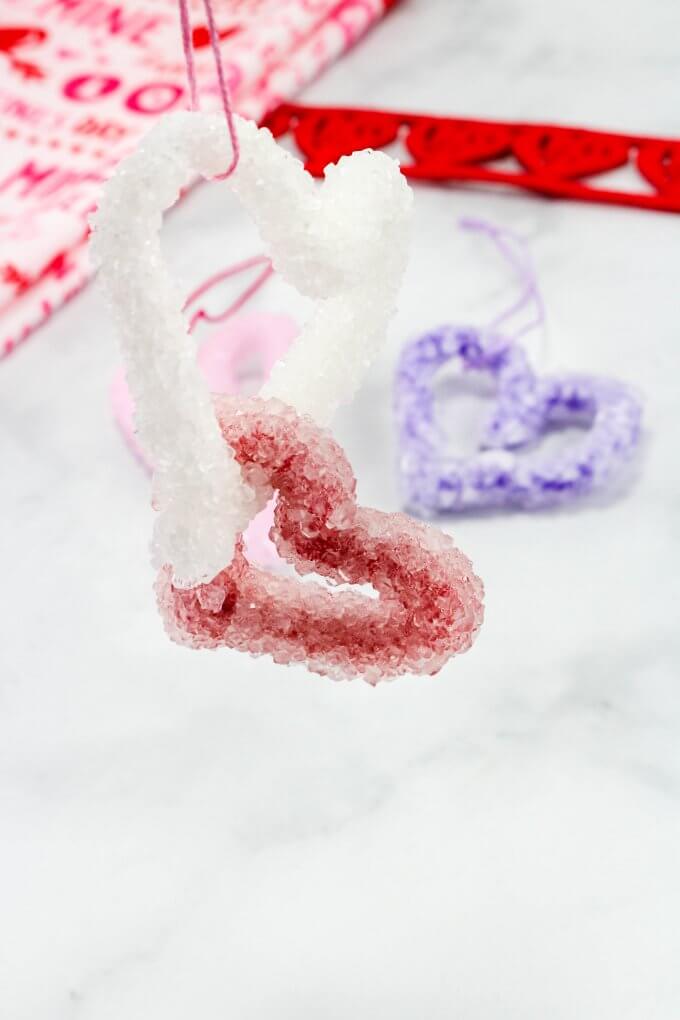
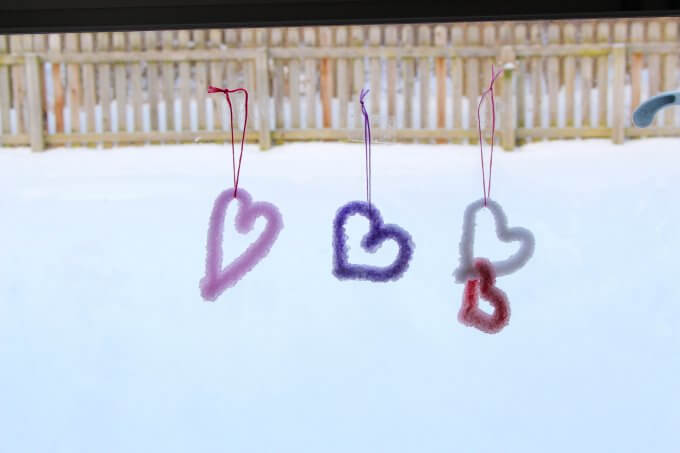
These crystal hearts grow overnight and make a beautiful Valentine science decoration kids can take home. This borax crystal heart experiment is an easy, hands-on way to explore crystal growth with kids. You can also find more fun Valentine science experiments to try this month.

Crystal Hearts Experiment
This experiment is a fun way to explore the science of solutions, saturation, and crystallization while making a beautiful Valentine’s Day decoration. Plus, it’s a great introduction to how crystals grow in nature—like salt, sugar, or even gemstones!
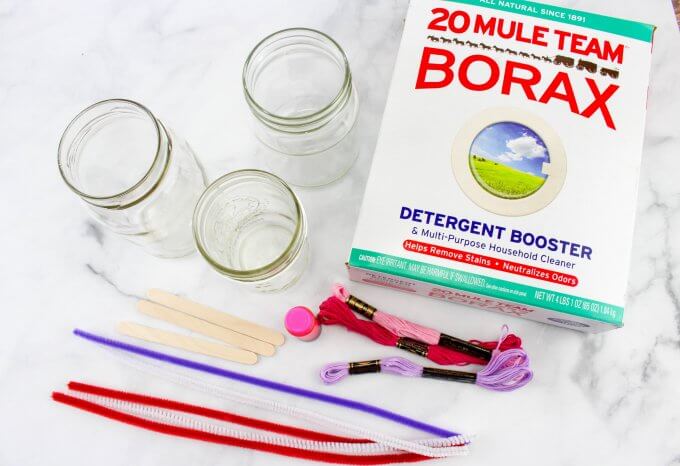
Supplies:
- Borax
- Jars or vases (glass jars are preferred over plastic cups)
- Popsicle sticks
- String and tape
- Pipe cleaners
💡🛑 Adult help is needed for hot water and measuring borax. Kids can help shape the hearts and observe the crystal growth.
How to Grow Crystal Hearts with Borax
Watch the Video:
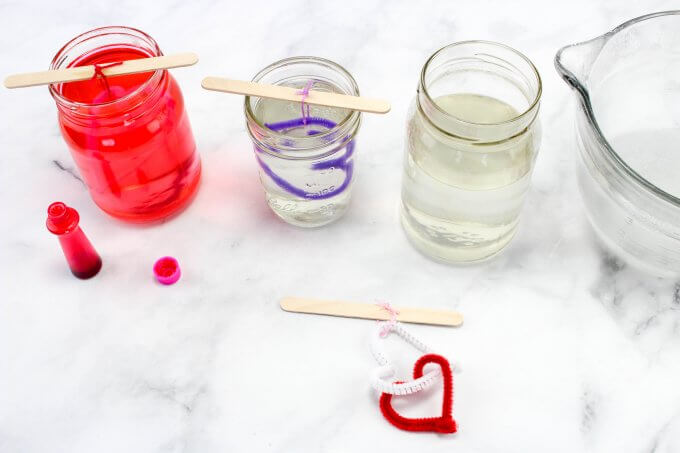
STEP 1: Take your pipe cleaners and form them into hearts! Twist two different colors together! Or you can entwine two hearts!
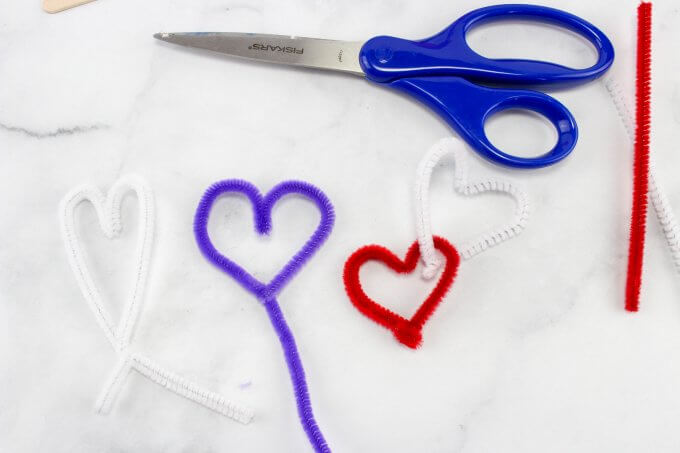
Hint: Double-check the jar’s opening to match the size of your shape! It’s easy to push the pipe cleaner in to start but challenging to pull it out once all the crystals have formed! Make sure you can get your heart in and out easily!
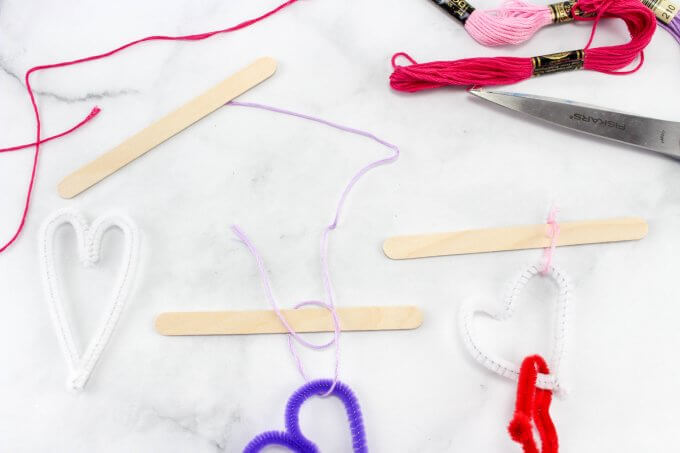
STEP 2:
Use the popsicle stick (or pencil) to tie the string around. I used a small piece of tape to keep it in place. You can do two hearts in one jar, but make sure they are small and have room! They would also look pretty if they grew together!
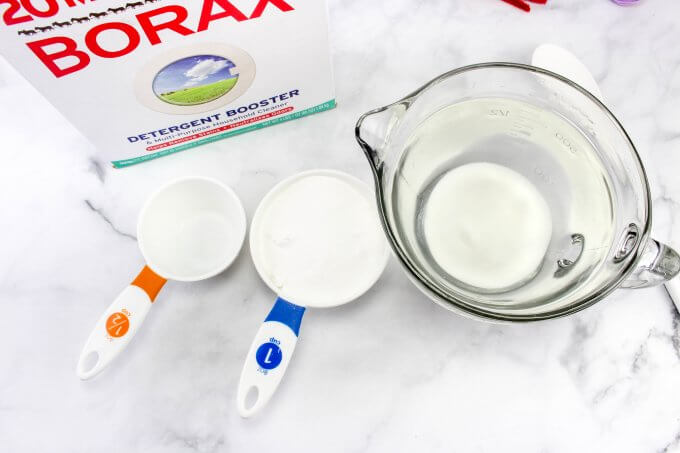
STEP 3: MAKE YOUR BORAX SOLUTION
The ratio of borax powder to boiling water is 3:1. You want to dissolve three tablespoons of borax powder for each cup of boiling water. This will make a saturated solution, which is a great chemistry concept.
Since you need to use boiling hot water, adult supervision and assistance are highly recommended.
STEP 4: Make sure the heart is fully submerged in the solution!
Shhhh… The crystals are growing!
You want to set the jars in a quiet place where they won’t be disturbed. No tugging on the string, stirring the solution, or moving the jar around! They need to sit still to work their magic.
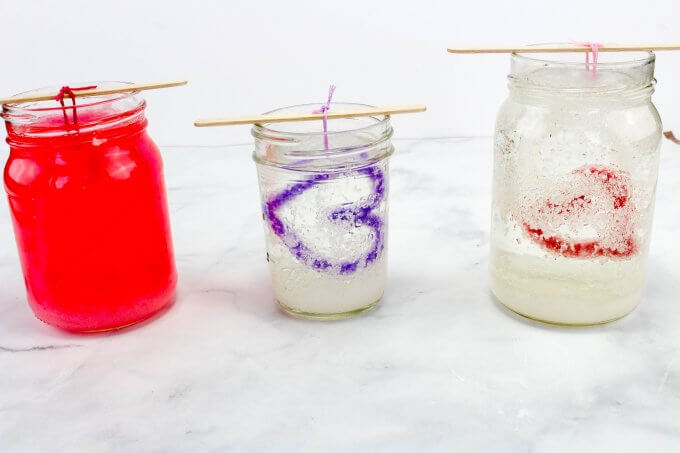
After a couple of hours, you will see some changes. Later on that night, you will see more crystals growing! You want to leave the solution alone for 24 hours.
Make sure to keep checking to see the stage of growth the crystals are in!

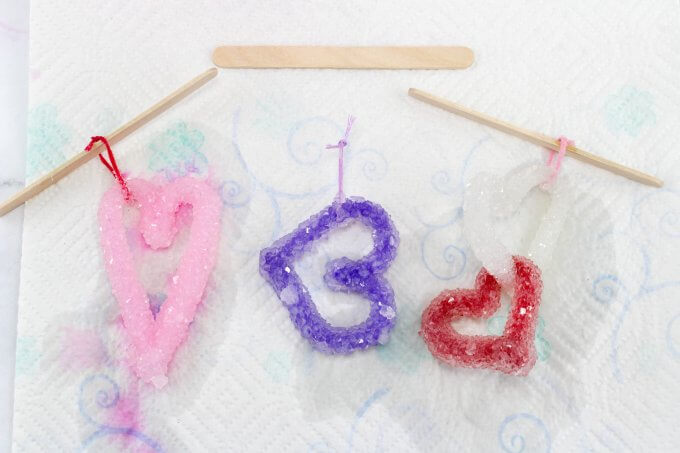
The next day, gently lift out your crystal heart ornaments and let them dry on paper towels for an hour or so…
The Science of Growing Borax Crystal Hearts
Crystal growth is a fascinating chemistry experiment that combines liquids, solids, and solutes. It’s quick to set up and demonstrates important concepts, such as saturation, molecular motion, and how solids form from solutions.
How It Works
Molecules in Water:
Water is made up of molecules that are constantly moving. When water is heated, the molecules gain energy and move farther apart. This creates more space between them, allowing more borax powder to dissolve into the liquid.
Creating a Saturated Solution:
A saturated solution happens when the liquid holds as much dissolved powder (in this case, borax) as possible at a given temperature.
The hotter the water, the more powder it can dissolve because the molecules are farther apart. Conversely, colder water has closer molecules, meaning less powder can dissolve.
Crystal Formation:
As the solution cools, the water molecules start moving closer together again. This forces the borax particles to “fall out” of the solution because there’s no longer enough room to hold them.
The borax particles settle on the pipe cleaners and container, forming tiny seed crystals. Over time, more particles attach to the seed crystals, causing them to grow larger.
💡 If you love chemistry, check out our chemistry experiments for kids.
Growing Crystal Hearts in the Classroom
We made these crystal hearts in a 2nd-grade classroom, and they were a huge hit. With a little planning, this activity works very well in a group setting.
To prepare the solution safely, we used hot (not boiling) water from a coffee urn with a spout and clear plastic party cups. Make sure the heart shapes are small enough to fit inside the cups. Slightly wider hearts tend to grow more evenly and are easier for kids to observe.
Plastic cups will work, but if you have access to glass jars, they’re a better option. Glass retains heat longer, allowing the saturated solution to cool more slowly. This helps crystals form more cleanly, resulting in sturdier, better-shaped crystals.
Once the hearts are placed in the solution, it’s important to keep the containers completely still. Movement can interrupt crystal formation, so choose a quiet area of the classroom where the cups won’t be bumped or handled. Planning ahead for where the crystals will sit makes a big difference.
Even with classroom limitations, students were fascinated by the crystal growth process. Watching the crystals form over time is a memorable way to introduce crystal formation, solutions, and changes in matter—perfect for hands-on science learning.
Alternative Crystal Hearts: Salt Crystals
If you’re looking for a borax-free option, you can also try salt crystal hearts for Valentine’s Day. Salt crystals grow more slowly and form smaller crystals, but they’re a great way to explore solutions and evaporation, especially with younger students.
👉 Try our Valentine Salt Crystal Hearts experiment for a simpler, longer-term crystal activity.
Salt crystals take several days to form, while borax crystals grow overnight. Both experiments explore crystal formation, but the borax method above produces larger, more dramatic crystals, making it ideal for classroom use.
More Valentine Science Activities
If you want more easy Valentine science, start here: Valentine’s Day Science Experiments
Try these favorites next:
- Valentine Magic Milk
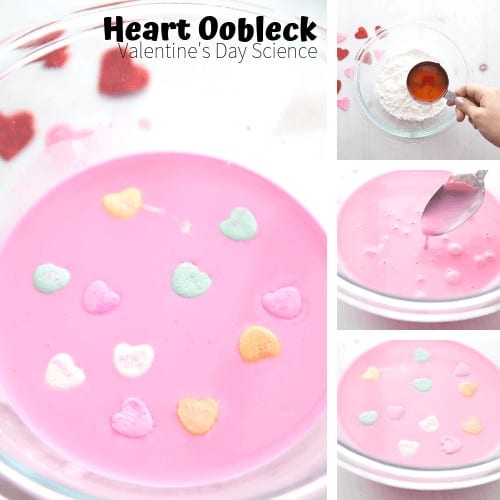
- Candy Heart Oobleck
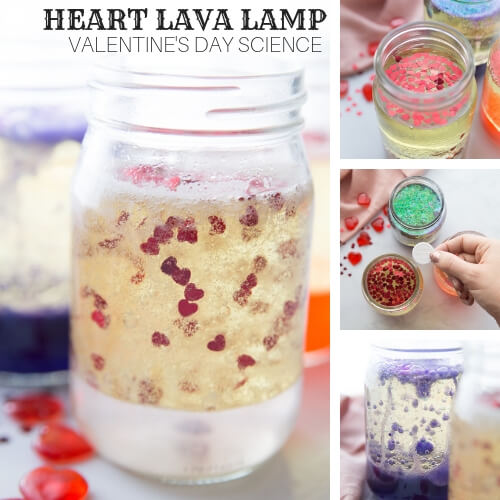
- Heart Lava Lamp
- Dissolving Candy Heart Science
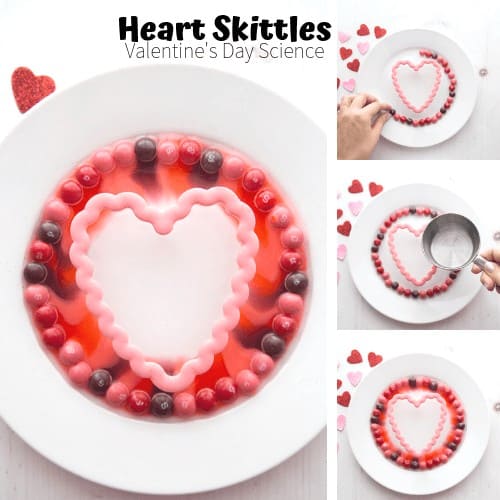
- Valentine Skittles Experiment

Printable Valentine STEM Project Pack
Countdown to Valentine’s Day with hands-on STEM learning! This printable pack includes engineering challenges, STEM prompts, templates, and visual instructions designed to make Valentine STEM easy to plan and fun to teach! ❤️


How much Borax {found with laundry detergent} to Water does one use to make the crystal from?
Please click through the recipe to Happy Hooligans to get the exact amounts. She is the original recipe holder!
Would it work to use plastic solo cups or only glass?
Borax is not available in the UK due to its toxicity do you know what could be used as a substitute?
Check out Fun At Home With Kids UK Alternative.
That would be an experiment!
I would try sugar – would take a bit longer, but I remember making Rock Candy as a kid, so I think it would work. Try this “recipe”: https://sciencebob.com/make-your-own-rock-candy/
You definitely could try sugar! I have had difficulty making rock candy here but will keep trying. This recipe works every time!
Very cute idea!
How much borax?
I apologize but since I found the recipe on another site, etiquette requires me to send you to her page to get the measurements. You should see a link asking you to visit Happy Hooligans. Let me know if you have trouble.
Did you try different cups? I used the disposable travel coffee cups & was an epic fail but 20 glass jars is not feasible in my classroom :-/
Ooh I have not tried different cups. What happened when you tried the coffee cups? It would be a great experiment to add to the list. I am sorry you can’t do all twenty. I have seen it done in one of those clear plastic storage containers. You can use dowels or paint sticks to lay across the top. That way you can hang several from one stick! Hope that works!
They only have about 4 crystals on them and I have dipped twice… boiled water in a tea kettle then added borax until disolved then transferred to cups. Storage tub is worth a try…. just disappointed that mine look NO where near as crystallized as yours. The cups were not clear.
That is disappointing but I have only ever seen them done with glass. Maybe glass mixing bowls if you have any might work or even ceramic baking dishes might be worth a try. I am trying to search around for an explanation, but all I can think of is that the material of the cup disrupted the suspensions process. I wonder if it might have been because the cup was insulated being a coffee cup that it didn’t settle right. Let me know what happens!
What about cleanup? What do you do with the solution after? And how do you get the crystals off the glass?
Hi! I fill the jars with hot water. It usually breaks up easily. I throw the big chunks away and wash away the rest. I run the jars through the dishwasher but reserve them for science experiments only.
Was thinking, perhaps the teacher looking for a way to do with the whole class could find someone with an aquarium they are not using to make them in.
Thanks!
Are they toxic or unsafe to be handled by school age children after they are made? Asking for 8+ age group.
No they can be handled by kids. I would wash hands thoroughly and of course you don’t want them handled too much as they are somewhat fragile.
To get 20 glass containers, save spaghetti sauce jars or ask for them on freecycle.org if your city/county has a site.
Make sure you get the water as hot as possible. Hot water will dissolve more Borax, and your crystals will grow bigger and better. Also, the slower it cools, the bigger your crystals will be. I did this project a few years ago, and showed a video about the formation of crystal caves first. We studied how crystals form, and made Christmas ornaments instead of Valentines gifts. It worked great. We then decorated the crystallized jars with ribbon, put tea lights inside, and viola, another gift for the parents! I did this with a big class, used some of my old caning jars, and then put the jars into big, deep trays from the kitchen so they wouldn’t spill. We also used some baking dishes to make crystallized coffee filter snowflakes, which were also sent home as ornaments,. We used the same solution, but the crystals there were smaller. It took up a lot of space in my classroom, but the results were worth it! I’m thinking that maybe the cups didn’t work because they cooled too quickly, or maybe there just wasn’t enough borax in the suspension?
Yes, you should use boiling water unless you are in the classroom and then we managed with a coffee urn of hot water.
The recipe calls for 1T borax to 1C water. I used mason jars, which are 2C, so ainused 2T borax. The experiment did not work. Martha Stewarr has a recipe that uses 2T per 1C, that I will tey.
I’m sorry we had a typo and it should have read 3:1 which would be three tablespoons like our other crystal recipes!