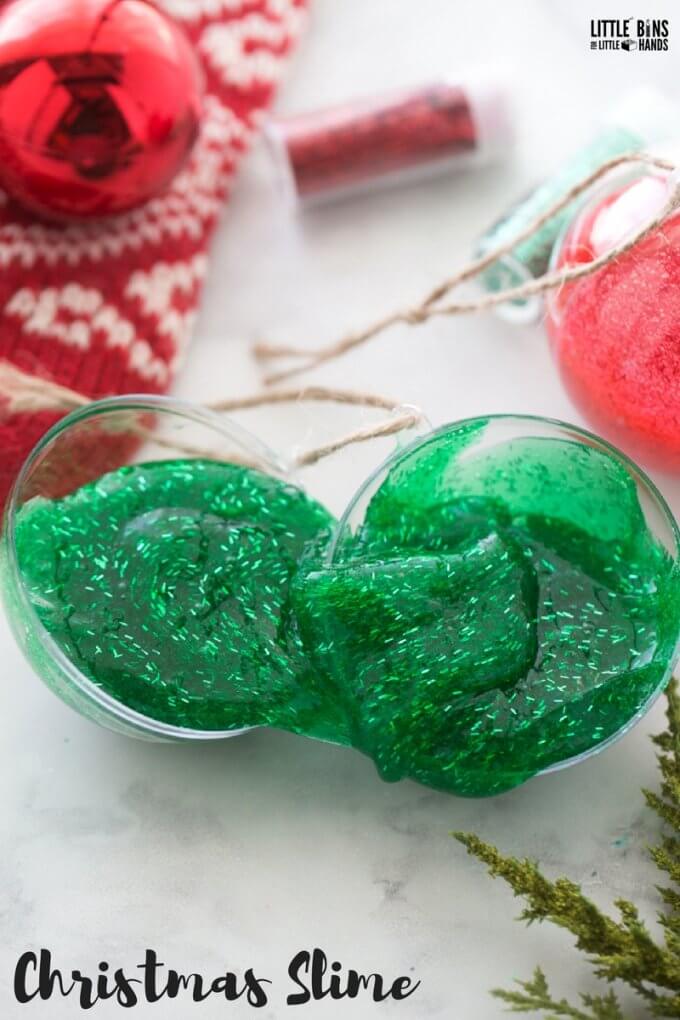
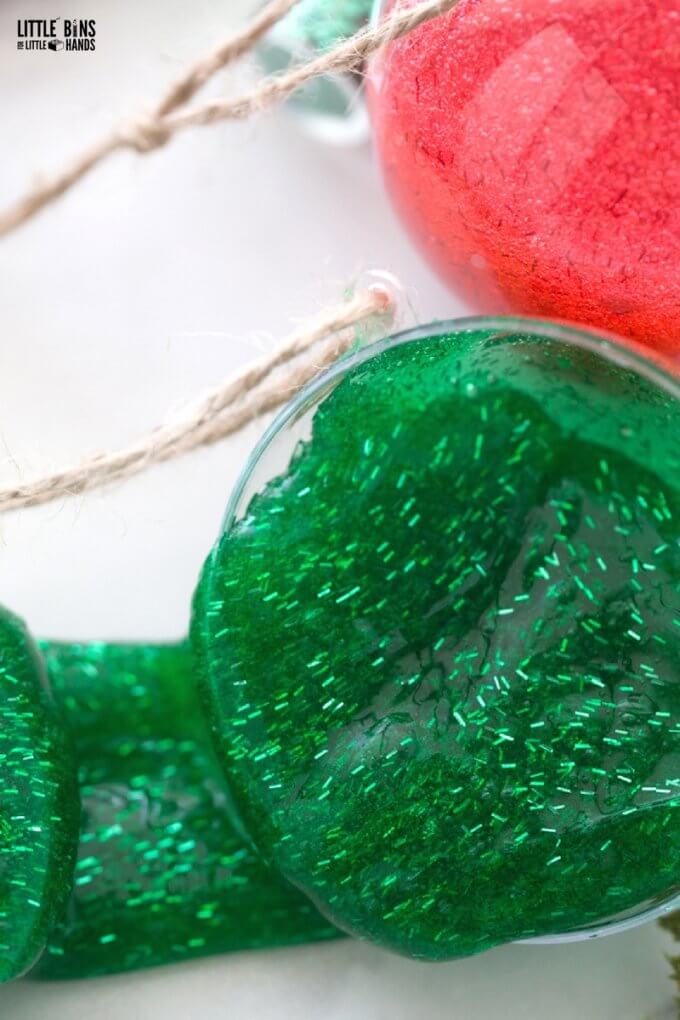
We LOVE making homemade Christmas slime. This time, I thought it would be fun to share how to make Christmas slime with tinsel glitter and use it to fill reusable ornaments for a fun little gift!
Tinsel Glitter Sime Recipe
We are using our Saline Solution Slime recipe here. If you prefer not to use saline solution, you can definitely try one of our other basic recipes that use liquid starch or borax powder. We’ve tested all these recipes with equal success!
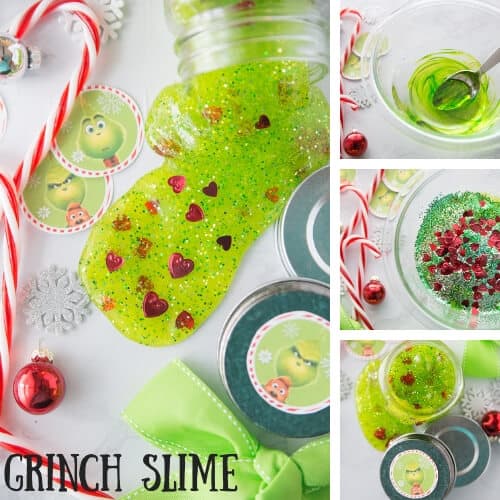
Making a batch of Christmas slime takes less than 5 minutes! I made one batch with green food coloring and green tinsel glitter, and another with red food coloring and red tinsel glitter. I bet a gold metallic slime would look amazing too!
💡Check out all of our Christmas Slime Recipes here.
YOU WILL NEED:
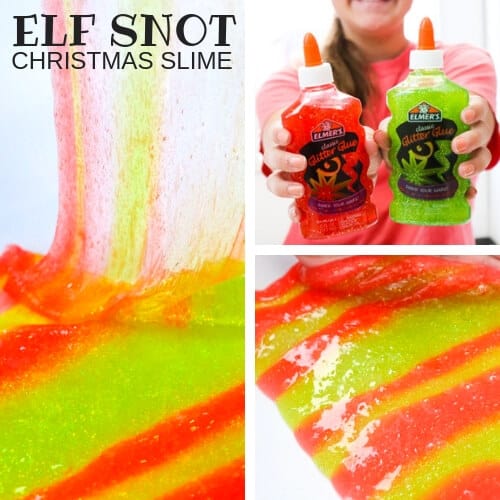
- Clear PVA Glue Washable School Glue (Elmers Glue)
- Saline Solution (active ingredients should read sodium borate and boric acid)
- Baking Soda
- Food Coloring
- Tinsel Glitter
- Refillable Plastic Ornaments
- Ribbon or Twine
How to Make Tinsel Glitter Slime
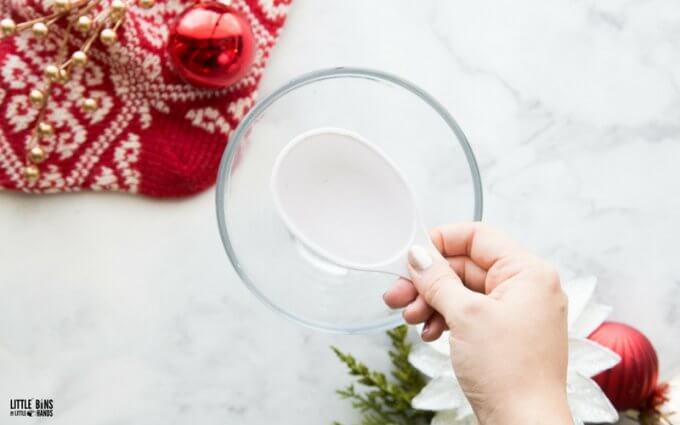
STEP 1: In a bowl mix 1/2 cup water and 1/2 cup of glue well to combine completely.
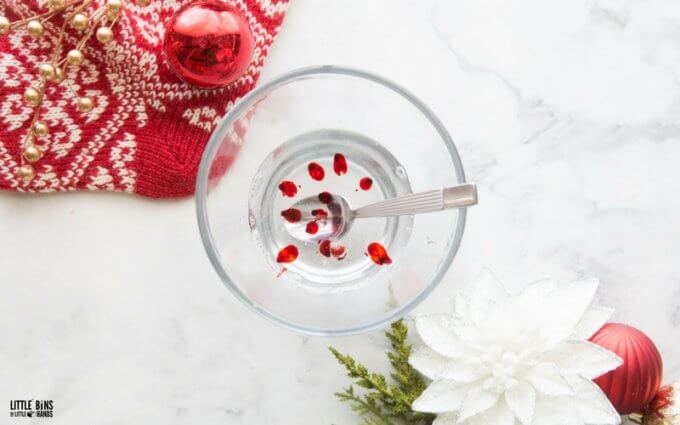
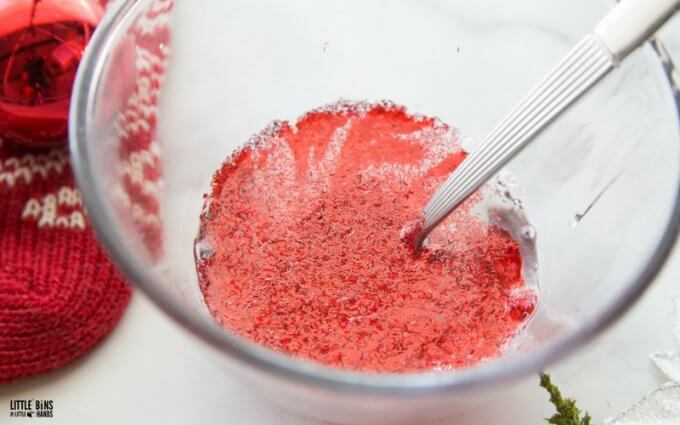
STEP 2: Now’s the time to add (color, glitter, or confetti)! Remember when you add color to white glue, the color will be lighter. Use clear glue for jewel-toned colors!
Be generous with the tinsel glitter! You can never have too much, in my opinion. I often add the baking soda before I add the glitter, as the baking soda can sometimes clump, and I need to break it apart.
STEP 3: Stir in 1/4- 1/2 tsp baking soda.
Baking soda helps to firm and form the slime. You can play around with how much you add but we prefer between 1/4 and 1/2 tsp per batch. I always get asked why you need baking soda for slime. Baking soda helps to improve the firmness of the slime. You can experiment with your own ratios!
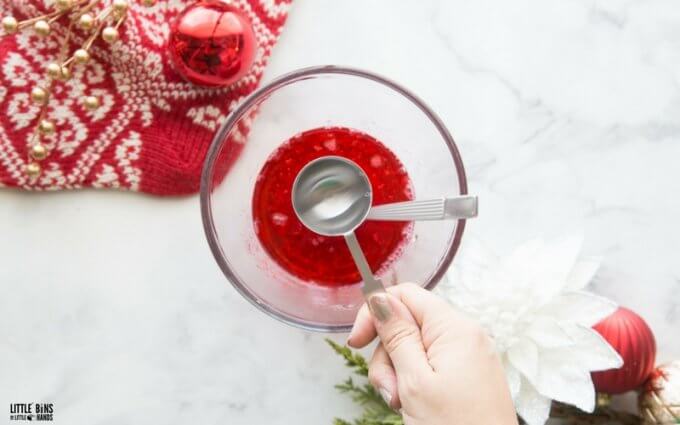
STEP 4: Mix in 1 tbsp saline solution and stir until slime forms and pulls away from the sides of the bowl.
You want to whip up your saline solution mixture to form the slime. Unlike the liquid starch slime, it doesn’t form instantaneously when you add the activator. Give it a good quick stir to form your slime.
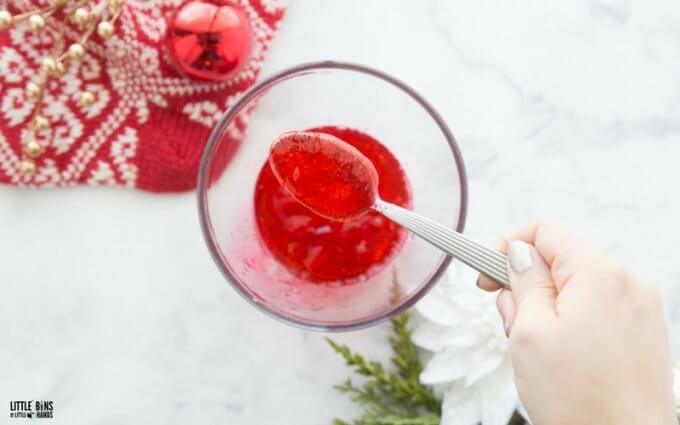
It will begin to pull away from the sides and bottom of the bowl, and you will find there isn’t any liquid left to mix. Put a few drops of solution on your hands, pick up your slime, and knead until smooth and stretchy. It will become less and less sticky as you play with your slime.
If your slime still feels too sticky, you may need a few more drops of saline solution. As I mentioned above, start by squirting a few drops of the solution onto your hands and kneading your slime longer. You can always add but you can’t take away. Saline solution is preferred over contact solution.
STEP 5: Start kneading your slime! It will appear stringy at first but just work it around with your hands and you will notice the consistency changes.
You will love how easy and stretchy this tinsel glitter slime is to make and play with! Once you have your desired slime consistency, it’s time to have fun! How big of a stretch can you get without the slime breaking?
Look at how we mixed glitter and slime colors here for a fantastic glitter slime you can make all year round.
The Science of Slime
Homemade slime is a fun way to explore chemistry concepts like polymers, cross-linking, states of matter, elasticity, and viscosity! When borate ions (from activators like sodium borate, borax powder, or boric acid) mix with PVA glue, a cross-linking chemical reaction occurs, transforming the glue into stretchy slime.
The glue, a polymer, starts as a liquid with molecules that flow past one another. Adding borate ions causes these molecules to tangle and form a thicker, rubbery substance—slime! Think of it like wet spaghetti turning into a clump of leftovers as the molecules bind together.
Is slime a liquid or solid? It’s both! Slime is a Non-Newtonian fluid, meaning its viscosity changes with pressure. Experiment with foam beads to alter its density and texture.
Slime also aligns with Next Generation Science Standards (NGSS) for Kindergarten through Second Grade, making it a great hands-on activity to explore states of matter.
More Christmas Slime Recipes

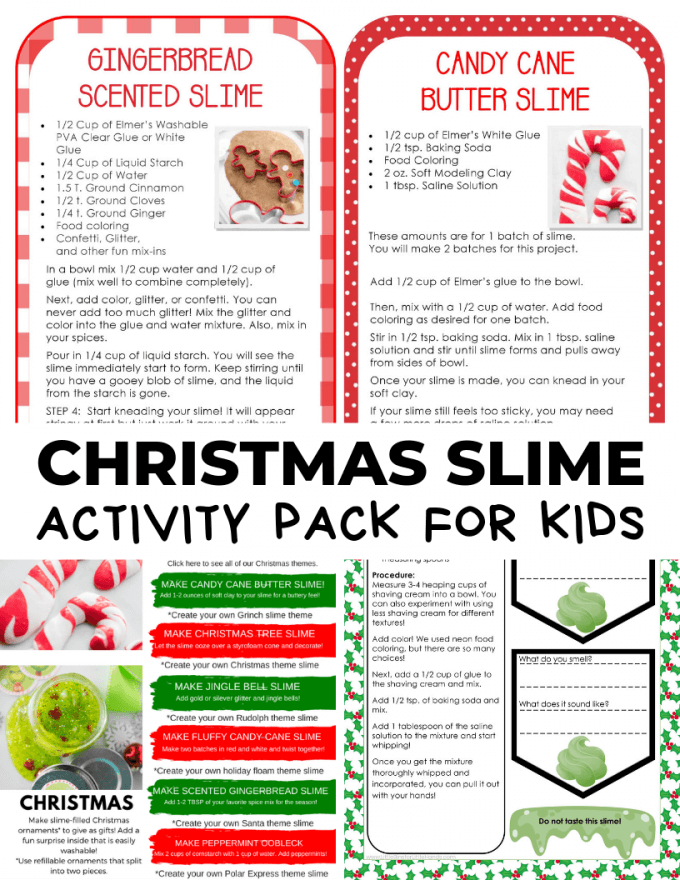
Christmas Slime Recipe Project Pack
Bring extra holiday cheer with everyone’s favorite Christmas slime activities, designed with fun and learning in mind! Your kids will love the hands-on experience while exploring writing, science, and math.
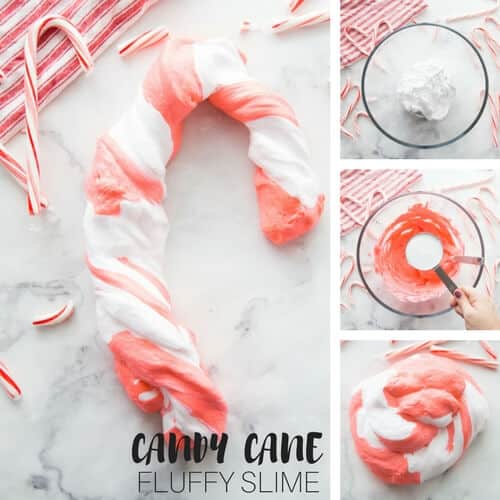
- Easy-to-Follow Slime Recipes: Includes fluffy slime, borax slime, liquid starch slime, and saline solution slime.
- Themed Slime Fun: Holiday-themed recipes add extra excitement to slime time!
- Math Meets Slime: Printable sheets combine slime-making with simple math activities.
- Explore Slime Science: Experiment with slime while learning key science concepts and vocabulary.
- Great for Classrooms: Ideal for centers, early finishers, or holiday classroom parties.
- Perfect for Groups: A fun activity for parties or group play!


I’m a full-time nanny with 3 kids in my care. I actually had to have my 10 year old granddaughter come over to make the slime. Oh the kids had fun… HOWEVER; WHEN I returned after a day of absence I found SLIME EVERYWHERE!!!! So we actually don’t make it anymore. But I think I might give it a try again for Christmas break. The granddaughter will have to be in charge. She can make some for her friends that are allowed to have slime.
Oh my! Yes slime does need a bit of supervision or it can really get everywhere. Im glad it was an enjoyable activity and thank you for the story!