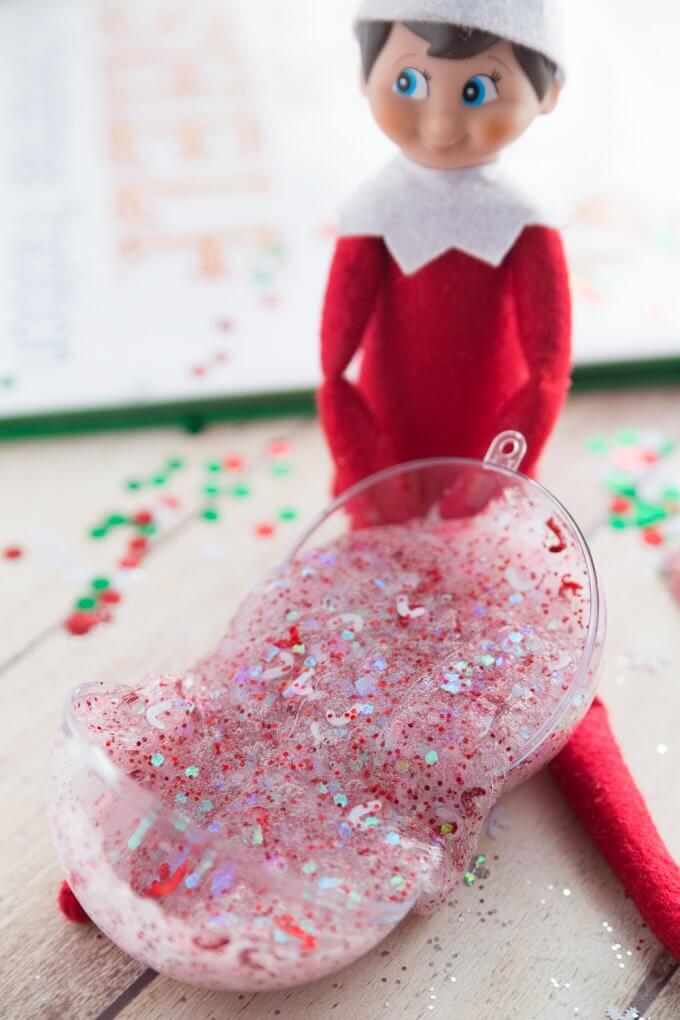
Do you have a kid who loves to make slime and also loves when the Elf on the Shelf shows up for the holidays? We have the perfect set up for you! Keep the magic alive and create an Elf on the Shelf slime recipe with Christmas confetti for the holiday season. You and your little Elf will love this easy Christmas slime recipe filled with a bit of Christmas magic and a sprinkle of glitter.
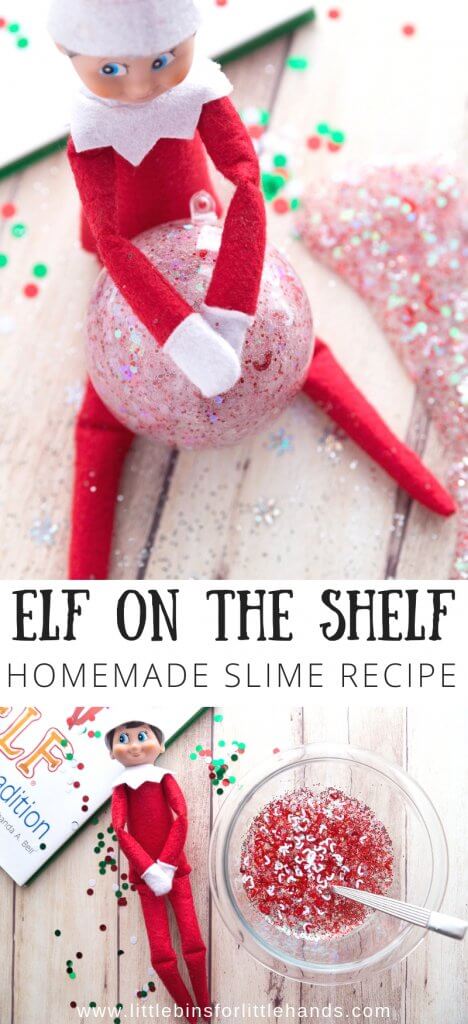
ELF ON THE SHELF ACTIVITIES
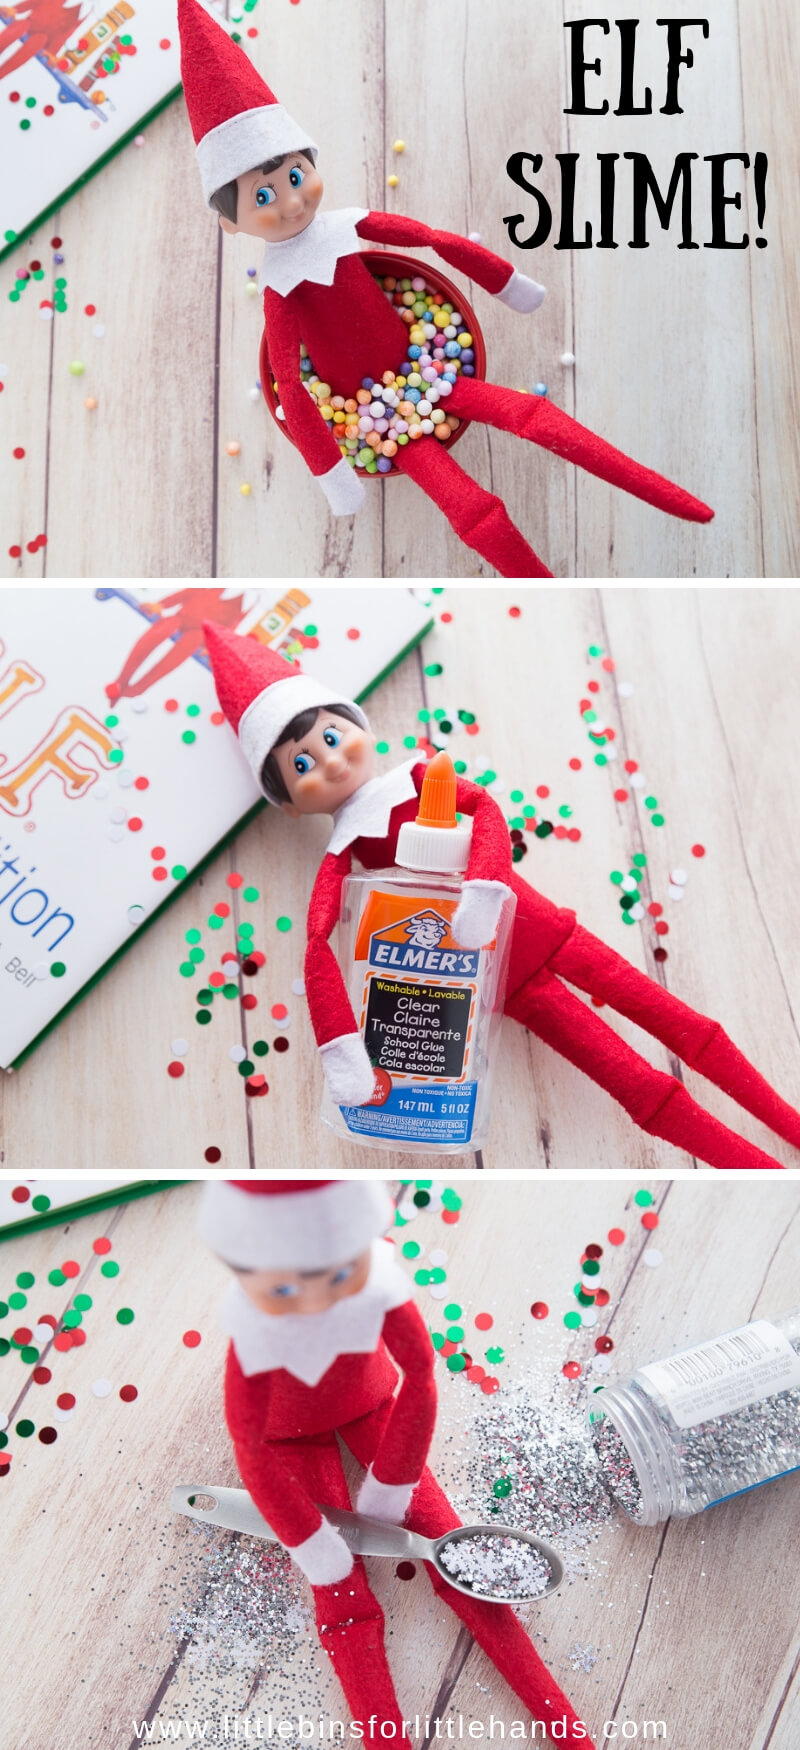
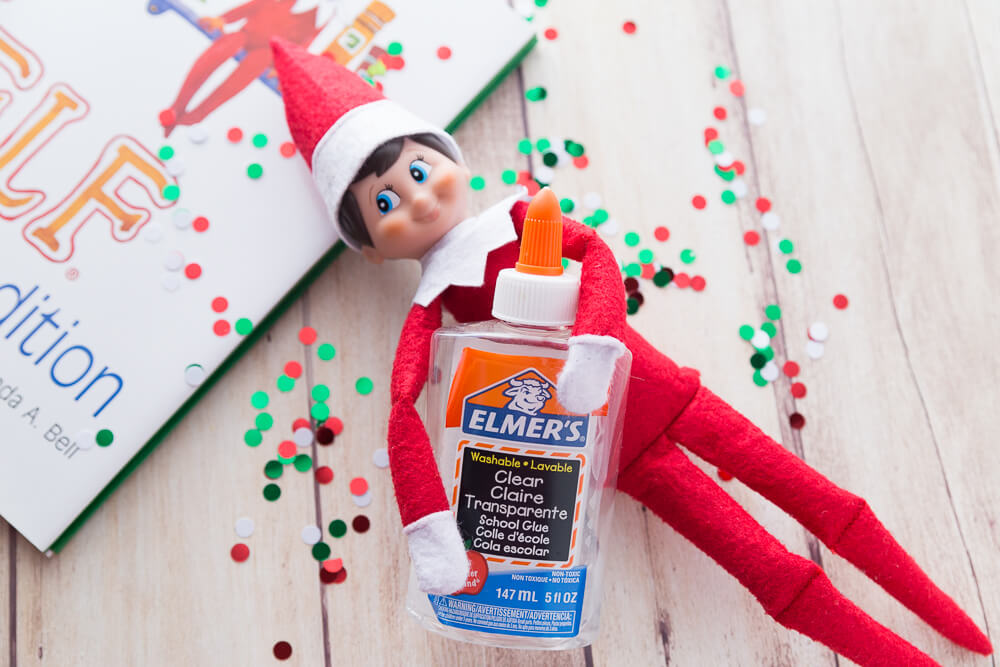
The Elf has arrived! Or maybe he still needs to arrive bearing slime supply gifts! The kids will love having their favorite Elf on the Shelf around while making slime! Our simple Elf on the Shelf slime recipe is perfect for little hands.
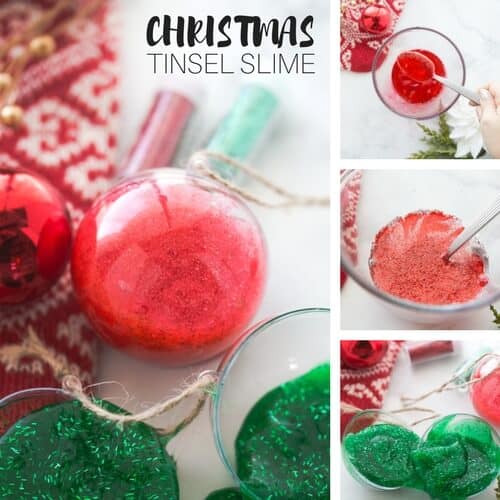
We made this Elf on the Shelf slime with clear glue, food coloring, glitter and confetti. However, white glue is super easy to use and also works well for this recipe, but your color will be slightly different!
Here are a few fun and easy Elf on the Shelf activities to try if you like a more mischievous Elf!
- Elf on the Shelf Glittery Snow Angels: This one isn’t for the faint of heart, but I might suggest setting it up on a cookie sheet. Use the glitter afterwards to make slime!
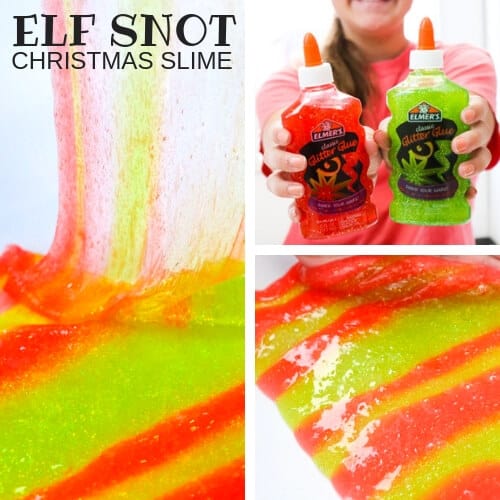
- Elf on the Shelf Snot: Kids love snot slime, maybe your Elf caught a cold on his last trip up north. See our Elf Snot Slime Recipe here.
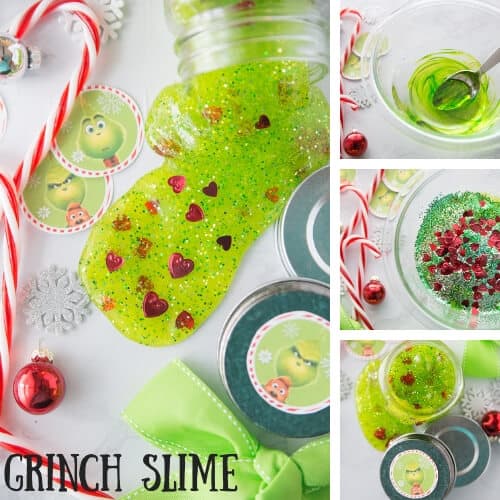
- Elf on the Shelf with Slime Ingredients: Maybe your Elf arrives bearing slime making gifts like fun glues, glitter, and Christmas theme confetti,
- Elf on the Shelf Foam Bead Snowball Fight: Plop your Elf in a bowl full of white foam beads for slime making and then make snow floam!
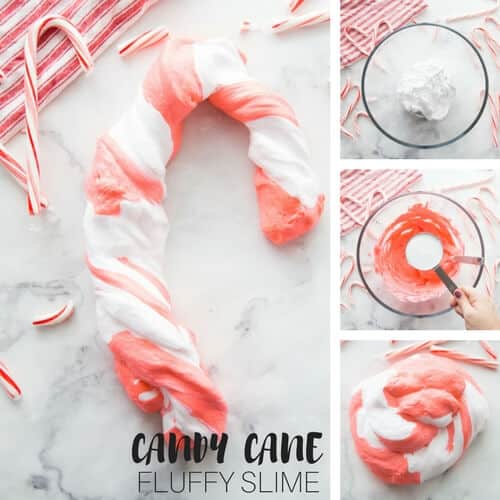
- Elf on the Shelf Curled up on a Soft Clay Bed: Your tired Elf had a long flight from the North Pole, soft clay makes a nice bed as well as candy cane butter slime.
SLIME SCIENCE AND CHEMISTRY
We always like to include a bit of homemade slime science around here, and that’s perfect for exploring Chemistry with a fun Elf theme. Slime is an excellent chemistry demonstration and kids love it too! Mixtures, substances, polymers, cross linking, states of matter, elasticity, and viscosity are just a few of the science concepts that can be explored with homemade slime!
What’s the science behind the slime? The borate ions in the slime activators (sodium borate, borax powder, or boric acid) mix with the PVA (polyvinyl-acetate) glue and forms this cool stretchy substance. This is called cross linking!
The glue is a polymer and is made up of long, repeating, and identical strands or molecules. These molecules with flow past one another keeping the glue in a liquid state. Until…
SLIME IS A NON-NEWTONIAN FLUID
When you add the borate ions to the mixture, it starts to connect these long strands together. They begin to tangle and mix until the substance is less like the liquid you started with and thicker and rubberier like slime! Slime is a polymer.
Picture the difference between wet spaghetti and leftover spaghetti the next day. As the slime forms the tangled molecule strands are much like the clump of spaghetti!
Is slime a liquid or solid? We call it a Non-newtonian fluid because it’s a little bit of both! Experiment with making the slime more or less viscous with varying amounts of foam beads. Can you change the density?
Read more about slime science here!

ELF ON THE SHELF SLIME RECIPE
This Elf slime uses one of our most basic slime recipes which is clear glue, water, baking soda, and saline solution. Now if you don’t want to use saline solution, you can absolutely test out one of our other recipes using liquid starch or borax powder. We have tested all three recipes with equal success!
SUPPLIES:
- 1/2 cup of PVA Clear School Glue per slime batch
- 1/2 cup of water
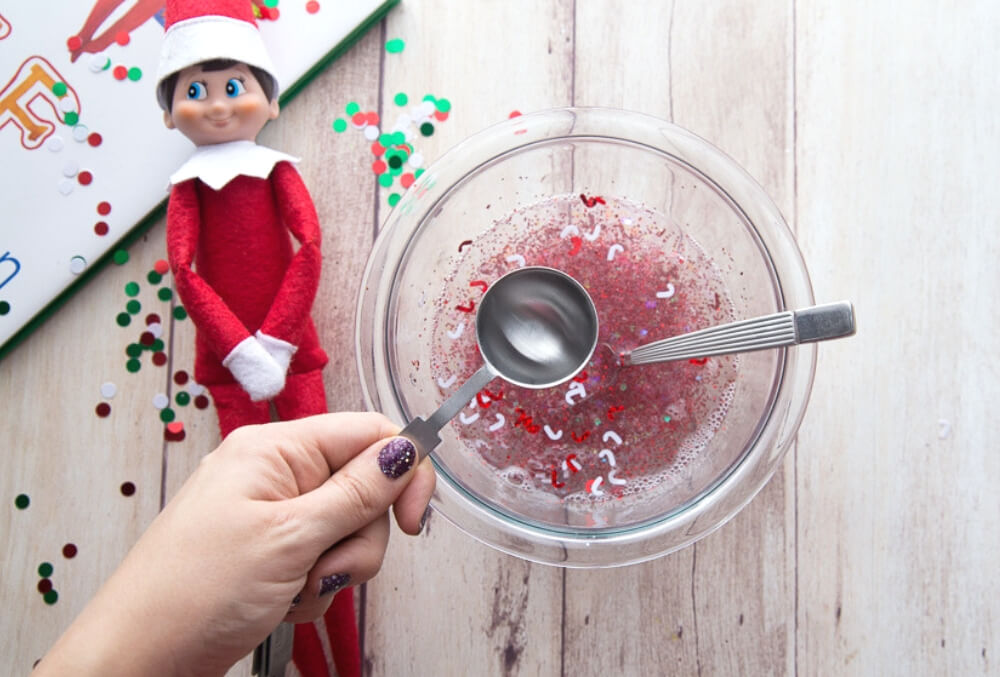
- 1/2 tsp baking soda per slime batch
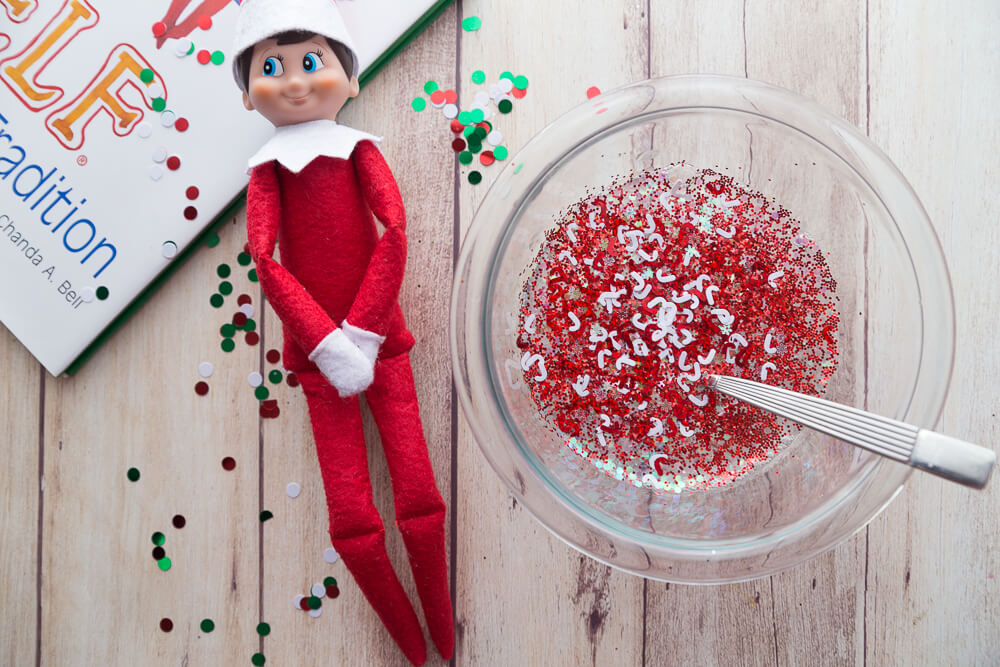
- Food Coloring (if desired), Glitter, Christmas confetti
- 1 tbsp of Saline Solution per batch
HOW TO MAKE ELF ON THE SHELF SLIME
STEP 1: Add 1/2 cup of clear glue to your bowl and mix with a 1/2 cup of water.
STEP 2: Stir in food coloring, glitter, and Christmas theme confetti as desired.
STEP 3: Stir in 1/4- 1/2 tsp baking soda.
What does the baking soda do? It adds the firmness the mixture needs so you can pick it up. This ingredient is a great variable to tinker with for a slime science experiment!
STEP 4: Mix in 1 tbsp saline solution and stir until slime forms and pulls away from sides of bowl.
If your slime still feels too sticky, you may need a few more drops of saline solution. Start by squirting a few drops of the solution onto your hands and kneading your slime longer. You can always add but you can’t take away. Saline solution is preferred over contact solution.
KNEADING SLIME IS KEY
We always recommend kneading your slime well after mixing. Kneading the slime really helps to improve it’s consistency. The trick with saline solution slime is to squirt a few drops of solution onto your hands before picking up the slime.
You can knead the slime in the bowl before you pick it up as well. This slime is stretchy but can be stickier. However, keep in mind that although adding more saline solution reduces the stickiness, and it will eventually create a stiffer slime.

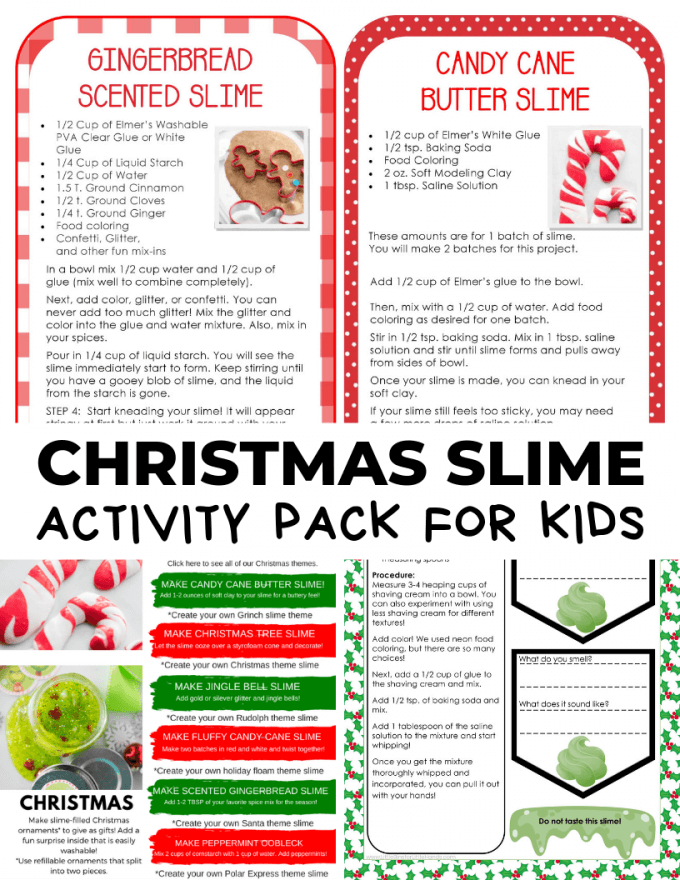
More Christmas Slime Recipes

Christmas Slime Recipe Project Pack
Bring extra holiday cheer with everyone’s favorite Christmas slime activities, designed with fun and learning in mind! Your kids will love the hands-on experience while exploring writing, science, and math.
- Easy-to-Follow Slime Recipes: Includes fluffy slime, borax slime, liquid starch slime, and saline solution slime.
- Themed Slime Fun: Holiday-themed recipes add extra excitement to slime time!
- Math Meets Slime: Printable sheets combine slime-making with simple math activities.
- Explore Slime Science: Experiment with slime while learning key science concepts and vocabulary.
- Great for Classrooms: Ideal for centers, early finishers, or holiday classroom parties.
- Perfect for Groups: A fun activity for parties or group play!