We can show you how to make it frosty inside, even when it’s not outside! Whether you have freezing cold temperatures keeping you indoors or too hot temperatures outside, you can still enjoy some simple winter science. Learn how to make frost on a can, and explore the science of frost for an easy winter science experiment you can share with the kids!
Simple Winter Science Experiments
Although we live in a wintery climate, we either have cold temperatures keeping us indoors or a blizzard! I can handle only so much screen time as a parent, so it’s great to have simple science activities on hand to pass the time. Make sure to check out our winter snowstorm in a jar too!
This is another easy-to-set-up winter science experiment that pulls from what you have around the house. We love science that can be set up in minutes and is hands-on for the kids.
My goal is to have you feel comfortable with enjoying science at home. Learn how easy it is to set up science at home with your kids or find fun new ideas to bring into the classroom.
January is a fantastic time to explore all kinds of winter theme science. I will say that learning about what frost is and how to get frost formation on a can indoors is quite exciting for kiddos.
More Fun Ice Experiments To Try
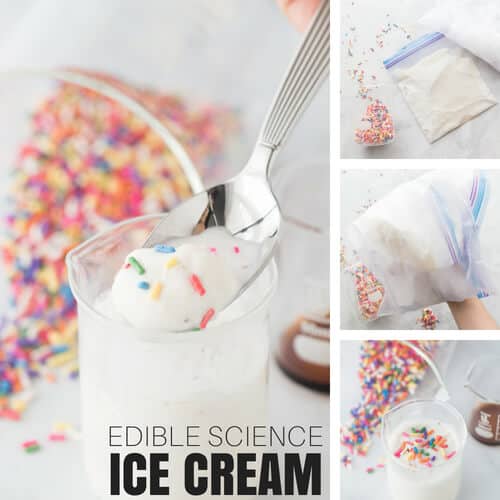
There’s plenty more fun to be had with ice cubes and ice this winter, including homemade ice cream!
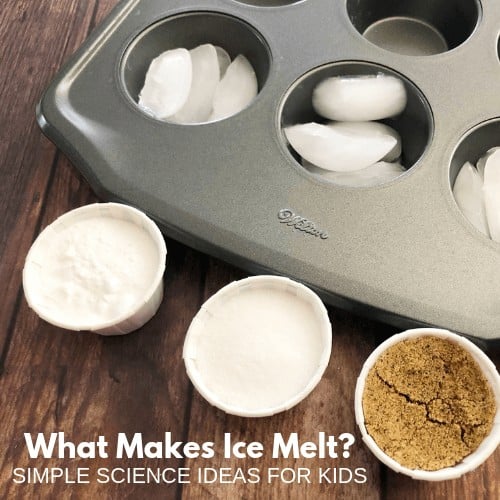
- What Melts Ice Faster?
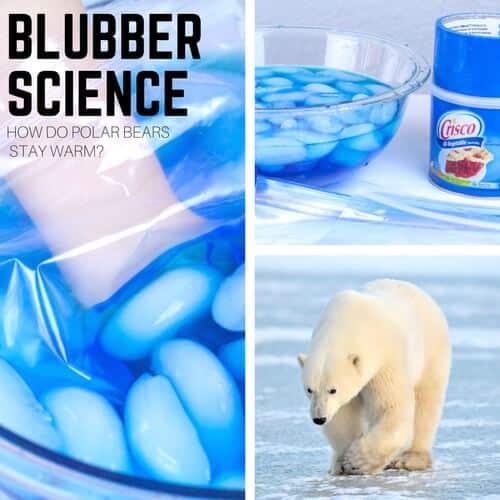
- How Do Polar bears Stay Warm
- Ice Fishing Science Experiment
- Make Ice Lanterns
- Ice Cube Painting

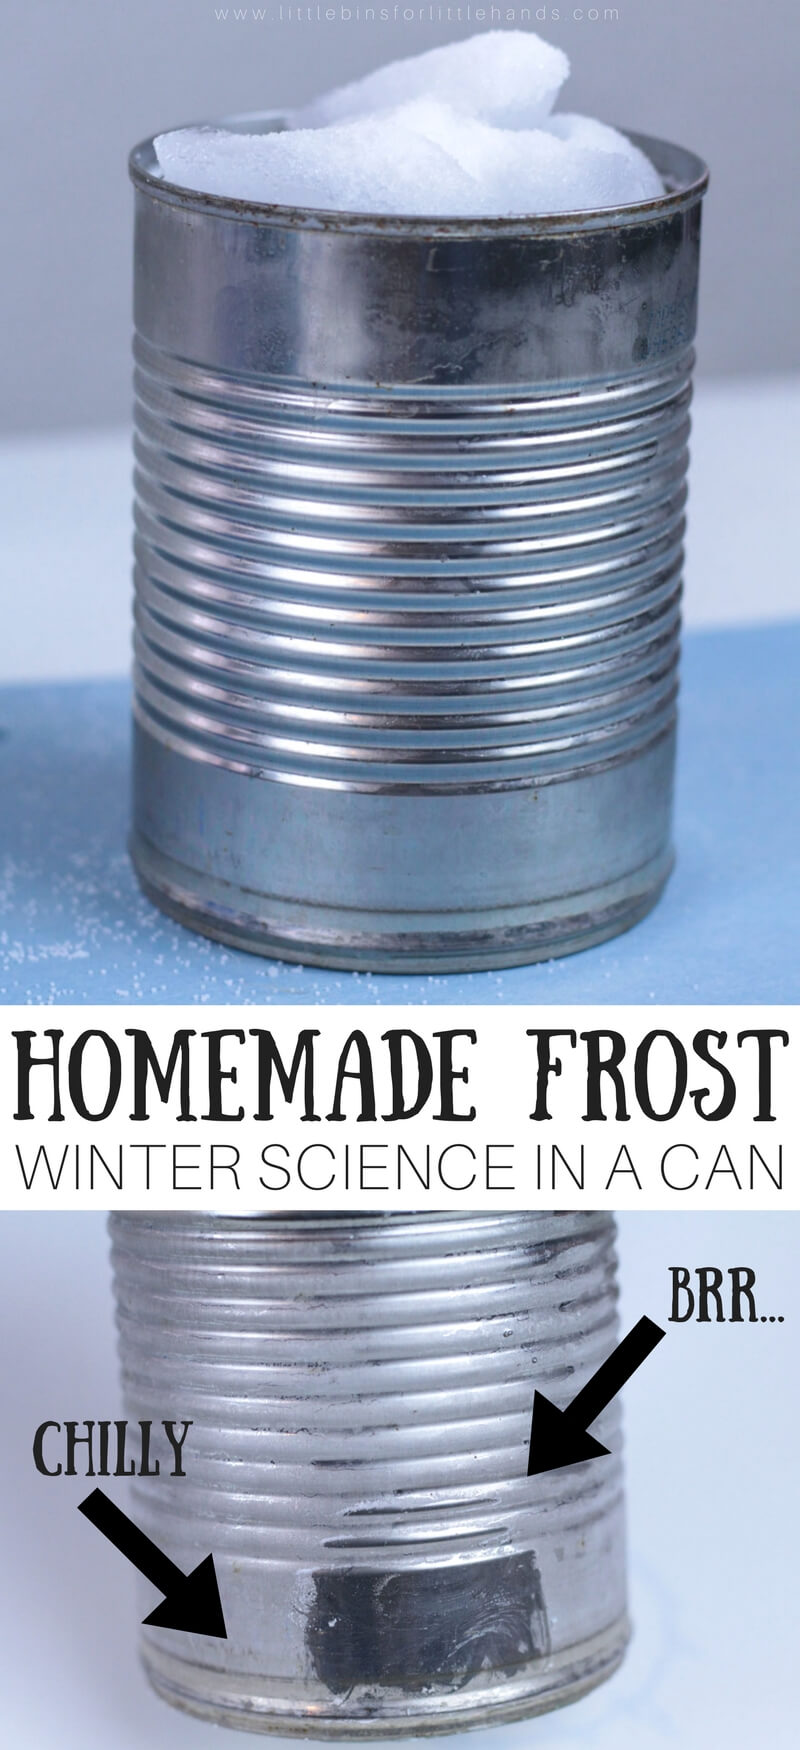
How Does Frost Form?
First, what is frost? Frost is a thin layer of ice crystals that forms on a solid surface. Go outside on a cold winter morning, and you might see frost on things like your car, windows, grass, and other plants.
But how do you end up with frost on the outside of the can when you are indoors? Putting ice inside the can makes the metal can very cold.
Adding salt to the ice melts the ice and lowers the temperature of that ice water to below freezing point. Learn more about salt and ice with our what makes ice melt faster experiment! That means the metal can get even colder!
Next, water vapor in the air (water in its gas form) comes in contact with the metal can, whose temperature is below freezing now. This results in a phase change from water vapor to ice as the water vapor reaches freezing. This is also called the dew point. Voila, frost has formed!
Learn more about states of matter and the water cycle!
It’s easy to experiment with winter science inside. Even if you live among palm trees, there are always new things to learn and discover!
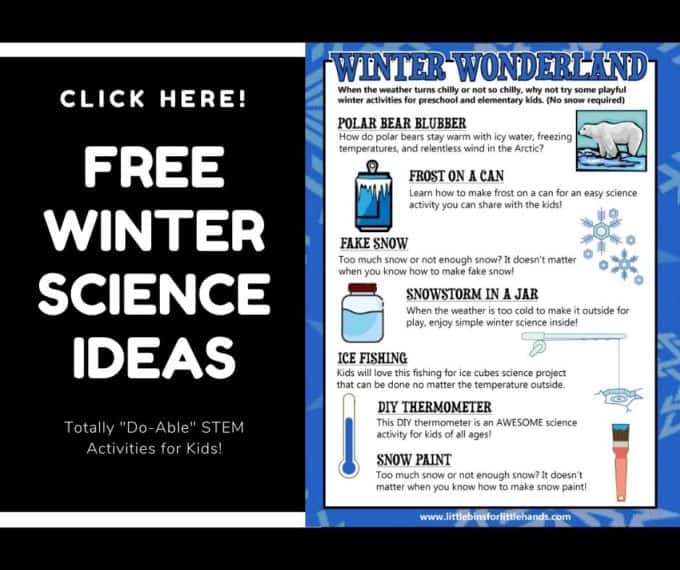
FREE Printable Winter STEM Activities Guide!
Frost In A Can Experiment
It’s time to create your own frost science experiment! You might need to go to the recycling container for this one. Or if you are like me, you will need to cook something first to get a can ready. Make sure there are no sharp edges on your can!
Make sure to print out our Winter STEM Challenge Cards, too!
Supplies:
- Ice cubes (crushed if possible)
- Salt (rock salt or coarse salt if possible)
- Metal can with the label removed
Instructions:
TIP: Again, whether you have recently enjoyed a can of soup or beans, make sure the edges of the can are kid-safe and friendly for little fingers. Also, save the lid! Work gloves and safety glasses are never a bad thing to have on hand for kids.
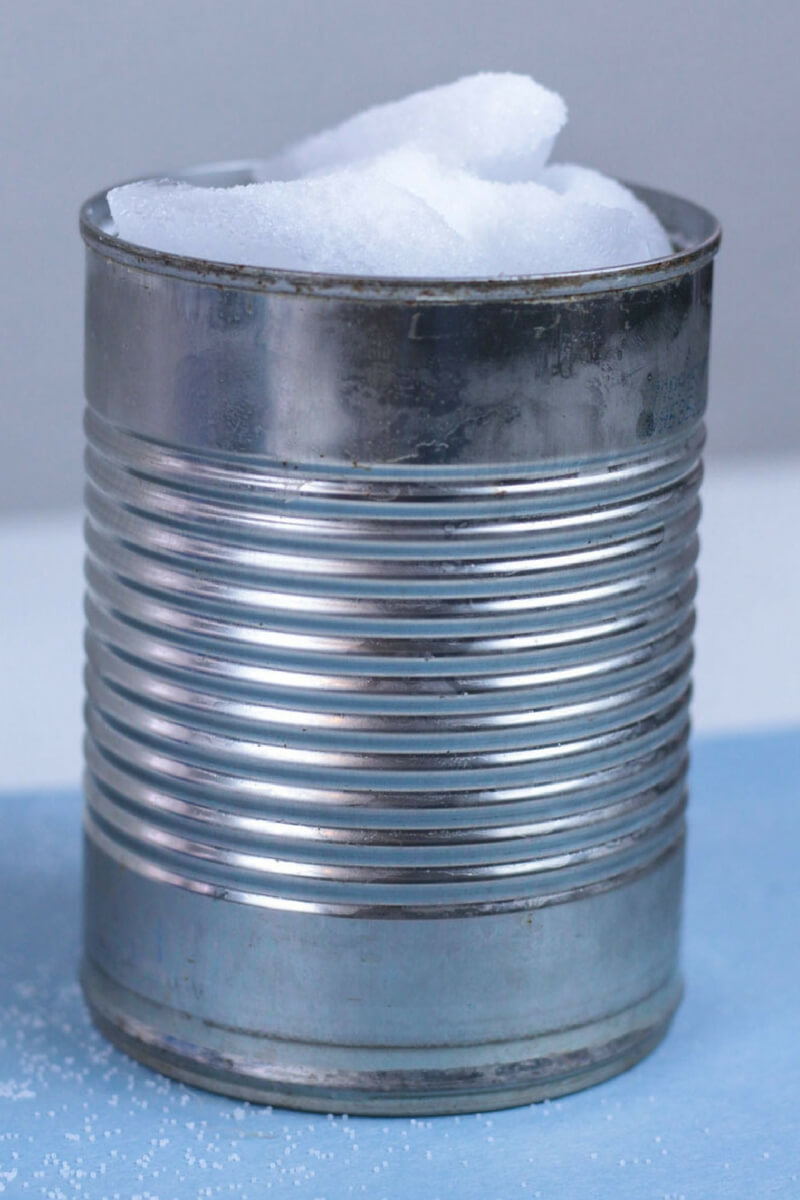
STEP 1. You will want to fill the can with ice.
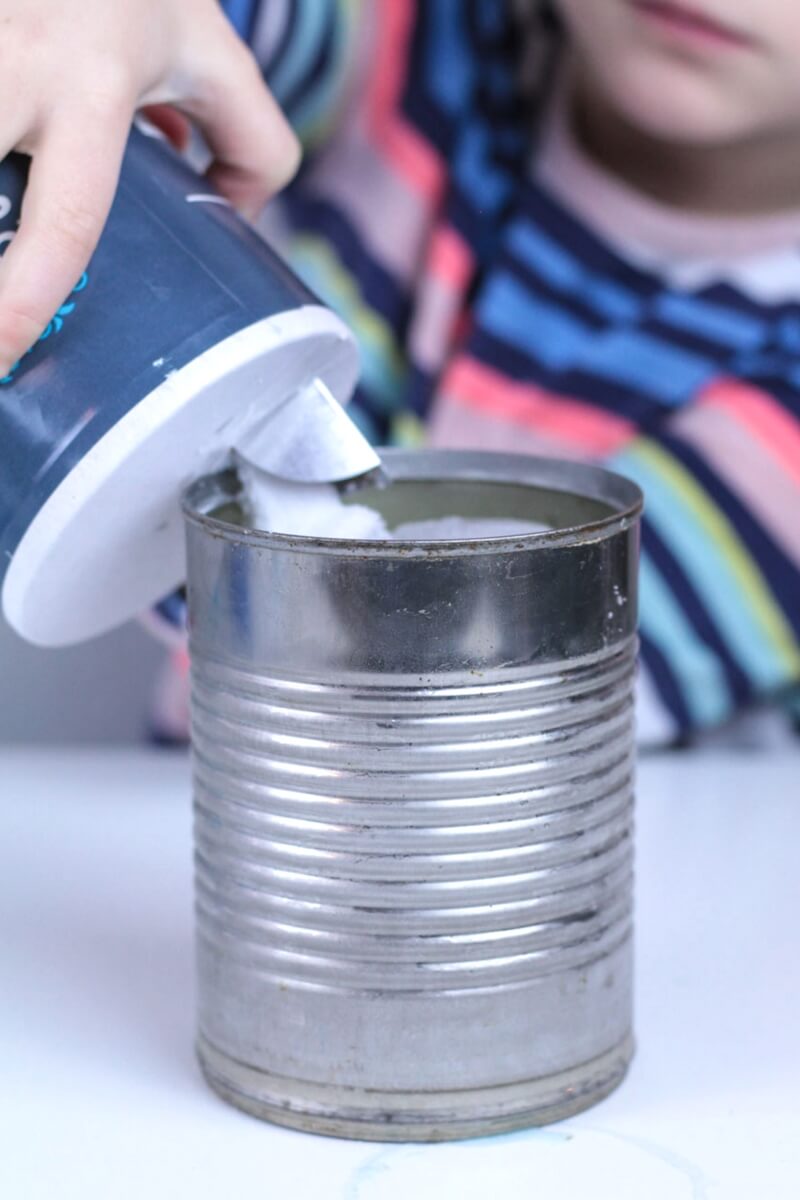
STEP 2. Add a layer of salt and cover the contents with the can’s lid.
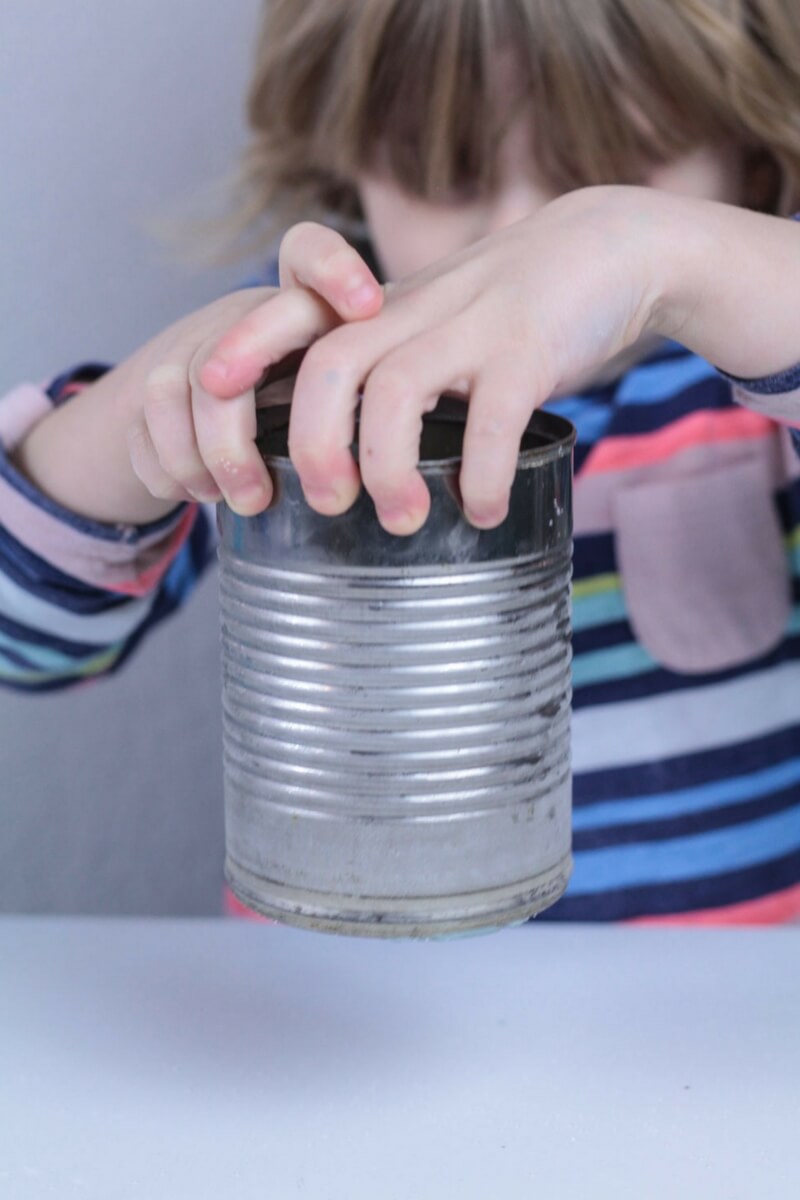
STEP 3. Then all you need to do is shake the ice and salt mixture! Be somewhat careful, so the contents don’t spill everywhere.
What happens when you add salt to ice?
Mixing creates a salt solution. This salt solution causes the freezing point of ice to drop and allows the ice to melt. When the salt mixture gets below 32 degrees, the water vapor around the can begins to freeze and form frost!
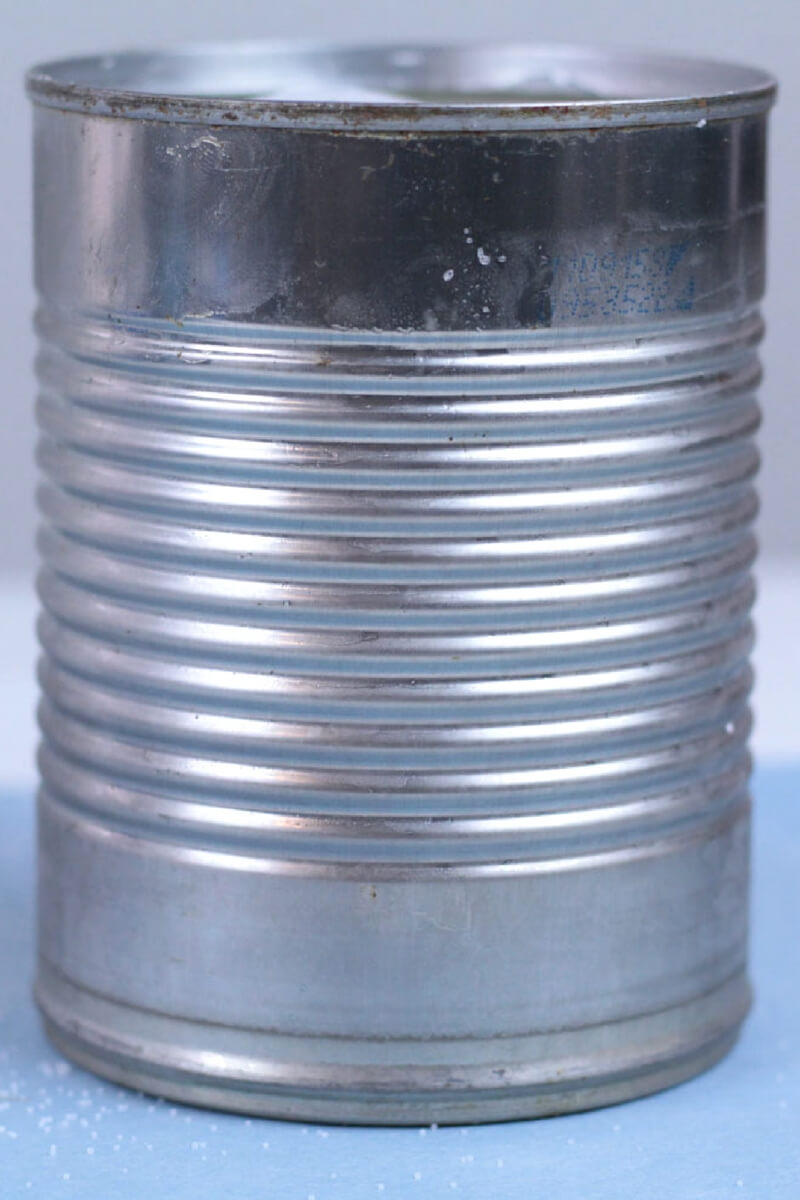
Watch the frost form on the outside of the can. It can take up to 10 minutes! You should start to see some changes on the surface of the jar or can after about 3 minutes.
Make sure to read a bit of simple science behind the real effect of creating a thin layer of crystals or frost on the outside of the metal can.
Shake up the ice and salt and keep a look out for the frost forming on the outside of the can.
More Fun Winter STEM Activities
Click on each of the links below to find more fun ways to explore winter, even if it isn’t winter outside!
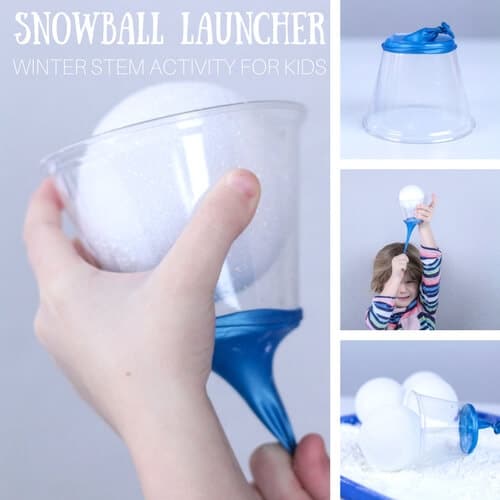
- Engineer your own snowball launcher for indoor snowball fights,
- Creating a winter snow storm in a jar.
- Exploring how polar bears stay warm.
- Fishing for ice cubes indoors!
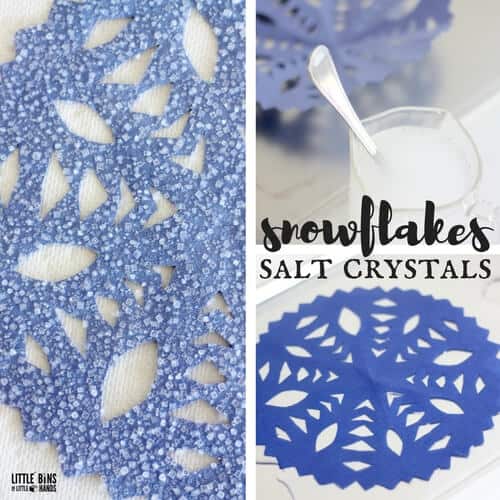
- Creating a snowflake salt painting.
- Whipping up some snow slime.
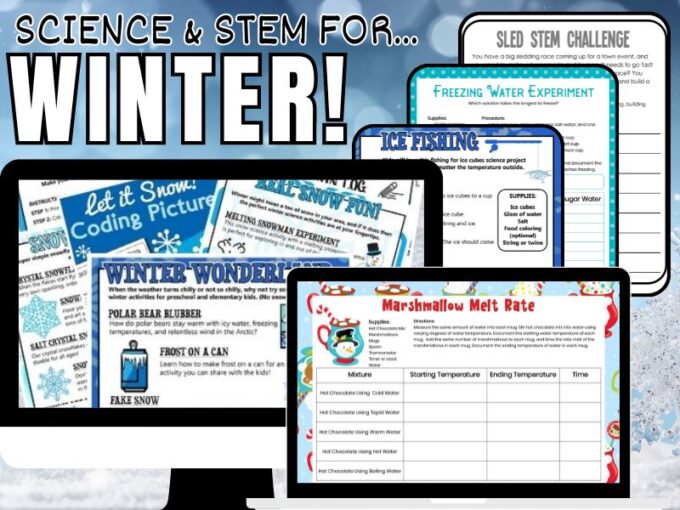
Printable Winter STEM Pack
Even if you don’t live in a snowy winter climate, there are many ways to explore the season!
WHAT’S INSIDE? You’ll find 250+ Pages of Winter theme projects for science, STEM, and art!
- 25+ Winter science activities and STEM projects for kids that are easy to set up and fit into the time you have available even if it’s limited! NEW: Observation sheets for activities.
- Printable winter theme STEM activities that are simple but engaging for home or classroom. Perfect for K-2 and beyond and adaptable to many skill levels.
- Find simple background science explanations to share with kids while they explore hands-on and playful experiments, projects, and activities! Fun with physics, chemistry, design, engineering, and more!
- Easy to gather supplies makes these STEM activities ideal when you have limited resources available. Perfect for trying with groups of kids.
- Engaging winter STEM activities packed with winter theme activities, journal pages, and design process steps! Includes structure-building cards, STEM challenge cards, and screen-free coding activities.
- Fun snowflake theme STEM, including snowflake cutting templates, snowflake tinker cards, and snowflake science activities, including a snowflake formation cycle!
- Even more, winter printable sheets include hibernating animals sort, snow weather cycle, 5 senses for winter journal pages, thaumatrope patterns, and fun extras all with a winter theme!


3 Comments
Comments are closed.