
What can you discover about an object without looking at it?
In this simple mystery object investigation, kids reach inside a paper bag with their eyes closed and use their sense of touch to gather clues about a hidden object. Then they record their observations, make an inference, and explain the evidence behind their thinking.
This low-prep science activity works well for the first week of science, a science process skills lesson, or a classroom science center.
💡 Grab the free Mystery Object Investigation printable below!
What Is a Mystery Object Investigation?
A mystery object investigation challenges kids to examine a hidden object without seeing it.
Students place one hand inside a bag and gently explore the object using touch. They may notice that it feels hard, has a curved shape, contains several parts, or bends when pressed.
Instead of immediately calling out a guess, students record what they can observe. They then use those observations to make an inference about what the object might be.
The goal is not simply to identify the correct object. The goal is to gather evidence and explain how that evidence supports an idea.
Recommended Grade Levels
K–2: Focus on using simple words to describe the object’s shape, size, and texture. Students can draw the object and share their inference orally or in writing.
Grades 3–5: Ask students to record detailed observations, distinguish observations from inferences, and support their conclusion with specific evidence.
What Kids Learn
This activity helps kids practice how to:
- Make careful observations
- Describe the properties of an object
- Gather information using the sense of touch
- Distinguish an observation from an inference
- Use evidence to support an idea
- Revise their thinking when new information is revealed
Science focus: Observation, inference, evidence, properties of objects, and science process skills.
Mystery Object Investigation Supplies
- Brown paper bags or other nontransparent bags
- A variety of small, safe objects
- Mystery Object Investigation printable
- Pencils
- Optional crayons or colored pencils
Fabric drawstring bags, pillowcases, or mystery boxes with hand openings also work well.
Mystery Object Ideas
Choose familiar objects with noticeable shapes, textures, parts, or materials.
Try:
- Pinecone
- Spoon
- Toy block
- Cotton ball
- Shell
- Key
- Feather
- Crayon
- Clothespin
- Rock
- Small toy animal
- Eraser
- Sponge
- Craft stick
- Small ball
- LEGO brick
- Pom-pom
- Measuring spoon
- Bottle cap
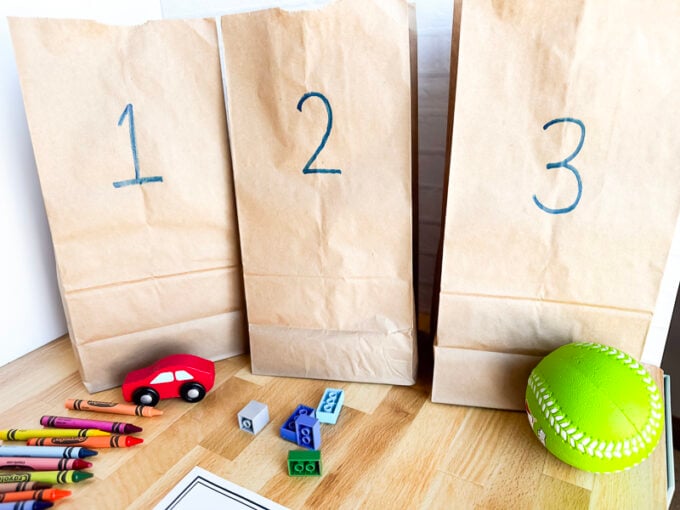
- Toy car
- Large plastic bead
- Rubber duck
- Small brush
- Puzzle piece
Avoid objects that are sharp, breakable, messy, extremely small, or unsafe to handle without looking.
How to Set Up the Investigation
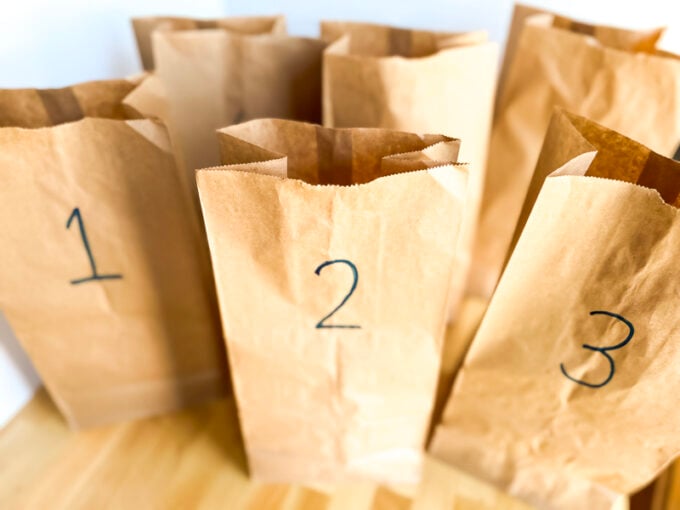
- Place one mystery object inside each paper bag.
- Keep the bag open enough for students to place one hand inside.
- Position the bag so students cannot see the object.
- Give each child or small group a bag and a recording page.
- Remind students not to remove the object or call out a guess until everyone has finished observing.
You can give every group the same object or prepare several bags with different objects and have students rotate through the stations.
How to Do a Mystery Object Investigation
Step 1: Explore the mystery object.
Have students close their eyes, turn their heads away, or use a bag positioned so they cannot see inside.
Students should reach into the bag with one hand and gently explore the object without removing it.
They may:
- Feel its shape
- Notice its texture
- Find edges, curves, or points
- Compare hard and soft parts
- Notice whether it bends or stays rigid
- Estimate its size
- Feel whether it has several connected parts
Encourage students to keep their ideas private until they have recorded their observations.
Step 2: Record observations.
Ask students to describe what they can actually feel rather than naming the object.
Useful prompts include:
- What shape does it feel like?
- Does it feel hard or soft?
- Is it smooth, rough, fuzzy, or bumpy?
- Does it have corners, curves, or points?
- Does it bend, stretch, or stay rigid?
- Does it have several parts?
- How large does it feel?
- What other details do you notice?
Step 3: Draw a model.
Have students draw what they think the mystery object might look like based on their observations.
Ask them to label at least three details.
The drawing does not need to be correct. It represents their current thinking based on the evidence they collected.
Step 4: Make an inference.
Students now use their observations to decide what the mystery object might be.
Try this sentence frame:
I think the object might be a __________ because I observed __________.
Encourage students to include more than one piece of evidence.
For example:
I think the object might be a pinecone because it feels hard, rough, pointed, and shaped like an oval.
Step 5: Reveal and reflect.
After everyone has recorded an inference, remove the object from the bag.
Give students time to compare the actual object with their observations, drawing, and inference.
Discuss which clues were helpful and whether the new evidence changed their thinking.
Observation vs. Inference
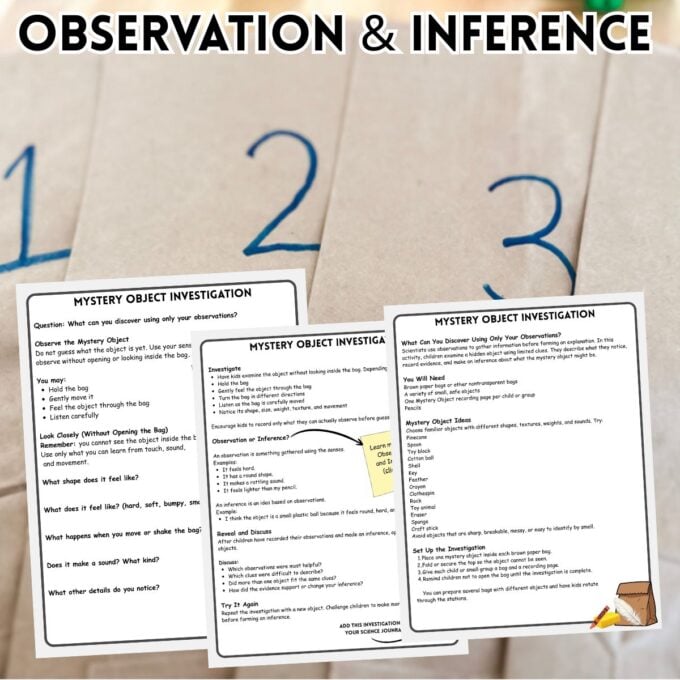
An observation is information gathered using the senses or scientific tools.
Examples:
- It feels hard.
- It has a curved edge.
- One side feels rough.
- It has several small parts.
- It bends when I press it.
👉 An inference is an idea or explanation based on observations. Find more inference practice here.
For example:
I think the object is a clothespin because it feels long, hard, and has two parts connected in the middle.
An inference is not a random guess. It should be connected to evidence.
Young students may want to name the object right away. Ask:
- What did you observe that made you think that?
- Is that something you felt or something you inferred?
- What evidence supports your idea?
- Could another object fit those clues?
- What additional observation would help?
These prompts help turn a guessing game into a science investigation.
Need a word bank? Try smooth, rough, fuzzy, soft, hard, bumpy, curved, flat, round, pointed, flexible, rigid, heavy, light, long, short, thick, or thin.
Discussion Questions
After revealing the objects, ask:
- Which observation was most helpful?
- Which feature was hardest to describe?
- Did more than one object fit the same clues?
- Which observations supported your inference?
- Did you change your idea while exploring the object?
- Was your inference reasonable even if it was not correct?
- What would you do differently during a second investigation?
- Which properties were easiest to observe using touch?
Free Mystery Object Investigation Printable
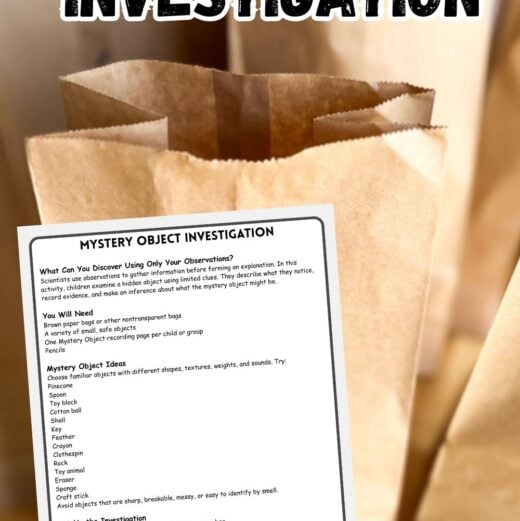
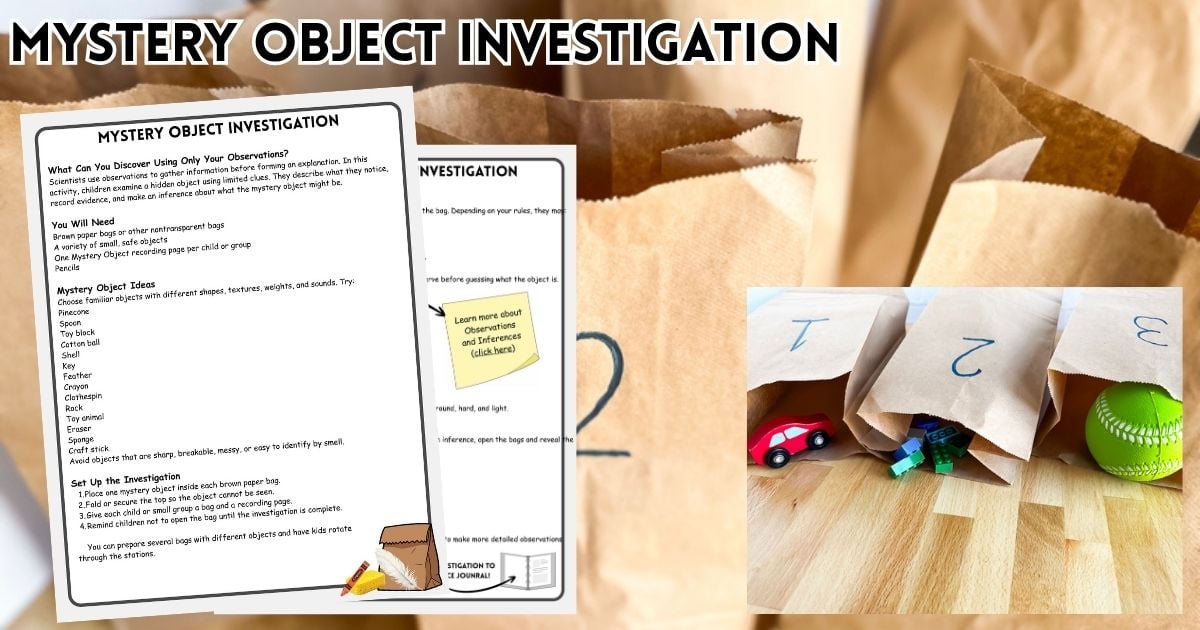
Use the free mystery onject printable to guide students through the complete investigation.
It includes:
- Teacher setup and object suggestions
- Investigation directions
- Observation and inference examples
- Student observation prompts
- Space to draw and label the mystery object
- Inference and evidence questions
- Reveal and reflection prompts
Extend the Investigation
Try another object.
Repeat the investigation and challenge students to make more detailed observations the second time.
Compare two mystery objects.
Place two objects in separate bags. Ask students to compare their shapes, textures, sizes, materials, and flexibility.
Add a timed observation challenge.
For older students, limit the amount of time they can explore the mystery object. Give them 20 to 30 seconds to feel the object without looking, then have them remove their hand and record their observations before making an inference.
For an additional challenge, reduce the observation time to 10 seconds during a second round. Compare whether students gathered more useful evidence when they had extra time.
Ask:
- Which details did you notice first?
- What did you miss when the time was shorter?
- Did the time limit cause you to make assumptions?
- Which observations were most useful?
- Would a second observation period change your inference?
Grades 3–5: Ask students to record detailed observations, support their inference with specific evidence, and complete a timed observation round. Allow approximately 20 to 30 seconds to explore the object before recording.
💡 TIP: I would use 20–30 seconds as the standard older-kid extension. Ten seconds is better as a second-round challenge because it may be too brief for the initial investigation.
Mystery Object Science Center
This activity also works well as an independent or small-group science center.
Set out:
- Three to six numbered mystery bags
- One recording page for each bag
- Pencils
- A descriptive word bank
- A basket for completed pages
Students can rotate through the bags, feel each object without looking, and record their observations.
Remind students not to remove or reveal the objects until the entire group has completed the investigation.
At the end of the session, reveal each object and compare the class’s inferences.
The Science Behind the Investigation
Scientists collect observations before developing explanations.
An observation describes something that can be directly noticed or measured. In this activity, students use touch to observe properties such as texture, shape, hardness, size, and flexibility.
An inference interprets those observations. Students combine several clues to form an idea about what the object might be.
An inference can be reasonable even when it is not ultimately correct. New evidence may cause a scientist to revise an earlier explanation.
That is an important part of scientific thinking: ideas can change when better information becomes available.
Frequently Asked Questions
Should students close their eyes? Students can close their eyes or turn their heads away from the bag. The important rule is that they cannot look inside while exploring the object.
Can students reach inside the bag? Yes. Students should place one hand inside the bag and gently explore the object without removing it.
Should students use one hand or two? One hand makes the investigation more challenging and prevents students from pulling the bag open. Younger students may use two hands if needed, as long as they cannot see the object.
Should every student have a separate bag? No. One bag per small group works well. Students can take turns exploring the object before recording individual observations.
Should all groups investigate the same object? Either option works. Using the same object makes the class discussion easier. Using different objects creates a more interesting station rotation.
What if students guess immediately? Ask them to keep the guess private and record at least three observations before making an inference.
What if a student’s inference is wrong? That is completely fine. Focus on whether the inference was supported by the available evidence rather than whether the student named the object correctly.
Can I use containers instead of paper bags? Yes. Use fabric bags, pillowcases, covered boxes, or containers with hand openings as long as students cannot see the object.
What is the best age for this activity? The investigation works especially well for kindergarten through fifth grade. Adjust the amount of writing and evidence required for each grade level.
Solve More Science Mysteries
Ready to take observation and inference skills a step further?
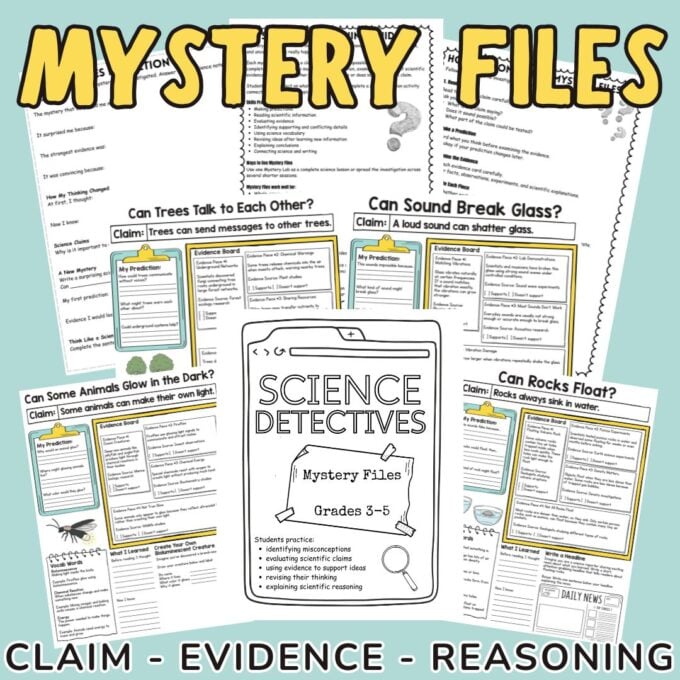
The Science Mystery Files challenge kids to examine clues, gather evidence, and use scientific thinking to solve engaging science cases. They are a fun next step after this Mystery Object Investigation and help kids practice explaining how the evidence supports their conclusions.
👉 Explore the Science Mystery Files
Keep Exploring
Add this Mystery Object Investigation to your first week of science plans, observation unit, science journal, or classroom science center.
Continue building foundational science skills with:
- Observations and inferences
- Scientific method activities
- Five senses activities
- First week of science activities
- Printable Science journal ideas