Grab the hole puncher, and let’s start with this fun and colorful pumpkin art project that also doubles as pointillism art! You only need paper, our free printable pumpkin template, and an easy way to make little circles.
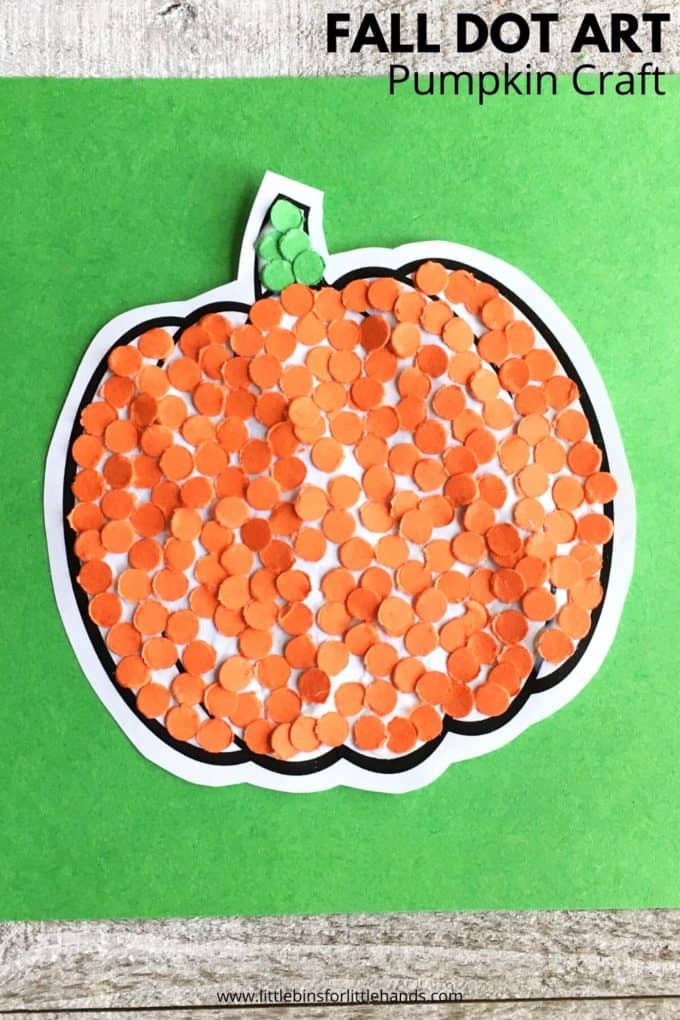
Dot Pumpkin Art Project
Pumpkin art projects are even easier when you have practical ideas to share with your kids. This project can work with various ages. Vary the size of the dots for younger kids or encourage older kids to create patterns within the pumpkin with dots.
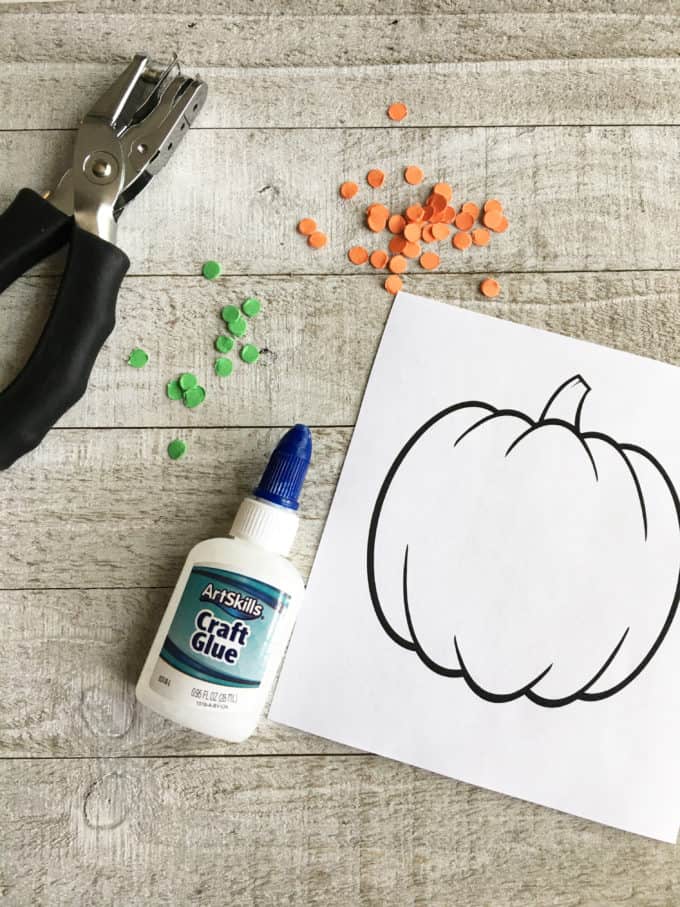
Supplies:
- Hole puncher or papercraft puncher
- Colored construction paper
- Printable pumpkin template (see below)
💡 Tip: You can also use a cotton swab and paint to create a similar look and explore pointillism like our turtle dot painting!
How To Make Pumpkin Dot Art
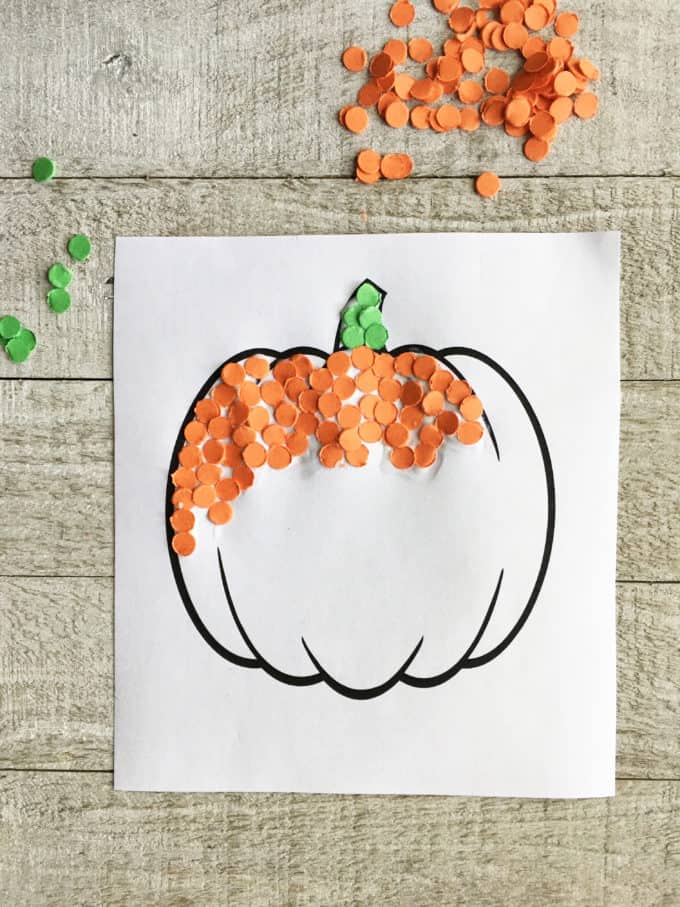
STEP 1: Punch away with your choice of fall colors!
💡 Tip: It may take some time to get enough dots! Depending on the ages and abilities of the kids, you might want to start doing this before the project and store the dots in reusable containers.
Craft stores also sell circular paper punches with larger diameters. This will make it easier for younger kids and allow you to complete the project faster.
STEP 2: Apply glue to your pumpkin and arrange your circles. It’s really that simple!
STEP 3: When finished and the glue has dried, cut around your pumpkin outline if desired. Alternatively, you could paint the background with watercolors for a fun mixed-media project.
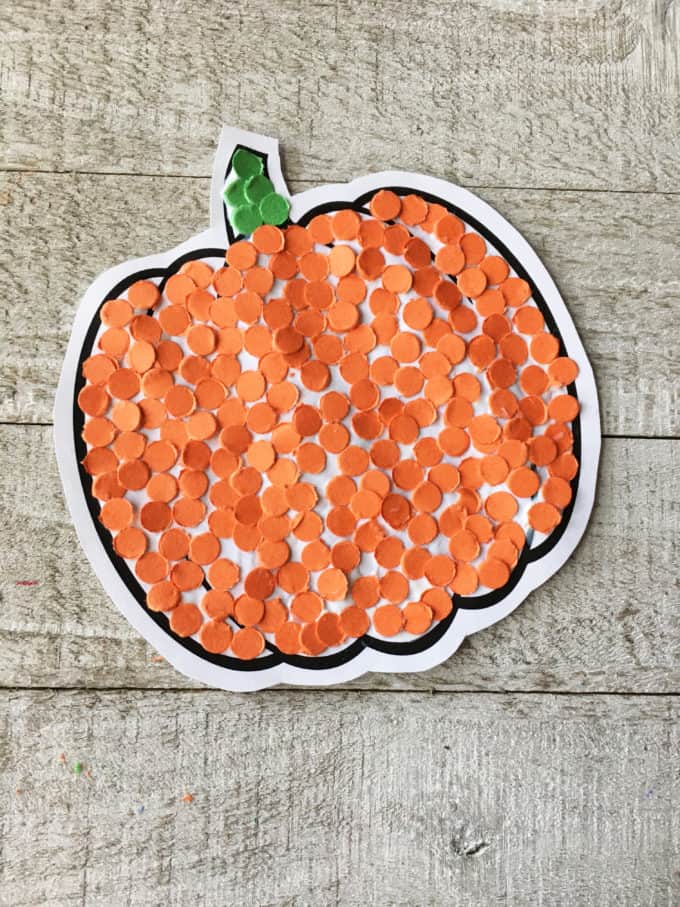
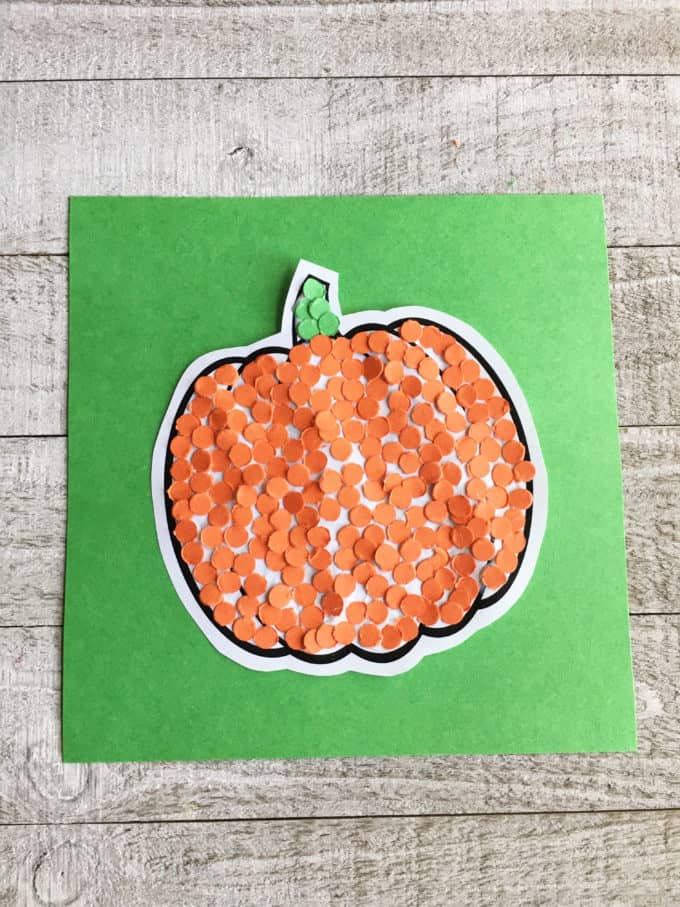
STEP 4: Optional! Mount your pumpkin pointillism project to a sheet of card stock or a sheet of heavyweight paper for display. You can even frame it!
What is Pointillism?
💡 Also, try pointillism art with our apple template or leaves template!
Pointillism is a fun art technique associated with the famous artist George Seurat. It involves using small dots to create areas of color that together form a whole pattern or picture.
It’s a fun technique for children to try, especially because it’s easy to do and requires just a few simple materials.
How do you do pointillism? In our pumpkin dot art, the dots are created with a hole puncher and craft paper. You could also do pointillism with paint and cotton swabs. Or how about pompoms?
Helpful Art Resources To Get You Started
Here are a few resources to help you introduce process art more effectively to your kiddos or students and feel confident when presenting materials. You’ll find helpful free printables throughout.
- Free Color Mixing Mini Pack
- Preschool Art Projects
- How to Make Paint
- Easy Painting Ideas For Kids
- Free Art Challenges
- The 7 Elements Of Art
- Outdoor Art Activities
- STEAM Activities (Science + Art)
More Fun Pumpkin Art Projects To Try
Click on each image below to enjoy pumpkin art and craft projects this season. Each pumpkin activity includes a free printable too!
- Try mess-free pumpkin painting in a bag.
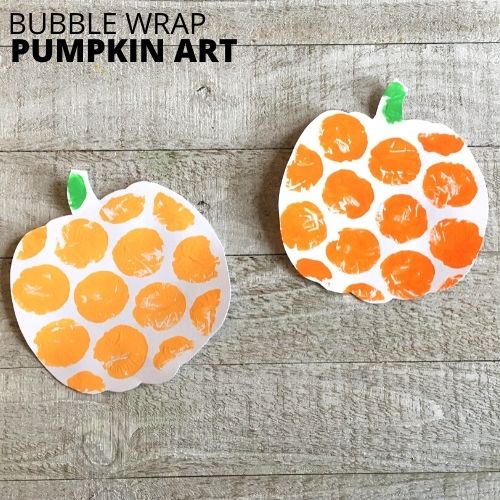
- Make pumpkin bubble wrap prints.
- Create texture art with yarn wrapped pumpkins.
- Enjoy mindful fall art with zentangle pumpkins.
- Try painting pumpkins with black glue.
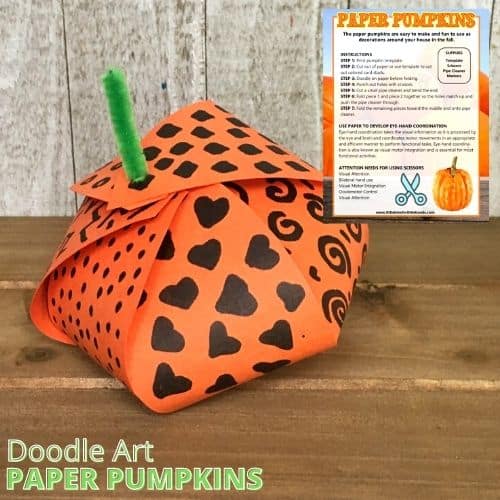
- Create 3D paper pumpkins.
- Try Kusama pumpkin art.
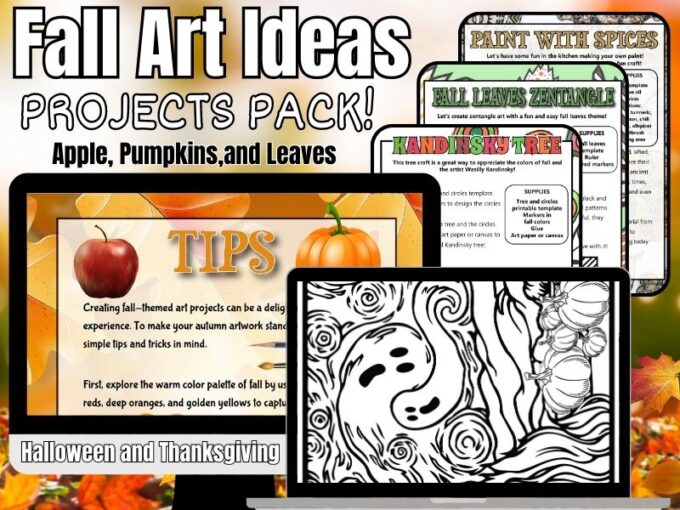
Printable Fall Art Project Pack
Everything you need is included in this Fall Art Project Pack. Just add art supplies! Perfect for kids of all ages to enjoy with a variety of techniques. Whether in the classroom, at home, or with groups, there is a fantastic variety of art activities to try!
Find all the instructions and templates necessary for over 40 art projects this Fall.
Apples, pumpkins, leaves, Halloween, and Thanksgiving!
Explore process art, STEAM, and even famous artists with these very doable art activities that won’t break the budget or the time you have available!