Growing crystals with kids is easy to do and is a great chemistry activity! This pumpkin crystal science experiment is a unique twist on a classic. Combine classic science experiments with fun themes like fall pumpkins.
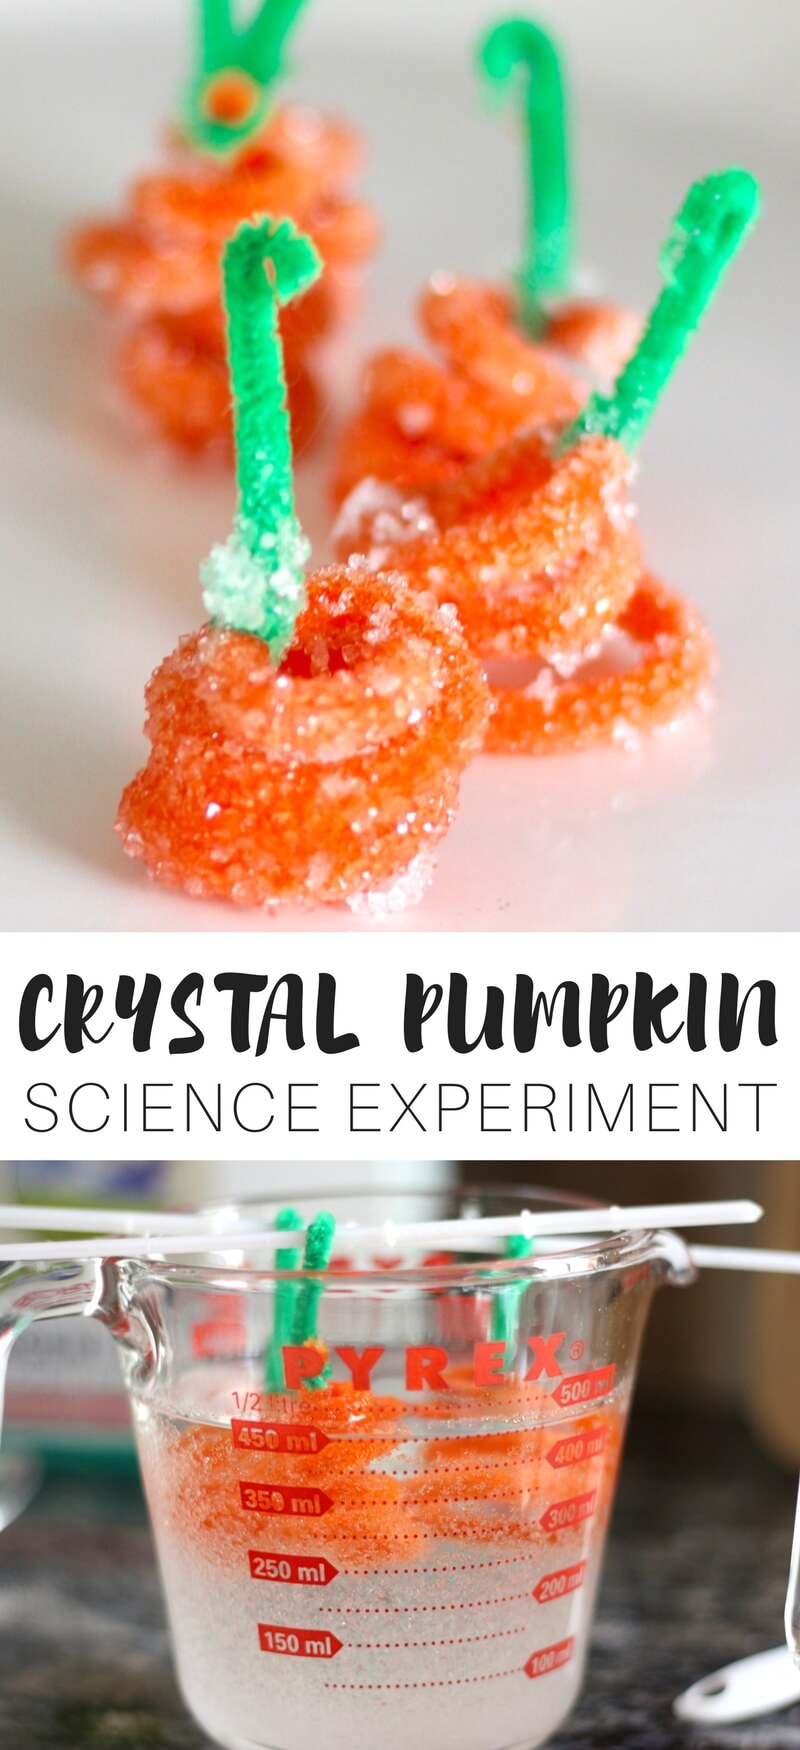
How To Make Crystal Pumpkins
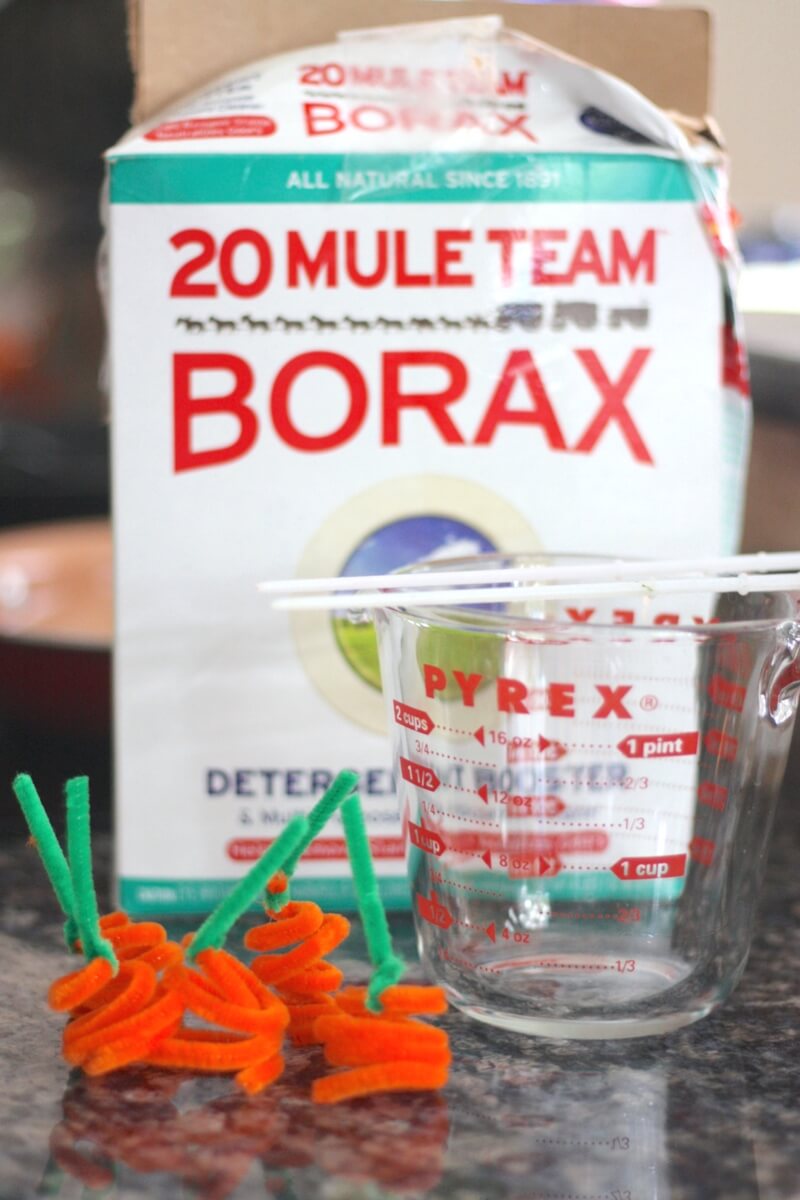
Supplies:
- Orange Pipe Cleaners
- Green/Brown Pipe Cleaners
- Borax Powder
- Water
- Glass Jars {Wide Mouth Mason Jars Work Best}
- Measuring Spoons and Cups
- Skewers or Pencils
Make Pipe Cleaner Pumpkins
STEP 1. Start by twisting the orange pipe cleaners into pumpkin shapes.
We used one whole pipe cleaner per pumpkin. You can squish them around a bit to be longer or rounder as you please. Each one will be unique!
💡 TIP: Add a long green pipe cleaner stem which also serves as a way to suspend the pumpkins in the solution. You could also do brown and add leaves or make a curly vine!
STEP 2. Wrap the stems around a skewer or pencil. Don’t let the pumpkins touch the sides or bottom, as they will be difficult to remove. You could also use string if you need to lower them farther down into the solution.
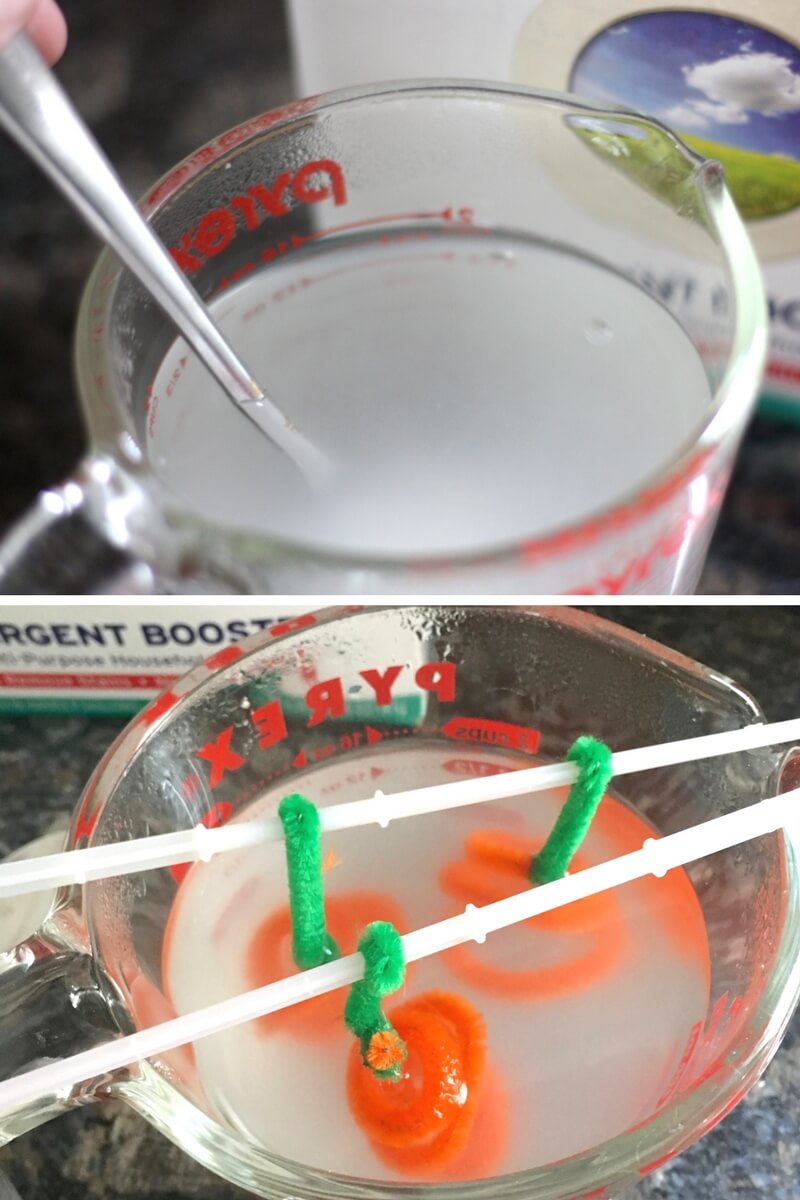
STEP 3. Mix up your borax solution. See below! This is where the science comes into the activity because you can learn about mixtures and saturated solutions!
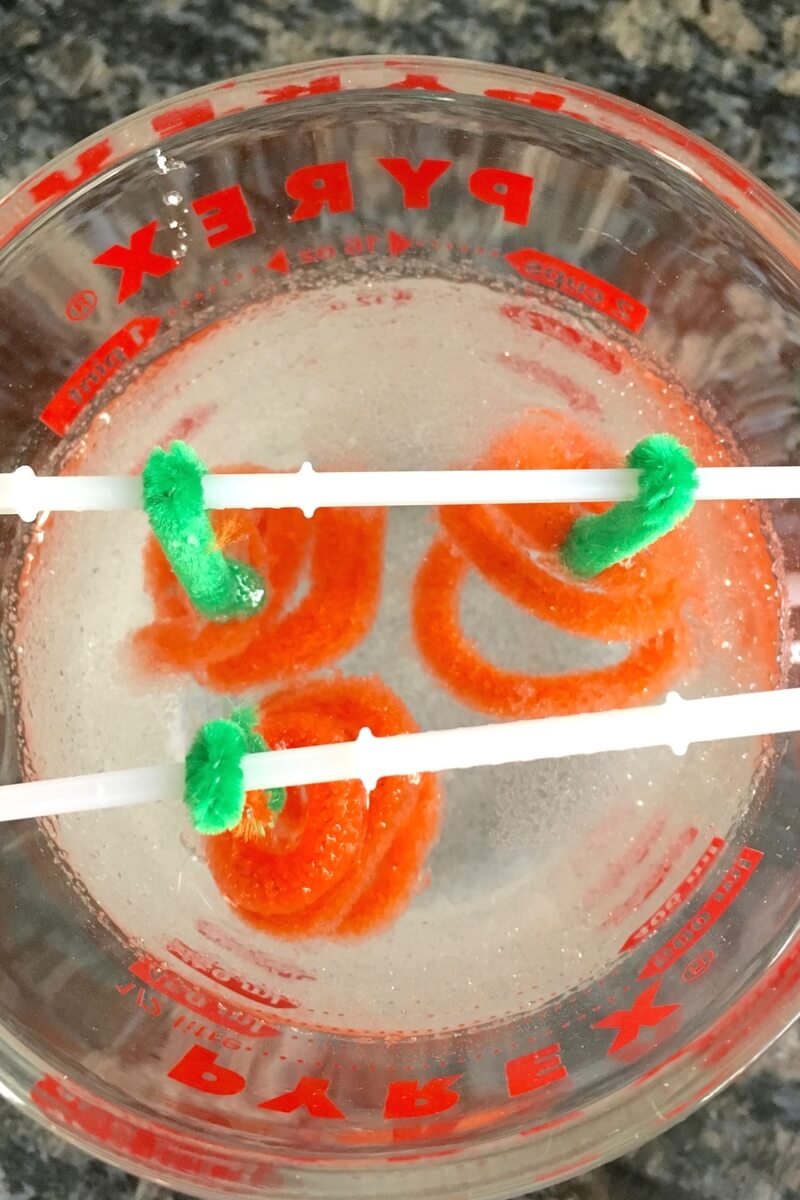
STEP 4. Suspend your pumpkins in the solution and LET IT REST UNDISTURBED for 24 hours. But make sure to observe the changes you see taking place. Remove from the solution and let dry on a paper towel!
Make A Super Saturated Borax Solution
The ratio of borax to water is 3 tablespoons to 1 cup, so you can determine how much you need. This experiment to make 5 crystal pumpkins required 4 cups and 12 tablespoons divided between the containers.
STEP 1. You want hot water. I bring the water to just boiling!
STEP 2. Measure the correct amount of water and stir in the borax powder. It will not dissolve, and it will be cloudy. This is what you want: a saturated solution with optimal crystal growing conditions!
Read about the science of growing crystals below.
The Science of Growing Borax Crystals
The borax has been suspended throughout the solution and remains that way while the liquid is hot. A hot liquid will hold more borax than a cold liquid! The molecules in hot water are much farther away from each other than in cold water, allowing the water to have more of the borax solution.
As the solution cools, the molecules return closer to each other, and the particles settle out of the saturated mixture. The settling particles form the crystals that you see. The impurities remain behind in the water, and cube-like crystals will form if the cooling process is slow enough.
If the solution cools too quickly, irregular-shaped crystals will form due to the impurities caught in the process.

Apply The Scientific Method
The scientific method is a process or method of research. A problem is identified, information about the problem is gathered, a hypothesis or question is formulated from the information, and the hypothesis is tested with an experiment to prove or disprove its validity.
Learn more here…
Fun Ways To Vary The Experiment
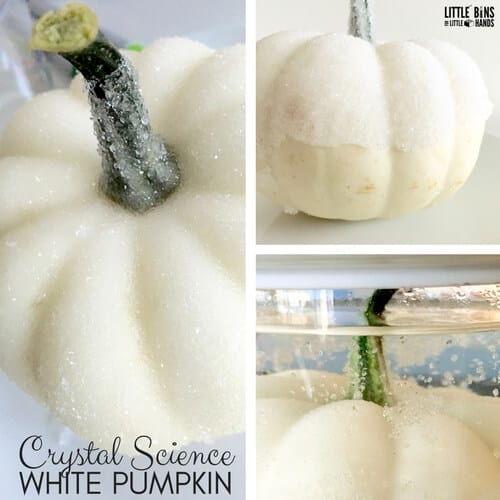
Use a Real Pumpkin
Place a small pumpkin in the same borax solution as above and observe the results!
Covered vs Uncovered
We covered one of the jars with tin foil for this experiment to slow the cooling process. We found more crystallization in that glass container than in the uncovered one.
Plastic Container vs. Glass Container
Using a plastic cup instead of a glass jar caused a difference in the formation of the crystals. As a result, the glass jar crystals are more heavy-duty, larger, and cube-shaped.
The plastic cup crystals are smaller, more irregularly shaped, and much more fragile. The plastic cup cooled off more quickly, and crystal pipe cleaners contained more impurities than those in the glass jar.
Our pumpkin crystal science experiment doubles as a terrific craft that the kids will find fascinating. Who doesn’t want to grow crystals?
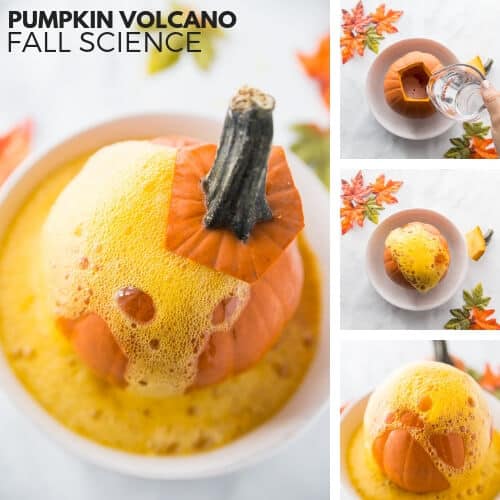
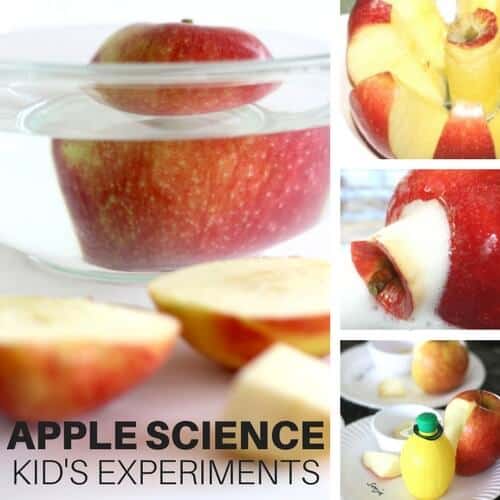
More Fun Pumpkin Activities To Try
You don’t need to celebrate Halloween to enjoy pumpkin science activities. Try one or all of the ideas below!


Explore More Fall Science
Click on the images below for more Fall theme science activities.
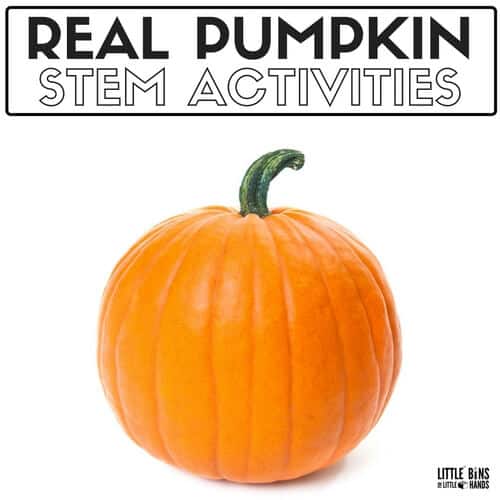
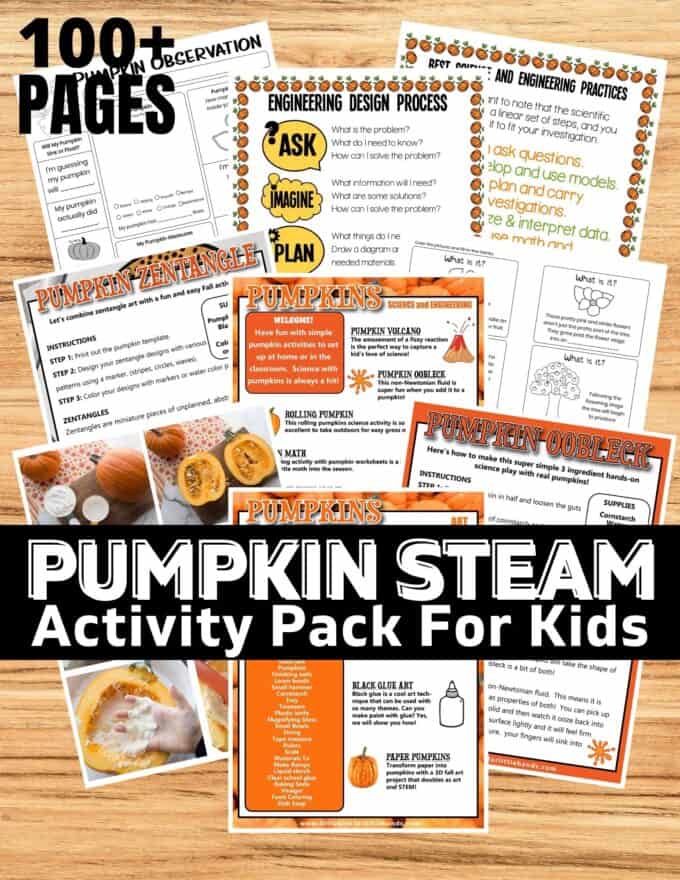
Printable Pumpkin STEM Pack
Perfect for K-2/3rd Grade and homeschool! Many activities can be modified for preschool and older kiddos as well.
Pumpkin is a festive and classic theme for fall, and this pack is perfect for exploring pumpkins with a non-Halloween theme! It includes science, STEM, engineering, early math, and art projects.
The kids will have a blast trying 100+ pages of “totally doable” projects! Read more here.


The pumpkin crystal experiment is amazing! Can’t wait to try it with my son… He’ll love it. Thanks for linking to our beaded pumpkin craft!
You are welcome! Hope you enjoy trying our version!