What makes ice melt faster? Let’s investigate with hands-on ice melting experiments that kids can actually test and compare. In these simple science activities, kids explore how heat, materials, and insulation affect ice as it changes from solid to liquid.
Science Concepts Kids Explore
These ice experiments are easy to set up, use everyday materials, and work well for kindergarten through early elementary students—at home or in the classroom.
- States of matter (solid → liquid)
- Heat energy and temperature
- Freezing point depression
- Insulation and heat transfer
- Variables, controls, and observations
Experiment Set 1: What Materials Make Ice Melt Fastest?
In this experiment, kids test different materials to see which melt ice the fastest. This is a great introduction to variables and fair testing.
💡 Try making ice cream in a bag or homemade slushies to explore freezing and melting even more.
Supplies Needed
- Ice cubes
- Muffin tin, jars, or small containers
- Various solids (table salt, sugar, baking soda, sand, dirt, different salts)
- Stopwatch or clock

Experiment Setup
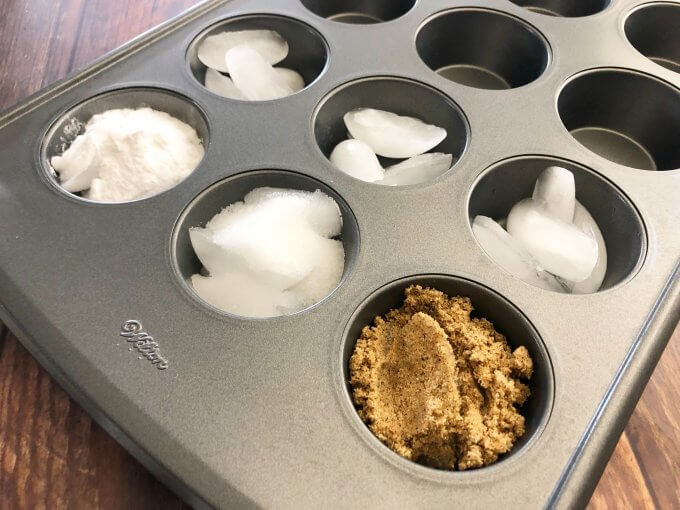
STEP 1: Place 4–5 ice cubes into each container. Make sure each container has the same amount of ice.
STEP 2: Add 3 tablespoons of a different material to each container.
- Cup 1: Baking soda
- Cup 2: Salt
- Cup 3: Sand
- Cups 4–6: Control (no added material)
STEP 3: Check the ice every 10 minutes for 30 minutes. Record what you observe and compare results.
Ask:
- Which material caused the ice to melt the fastest?
- Which had very little effect?
Why Does Salt Melt Ice?
Salt lowers water’s freezing point. When salt touches ice, it mixes with the thin layer of liquid water on the surface and interferes with ice crystal formation, causing the ice to melt faster. This process is called freezing point depression.
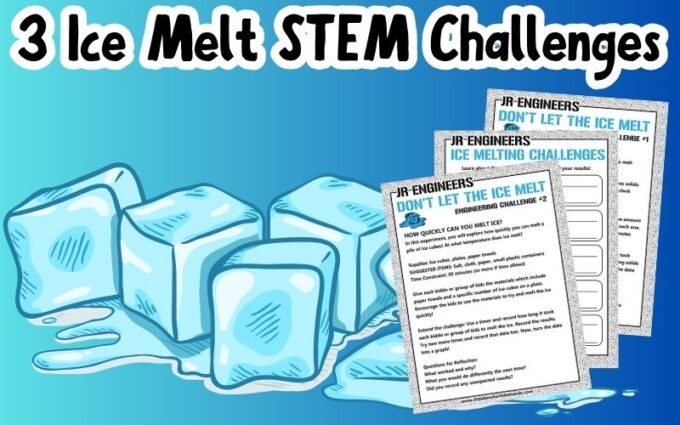
Experiment Set 2: How Quickly Can Ice Melt?
In this challenge-style experiment, kids explore how adding heat energy affects melting speed.
Supplies Needed
- Ice cubes
- Plates
- Paper towels
- Optional: salt, cloth, paper, small plastic containers
Experiment Setup
STEP 1: Give each student or group a plate with the same number of ice cubes.
STEP 2: Challenge kids to melt the ice as quickly as possible using only the provided materials.
STEP 3: Set a time limit. When finished, have groups explain what they did and why it worked.
💡 Use a timer and record how long each method takes. Repeat and turn the results into a simple graph.
Ways to Melt Ice Faster
- Hold the ice in your hands (body heat)
- Rub hands together to create friction
- Wrap ice in a cloth
- Place ice on dark paper in sunlight
💡 Dark colors absorb more heat, which can speed up melting. Explore our What Colors Absorb More Heat experiment.
The Science Behind It: Freezing Point Depression
Plain water freezes at 32°F (0°C). When substances like salt are added, the freezing point drops, meaning water must get colder before it can freeze again. This is why salt is used on icy roads—it helps melt ice even when temperatures are below freezing.
Ice melts when it absorbs heat. Even ice at freezing temperature has less energy than liquid water at the same temperature. Have you ever tried ice fishing at your kitchen table?
💡 Learn more with our freezing water experiment.
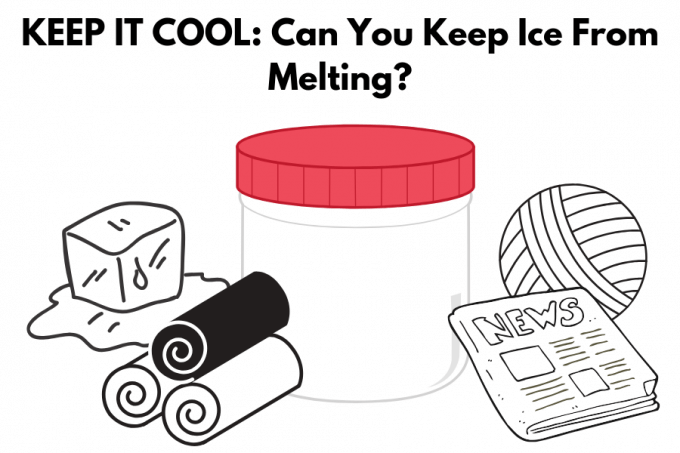
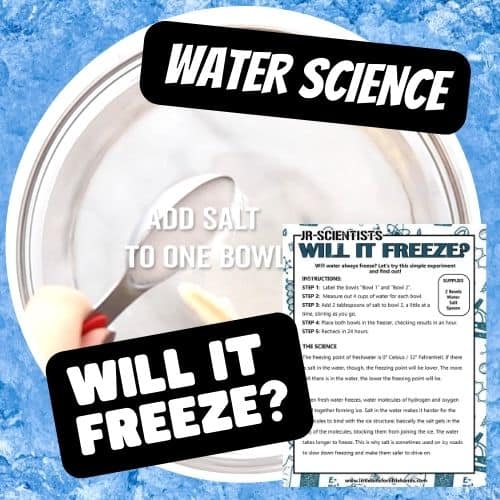
Experiment Set 3: How Do You Keep Ice From Melting?
Now let’s flip the question. Instead of melting ice quickly, kids try to keep ice frozen for as long as possible.
Supplies Needed
- Ice cubes
- Small zip-top bags
- Small plastic containers (similar sizes)
- Insulating materials (foil, cotton balls, paper towels, fabric, newspaper)
Experiment Setup
STEP 1: Brainstorm which materials might keep ice cold the longest.
STEP 2: Build insulated containers using one or more materials.
STEP 3: Place an ice cube in a zip-top bag, then into the insulated container.
STEP 4: Create a control container with no insulation.
STEP 5: Place all containers in the same location. Check every 10 minutes and record observations.
STEP 6: Compare results. Which materials worked best? Why?
How Insulation Works
Ice melts because heat energy from the surrounding air moves into the ice. Insulating materials slow this heat transfer, keeping ice colder for longer. Materials like newspaper, felt, and wool trap air, helping block heat transfer.
Insulation works the same way in buildings—keeping heat in during winter and out during summer.
💡 Explore more with this insulation science experiment.
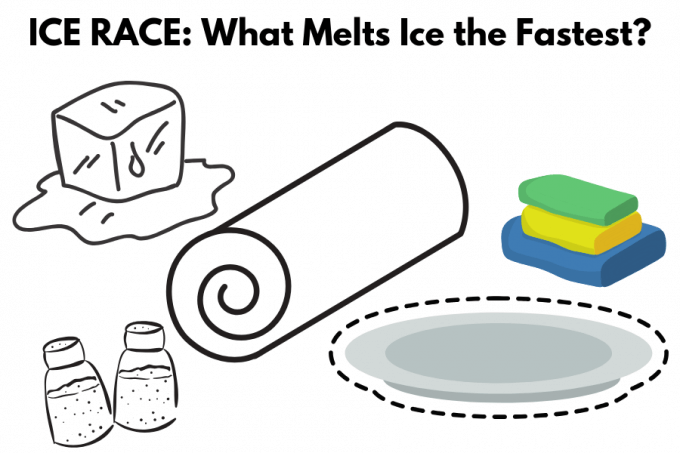
More Ways to Explore Ice Melting
- Hold ice in different locations (hand vs. table)
- Test melting on different surfaces
- Compare light vs. dark colors
- Explore friction and pressure effects
🔎 Try our Ice Race Experiment or our Sticky Ice Experiment
Free Printable Ice Melting Experiment Worksheets
Want to turn these experiments into a complete science lesson?
Grab the free printable ice melting worksheets, including:
- Observation pages
- Data recording sheets
- Simple graphing templates
Perfect for classroom use, homeschool science, or science fair prep. Grade Level: Suitable for Kindergarten through 3rd Grade
👉 Download the free ice melting worksheets here
More Science Experiments to Try
- What colors absorb heat best?
- States of matter experiments
- Winter clothes insulation experiment
- Winter and weather science activities


Frequently Asked Questions About Ice Melting Experiments
What melts ice the fastest?
Salt melts ice the fastest because it lowers water’s freezing point. This process, called freezing point depression, prevents melted water from refreezing and speeds up melting.
Why does salt melt ice but sand does not?
Salt dissolves in water and interferes with ice crystals, while sand does not change the freezing point of water. That’s why sand has little effect on how fast ice melts.
Is this a good science fair project?
Yes! Ice melting experiments are excellent science fair projects because kids can test variables, collect timed data, create graphs, and explain cause-and-effect relationships.
Can you do ice melting experiments outside of winter?
Absolutely. Ice melting experiments work year-round and are commonly used to teach states of matter, heat transfer, and energy—regardless of the season.

Extend Your Science
If your kids enjoyed these hands-on solutions and dissolving experiments, take their science further with our Classic Science Activities Pack — 90+ easy, printable chemistry and STEM activities complete with recording pages and extension ideas. Perfect for homeschool, classroom centers, or family science nights.


I love your stuff! but why is it so wordy….taakes a lot of ink to print out even the simple stuff….just give list of ingredients……about 15 great ideas but didn’t print out one becasuse they were all 8 to 12 pages long
HI, an article like this is not meant to be printed which is why it’s not helpful to you. Our shop offers paid packs for download though.