Have you ever wondered if ice is always slippery or if it can be sticky? This slippery or sticky ice experiment will help kids explore how temperature, pressure, and surface texture affect ice’s slipperiness. Get ready to slide into some cool science!

Is Ice Always Slippery?
Ice is slippery because of a thin water layer on its surface. But is it always slippery? This depends on the ice’s temperature, surface texture, and how much pressure or friction is applied. Kids will love testing these factors to discover when ice is most and least slippery!
What is Sticky Ice?
Ice being sticky is the opposite of it being slippery. Slippery ice has a thin water layer that helps things slide, but sticky ice happens when it’s so cold that it freezes the water on your skin instead of letting it melt. Let’s explore why!
This cool science shows how ice can behave surprisingly depending on temperature, moisture, and conditions. Is it sticky, slippery, or something in between? Time to test and find out!
Grade Level: This experiment is great for grades 3-6, but younger kids can also participate with extra guidance.
Materials:
- Ice cubes (at least 5-6)
- A smooth surface (like a tray or cutting board)
- A rough surface (like sandpaper or a textured plastic mat)
- Freezer-safe thermometer (optional)
- Small weights (like coins)
- Stopwatch
- Observation worksheet (below)
How to Set Up a Sticky Ice Experiment
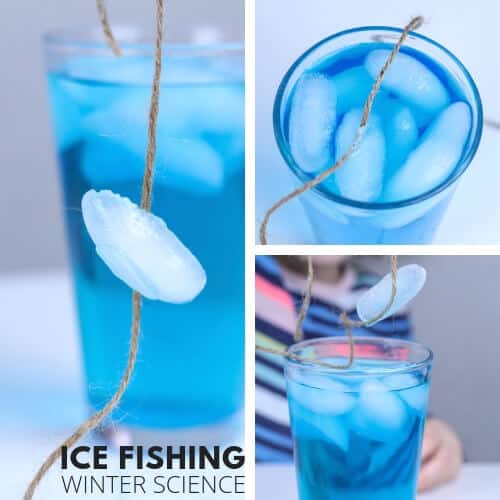
💡 Going Ice Fishing indoors is also an alternative way to show sticky ice!
Scientific Method
Question: Is ice always slippery? What factors affect its slipperiness?
Hypothesis: If ice has a higher temperature or is on a smooth surface, it will be more slippery because the thin water layer will form more easily.
Test Ice Temperature:
- Take three ice cubes: keep one very cold (from the freezer), one at room temperature, and one slightly warmed, and place on trays or plates (not paper).
- Test each cube by gently pushing the ice cube with your finger or slightly tilting the surface to see how easily the ice cube slides.
- Record observations about slipperiness.
Test Surface Texture:
- Place an ice cube on a smooth surface (tray) and another on a rough surface (sandpaper on tray).
- Use both push (gently with finger) and tilt methods (tilt surface slightly) to observe how the ice behaves on each surface.
- Record which surface makes the ice slide easier.
- You can try out a variety of surfaces on the tray, such as parchment paper, wax paper, silicone baking mat, aluminum foil, or even a wooden cutting board
Test Pressure:
- Place a small weight (like coins) on one ice cube and slide it on a smooth surface.
- Compare it to an ice cube without any added weight using the same methods.
- Record the differences in slipperiness.
Observation and Data Collection:
- Write down which ice cube slid the farthest or fastest in each test.
- Note if certain conditions made the ice stick slide or not.
- Use a thermometer to check if temperature differences affect slipperiness.
Results:
- Analyze which factor (temperature, texture, or pressure) made the ice most slippery.

Is Ice Slippery, or Is Ice Sticky?
Ice isn’t always slippery, and it’s not always sticky either! Ice feels slippery or sticky depending on temperature, surface texture, and pressure.
Slippery Ice:
- Warmer ice and smooth surfaces create a thin water layer that makes ice slippery and easy to slide.
- Rough surfaces or very cold ice reduce slipperiness by disrupting or preventing the water layer from forming.
- Slipper ice = less friction
Sticky Ice:
- Ice feels sticky when it’s very cold and freezes the moisture on your skin. This frozen layer creates a bond between the ice and your skin, making it feel sticky.
- Sticky ice is more noticeable if your skin is wet, as the water freezes faster.
- Stickier ice = more friction
Tips and Tricks
More Ways to Explore the Sticky Ice Experiment
Related Science Activities:
- Melting Ice Race
- Go Ice Fishing
- Exploring Friction with Cars
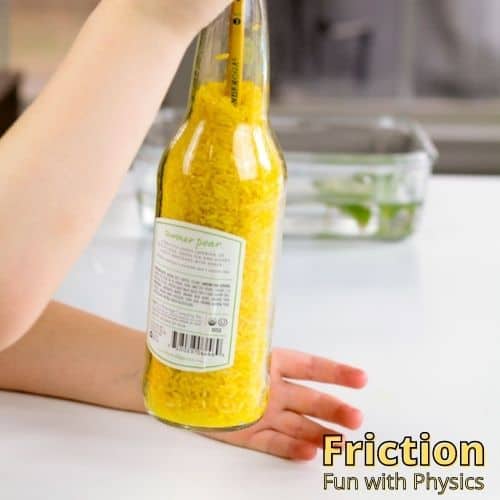
- Floating Rice Experiment
- What Makes Ice Melt Faster?
- Properties of Materials
- Observable Properties
- States of Matter

Helpful Science Resources
Here are a few resources to help you introduce science more effectively to your kids or students and feel confident presenting materials. You’ll find helpful free printables throughout.
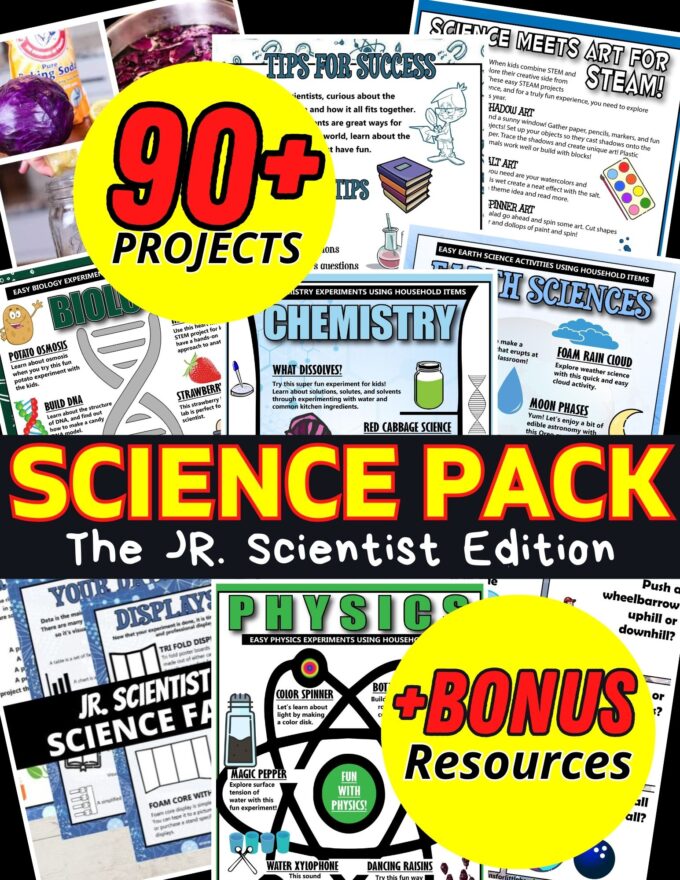
- Printable Science Project Pack 👇
- Best Science Practices (as it relates to the scientific method)
- Science Vocabulary
- All About Scientists
- Free Science Worksheets
- DIY Science Kits
- Science Tools for Kids
- Scientific Method for Kids
- Citizen Science Guide
- Join us in the Club