Make this adorably spooky Black Cat Paper Plate craft with kids this Halloween! This project only uses a few supplies you likely have on hand and is a great fine motor Halloween activity!
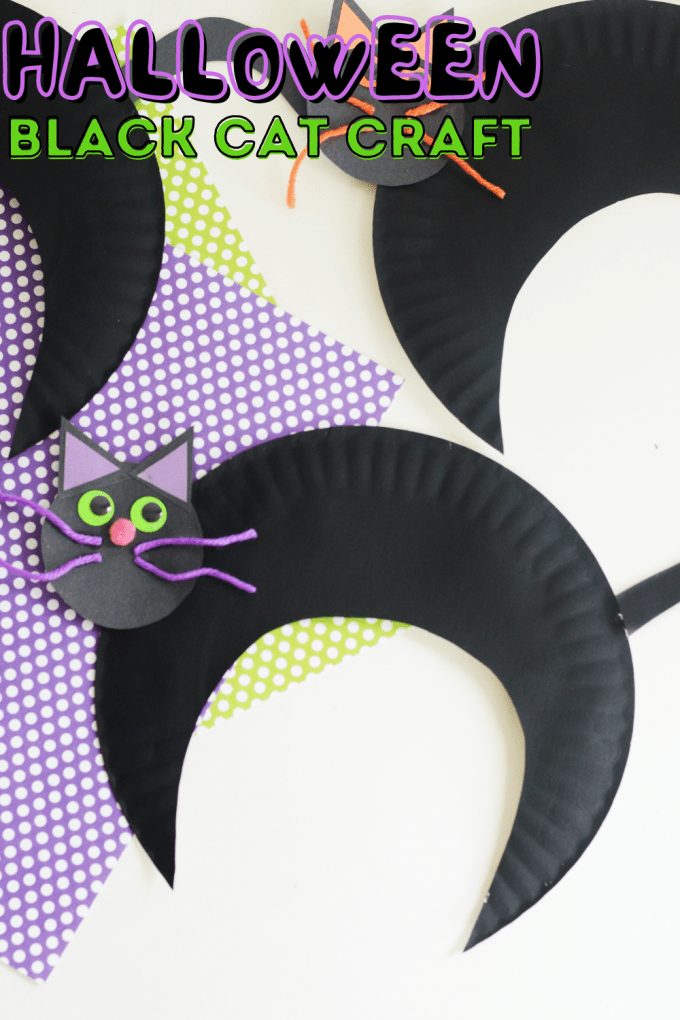
MAKE A HALLOWEEN CRAFT FOR KIDS
Paper plate crafts are one of our favorite types of crafts! They’re great for at-home or classroom crafts because they’re easy to find, are inexpensive, and are generally on hand for most of us.
Halloween is such a fun time for crafts with kids too. With creepy creatures kids love, it’s easy to find creative crafts they will love this time of year. This black cat paper plate craft is always a favorite! Modify it to fit your students’ abilities and the time you have available easily with the tips below.
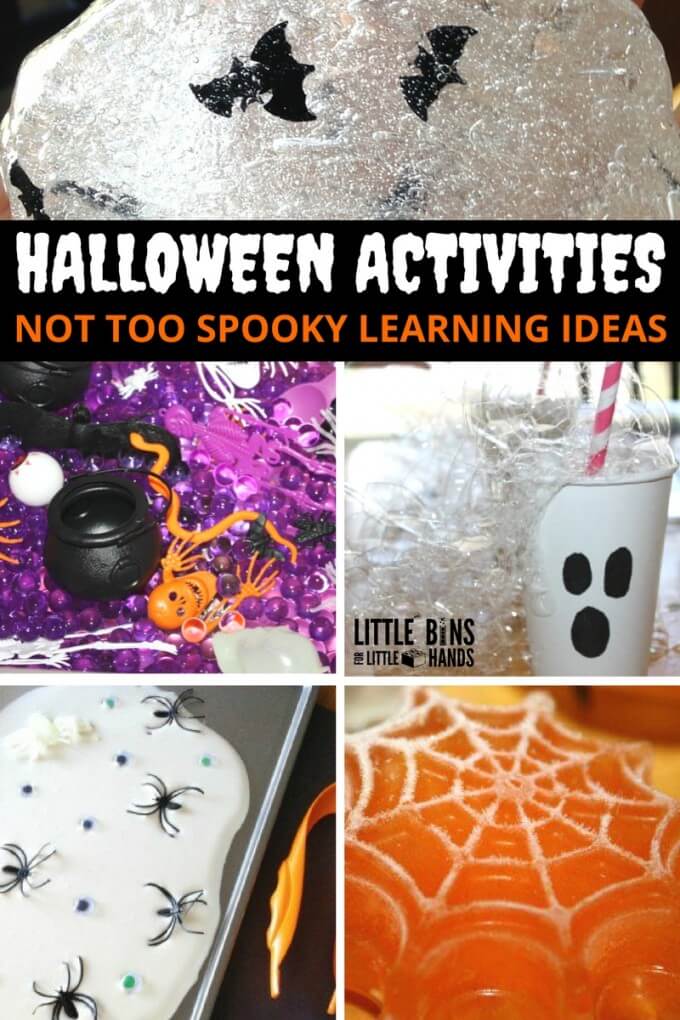
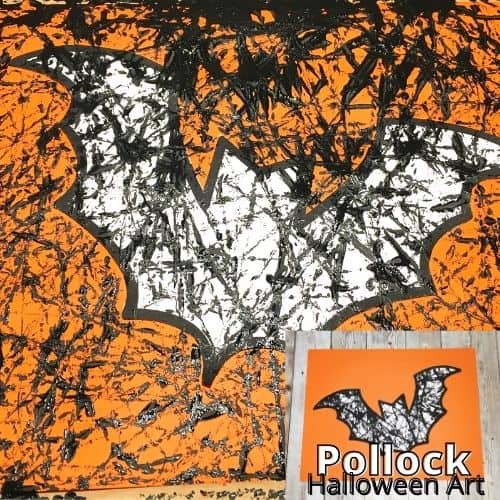
If you love Halloween as much as we do, then you’ll love making this Halloween Melting Ice Hand Experiment, this Marble Bat Art, and this Toilet Paper Roll Ghost Craft with your kids too!
TIPS FOR MAKING THIS BLACK CAT CRAFT
- Plates. Get the cheap paper plates for this craft. They work the best for this black cat craft, and are great for mistakes!
- Painting. If you want to skip the painting, skip the painting! Some alternative options are covering the plate with black construction paper, coloring with markers, or coloring with crayons.
- Googly Eyes. We used colored googly eyes for this, but you could use regular white ones if that’s what you have on hand.
- Whiskers. If you don’t want to include yarn, just use construction paper to cut whiskers for your black cats.
- Prep. Prep all the pieces for kids in advance, or let them cut out all the pieces themselves. You can choose the method that fits your time slot for this Halloween craft best.
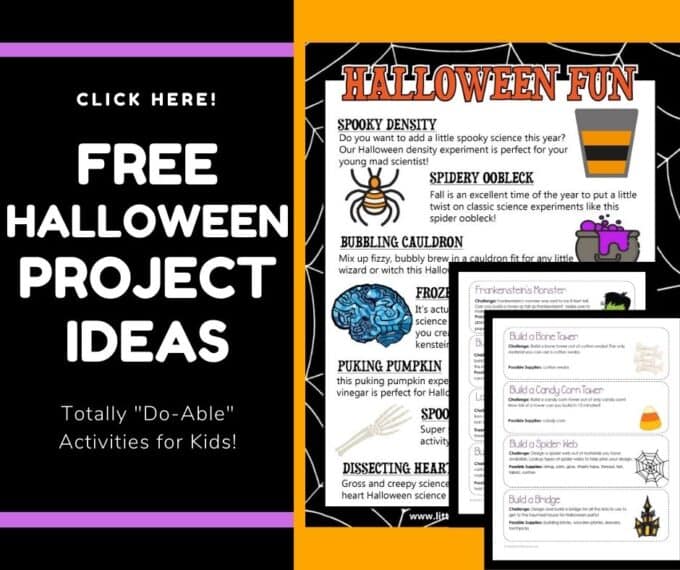
CLICK HERE TO GET YOUR FREE HALLOWEEN STEM PACK
HOW TO MAKE A BLACK CAT WITH A PAPER PLATE
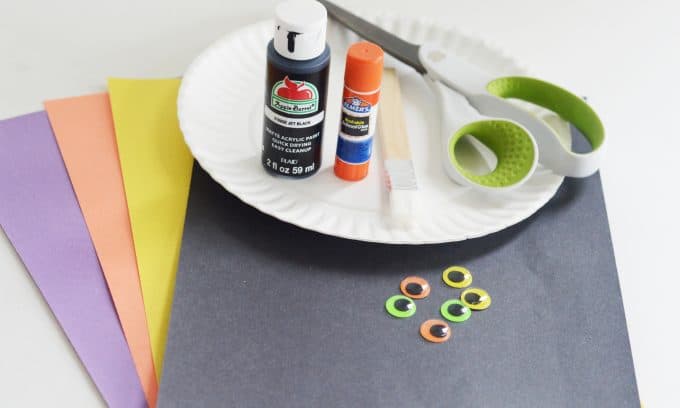
SUPPLIES:
- Paper Plate
- Black Paint (we used acrylic paint)
- Yarn (four small pieces per student)
- Googly Eyes
- Pink Pom Pom (one per student)
- Black Construction Paper
- Colored Construction Paper
- School Glue
- Glue Stick
- Scissors
- Pencil or Pen
- Paintbrush
BLACK CAT CRAFT INSTRUCTIONS:
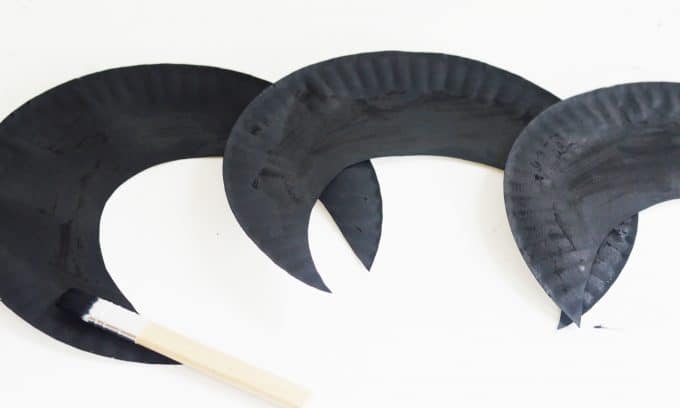
STEP 1: Trace an upside-down “U” shape onto your paper plate. It doesn’t need to be perfect, and will turn out nicely even if it’s crooked.
Have students use scissors to cut out along the shape they just drew. This will be their basic black cat shape that they will need to paint.
CLASSROOM TIP: If making this with a group of kids, or in a classroom, have students also write their names on the back of their plate shapes before painting to keep their projects separate and easy to locate when they’re done.

STEP 2. Use black paint and a paintbrush to paint the front of your paper plate crescent shape. Be sure to cover it well.
We used acrylic paint for this Halloween craft. It’s inexpensive, dries quickly, and easily washes off surfaces and little hands.
Remind students that if they paint with big thick globs of paint, it won’t dry quickly. It should take just a few minutes for the paint to dry.
VARIATION: If you want to skip the painting portion for a more mess-free craft, you can also have students color their plates with black markers or crayons.
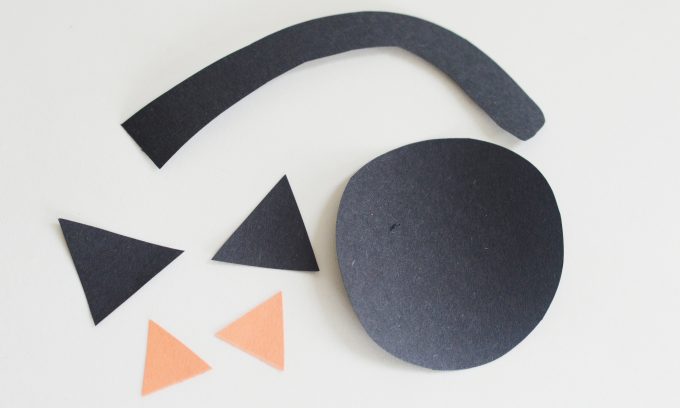
STEP 3: While you wait on the paint to dry, students can cut out the other pieces they will need for their black cat paper plate craft.
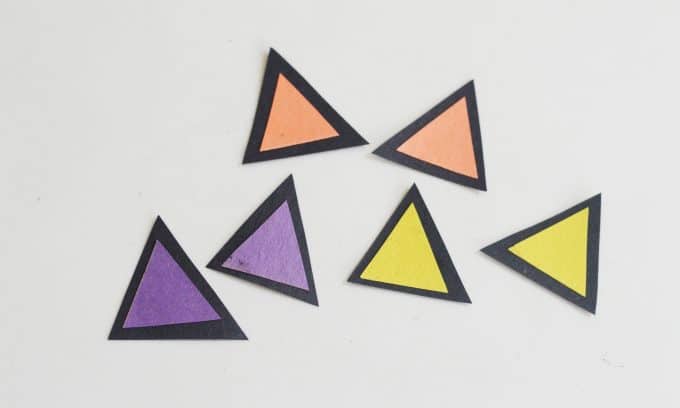
Each student will need to cut out:
- 2 black triangles for ears.
- 2 smaller colored triangles for the ears.
- 1 baseball sized black circle for the head.
- 1 long curvy black piece (about 6 inches) for the tail.
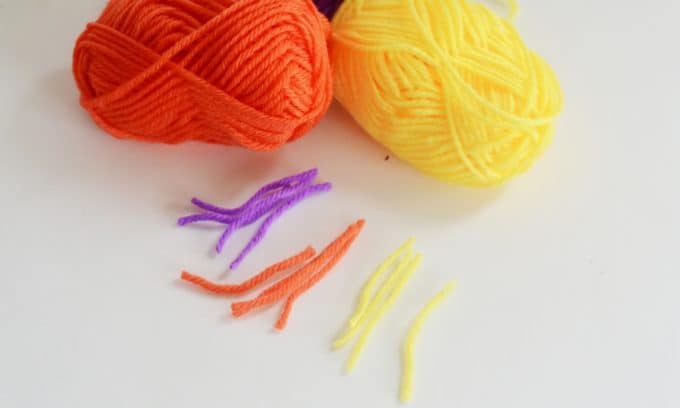
Students will also need four small pieces of yarn for the cat’s whiskers. You can cut these in advance and let students choose their colors, or cut them as they decide, depending on what works best for your classroom.
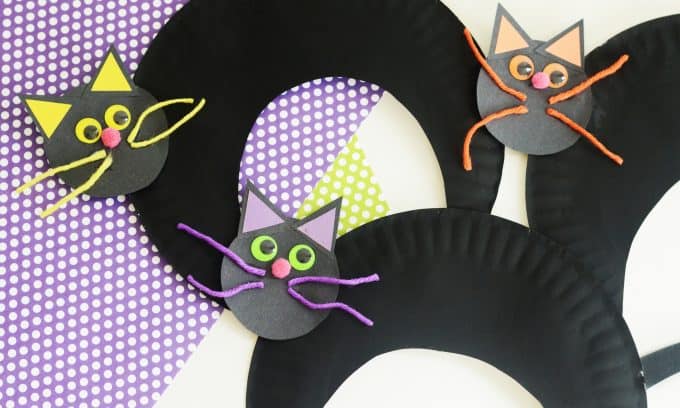
We chose yarn colors to match the colored googly eyes we used for this project, but you could also use white, or even black instead.
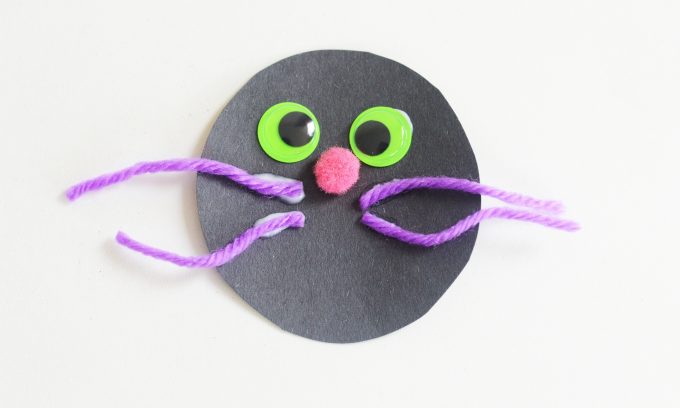
STEP 4. Once you have all your pieces cut out, it’s ready to put them all together! Use school glue to attach the googly eyes, pom-pom nose, and the whiskers to the black circle piece.
We used colored googly eyes, but you could use regular googly eyes if that’s what you have on hand. Allow the glue to dry for about ten minutes before moving on to the next step.
While you wait, you could make these quick Halloween Glitter Jars!
STEP 5: Once your face pieces are dry, you’re ready to glue the rest of the pieces together. Use a glue stick for the remaining gluing portions of this Halloween craft for kids.
Glue the small colored triangles onto the larger black triangles as shown below.
Then, glue the ears onto the top of the face circle to give your cat ears! Triangles and ears don’t have to be perfect, so this is a great craft for small hands to do too.

Have kids use their gluesticks to glue the head and tail onto the paper plate to complete your black cat craft! Let your projects dry for about ten minutes before handling for the best results!
We loved this Halloween craft because it was a great way to practice cutting, following instructions, and decision-making! Each little learner loved playing with their black cat, and they were so proud of how different it looked from their peers’ cats too!

MORE FUN HALLOWEEN ACTIVITIES
- Use marbles to make this bat painting
- Make a toilet roll ghost craft
- Try a black cat zentangle
- Use playdough to make these Picasso pumpkins
- Create a 3-D Halloween papercraft
- Make a Kandinsky Halloween watercolor painting
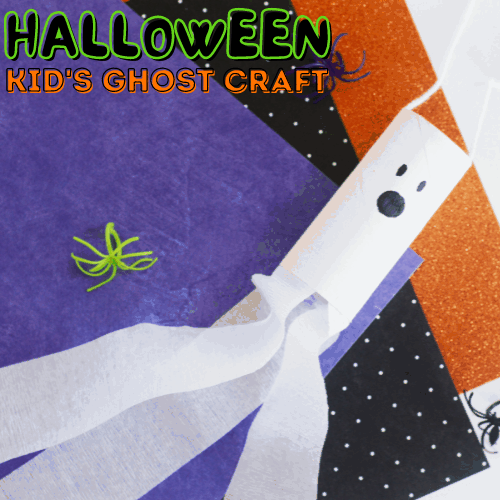
MAKE A CUTE GHOST CRAFT FOR HALLOWEEN
Click on the image below or on the link for more fun preschool Halloween activities.