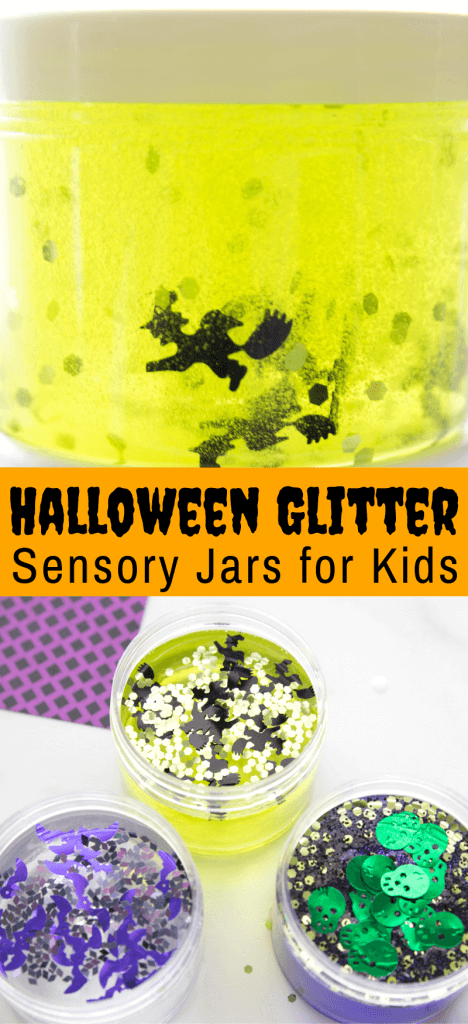
A new Halloween activity that kids love is just minutes away with our homemade Halloween glitter jars. Calming glitter jars take very little time to make but offer numerous, lasting benefits for your kids. Sensory activities are hit for kids of all ages and these sensory jars make a great calm down tool with their mesmerizing Halloween theme sparkle!
EASY HOMEMADE HALLOWEEN GLITTER JARS FOR KIDS
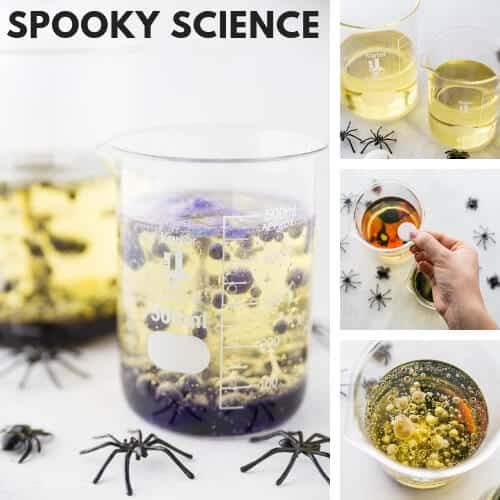
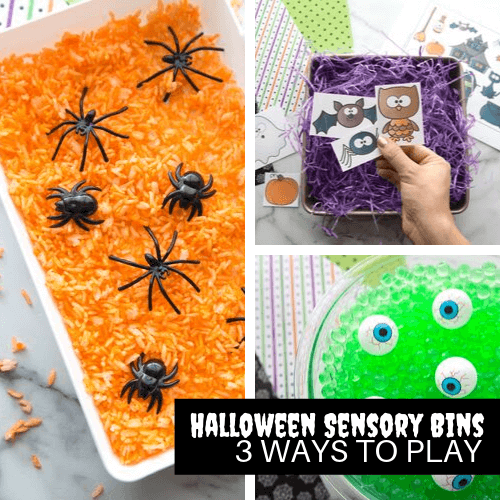
HALLOWEEN SENSORY PLAY
Do your kids love sensory bottles, glitter jars, or glitter bottles?
A glitter bottle or glitter jar is a fun way to enhance the season through beautiful glittering colors. Halloween makes for some really neat combinations of spooky colors and fun mix-ins!
Bright, sparkly, and mesmerizing for kids of all ages, these calming glitter jars are just what you need for a busy Halloween season!
THE BENEFITS OF A GLITTER JAR
- Visual sensory play for toddlers, preschoolers and elementary.
- Excellent calming tool for anxiety. Simply shake and focus on the glitter.
- Great for calm down-time. Create a basket of calm down goodies in a quiet space for when your child needs to regroup and spend a few minutes alone.
- Color play or science-themed for additional educational value.
- Language development. Anything that can spark curiosity and interest makes for great social interaction and conversation.
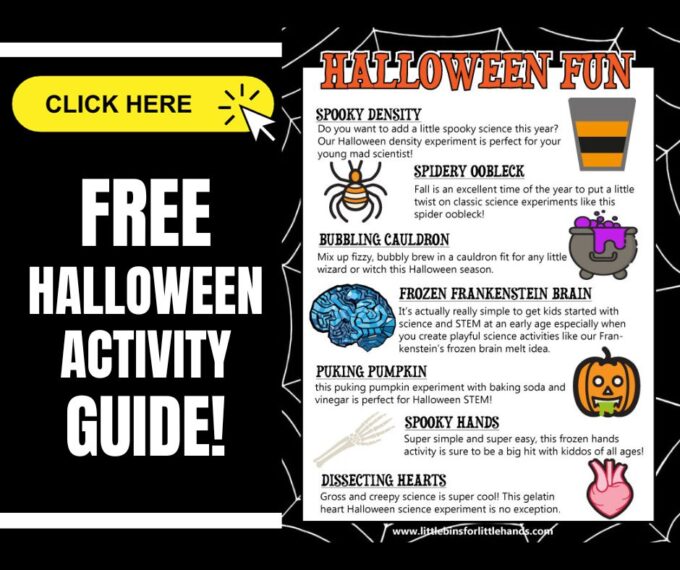
—>>>FREE STEM Activities For Halloween
DIY GLITTER JAR RECIPE
If you love to make homemade slime as we do, then I bet you have all the sensory bottle supplies you need! A gallon of clear glue is inexpensive and will make lots of bottles or jars. Of course, you can make these sensory glitter jars with glitter glue too and eliminate having to add the glitter and food coloring for less mess!
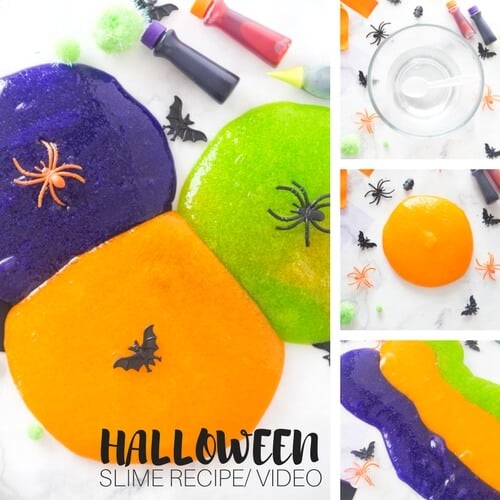
Check out our glittery Halloween slime that would also look fun in these containers!
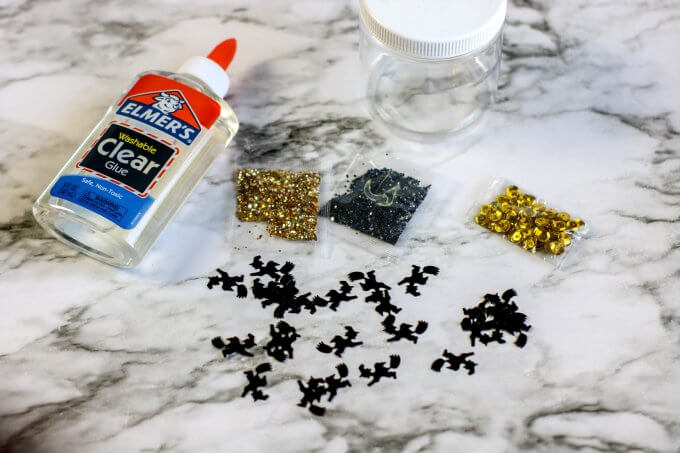
YOU WILL NEED:
- Bottles or jars (any shape, size you like) – this recipe is based off an 8-ounce size jar.
- 2/3 cup (or 6-ounce bottle) of clear washable school glue.
- 1/4-1/2 cup of water (warm or room temperature is best we found for mixing with the glue).
- Food coloring
- 1 tablespoon glitter or confetti (or both)
HOW TO MAKE A GLITTER JAR
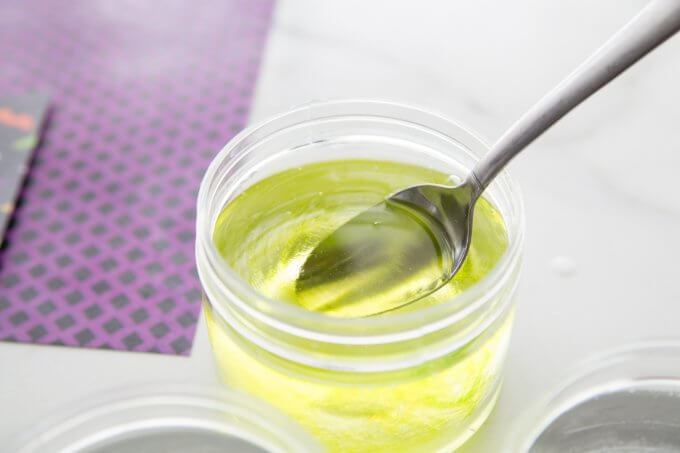
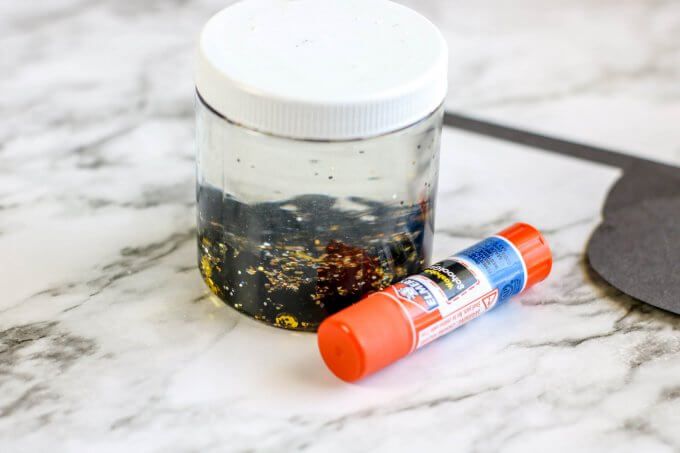
1: Empty the glue into your jar. You can also use Elmer’s colored glue as we used here for our Halloween slime!
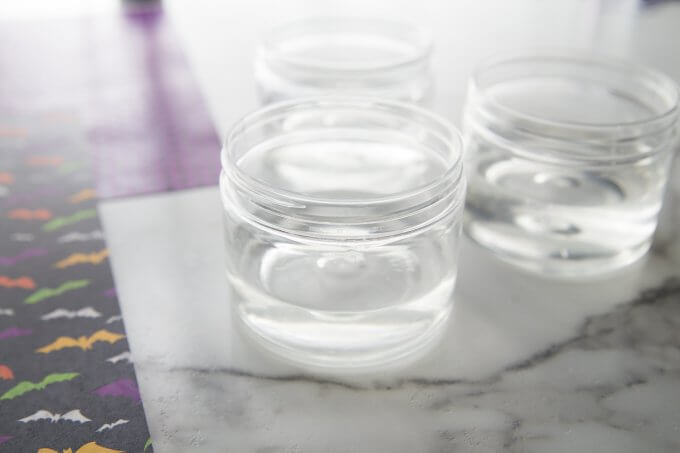
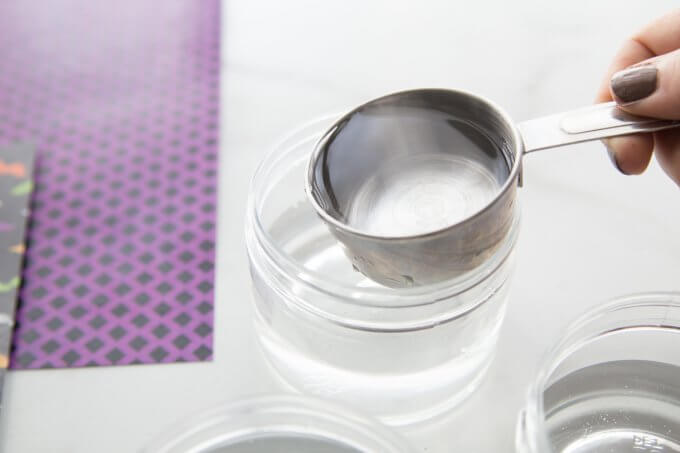
2: Add about 1/4 cup of warm water to the glue and mix well to combine.
3: Next, add food coloring and stir to combine! If you are adding glitter or confetti, stir the glitter or confetti into the glue mixture.
NOTE: If your colors are too dark you may have more difficulty seeing the confetti when shaken!
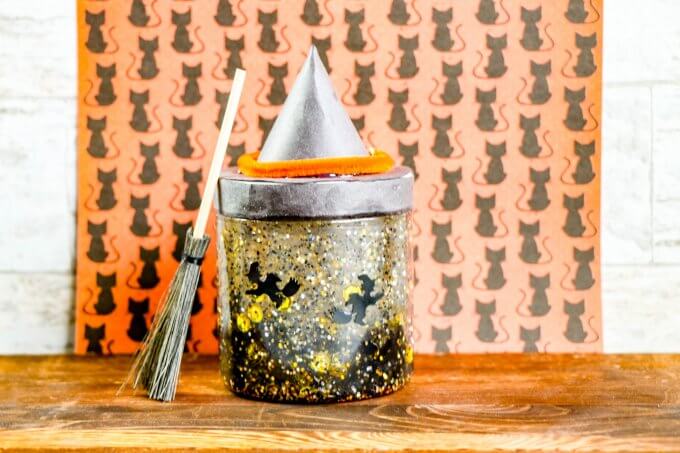
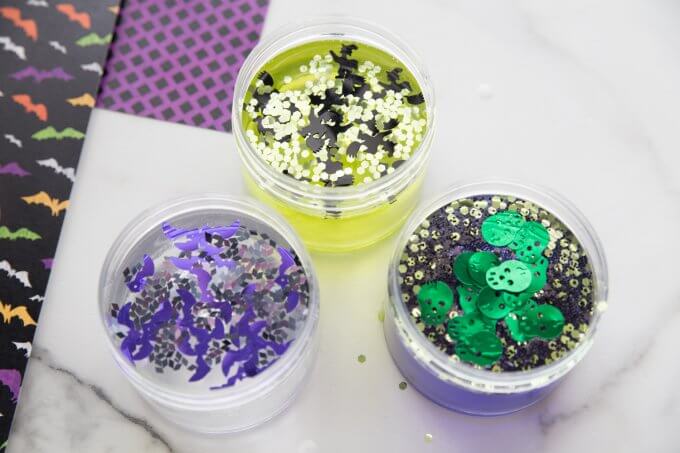
You can even combine glitter and confetti! Look for fun theme confetti for any season or holiday and this basic process will be so easy to repeat to make a glitter jar for any occasion. Here we used witches, bats, and skulls!
WITCH GLITTER JAR:
- Clear glue and water
- Neon green food coloring
- Glitter and witch confetti
BAT GLITTER JAR:
- Clear glue and water
- Bat Confetti
- Glitter
MONSTER GLITTER JAR:
- Clear glue and water
- Purple food coloring
- Gold glitter and monster skulls confetti
4: Now it’s time to get your glitter jar sparkling! Seal the jar and shake well.
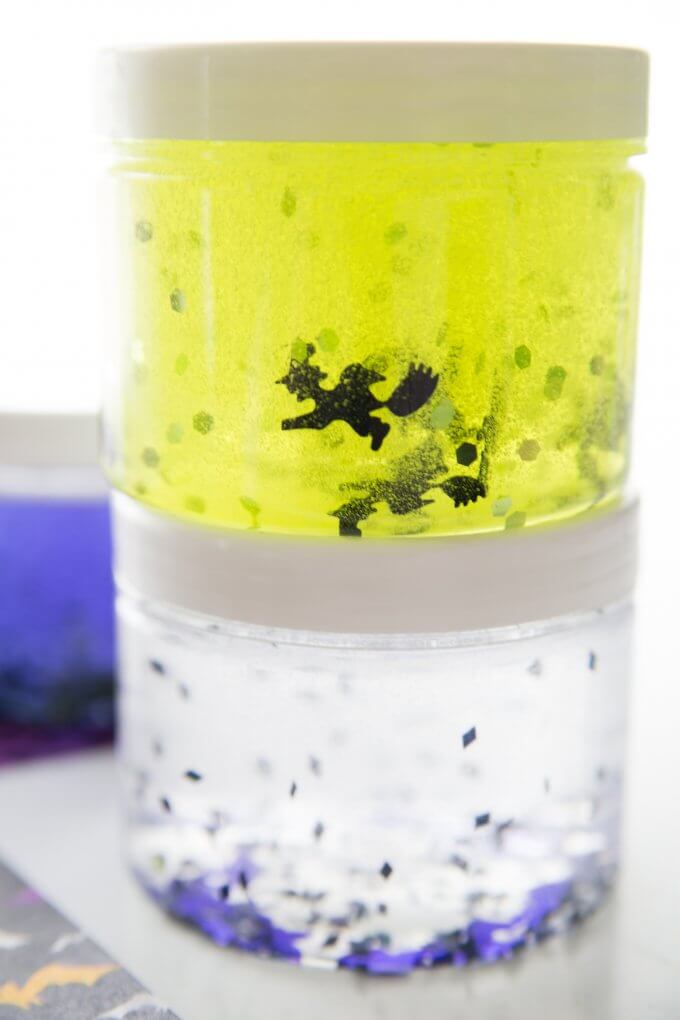
SENSORY BOTTLE TIP: If the glitter or confetti does not move around easily, add more warm water. If the glitter or confetti moves to quickly, add additional glue to slow it down.
Changing the viscosity or consistency of the mixture will change the movement of the glitter or confetti. There’s a bit of science for you too!
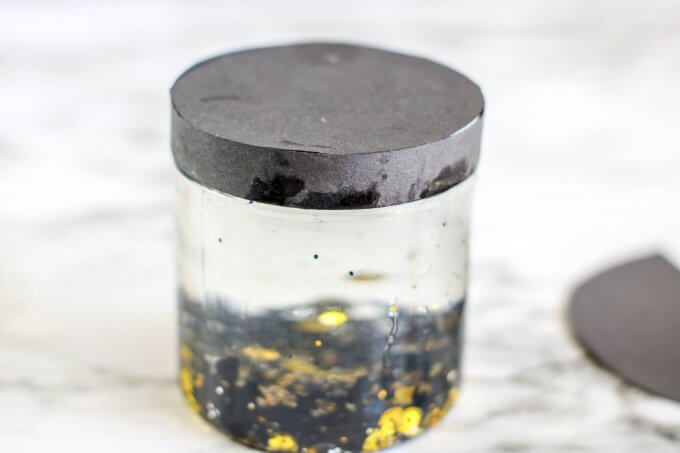
ADD A DECORATIVE TOP
If you have a kiddo who loves to get a little crafty, add a fun decorative topper to the sensory jar. This activity is best for the older kiddo who will be more careful with the jar!
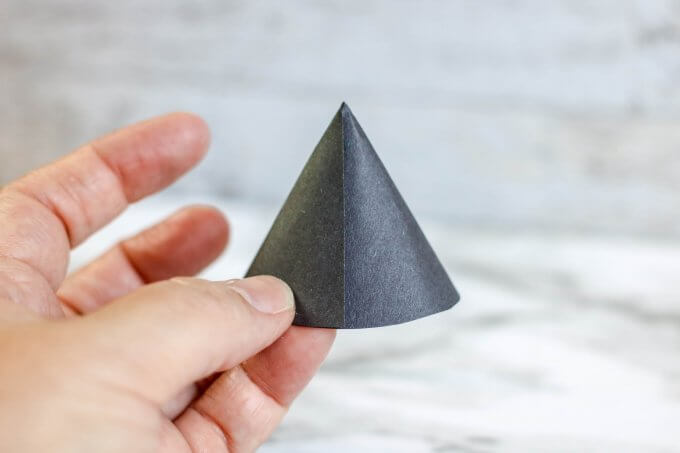
Here’s a fun witch theme topper:
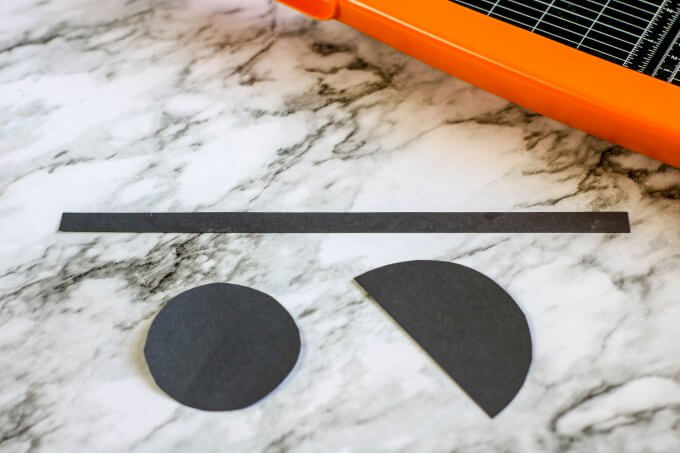
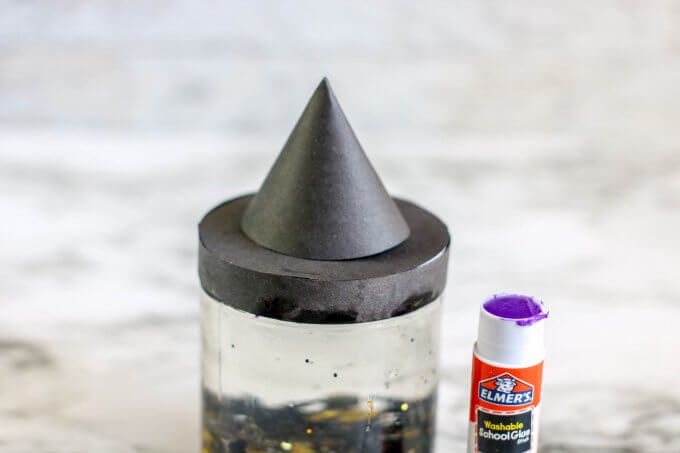
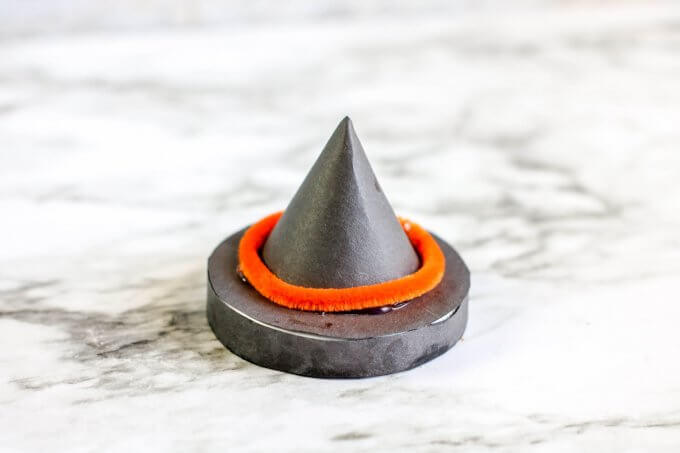
I’m sure you can come with more fun Halloween glitter jar toppers too!
MORE SENSORY BOTTLES TO TRY
- Gold and Silver Glitter Bottles
- Ocean Sensory Bottle
- Glow In The Dark Sensory Bottles
- Sensory Bottles With Glitter Glue
- Fall Glitter Jars
- Fall Sensory Bottles
- Winter Sensory Bottles
BALLOON EXPERIMENT VARIATION
Here’s an additional balloon experiment to try:
- Inflate one balloon using the baking soda and vinegar reaction and tie it off.
- Next, blow up another balloon using your own carbon dioxide to about the same size or as close as possible, and tie it off.
- Hold both balloons at arm’s length from your body. Let go!
What happens? Does one balloon fall at a different speed than the other? Why is this? Although both balloons are filled with the same gas, the one you blew up is not as concentrated with pure CO2 as the one blown up with baking soda and vinegar.
MORE FUN HALLOWEEN ACTIVITIES
More Fun Things To Do This Halloween
- Halloween Science Experiments
- Halloween STEM Activities
- Halloween Art Projects, and Crafts Too!
- Halloween Board Games
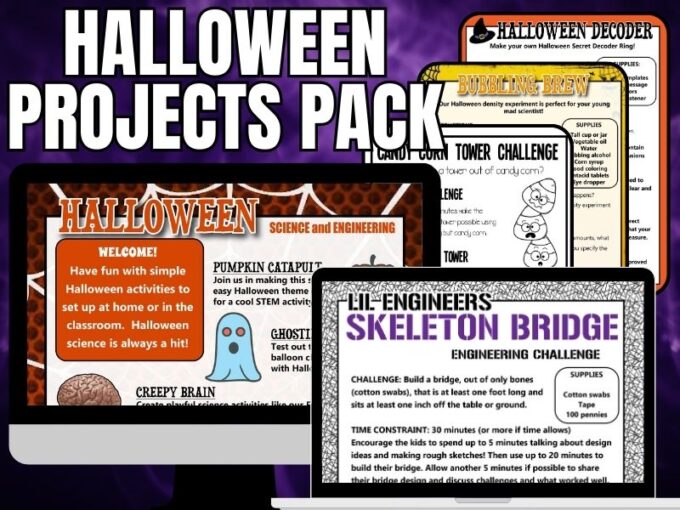
Printable Halloween STEM Activities Pack
150+ Pages of Halloween-Themed Materials!
This Halloween project pack is suitable for home, school, and group use for kids in grades Kindergarten through elementary but is scaleable for many ages and abilities.
What’s Included:
- 25+ Halloween theme science and STEM activities with printable sheets, instructions, and useful information all using easy-to-source materials perfect for limited-time needs. Includes a Halloween engineering pack with fun, problem-based challenges for kids to solve!
- The skeleton activity pack includes building a skeleton challenge and a coding challenge! Try a skeleton bones bridge-building STEM challenge!
- Halloween theme brick printable activities for hands-on learning with math that is perfect for early finishers or home fun and reinforces basic math concepts.
- Bonus fun pack includes games and activities to round out your Halloween theme activities such as I Spy, bingo, matching, Would You Rather cards, scavenger hunt, word search, A-Z Halloween hunt, and a coloring page.
- Halloween STEAM Pack includes artist-inspired projects by Warhol, Lichtenstein, and more!