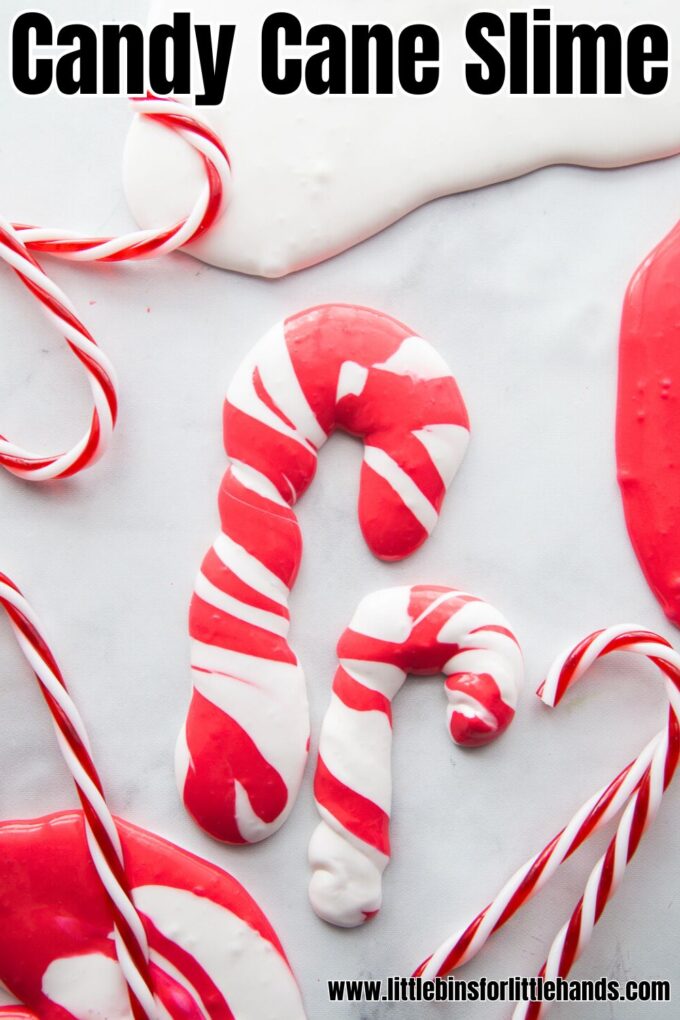
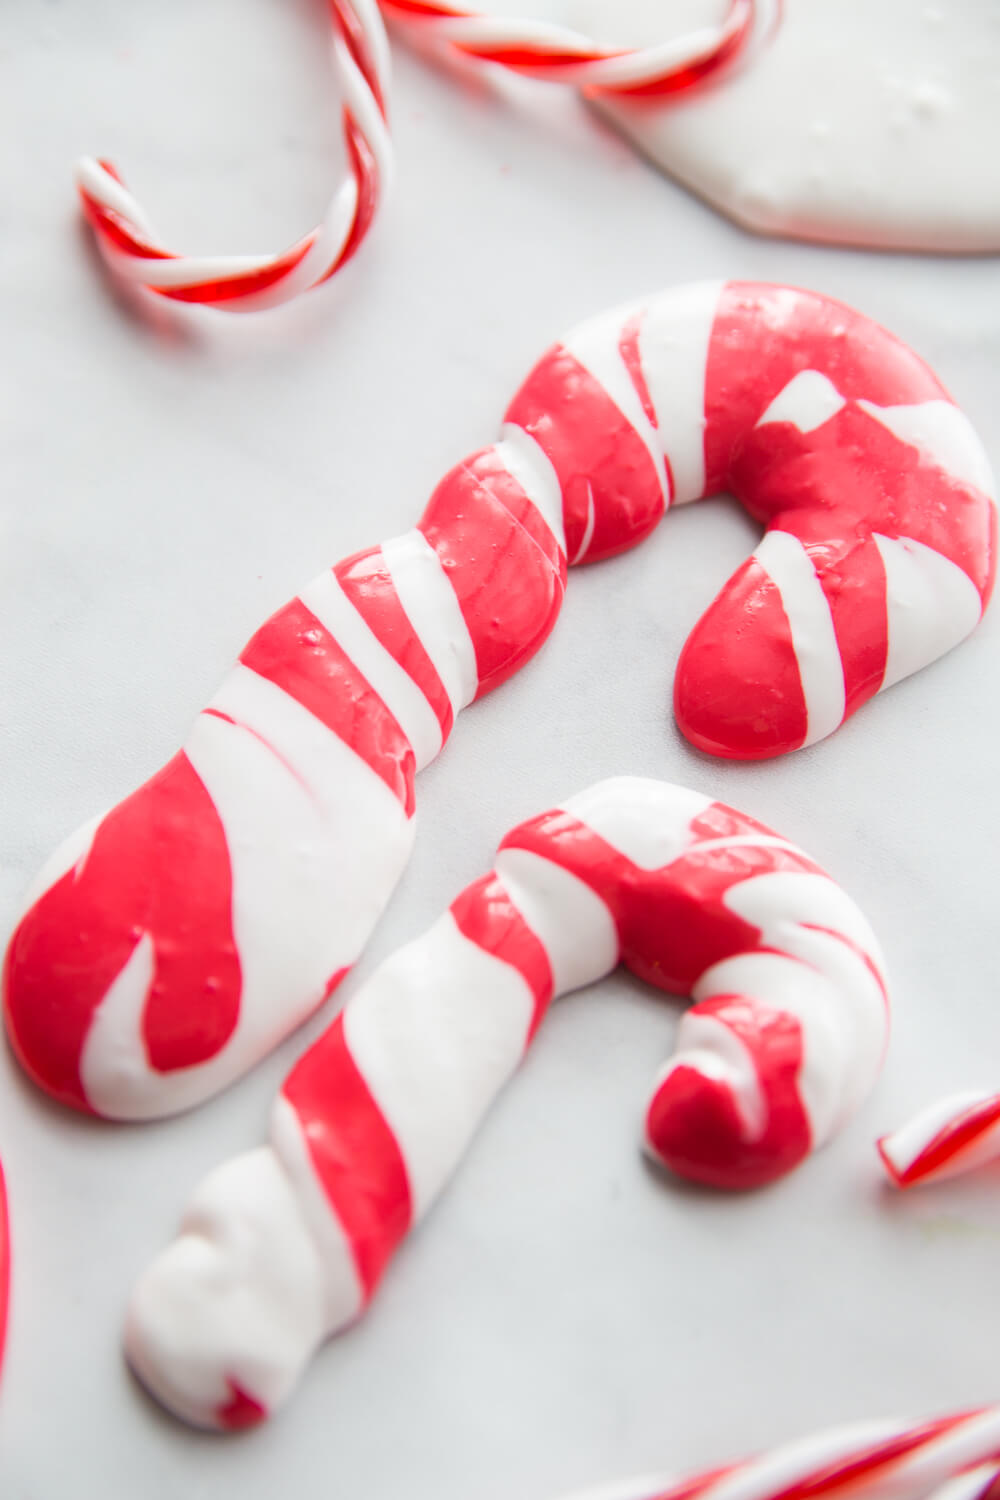
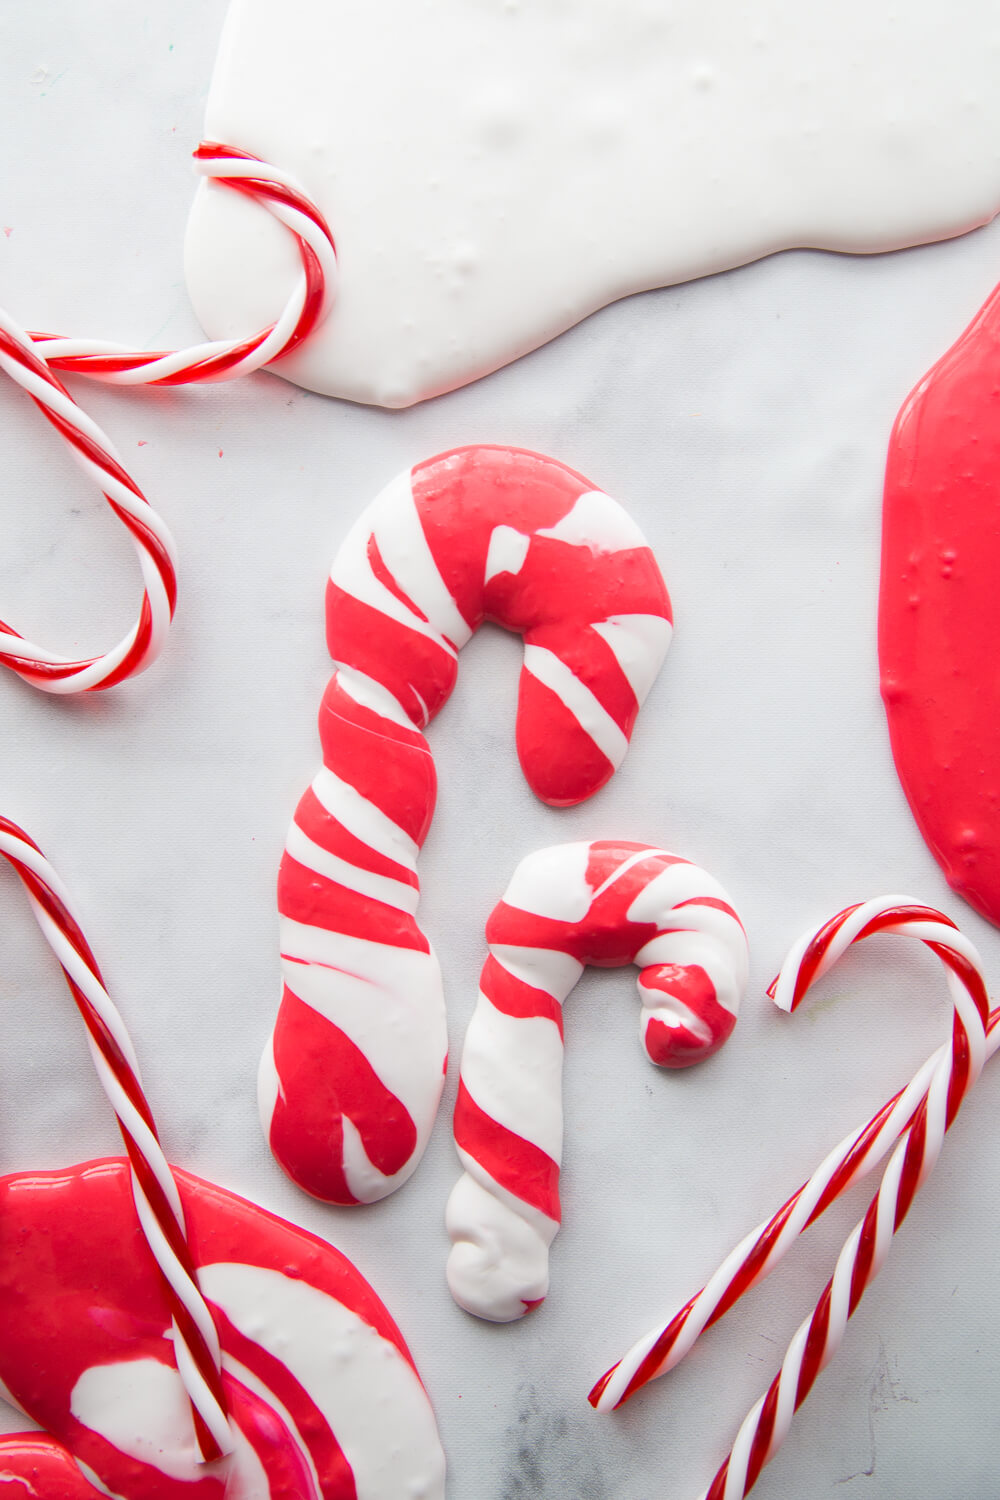
Nothing says Christmas like the red and white stripes of the classic candy cane! We love to turn traditional Christmas themes into fun slime recipes. Today, we have two easy Candy Cane Slime Recipes to share. They are one of many fabulous Christmas slime recipes for you to try!
HOW TO MAKE CANDY CANE SLIME
WHAT IS THE STORY BEHIND THE CANDY CANE?
Traditionally, candy canes are white with red stripes and flavored with peppermint. But you get them in a variety of colors and flavors.
It is thought candy canes originated in Germany in the 1600’s with a choirmaster who wanted to keep the children quiet during a Christmas Eve service. He requested “sugar sticks” from a local candy maker and then had a crook added to the top to remind the children about the shepherds who visited baby Jesus.
They became more well-known in the 1800’s and 1900’s. Earlier, candy canes were made by hand, and the sticks would be hand bent to shape the curve. Later, this would be done by machine.
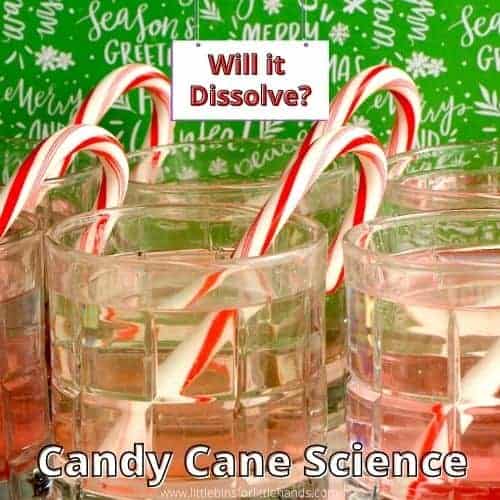
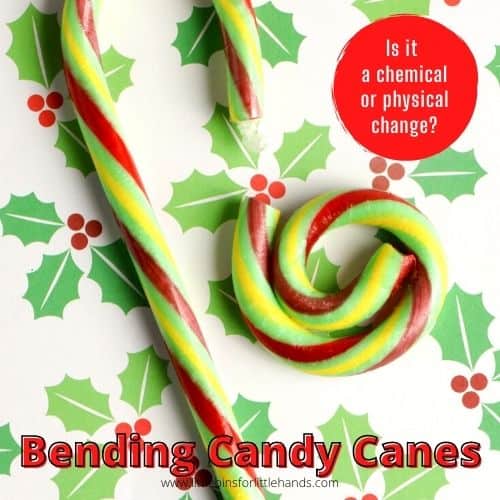
MORE FUN CANDY CANE ACTIVITIES…
MAKE BUTTER SLIME FOR CHRISTMAS
The kids will be squishing and squeezing this amazing homemade butter slime! Slime making is even more fun when you add in creative Christmas themes. We have quite a few to share, and we are always adding more. Our Christmas Butter Slime Recipe is yet another AMAZING slime recipe we can show you how to make.
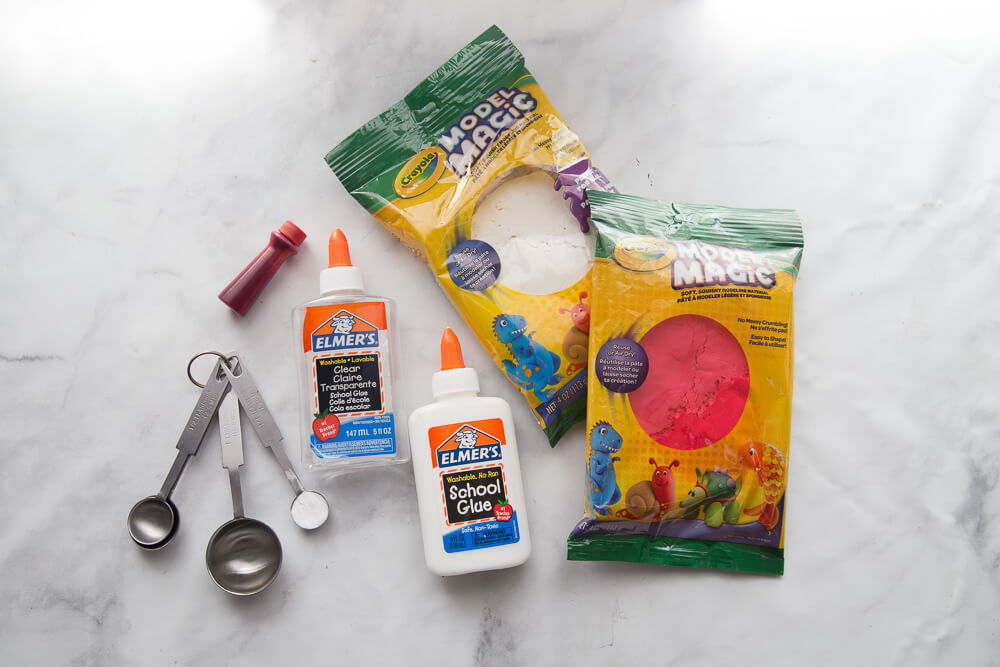
We made this Christmas butter slime with white glue, food coloring, and soft clay. However, clear glue is super easy to use and also works well for this recipe, but your color will be slightly different!
Now, if you don’t want to use saline solution, you can test out one of our other basic recipes using liquid starch or borax powder. We have tested all three recipes with equal success!
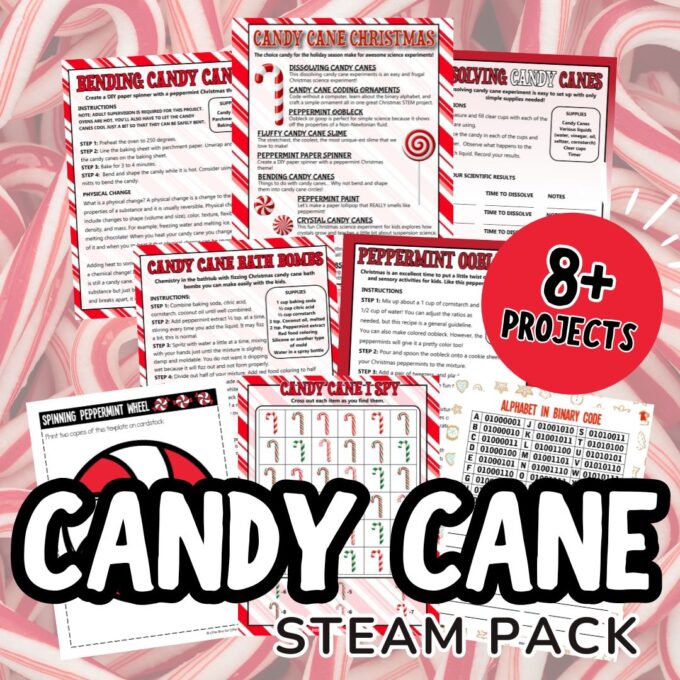
Printable Candy Cane STEAM Project Pack
For a complete pack of instructions, templates, and extras, grab our Candy Cane Project Pack!
SLIME SCIENCE AND CHEMISTRY
We always like to include a bit of homemade slime science around here, and that’s perfect for exploring Chemistry with a fun Candy Cane theme. Slime is an excellent chemistry demonstration and kids love it too! Mixtures, substances, polymers, cross linking, states of matter, elasticity, and viscosity are just a few of the science concepts that can be explored with homemade slime!
What’s the science behind the slime? The borate ions in the slime activators (sodium borate, borax powder, or boric acid) mix with the PVA (polyvinyl-acetate) glue and forms this cool stretchy substance. This is called cross linking!
The glue is a polymer and is made up of long, repeating, and identical strands or molecules. These molecules with flow past one another keeping the glue in a liquid state. Until…
When you add the borate ions to the mixture, it starts to connect these long strands together. They begin to tangle and mix until the substance is less like the liquid you started with and thicker and rubberier like slime! Slime is a polymer.
Picture the difference between wet spaghetti and leftover spaghetti the next day. As the slime forms the tangled molecule strands are much like the clump of spaghetti!
Is slime a liquid or solid? We call it a Non-newtonian fluid because it’s a little bit of both! Experiment with making the slime more or less viscous with varying amounts of foam beads. Can you change the density?
Read more about slime science here!
Add Our Christmas Slime Project Pack to Your Slime Time!
CHRISTMAS BUTTER SLIME RECIPE
This fun candy cane theme activity calls for two easy Christmas butter slime batches. Also try out these fun slime options!
SUPPLIES:
- 1/2 cup of PVA White School Glue per slime batch
- 1/2 tsp baking soda per slime batch
- Food coloring
- 2 oz of soft modeling clay
- 1 tbsp of saline solution
HOW TO MAKE CHRISTMAS BUTTER SLIME
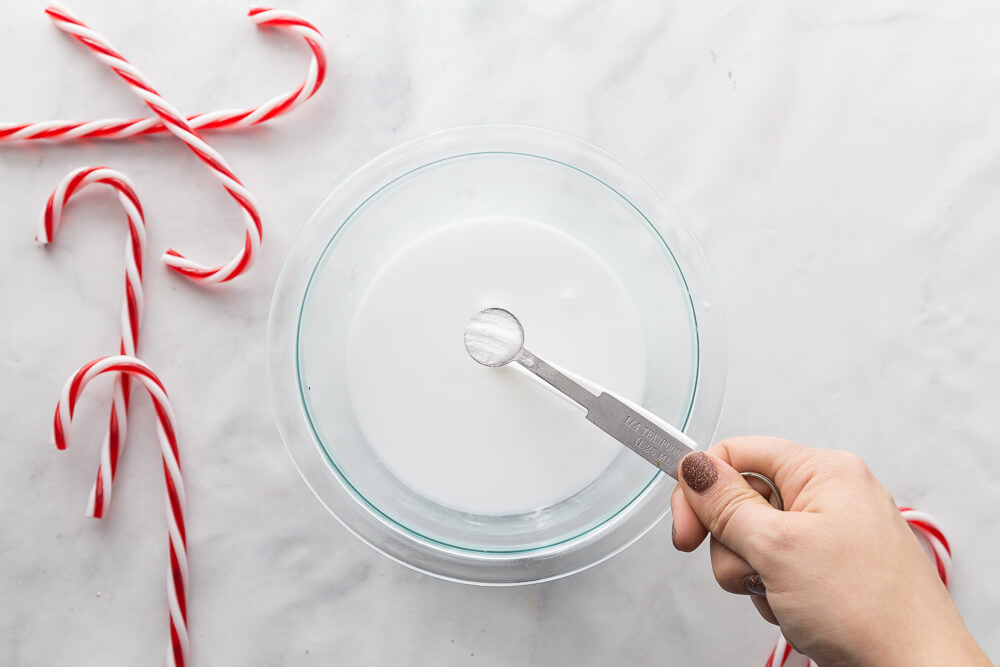
STEP 1: Add 1/2 cup of glue to your bowl and mix with a 1/2 cup of water.
STEP 2: Add food coloring as desired.
STEP 3: Stir in 1/2 tsp baking soda.
STEP 4: Mix in 1 tbsp saline solution and stir until slime forms and pulls away from sides of bowl.
If your slime still feels too sticky, you may need a few more drops of saline solution. As I mentioned above, start by squirting a few drops of the solution onto your hands and kneading your slime longer. You can always add but you can’t take away. Saline solution is preferred over contact solution.
STEP 5: Once your slime is made, you can knead in your soft clay! This will take a few minutes and some good hand strengthening to get it all worked in well.
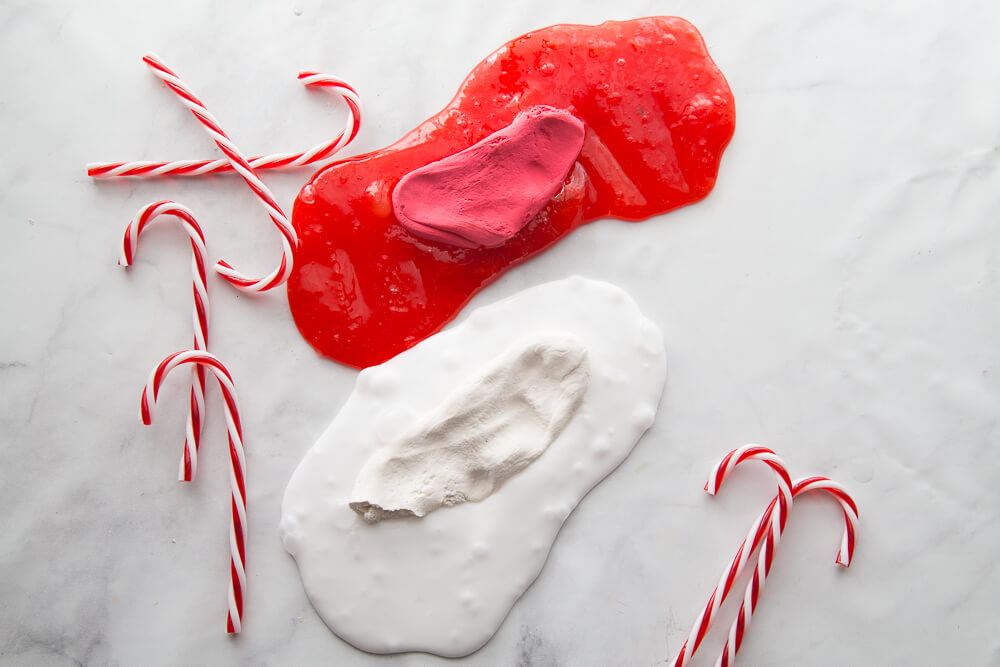
To make your favorite candy cane colors and twist together! Eventually the colors will mix though!

Candy Cane Slime REcipe #2
Here, you will make two batches of slime, one with white glue and the other with clear glue or white glue and food coloring using our classic liquid starch slime recipe
You can use white or clear glue for both batches of the candy cane slime recipe with equally beautiful results. Just remember that you will need to add more red food coloring to white glue for a deeper shade of red.
SUPPLIES:
- 1/2 Cup of Washable PVA Clear Glue or White Glue
- 1/4 Cup of Liquid Starch
- 1/2 Cup of Water
- Red food coloring {goes with clear glue slime}
HOW TO MAKE CANDY CANE LIQUID STARCH SLIME
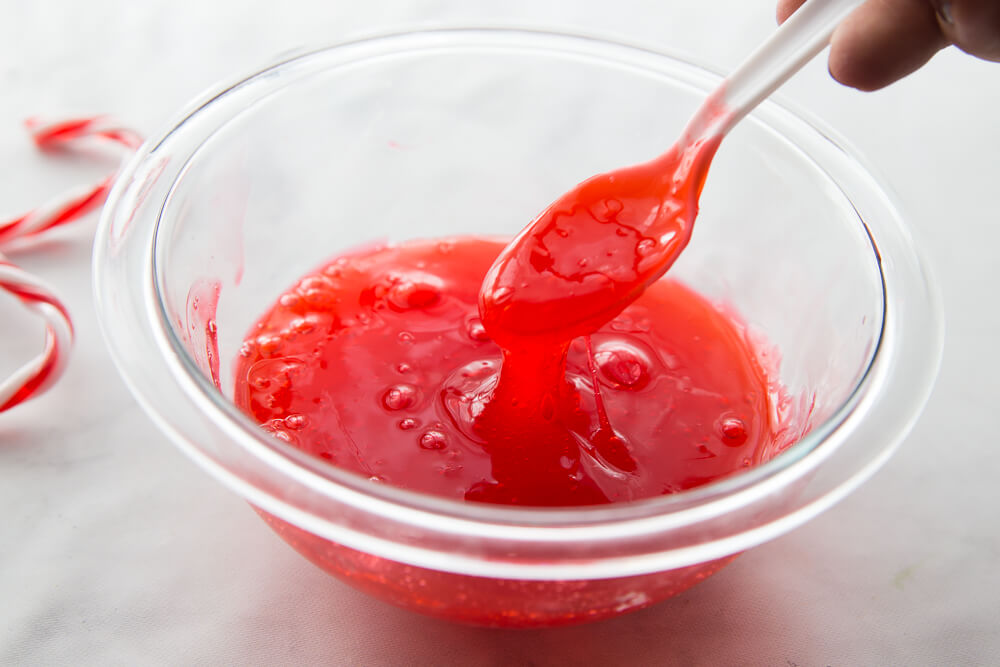
STEP 1: In a bowl,, mix the water and white glue for your first batch of slime together.
STEP 2: Pour in 1/4 cup of liquid starch. You will see the slime immediately start to form. Keep stirring until you have a gooey blob of slime. The liquid should be gone!
STEP 3: Start kneading your slime! It will appear stringy at first but just work it around with your hands and you will notice the consistency changes. You can also put it in a clean container and set it aside for 3 minutes, and you will also see the difference in consistency!
STEP 4: Repeat for your second batch of slime. Make sure to add red food coloring when you mix the water and glue.
Eventually, the colors will mix completely together, and you will have more of a bubble gum colored slime! No matter what color your slime ends up it will still be tons of fun.
This is a wonderfully simple sensory play that does not leave the hands messy at all! It’s a must-try this season. Plus, it is truly EASY. I was always hesitant to make slime, and now we always make our homemade slime!
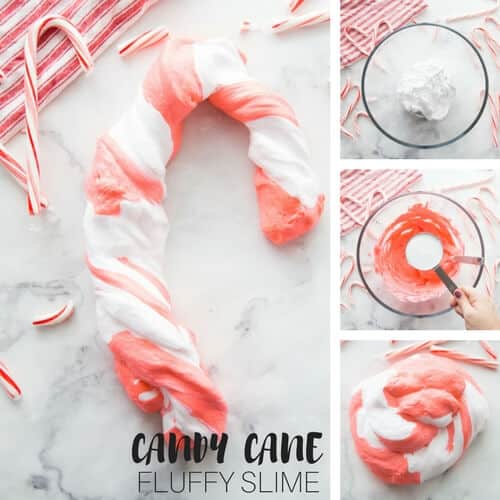
Additional Candy Cane Slime Recipe
ALSO CHECK OUT: Candy Cane Fluffy Slime Recipe
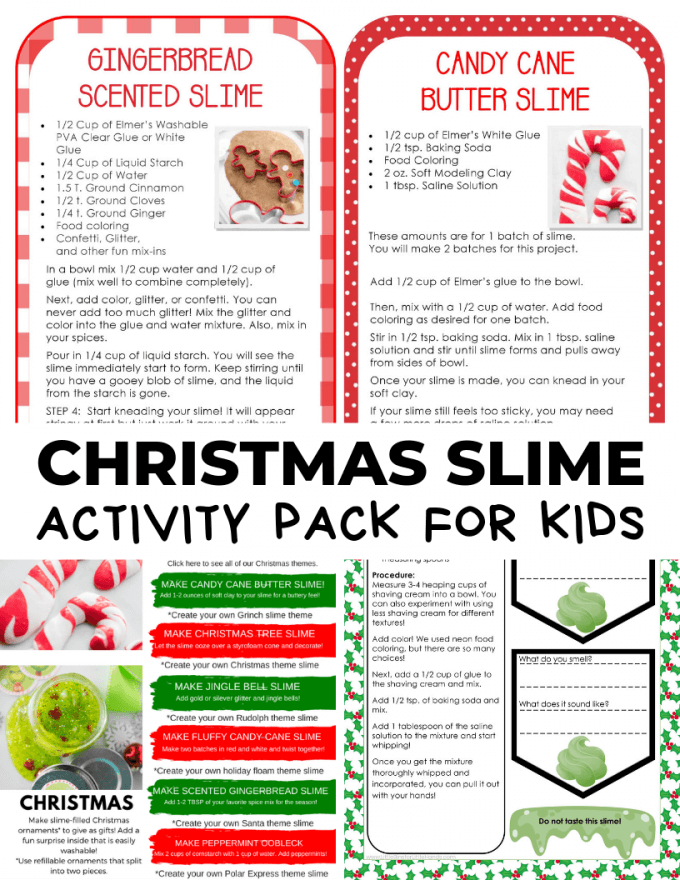
Christmas Slime Recipes for Holiday Fun!
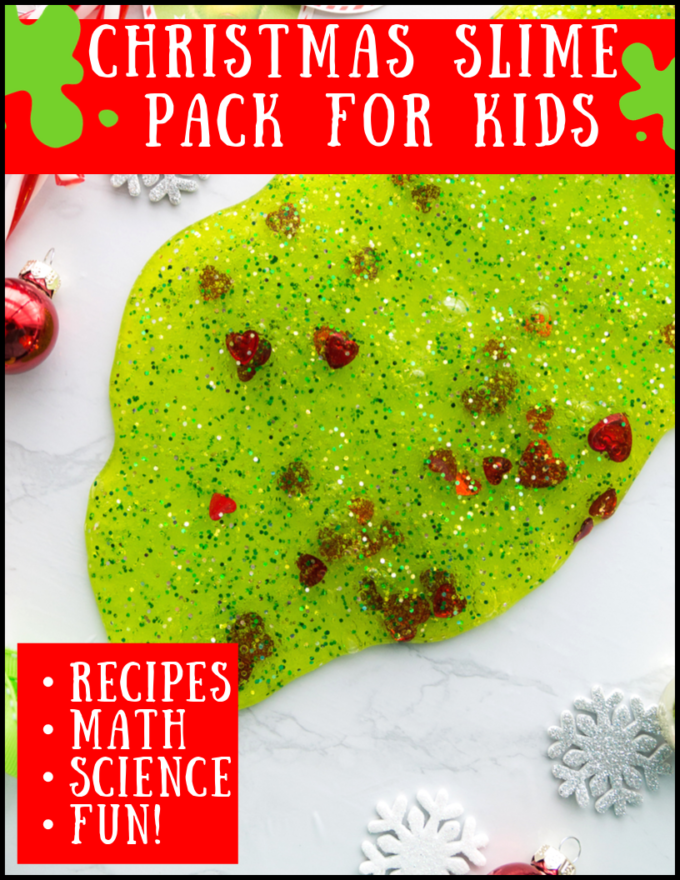
Grab the Christmas Slime Project Pack! Everyone’s favorite slime with special themes is just right for your kiddos! Plus, your kids will get to apply extra hands-on learning through writing, science, and math activities.
- Easy to follow basic slime recipes for fluffy slime, borax slime, liquid starch slime, and saline solution slime.
- Fun Easter theme slime recipes for extra slime time!
- Combine slime and math with easy-to-use printable sheets.
- Find fun ways to experiment with slime science, including science information and key vocabulary.
- Excellent slimy theme activities perfect for centers, early finishers, or classroom party time!
- Perfect for parties and groups!


This is awesome. I can’t wait to feature it in my upcoming candy cane crafts, activities and recipes round-up! We will be trying it out at home too.
Looks like a blast! Can’t wait to try it. Can this slime be saved and reused or should I trash it after one day of play?
I am definitely going to try this! LB has been begging me to make slime lately, and I just picked up the glue for it yesterday! Shared on Twitter 🙂
You can play with it as long as you want, as long as it doesn’t dry out.