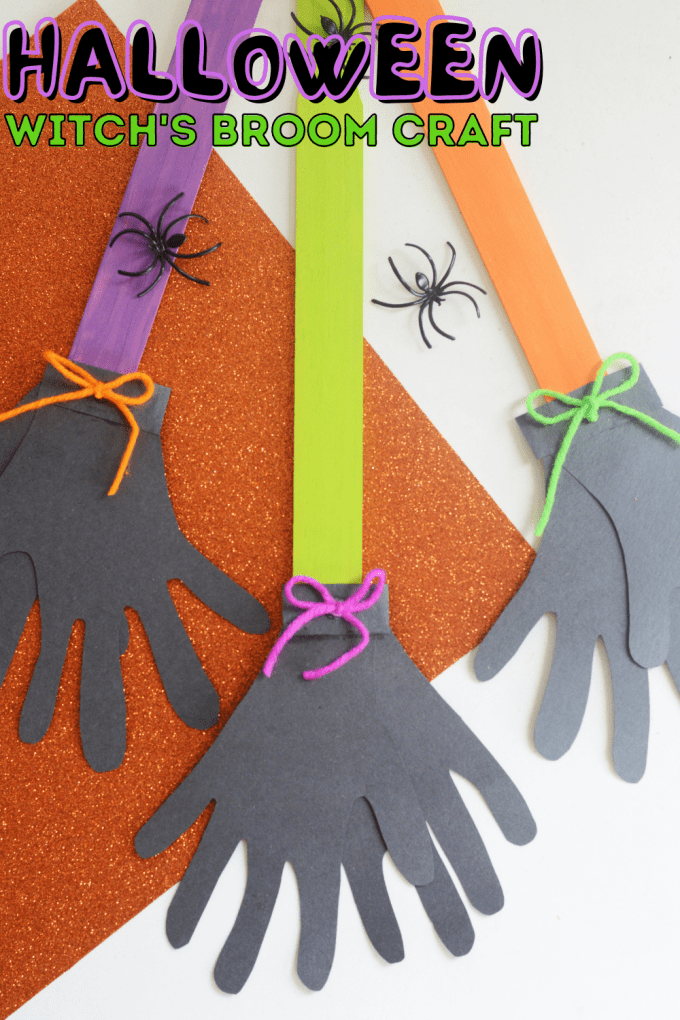
Make a Halloween craft that’s just as unique as they are with this Witch handprint craft! We love Halloween handprint crafts, and this one is so much fun! Add this to your list of Halloween activities to do this fall!
Kids love to trace their hands! It’s something fun and easy, and cutting their handprints out is even MORE fun! When thinking up Halloween crafts for this season, we knew we needed to incorporate a handprint craft!
Halloween crafts are so much fun with kids, and this witch’s broom handprint craft is no exception! The supplies are really affordable and are great to do with a classroom or group, or even just one on one!
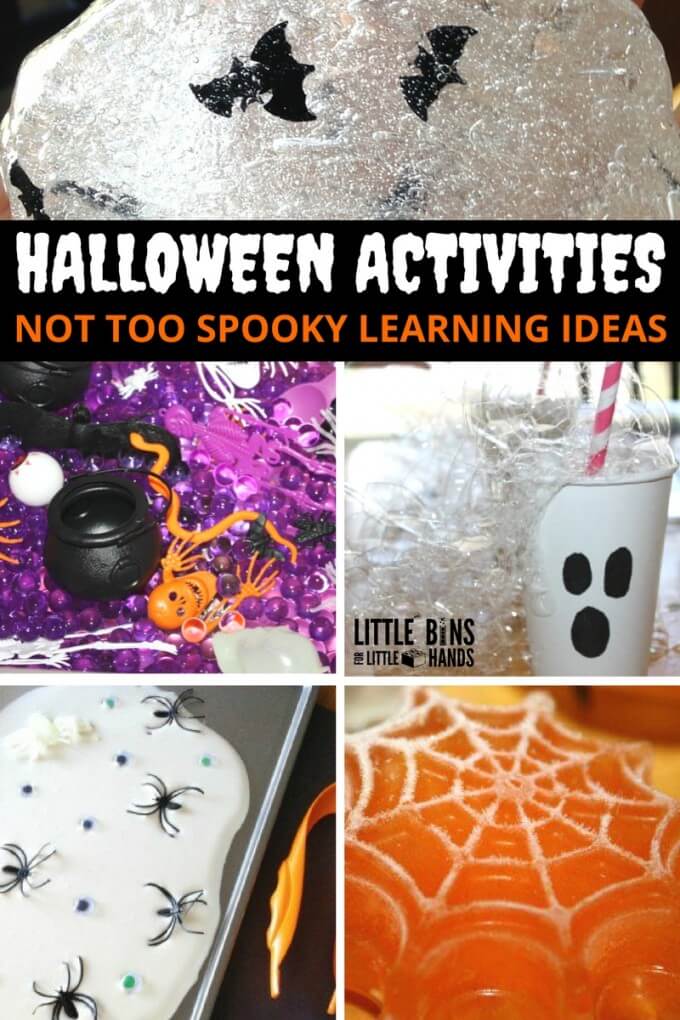
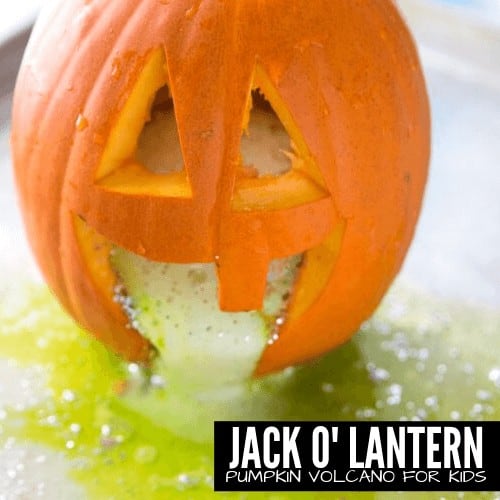
If you want to find some more Halloween crafts and activities for kids, you can check out our Toilet Paper Roll Ghost craft, our Witch’s Brew Slime, or our 31 Day Countdown Halloween STEM activities!
Here’s another spooky Halloween handprint activity to do!
TIPS FOR MAKING THIS WITCH HANDPRINT CRAFT
- Paint Sticks. We made these using paint sticks. You can usually get these for free at most places that sell paint, or you can buy packs of 10-12 for a couple of dollars at most home supply stores.
- Tracing. Little learners may need some more support cutting and tracing than older students might need.
- Painting. If you want to skip the painting portion of this witch’s broom craft, you can. Your project will be less colorful, but kids will still enjoy making it.
- Yarn. The yarn bows are optional but were great fine motor practice for our littles learning to tie bows!
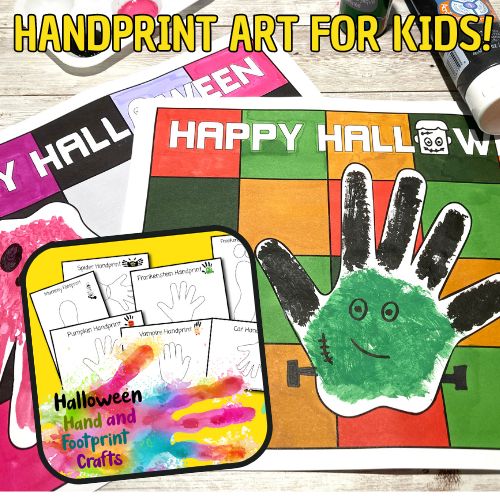
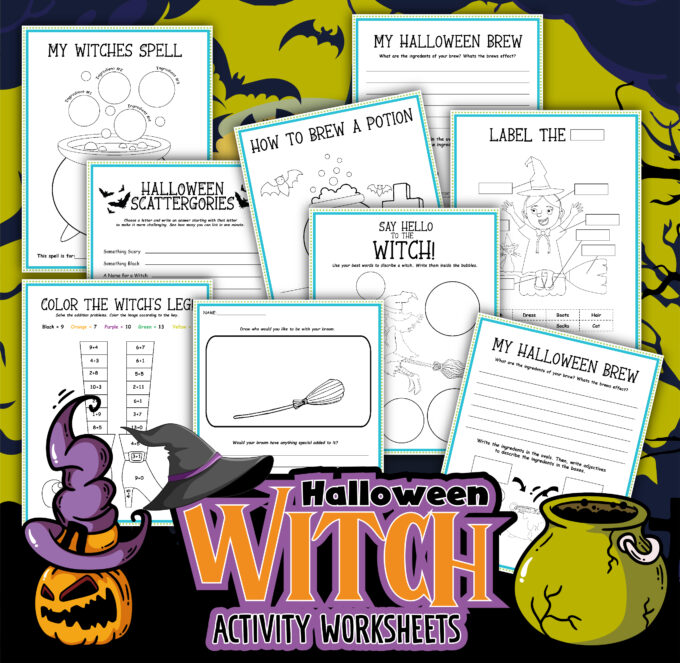
Free Witch Activity Pack [here].
HOW TO MAKE A HANDPRINT WITCH’S BROOM
Watch the video!
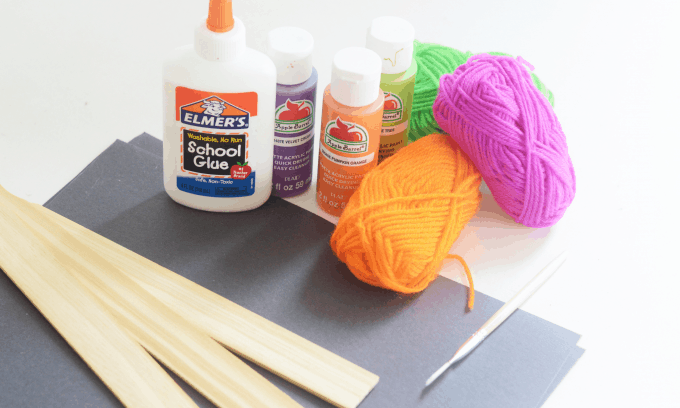
SUPPLIES:
- Paint Sticks
- Paint (we used acrylic paint)
- Black Construction Paper
- Yarn (optional)
- School Glue
- Scissors
- Paintbrush
- Pencil or Marker
WITCH’S BROOM CRAFT INSTRUCTIONS:
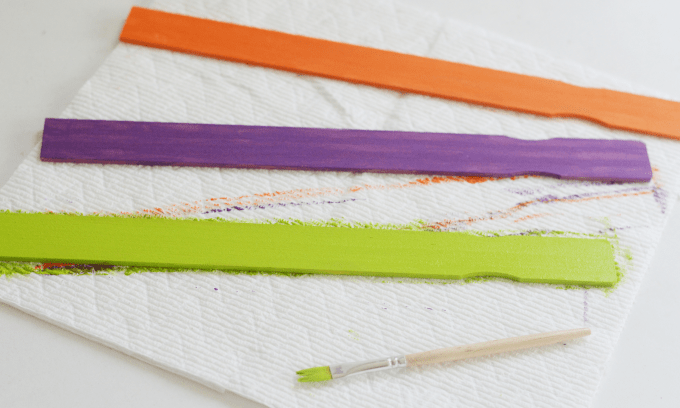
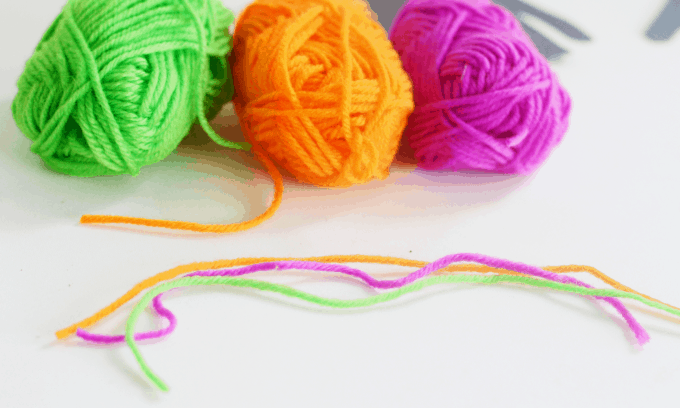
STEP 1: Each student will need one paint stick. Have them choose a color of paint to paint their stick and give them a small amount and a paintbrush to cover the top of their paint stick. We provided fun Halloween colors like neon green, purple, and orange to make it spooky fun!
Before they start painting, have them write their name on the back of their stick so you can keep track of which craft belongs to who.
We gave each student a paper towel to paint on and it worked well to keep the mess off the table.
MESS FREE TIP: If you want to skip the painting portion of this craft, you can! Since you’ll be losing a lot of the colorful portion of this witchy project, you can always switch it up and make the handprints out of colorful paper instead of black paper.
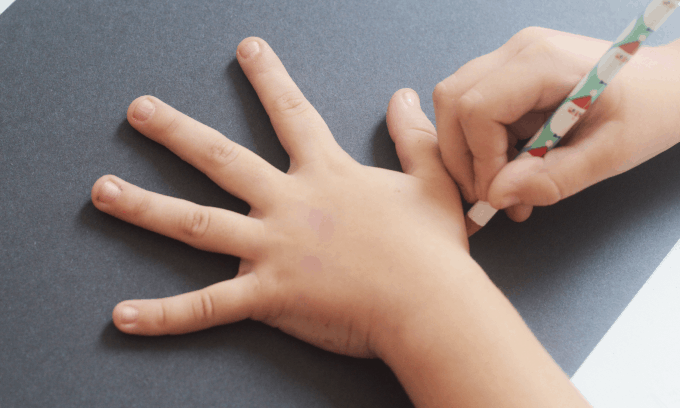
STEP 2. Have students trace their hands on black construction paper. They will need to trace their hand twice for the craft.
Depending on the lighting in the room you’re doing this Halloween craft in, a pencil may not be the best choice for your students to trace with. Markers with red tones are a little easier to see, or a white or silver crayon can also work well.
VARIATION: If you want to skip the painting portion for a more mess-free craft, you can also have students color their plates with black markers or crayons.
STEP 3: Once students are finished tracing their hands, it’s time to cut them out! This is a great chance to practice fine motor skills. Encourage students to take their time and follow the lines they traced.
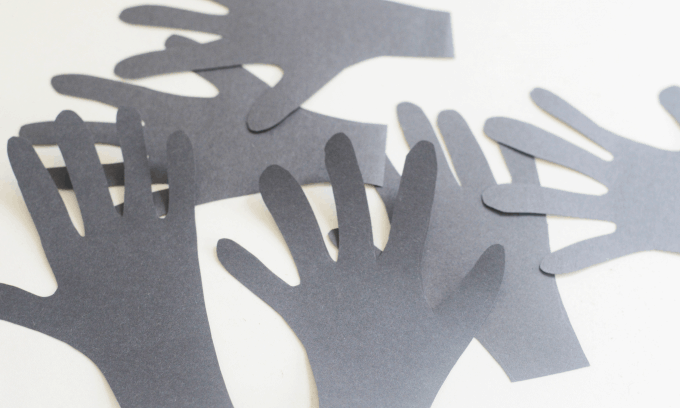
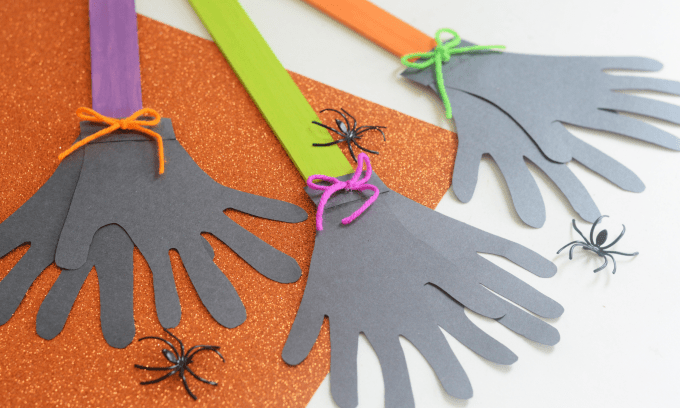
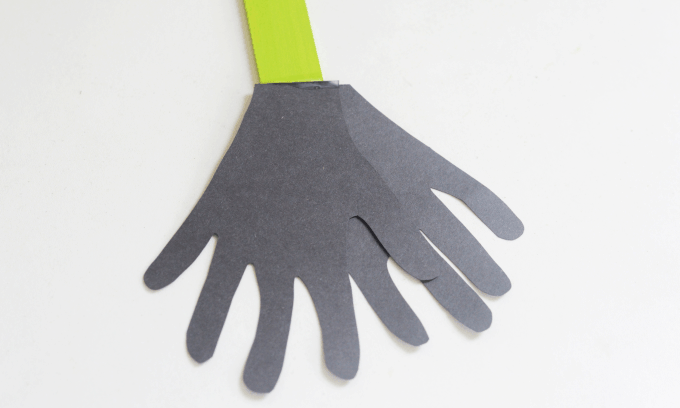
STEP 4. Once your little learners are done tracing and cutting, your paint sticks should be dry! If they are, it’s time to attach your handprints.
You may need to trim some off the wrist of the handprints to make them flat, depending on how students cut them out. Use school glue to attach the first handprint to the paint stick. Then use another small dab of school glue to attach the second hand on top of the first.
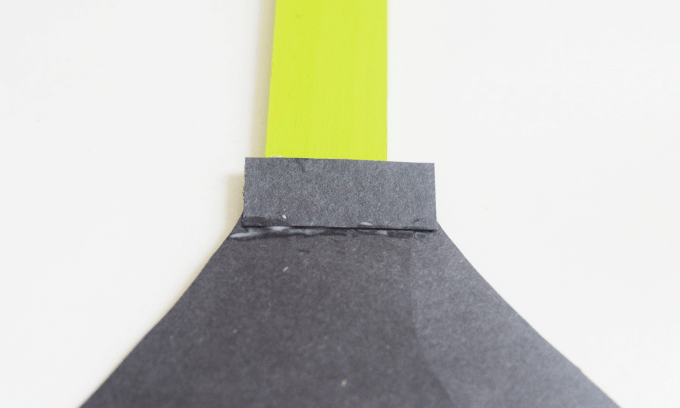
STEP 5. Next, have each student cut out a small rectangle from their sheet of construction paper. This will cover where the wrists meet and make it look more finished.
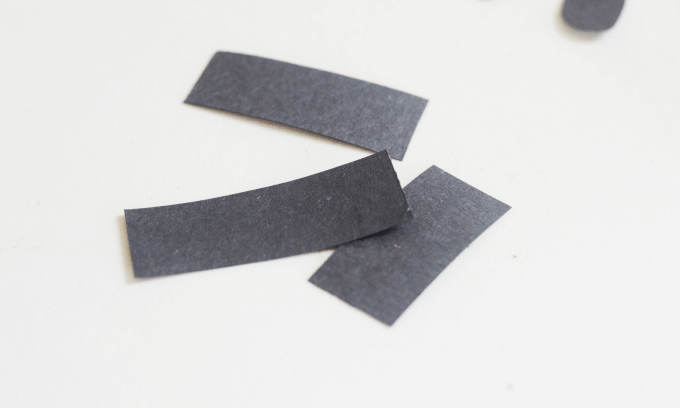
Use school glue to attach the little black rectangles to the top of the hands. You don’t need to wait for the glue on the hands to dry before attaching this piece.
STEP 6: Each student will need a small piece of yarn to make their bow for their witch’s broom! This step is optional, but was a cute element to add, and students had fun choosing the color to coordinate with their broomstick.
Use school glue to attach the bows to the top of the hands. Use a large dot of glue, as the yarn will absorb some of it. Allow the glue to dry for at least 10 minutes before handling.
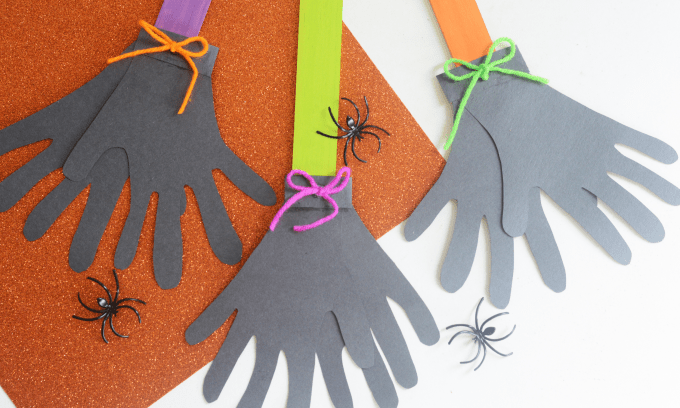
Once your Halloween handprint craft is finished, this is what it will look like! Kids love this project because it’s unique to them and turns out so cute!
MORE FUN HALLOWEEN ACTIVITIES
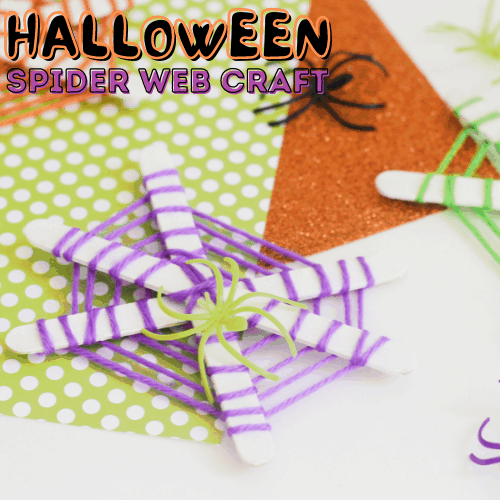
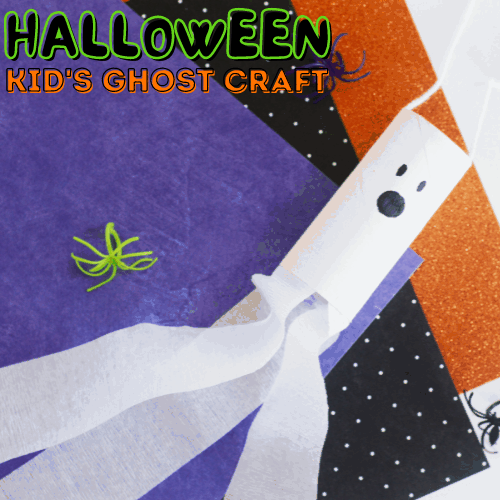
MAKE A CUTE GHOST CRAFT FOR HALLOWEEN
Click on the image below or on the link for more fun preschool Halloween activities.