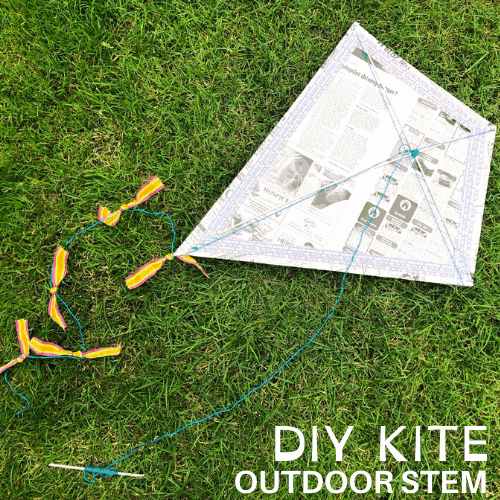
A good breeze and a few materials are all you need to tackle this DIY Kite STEM project at home, with a group or in the classroom! Take our simple kite design and make it your own, or just grab the funny pages from your local newspaper! You can fly a kite just about any time of the year but this makes a great outdoor STEM project for spring or summer! Fun for camp or scouting groups too!
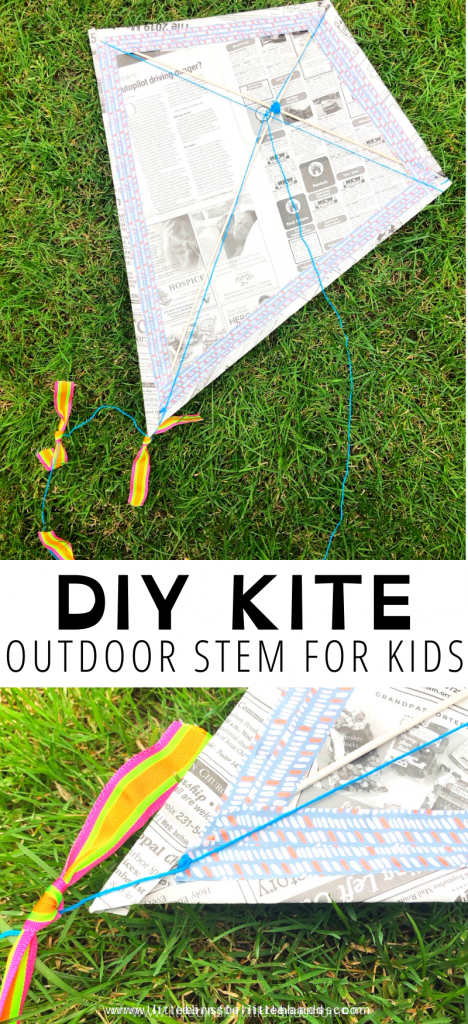
Make A Homemade Kite
Get ready to add this simple DIY kite project to your STEM activities this season. If you want to find out how to build a kite that flies high, read on! While you’re at it, make sure to check out more fun engineering activities.
Our STEM projects are designed with you, the parent or teacher, in mind! Easy to set up, quick to do, most activities will take only 15 to 30 minutes to complete and are heaps of fun! Plus, our supplies lists usually contain only free or cheap materials you can source from home!
Learn more about STEM below.
What Is STEM For Kids?
So you might ask, what does STEM actually stand for? STEM is science, technology, engineering, and math. The most important thing you can take away from this, is that STEM is for everyone!
Yes, kids of all ages can work on STEM projects and enjoy STEM lessons. STEM activities are great for group work, too!
STEM is everywhere! Just look around. The simple fact that STEM surrounds us is why it’s so important for kids to be a part of, use, and understand STEM.
Interested in STEM plus ART? Check out all our STEAM Activities!
From the buildings you see in town, the bridges that connect places, the computers we use, the software programs that go with them, and compasses for navigation, STEM is what makes it all possible.
Helpful STEM Resources To Get You Started
Here are a few resources that will help you introduce STEM more effectively to your kiddos or students and feel confident yourself when presenting materials. You’ll find helpful free printables throughout.
- Engineering Design Process Explained
- What Is An Engineer
- Engineering Vocab
- Real World STEM
- Questions for Reflection (get them talking about it!)
- BEST STEM Books for Kids
- 14 Engineering Books for Kids
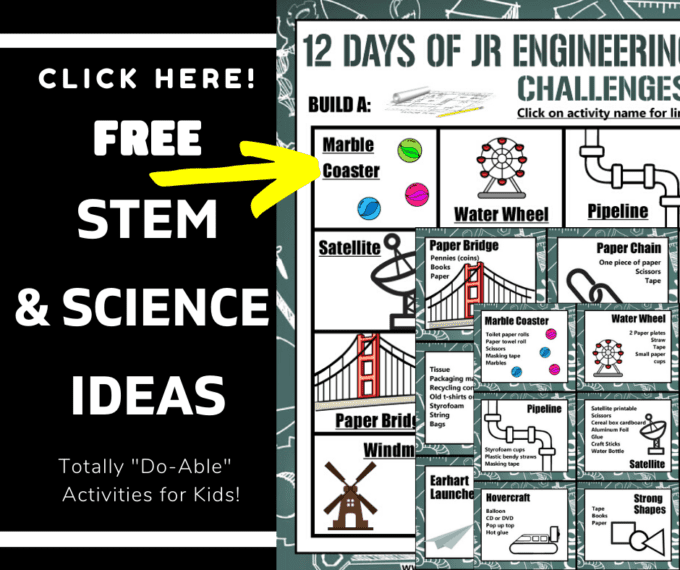
- Jr. Engineer Challenge Calendar (Free)
- Must Have STEM Supplies List
- Join us in the Club
How Does A Kite Work
Who invented the first kite?
Kites were first seen in ancient Chinese about 2,500 years ago! In very early times, kites were used by the military to send messages and for measuring distances. Soldiers could see them flying and knew what they meant.
The earliest kites were built of wood and cloth. Paper was invented around the year 100 A.D. and was soon used for kites.
What makes a kite fly?
A kite is pushed up into the air by the wind. Trying flying a kite on a still day, it won’t get very high before it drops back to the ground.
When the kite is flying there are several forces at work. The force from the kite string pulls the kite forward and downwards , the force of the wind and lift around the kite pushes the kite upwards and backwards and the force of gravity pulls the kite straight down.
The kite climbs into the air when the force of the wind and lift pushing it upwards is greater than the pull of the string and gravity.
How to make your kite fly better…
The force of the wind will be greater when the kite is on angle to the wind. The force of gravity will be less when your kite is made from light weight materials.
Why does a kite need a tail?
Trying to fly a kite without a tail may result in the kite spinning and rolling a lot because the kite is unstable. A tail on a kite helps to provide drag and stabilize the kite. The more windy the weather the longer the tail may need to be or you can even add more than one tail. Experiment with the length of your kite tail!
Grab this FREE Engineering Challenge Calendar today!
How To Build A Kite
Let’s get down to the basics of building your kite so you can be off flying a kite in no time!
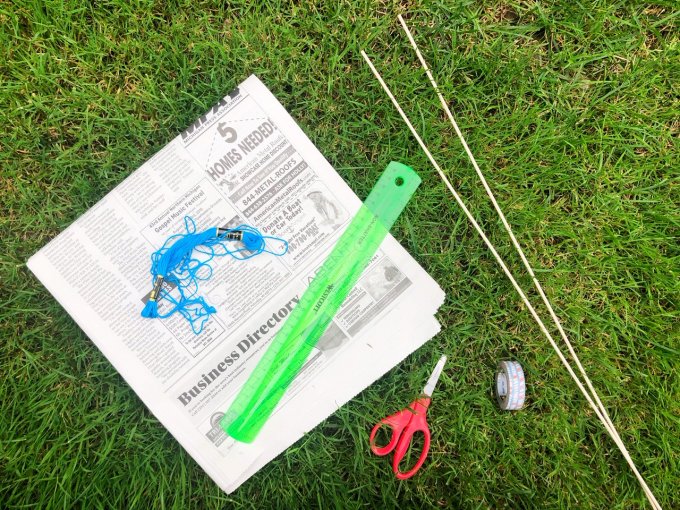
Supplies:
- Newspaper
- 2 x 1/8” dowels
- Colorful tape
- 2 Embroidery floss strands or strong string
- Scissors
- Ruler
Instructions:
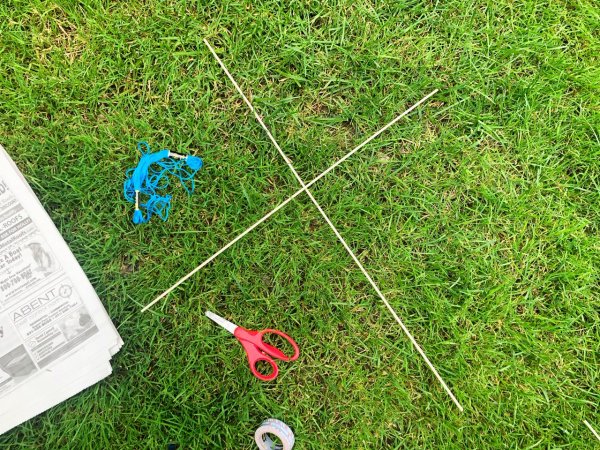
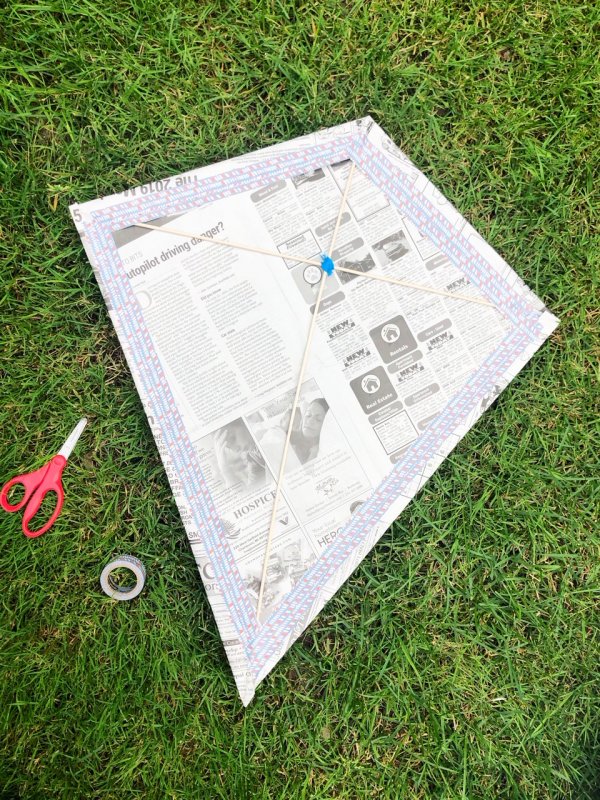
STEP 1. Measure a 24” and 20” dowel and carefully cut with scissors. Then measure 6” down from the top of the 24” dowel and place the center of your 20” dowel across.
STEP 2. Tie the center of the dowels together by weaving a piece of embroidery around each side and tie off into a knot.
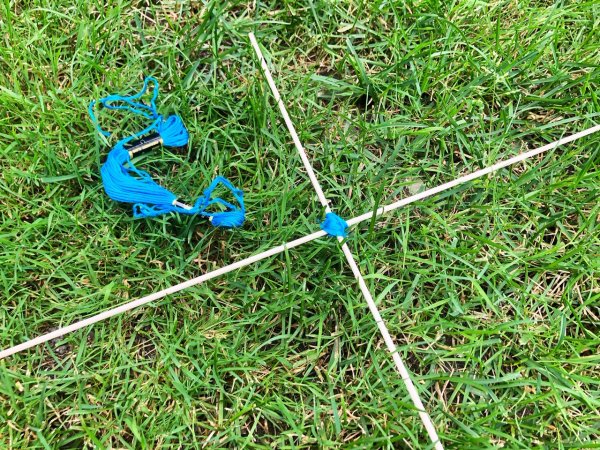
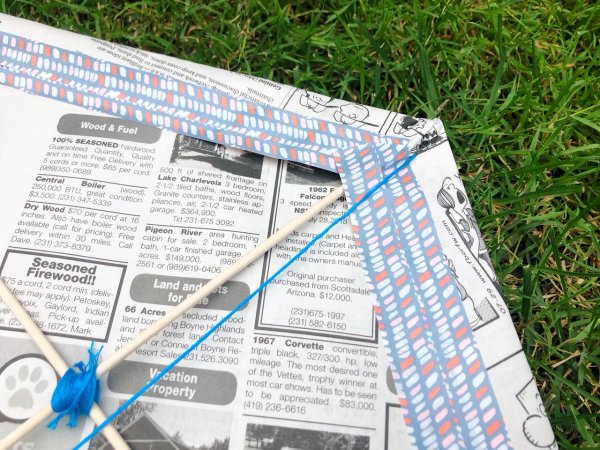
STEP 3. Carefully cut a notch into the ends of the dowels, wrap a piece of embroidery thread around the kite and tie into a knot. You can hold those in place with a dab on hot glue.
STEP 4. Lay the “t” shape onto a large piece of newspaper and cut an inch larger all the way around.
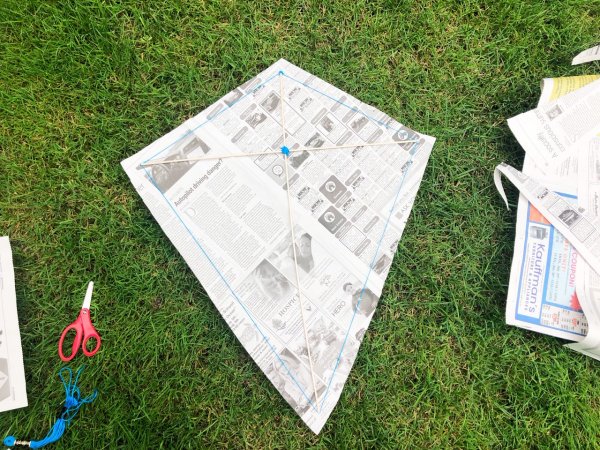
STEP 5. Fold each edge over the string around the kite and firmly tape the edges.
STEP 6. Poke a tiny hole at each point of the kite. Then starting at the top, place a piece of string through the top hole, tie a knot onto the back of the kite and tape.
Place that same string through the bottom hole, tie a knot onto the back of the kite and tape.
STEP 7. Let that string hang about 24” from the bottom and tie about 5 7” pieces around the string.
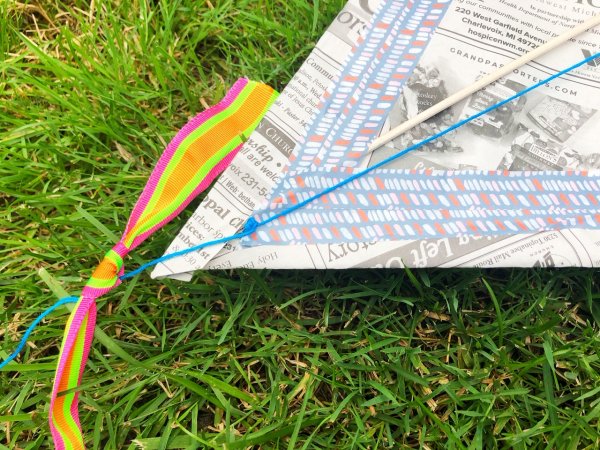
STEP 8. Repeat STEP 6 across the width of the kite.
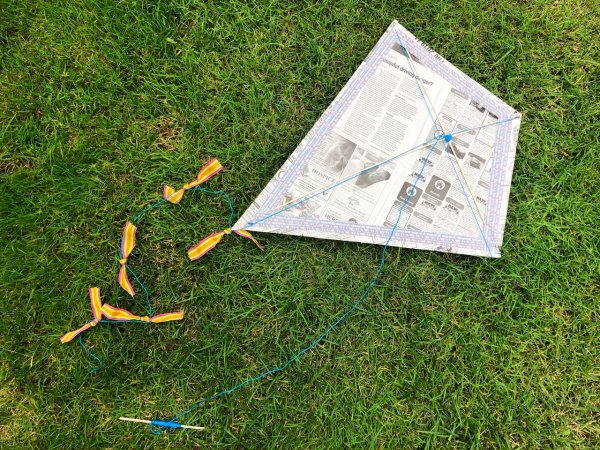
STEP 9. Use a piece of leftover dowel and wrap an entire strand of embroidery thread around it. Then tie the end to the center “t” of the strings and the dowel will be what you use to fly the kite.
Now time to go fly your kite!
More Fun Things To Build
- Make a paper airplane launcher
- Make a paper helicopter
- Construct a cardboard marble run.
- Build the best popsicle stick catapult.
- A marble roller coaster is fun to make.
- Build your own solar oven
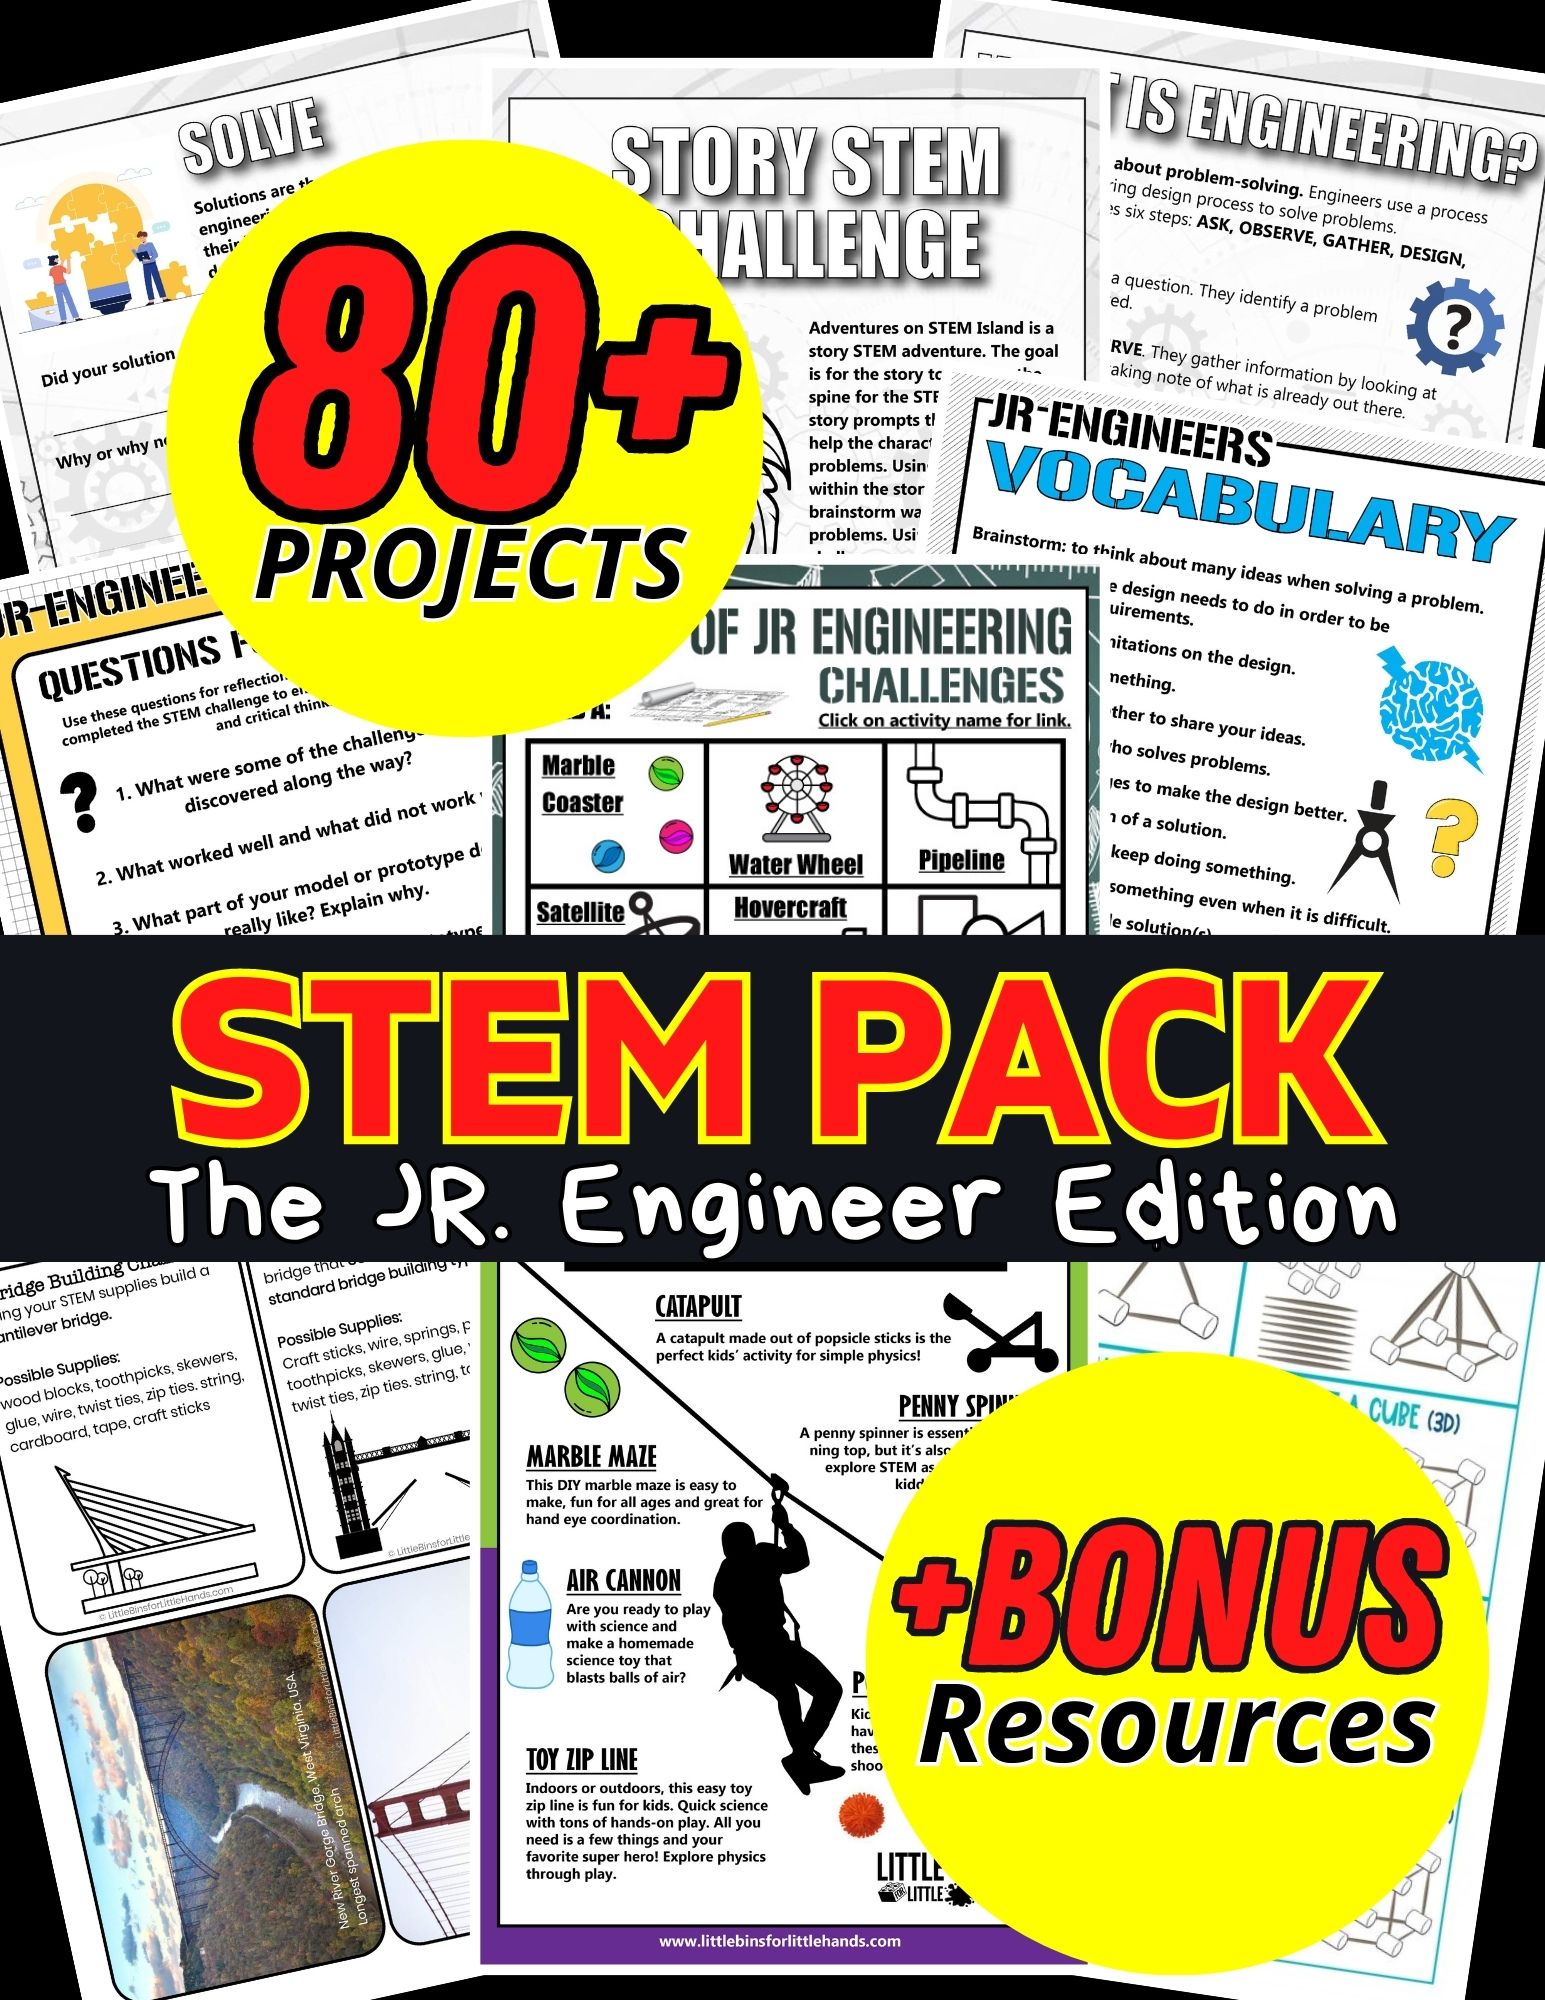
Printable STEM Activities Pack For Kids
80+ Doable Engineering Projects in one convenient pack!
- Full instructions with sample images
- Activity-specific instruction sheets
- Data Collection Sheets
- Questions for Reflection
- Architecture Building Cards: Try the tallest tower challenge
- Bridge Building Cards: Explore different types of bridges to build your own.
- Paper Chain STEM Challenge: Who can make the longest chain? Great icebreaker or quick challenge!
- 3 Little Pigs Architectural Pack: Design a house that won’t blow away!
- Great marshmallow challenge: A classic challenge kids love!
- Real-world STEM challenge lesson but don’t know where to start? Our easy-to-follow template shows the steps!
- What’s the difference between a scientist and an engineer?
- Crossword and word search with engineering vocabulary.
- Engineering vocabulary cards
- Design a one-of-a-kind invention and write about it with this 5-page activity!