Amaaaaazing texture! That’s what everyone has to say about our DIY Floam Slime. Also called crunchy slime because of the fun popping noises! What is floam? It’s an easy to make slime with little balls in it! No need to buy it, we’ll show you exactly how to make floam slime below. Grab your ingredients and let’s get started!
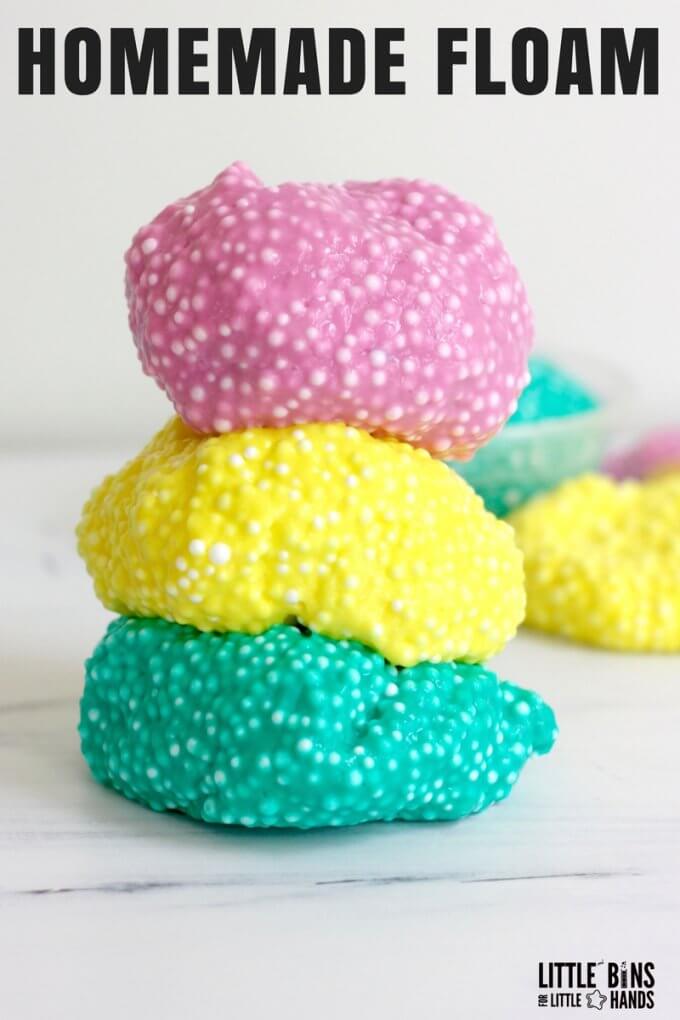
Floam Slime Recipe
This floam slime is made with our favorite liquid starch slime recipe. Now if you don’t want to use liquid starch as your slime activator, you can absolutely test out one of our other basic slime recipes using saline solution or borax powder.
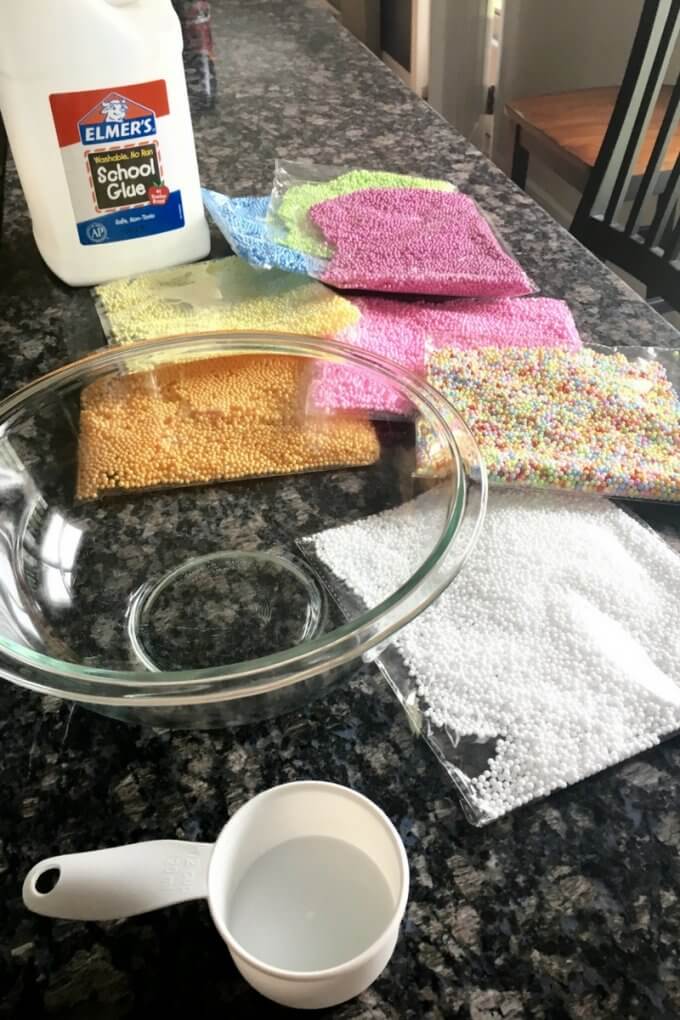
Ingredients:
- 1/2 cup PVA Washable White or Clear School Glue
- 1/2 cup Water
- 1/4 cup Liquid Starch
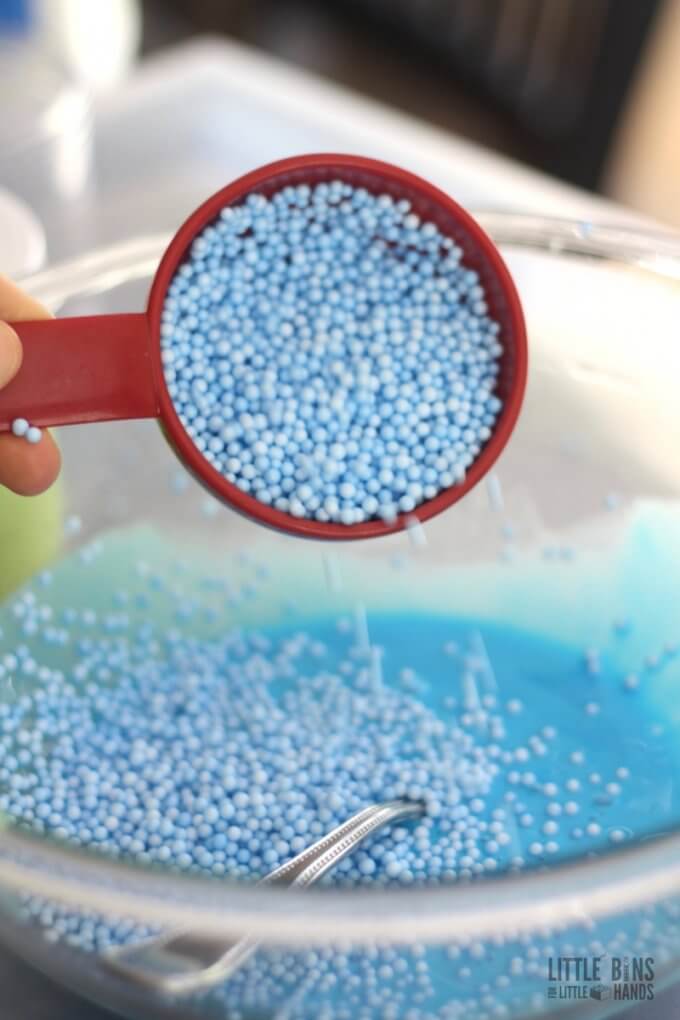
- 1 cup Polystyrene Foam Beads (white, colors, or rainbow)
- Liquid Food Coloring
How To Make Floam Slime
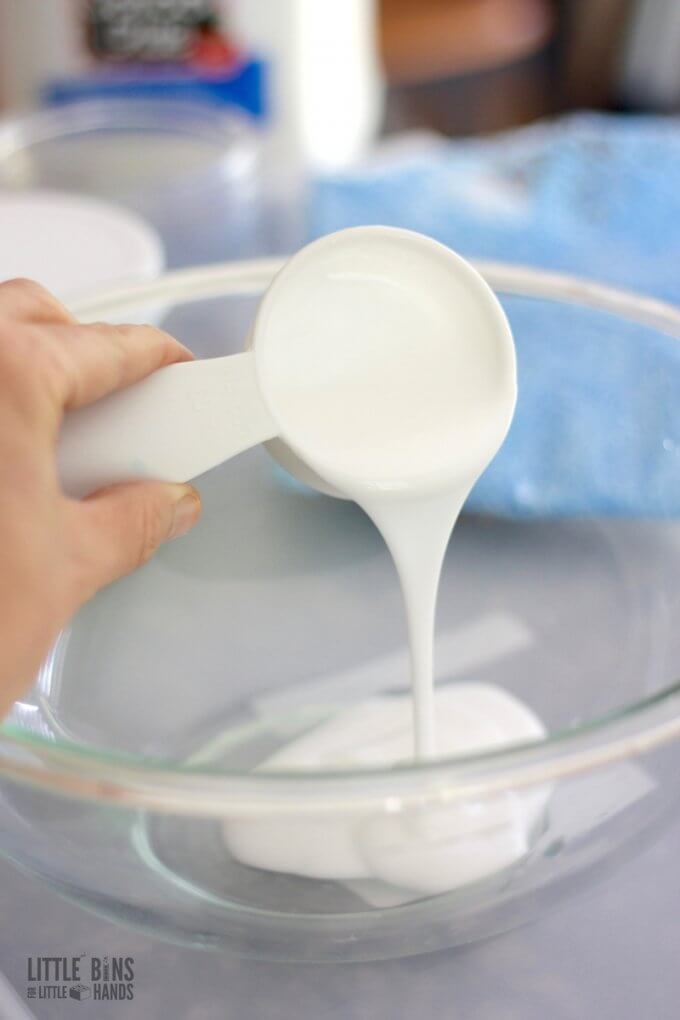
STEP 1: Start by mixing 1/2 cup of glue with 1/2 cup of water in a bowl. Mix well to incorporate the two ingredients. Adding water to the glue will help the slime ooze more once the activator is added. The slime will gain volume but also will flow more easily.
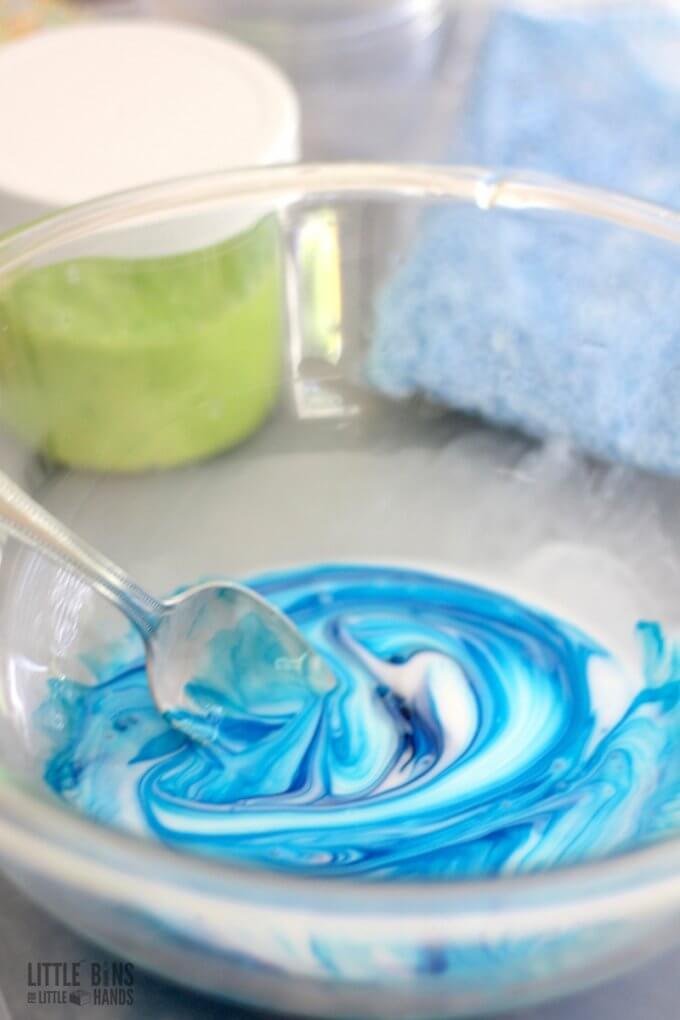
STEP 2: Next add food coloring.
We like using the neon food coloring found in the baking aisle of any local grocery store! The neon colors are always so bright and vibrant. Remember when using the white glue, you will need extra food coloring for deeper colors, but start with a few drops at a time.
You don’t need colored foam beads if you plan to use food coloring, so white will work just as well. You can always find white foam beads in big bags!
STEP 3: Add your foam beads to make your floam! A good ratio is anywhere from a 1 cup to 2 cups or slightly more depending on how you want your foam slime to feel.
Do you want it to still have a good stretch? Or do you want it to be thicker and squishy? In general, if your mix-in is light weight, you will want to use more of it. Experiment to find your favorite amount.
STEP 4: Time to add 1/4 cup liquid starch.
Liquid starch is one of our three main slime activators. It contains sodium borate which is an important part of the chemical reaction. Read more about slime activators.
STEP 5. Get stirring!
You will see that the slime forms immediately as you add the starch to the glue mixture. Give it a good stir and pretty much all of the liquid will be incorporated.
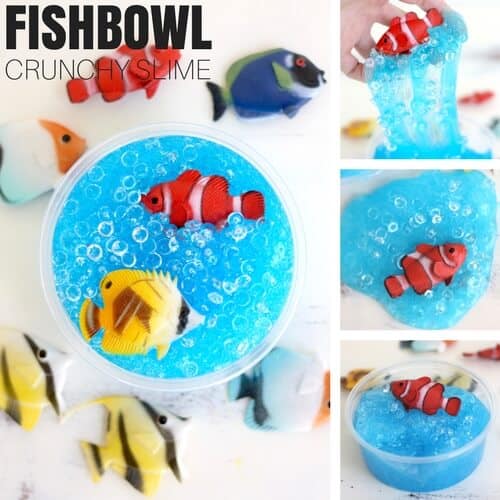
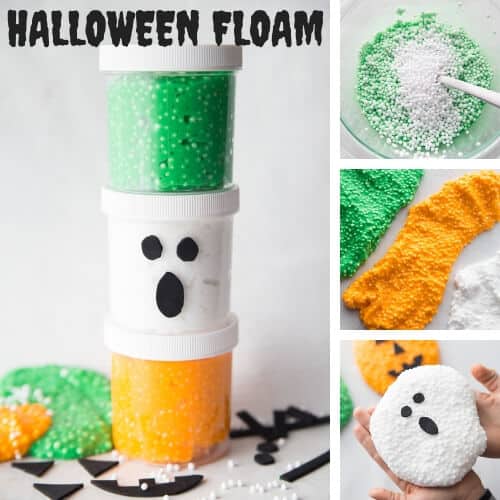
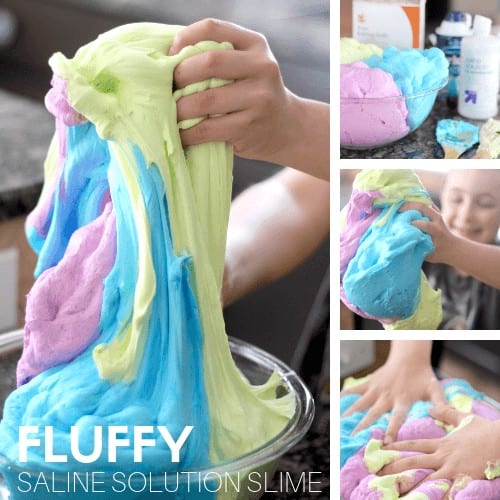
More Fun Floam Recipes To Try
Click on the images below for fun floam recipe variations.
The Science of Slime
We always like to include a bit of homemade slime science around here. Slime really does make for an excellent chemistry demonstration, and kids love it too! Mixtures, substances, polymers, cross-linking, states of matter, elasticity, and viscosity are just a few of the science concepts that can be explored with homemade slime!
What’s the science behind the slime? The borate ions in the slime activators (sodium borate, borax powder, or boric acid) mix with the PVA (polyvinyl-acetate) glue and form this cool stretchy substance. This is called cross-linking!
The glue is a polymer made up of long, repeating, and identical strands or molecules. These molecules flow past one another, keeping the glue liquid. Until…
When you add the borate ions to the mixture, it starts to connect these long strands together. They begin to tangle and mix until the substance is less like the liquid you started with and thicker and rubberier like slime!
Picture the difference between wet spaghetti and leftover spaghetti the next day. As the slime forms the tangled molecule strands are much like the clump of spaghetti!
Is slime a liquid or solid? We call it a non-Newtonian fluid because it’s a little bit of both! Read more about slime science here!
How To Set Up A Floam Science Experiment
We made several smaller batches of floam slime (1/4 cup glue) and tested out different ratios of styrofoam beads to slime mixture to come up with our favorite floam recipe. You can set up your own science experiment to determine which floam texture is the best!
Remember, when setting up your experiment, you want to make sure to keep all the variables the same except for one! In this case, we kept all the measurements for our slime the same and changed the number of styrofoam beads added each time.
Read more about using variables in science.
Keep a record of your results and note the characteristics of each of your floam slime!
Our Results
You are probably dying to know which version of our homemade floam slime recipe we had the most fun with…. Well, it was decided that a full cup of styrofoam beads is our preferred amount to add the 1/4 cup slime recipe.
Each slime was interesting and unique to explore, and it turned into a fascinating experiment and of course great sensory play too.
Keep in mind the lighter the material you add to your homemade slime recipe, the more you will need of it! The denser the material, the less you will need. It makes for neat experimenting!
How To Store Floam
I get a lot of questions regarding how I store my slime. We use a reusable container either plastic or glass. If you keep your slime clean it will last for several weeks. I also love the deli-style containers.
If you want to send kids home with a bit of slime from a camp, party, or classroom project, I would suggest packages of reusable containers from the dollar store.
I highly recommend keeping it away from furniture, rugs, and kids’ hair! In our house slime play stays at the counter or table. Here is how to get slime out of clothes and hair!
More Awesome Slime Recipes To Make
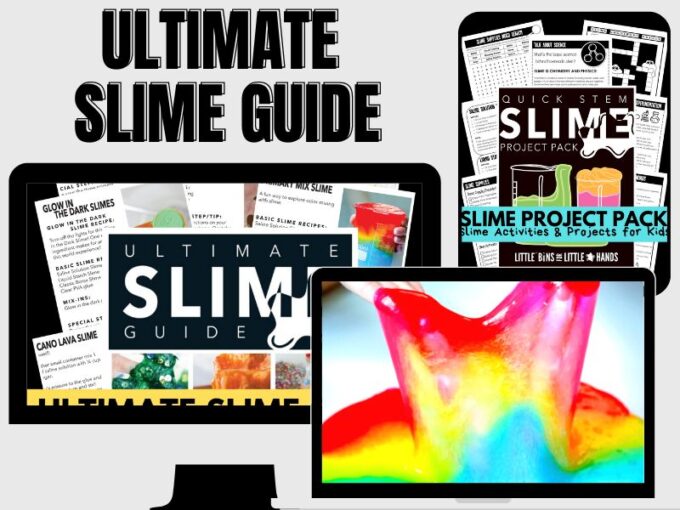
Printable Ultimate Slime Recipes Guide
This is the ULTIMATE collection of slime recipes every kid wants to make! Explore the best recipes and find the right supplies to make slime time a breeze!
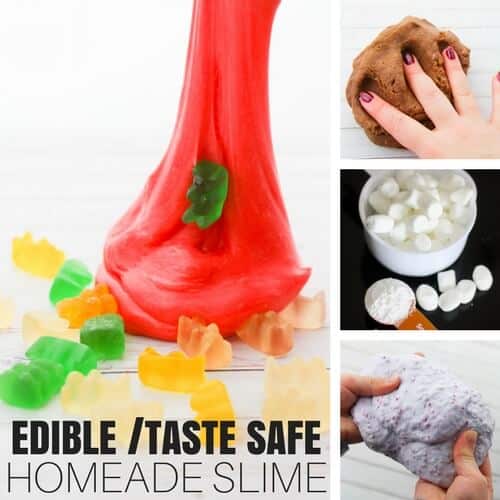
Perfect for kids of all ages, including tweens and teens! Taste-safe recipes are perfect for the youngest slime fans.
What’s Included:
- The Ultimate Slime Guide contains all the specialty recipes you or your kids want to make! You’ll find all the best tips, tricks, hints, and slime-y info in almost 100 pages!
- The Ultimate Slime Holiday Guide covers all the best holidays and seasons with special themes and slime-y projects!
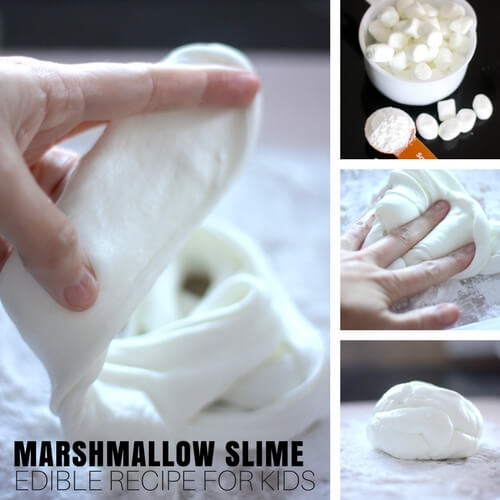
- The Ultimate Borax-FREE and Taste-Safe Slime Guide shows you how to make all the best borax-free, taste-safe, and non-toxic slimes kids love, such as marshmallow slime. These recipes do not use chemical activators such as saline solution, liquid starch, or borax powder, making them truly borax-free.
- The Ultimate Slime Coloring Book is an easy-to-print coloring book kids will love! Color and design your favorite slimes!
- The Slime Starter Guide is a fact-filled information guide with everything you need to know to make the best slime ever!
- Slime Science Project Pack helps you turn slime-making into a science lesson!


Please do a no glue slime!!!!!!!!!!!!!!!!!!!Your the only slime website that I found not on YouTube.
No glue huh! I have done taste safe slimes if thats what you are thinking of. I would love to hear your thoughts on no glue slimes…
Has there been an update on this i have year and a half old and her brothers want to make slime but i want it to be safe. Ya know in case she gets a hold of it, oh who am i kidding i know she will. Lol thanks in advance.
Certain face masks contain pva and are known to work like glue
There are a bunch of different ways to finagle slime but I highly suggest you use caution. Since this is a chemistry activity, you may end up with an unwanted chemical reaction!
This is NOT an edible slime. It is NOT taste safe. Please be very cautious using and making slime around babies, toddlers, and any kiddos who might try to eat it!
uhmmm… i think you should fix your typo… “pooping noises”…. i believe you meant “popping” lol because “pooping noises” usually = “farts” hahahahhaa
Haha, thank you. My son would laugh at that since he considers them farting noises anyway.
I’d love to do this for my summer camp! Could you give me an estimate of how many batches we could get out of one recipe? Would a recipe divide into enough for 2 kids? 3? I would also like to see the take home containers you mentioned, but the link isn’t a link 🙂
Thanks so much!
You can definitely split this between 2 kids to still have a handful and 5-6 portions for larger groups. I double-checked all the links! Thanks!