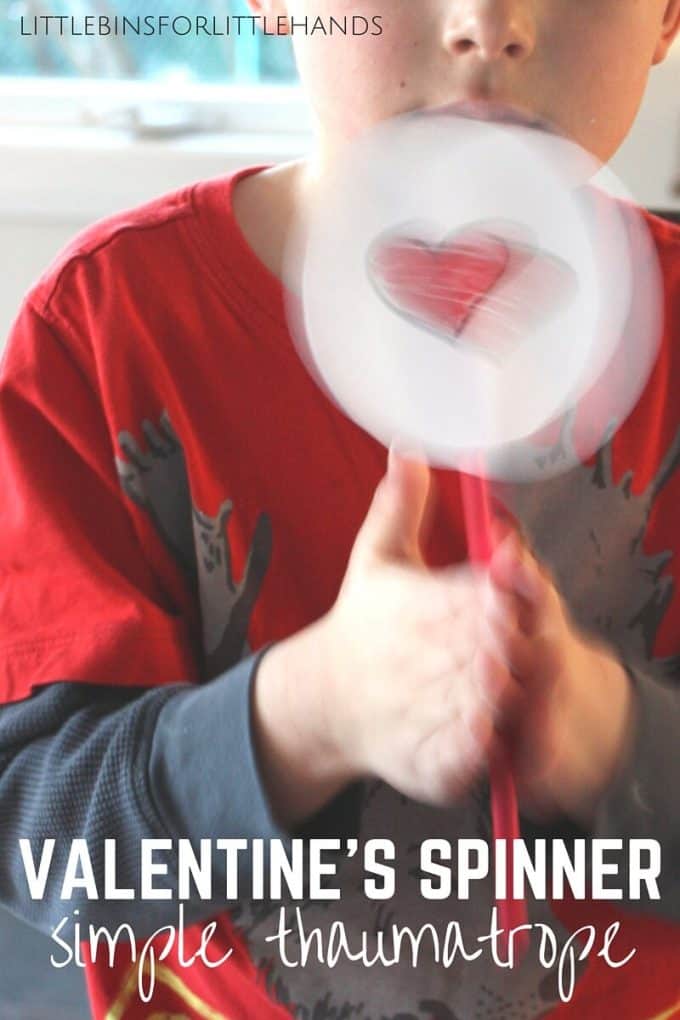
Looking for a fun and creative Valentine’s Day project that blends art and science? Make your own DIY Valentine’s Day thaumatrope! This simple STEAM activity brings optical illusions to life as kids design spinning animations with a heartwarming twist. Plus, grab the free printable to get started!
What is a thaumatrope?
The thaumatrope is thought to have been invented in the early 1800s as a popular optical toy. It has a disc with different pictures on each side that appear to blend into one when spun, thanks to something called the persistence of vision. Learn more about the thaumatrope.
Our Valentine thaumatrope below is a fun way for kids to explore simple optical illusions. To create the illusion of the images blending, you need a picture with two parts. A classic thaumatrope is a bird and a cage.
For another optical illusion, try Newton’s Color Spinner
If you can get your two images to blend, you have made a thaumatrope! It’s a fun craft and STEAM activity to try with kids of all ages.
Valentine’s Thaumatrope
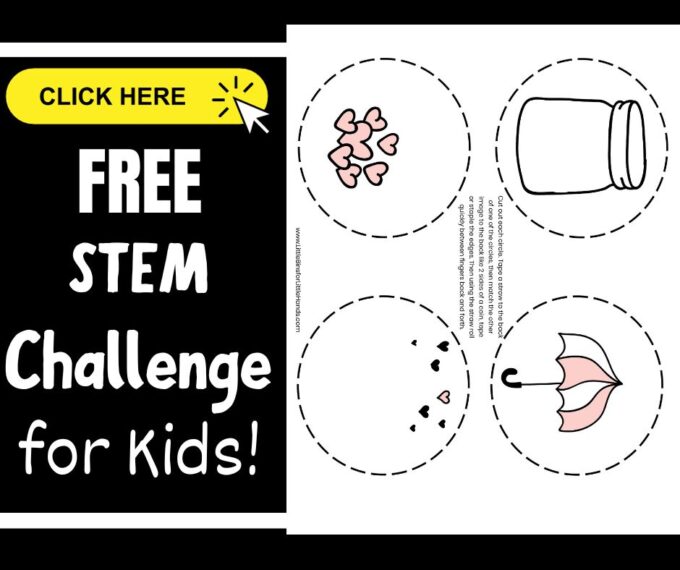
Tip: Come up with your own creative designs, or use our free printable template to get started.
Supplies:
- Free Printable Images (see below)
- White paper (computer, cardstock)
- Paper or plastic straws
- Stickers (might be fun)
- Sharpies (or markers)
- Tape, scissors
How To Make Your Valentines Toy
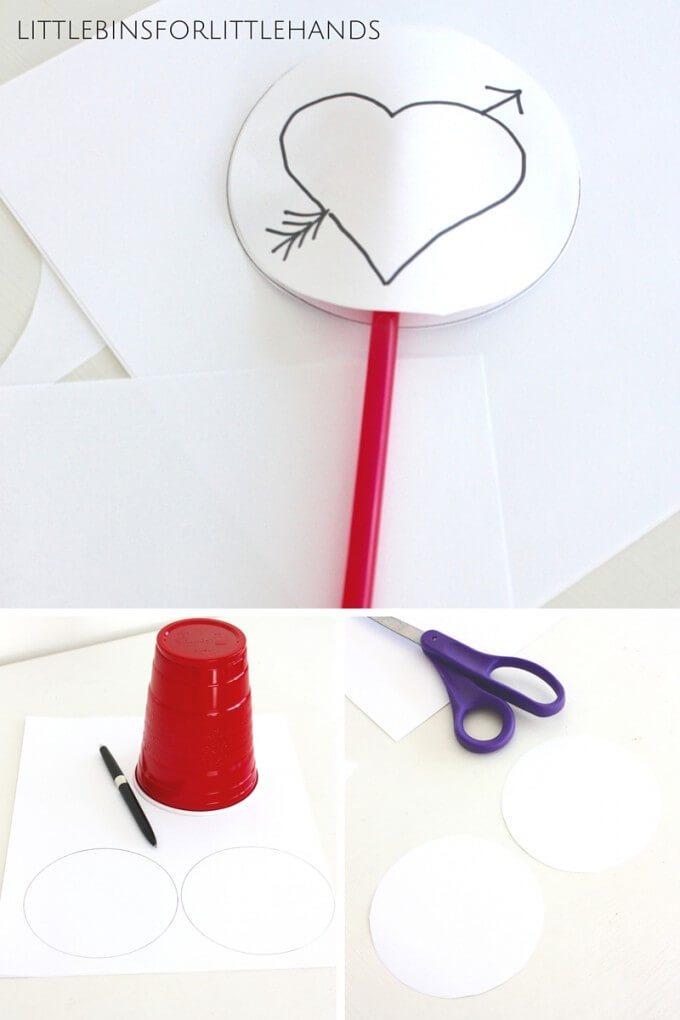
STEP 1: I used a large plastic party cup, roughly 4″ in diameter to trace two circles onto my paper.
STEP 2: Cut out circles.
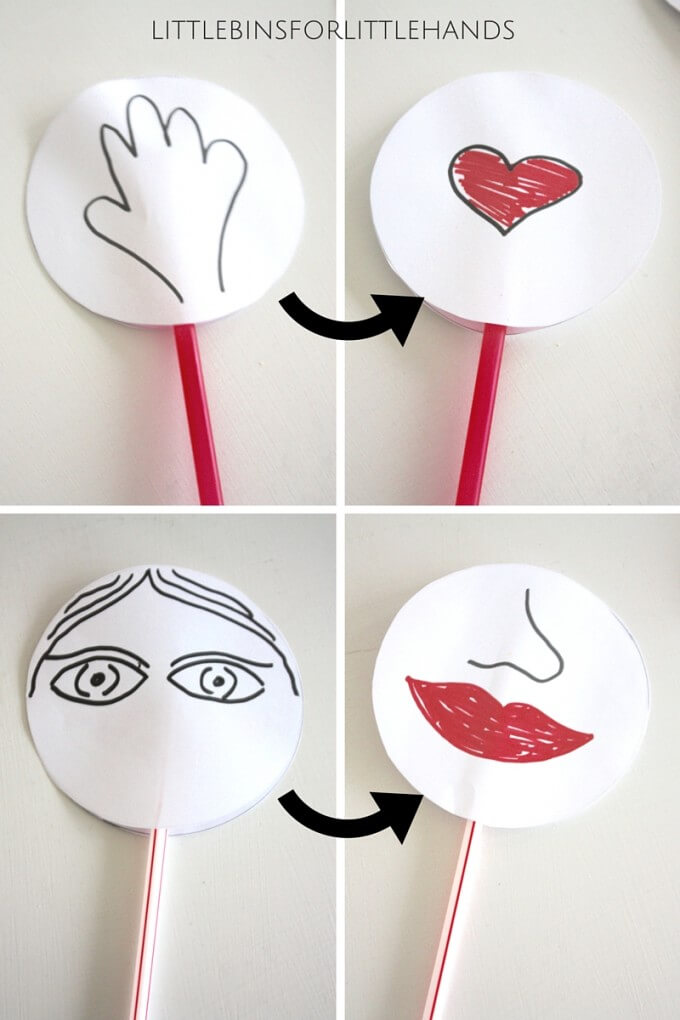
STEP 3: Choose an image that can be drawn in two parts. To give the illusion of the images blending together, you have to draw to parts. One on one circle and one on the other. Our first one was a heart in the hand because my son loves the kissing hand.
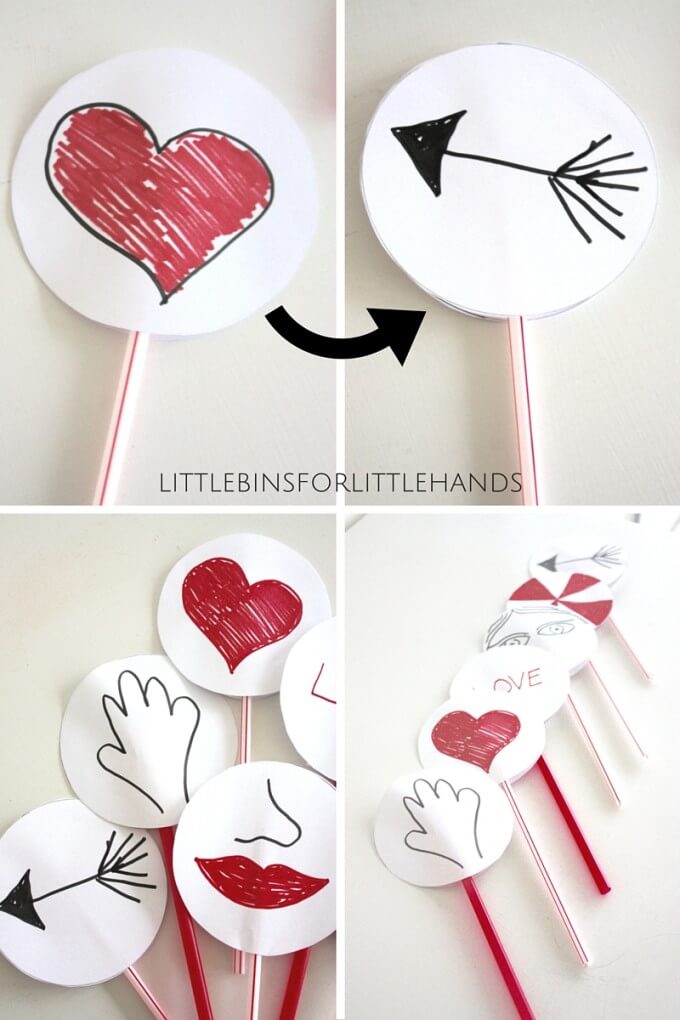
Helpful Hint: Draw your first image and then put the blank circle over it to finish the rest of the image. You can see below that I drew a red heart, then I put the blank circle over it and drew the outline and arrow in black. When you spin the toy, the images will blend together nicely.
STEP 4: Attach the straw to the backside of one circle with tape. Make 2 tape balls/rolls and put on either side of the straw. Attach the other circle. You are done!

STEP 5: Give your new Valentine toy a spin!
We made a bunch quickly. These are my fun and simple Valentines thaumatropes. You can see below that I made a heart in the hand (a personal favorite). Forgive my drawing skills. It shows that anyone can do it!
I also made a couple of versions of the girl thaumatrope. The first had the eyes and hair in one circle, and the nose and mouth in the other. My second one had the eyes and nose on one circle, a mouth and hair on the other.
Here’s my other heart and arrow Valentine’s thaumatrope. We also tried one with writing. I put the words “I” and “you” in one circle and “love” on the other, taking care to match them up. It worked!
Plus, I made some swirly patterns and designs on other thaumatropes. It was so easy that it was hard to stop making new ones. I have some other fun designs to share with my sons at a later time!
More Thaumatrope Ideas
What other thaumatrope ideas can you come up with to try? What about…
Butterfly and Flower
- One side: Draw a butterfly.
- Other side: Draw a flower.
- When spun, it will look like the butterfly is hovering over the flower.
Flower Growing
- One side: Draw a small flower bud.
- Other side: Draw a fully bloomed flower.
- When spun, it will give the impression of a flower blossoming.
You can find more fun thaumatrope ideas here.
More Fun Valentine Ideas
- Make 3D paper hearts
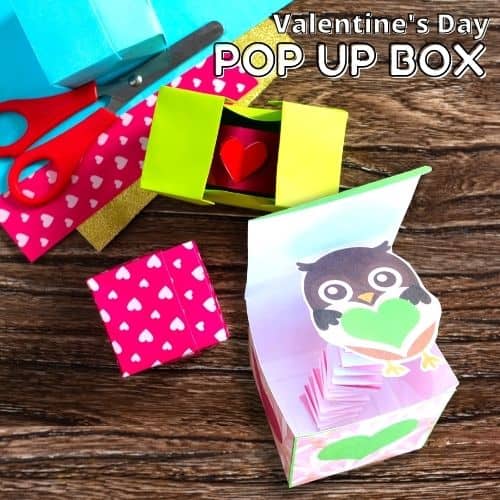
- Valentine’s Day pop up box
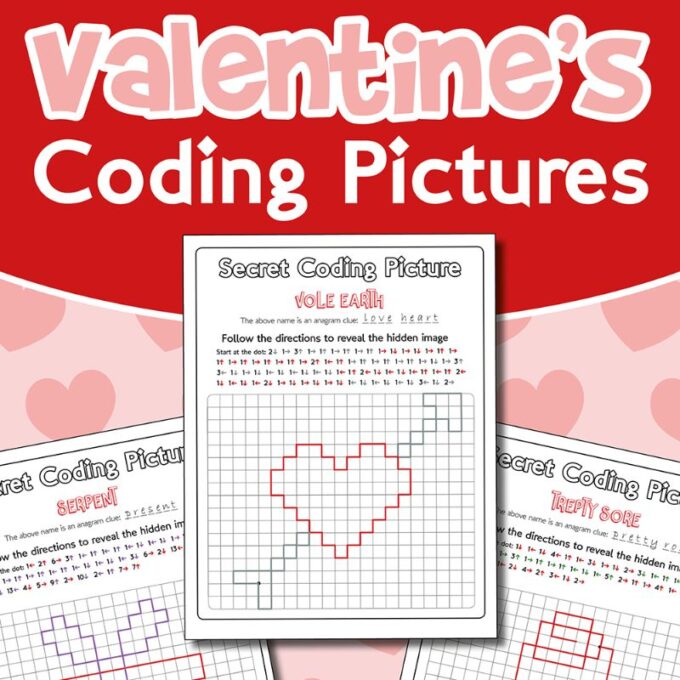
- Try these Valentine secret coding pictures
- Grow crystal hearts
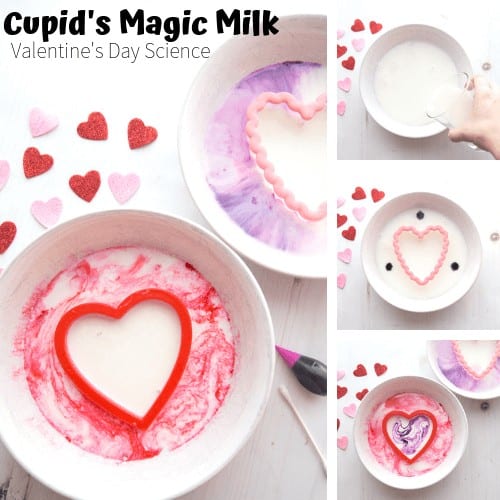
- Cupid magic milk experiment
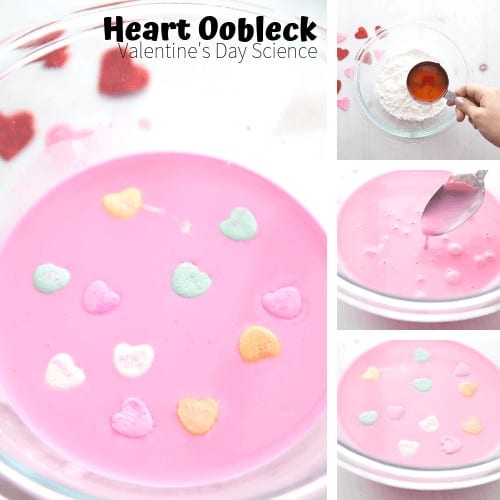
- Candy heart oobleck


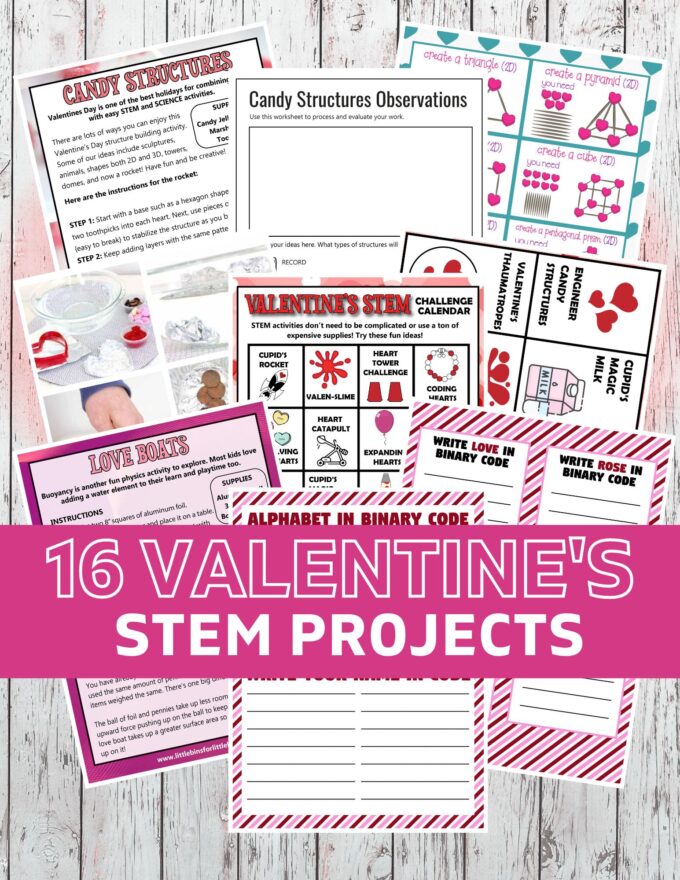
Printable Valentine STEM Project Pack
Countdown to Valentine’s Day with science and STEM! Pack includes complete instructions, templates, and images for 20+ activities. Bonus: printable science Valentine’s Day cards!


One Comment
Comments are closed.