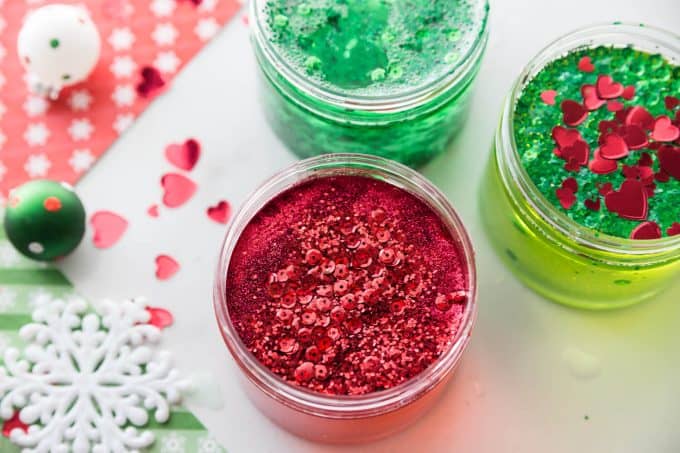
Sensory activities are a hit for kids of all ages, and these Christmas sensory bottles or glitter jars make a great calm-down tool with their mesmerizing sparkle!
How To Make A Christmas Sensory Bottle
You don’t need pricey colored glue to make our glitter sensory bottles! These calming Christmas glitter jars with clear glue do the trick. All you need is clear glue, food coloring, and glitter.
Watch the video:
You Will Need:
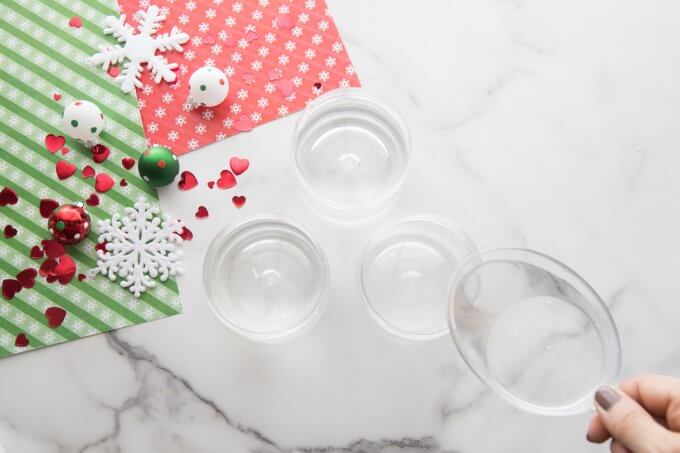
- Bottles or jars (any shape or size you like) – this recipe is based on an 8-ounce size jar.
- 2/3 cup (or 6-ounce bottle) of clear washable school glue
- 1/4-1/2 cup of water (warm or room temperature is best we found for mixing with the glue)
- Food coloring
- 1 tablespoon or so of glitter or confetti
Instructions:
STEP 1: Empty the clear glue into your jar or bottle.
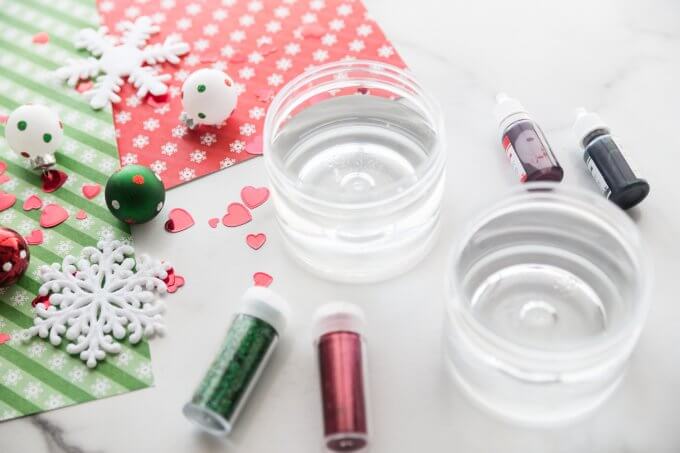
STEP 2: Add about 1/4 cup of warm water to the glue and mix well to combine.
STEP 3: Next, add food coloring and stir to combine! We used dark green, red and light green for our Christmas theme.
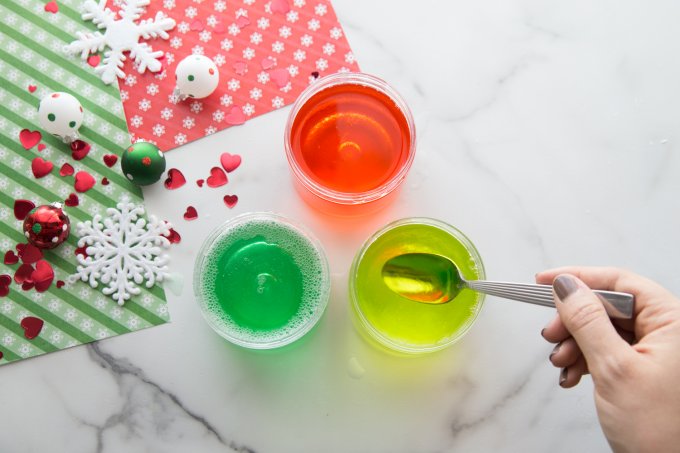
STEP 4: If you are adding glitter or confetti, stir the glitter or confetti into the glue mixture.
You can even combine glitter and confetti! Look for fun theme confetti for any season or holiday and this basic process will be so easy to repeat to make a glitter jar for any occasion.
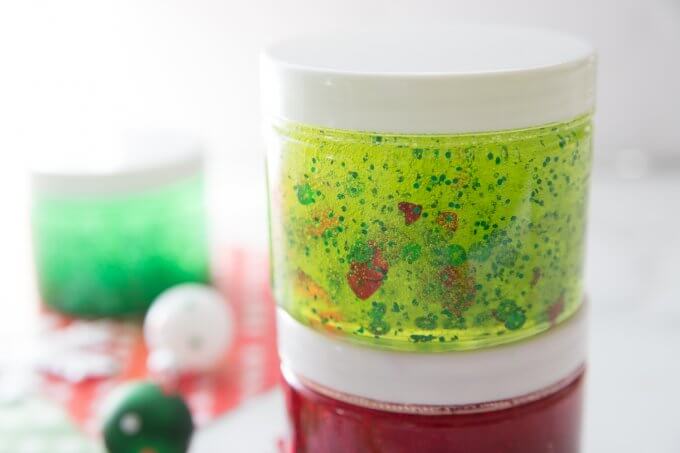
STEP 5: Now it’s time to get your glitter sensory bottle or glitter jar sparkling! Seal and shake well.
TIP: If the glitter or confetti does not move easily, add more warm water. If it moves too quickly, add additional glue to slow it down.
Changing the viscosity or consistency of the mixture will change the movement of the glitter or confetti. There’s a bit of science for you, too!
More Fun Christmas Sensory Bottles To Make
Don’t want to add glitter? Try one of these ideas below…
- Fake Snow Sensory Bottle: Use fake snow or shredded plastic snowflakes, water, and glycerin to create a snowstorm effect.
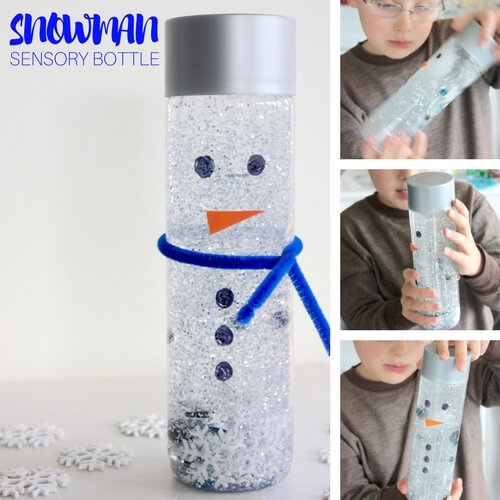
- Snowman Sensory Bottle: Combine water, glue and white sequins. Add eyes, mouth etc to the bottle to turn it into a snowman.
- Jingle Bell Bottle: A small jingle bells to water or oil. Watch the bells float or sink and make a soft jingling sound when shaken.
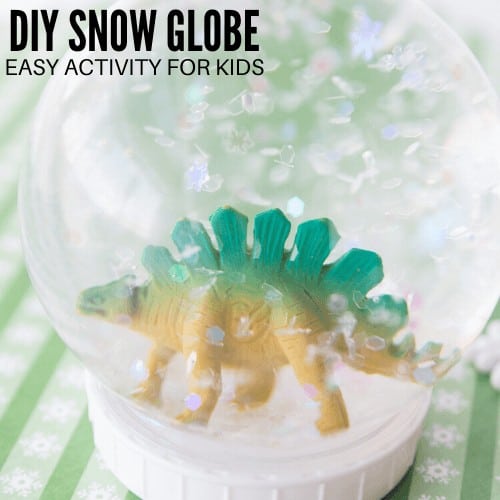
- Snow Globe Bottle: Use mini holiday figurines (Santa, reindeer, trees), fake snow, glycerin and water.
- Cinnamon Stick Sensory Bottle: Add Cinnamon sticks and red beads to water. You will get a calming scent of cinnamon with movement in the bottle.
- Peppermint Swirl Bottle: Combine red and white beads, peppermint extract, and clear oil. Watch the beads swirl, resembling peppermint candy patterns.
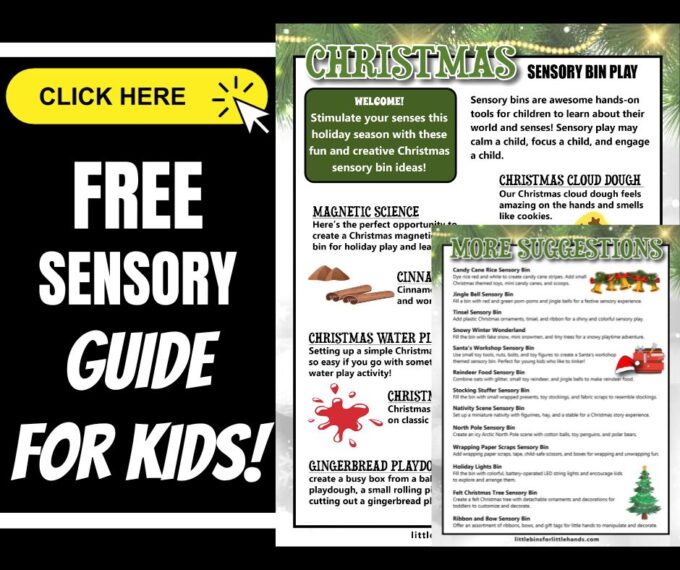
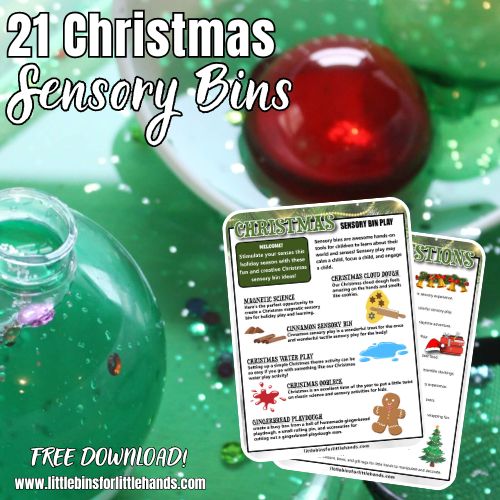
Get Your Free Quick Start Christmas Sensory Bin Guide
It’s as easy as 1-2-3-4 to make a sensory bin! Follow this simple Christmas sensory guide to get started today.
More Fun Christmas Sensory Activities
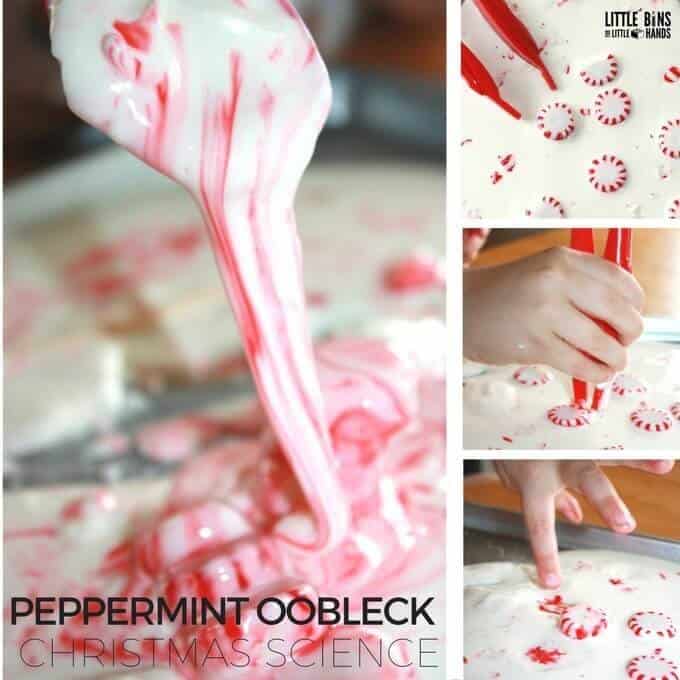
- Peppermint oobleck
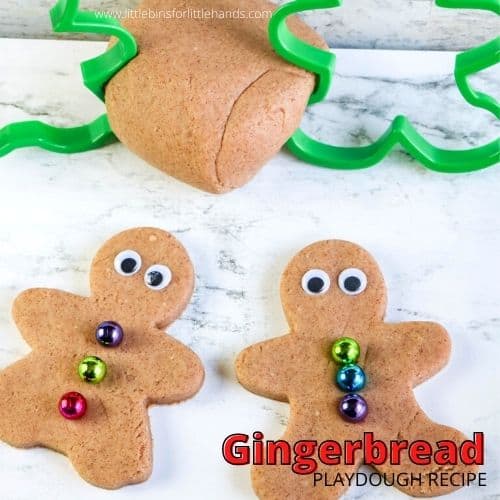
- Gingerbread playdough
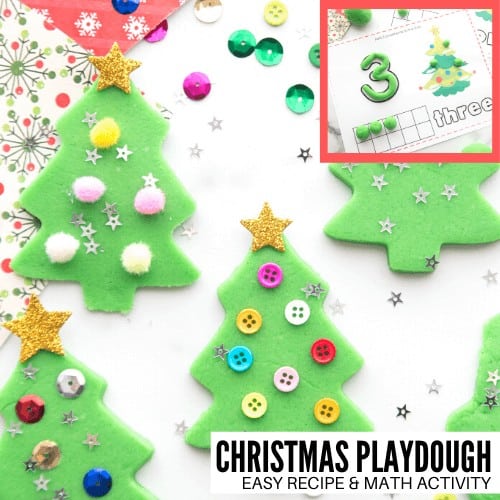
- Christmas playdough
- Christmas Sensory Bins
- Christmas Cloud Dough
- Santa’s Frozen Hands
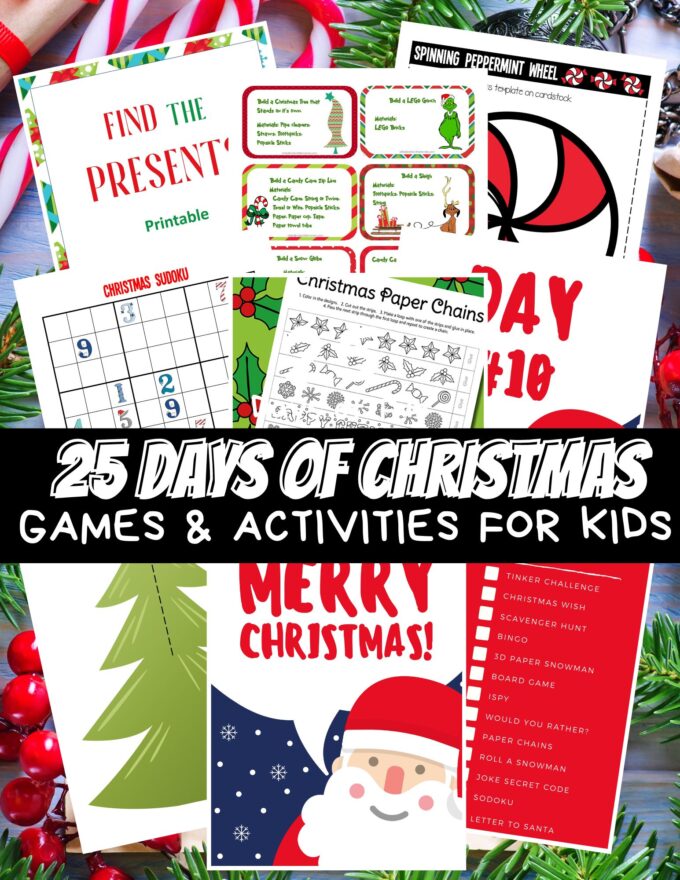
Printable Christmas Countdown Fun pack
Countdown to Christmas with 25+ low to no prep activities!
WHAT’S INCLUDED:
- 25+ Low-to-no-Prep Christmas activities include games, secret codes, paper crafts, and more!
- Fun Christmas games include a 10-card bingo game, DIY board game, I Spy, word find, sodoku, and more!
- Easy Christmas Projects include making a peppermint spinner, exploring gingerbread house tessellations, playing with homemade thaumatropes, creating 3D Christmas cards, and so much more!
- Bonus! Includes the 12 days of Christmas Color by Code!