Do your kids enjoy playing with glow sticks? Check out this quick and simple glow stick experiment you can do while you enjoy some nighttime fun with glow sticks. We love to do cool science experiments and even one on the spot like this glow stick science activity. Is the glow of a glow stick affected by its surrounding temperature? Let’s check out a little bit more about chemiluminescence.
What happens in a simple glow stick experiment?
How does a glow stick glow? It’s the chemical reaction in the glowstick. Chemiluminescence means the glow occurs from the chemical reaction that happens when the stick is snapped—electrons within the stick increase in energy level when the reaction occurs.
When the electrons settle down, the energy released comes out in the form of light, the chemiluminescence part. Hint: chem as in chemical and lumi as in light.
Here’s the experiment! What happens to glowsticks in the freezer? See below for ideas on how to set up a glow stick science fair project.
SUPPLIES FOR GLOW STICK EXPERIMENT:
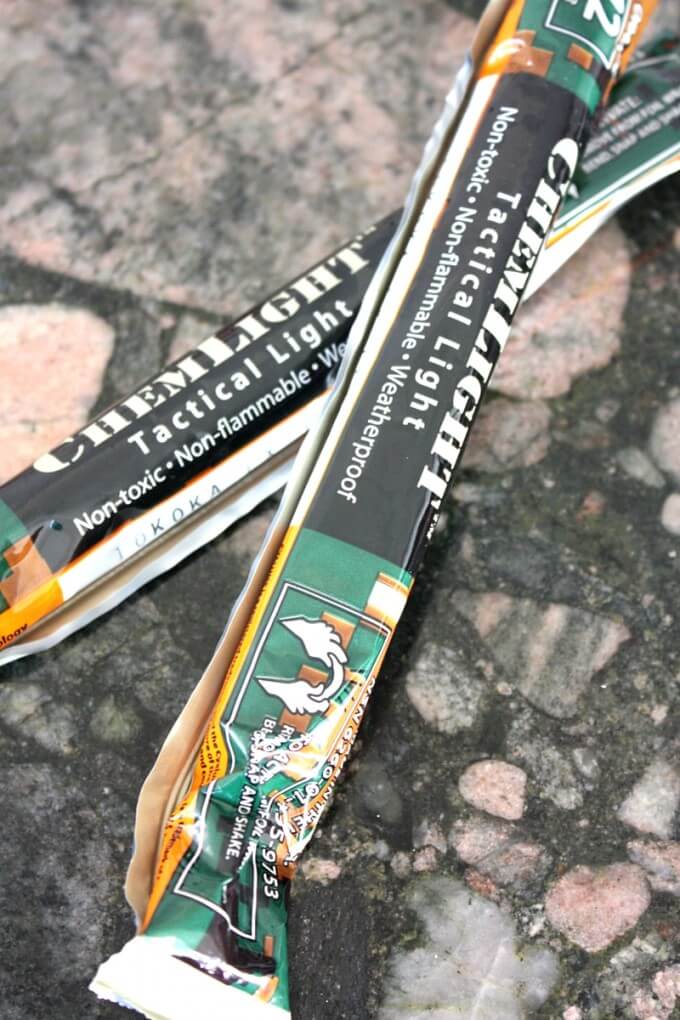
You guessed it. GLOW STICKS. (2 of the same color is best)
- Containers
- Water
- Ice/Freezer
Set Up For Glowstick Experiment:
Step 1: Snap the lights and shake according to directions. Are they glowing?
Step 2: Play with them for a little bit. Check out their glow, light level, and color.
Step 3: Place one glow stick in the freezer or an ice container.
Step 4. Place one glow stick in a container of hot water.
Step 5: Set a timer for a few minutes.
Step 6: Bring the glow sticks out of their containers and compare their colors. This is why the same color will work best. However, you could have a few different colors for your glow stick experiment.
Step 7: Talk about your findings. Which temperature gives a brighter light? Dimmer light?
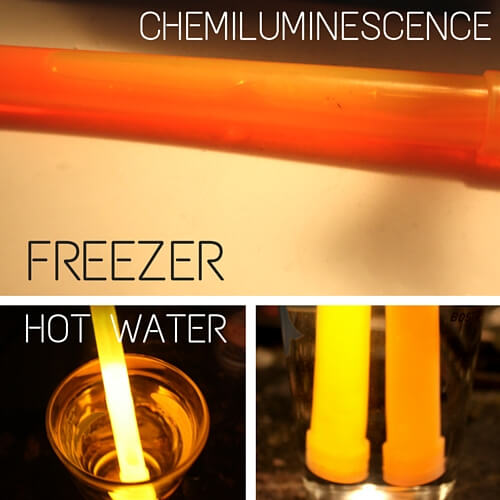
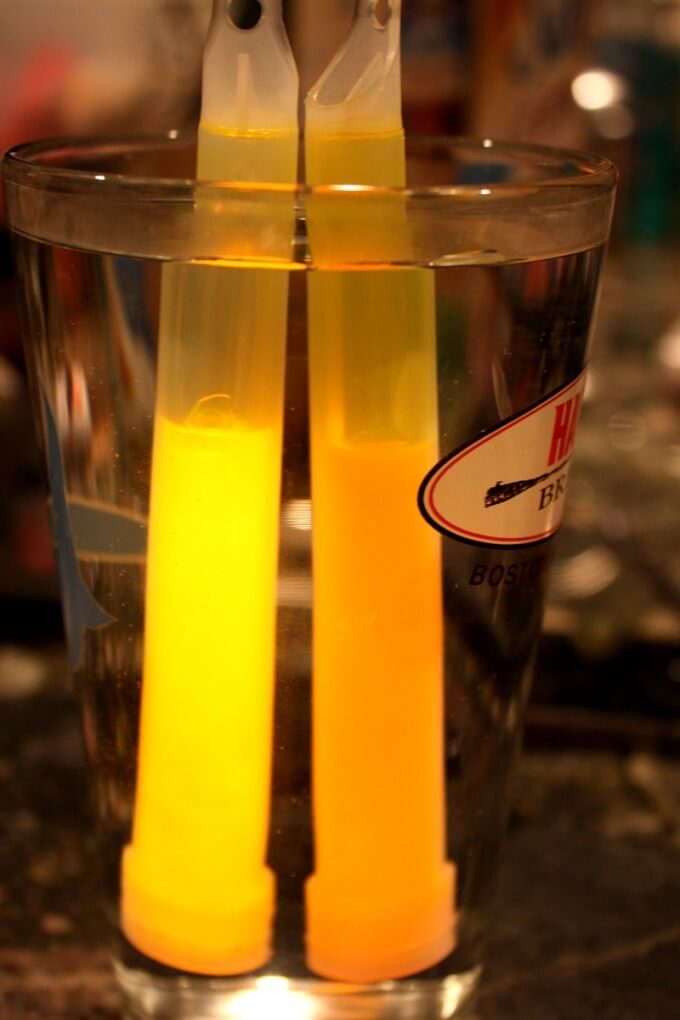
Here are the two glow sticks. One is still in the warm water, and one we just took out of the freezer. As you can see, the freezer glow stick is dimmer. Why is this? The cold temperature slows the chemical reaction, resulting in a dimmer light. The hot water speeds up the reaction, resulting in a brighter light.

Glow stick experiment side by side. We popped the freezer stick into the warm water just for comparison. As you can see, the colors or brightness are pretty different! What else can you try for this glow stick experiment? Try different water temperatures to see if you can get varying stages of brightness.
When you finish your glow stick experiment and play, pop them into the freezer to see if they still glow in the morning. The colder temperature will slow down the reaction, potentially making it last longer.
Glow Stick Science Fair Project
For a fantastic but simple and affordable science fair project, consider exploring the fascinating world of luminescence through this glow stick experiment. Glow sticks are a popular and accessible source of chemiluminescence, a chemical reaction that produces light without heat.
This project allows students to delve into the principles of chemistry and the concept of energy transfer. The experiment can be structured to investigate various factors influencing glow stick brightness, such as temperature, different liquids, or even the age of the glow stick.
Kids can hypothesize, test their theories, and analyze results to conclude the chemical reactions occurring within the glow stick. This project provides a hands-on experience with scientific inquiry, making it an excellent choice for a science fair presentation.
Kids can take everything they have learned about using the scientific method, stating a hypothesis, choosing variables, making observations, and analyzing and presenting data.
Check out these helpful resources.
Printable Science Projects For Kids
If you’re looking to grab all of our printable science projects in one convenient place plus exclusive worksheets and bonuses like a STEAM Project pack, our Science Project Pack is what you need! Over 300+ Pages!
- 90+ classic science activities with journal pages, supply lists, set up and process, and science information. NEW! Activity-specific observation pages!
- Best science practices posters and our original science method process folders for extra alternatives!
- Be a Collector activities pack introduces kids to the world of making collections through the eyes of a scientist. What will they collect first?
- Know the Words Science vocabulary pack includes flashcards, crosswords, and word searches that illuminate keywords in the experiments!
- My science journal writing prompts explore what it means to be a scientist!!
- Bonus STEAM Project Pack: Art meets science with doable projects!
- Bonus Quick Grab Packs for Biology, Earth Science, Chemistry, and Physics


Great experiment! We often put glow sticks in the freezer when we’re done with them and they last several days!
Thanks! We did leave ours over night and it came to life again.
Oh my gosh my guy will be thrilled to try this. We have been playing with glow sticks in the bath, building with them, etc. This will be great.
What are your variables in this experiment? Controlled, independent, and dependent?
This is probably more of an activity than an experiment as we did it on the spur of the moment. We lit three glow sticks at the same time and popped on win the freezer, one in hot water, and left one out.